A Closer Look: How I Created a 248MP Photo of the Sun
A big ball of light hovers above our heads everyday. It is always there and most people take very little time to notice it. While we are not suggesting that you spend time staring at it and going blind in the process, science has allowed us the ability to look directly at the sun in the safest ways.
As consumer technology has become more affordable, the average person can peer into the multiple layers of the sun using dedicated equipment that can be purchased at any good telescope retailer.
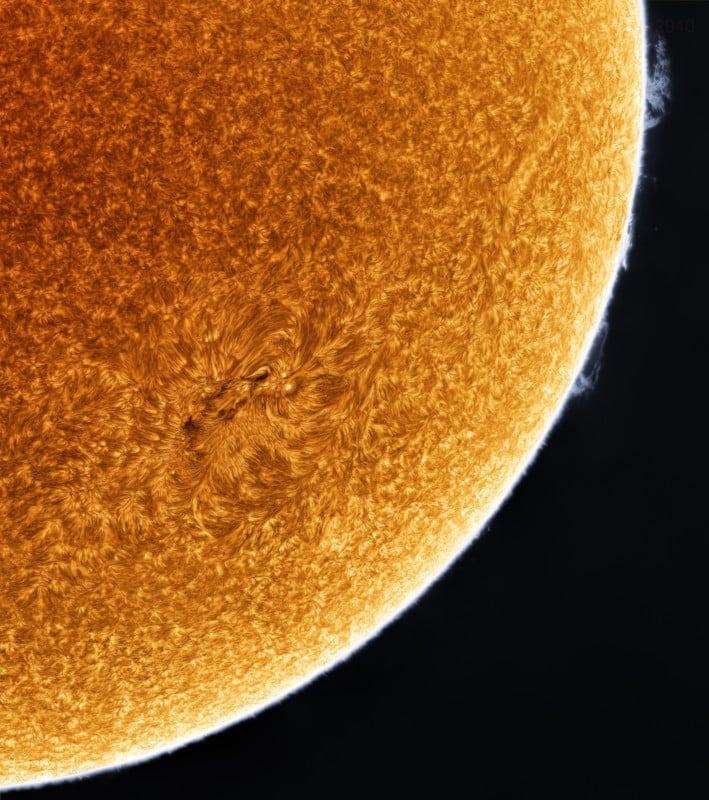
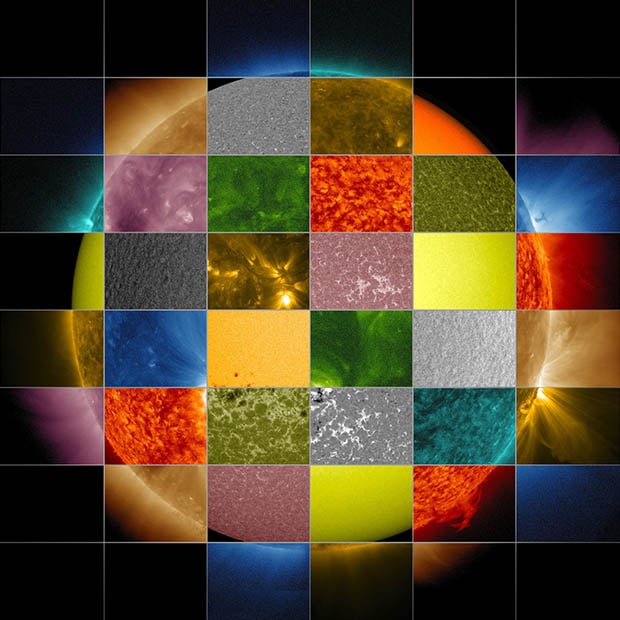
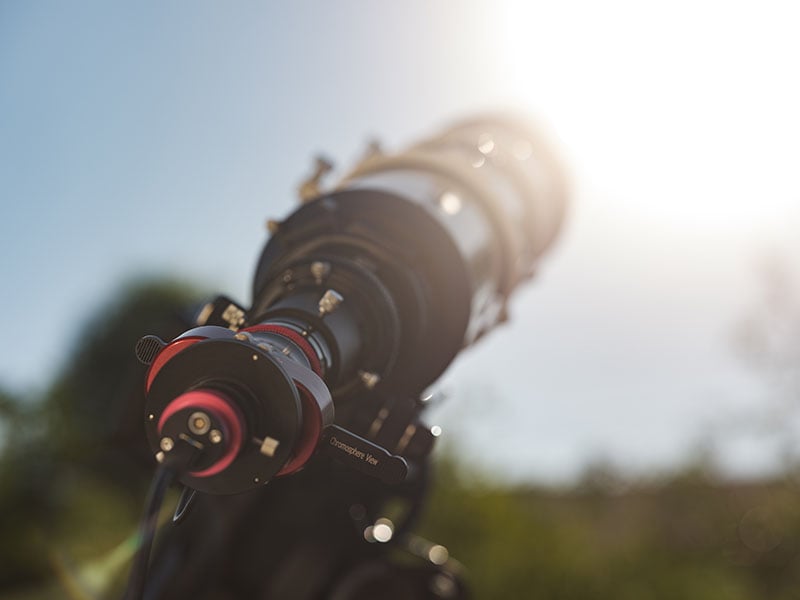
In this article, we will be focusing specifically on a layer known as the Chromosphere: an area of the sun that is visible within the orange to red spectrum. Using a specialized filter, this device blocks out all unwanted light while passing the specific bandpass we are looking at.
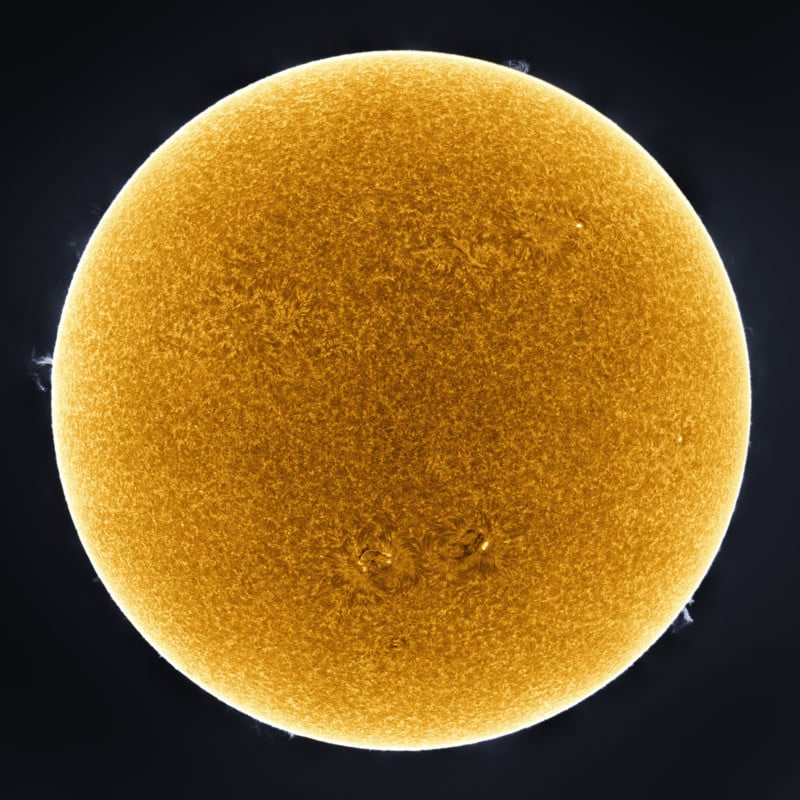
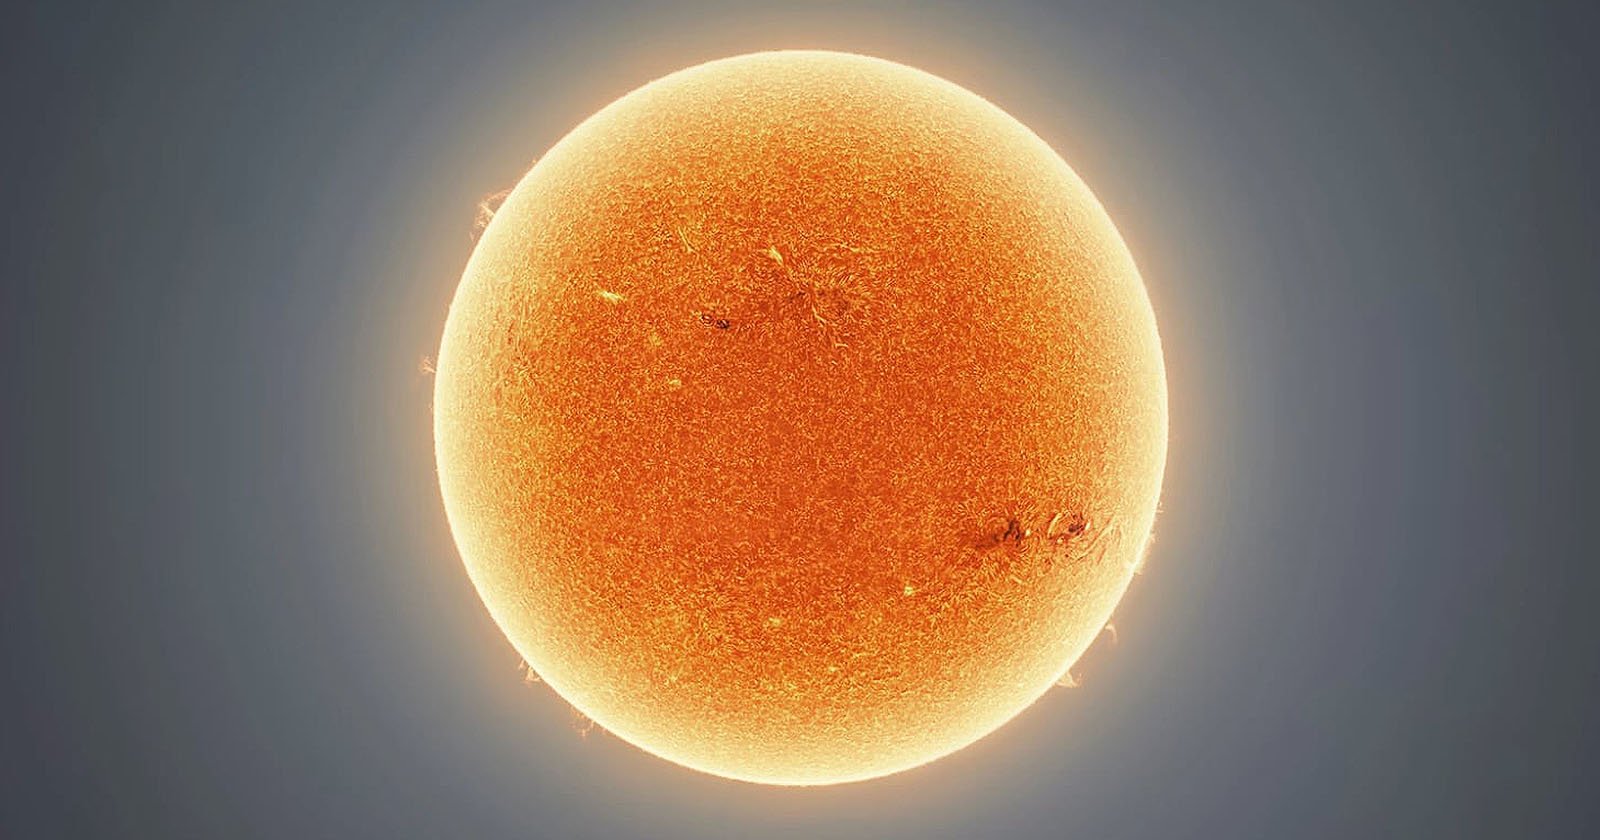
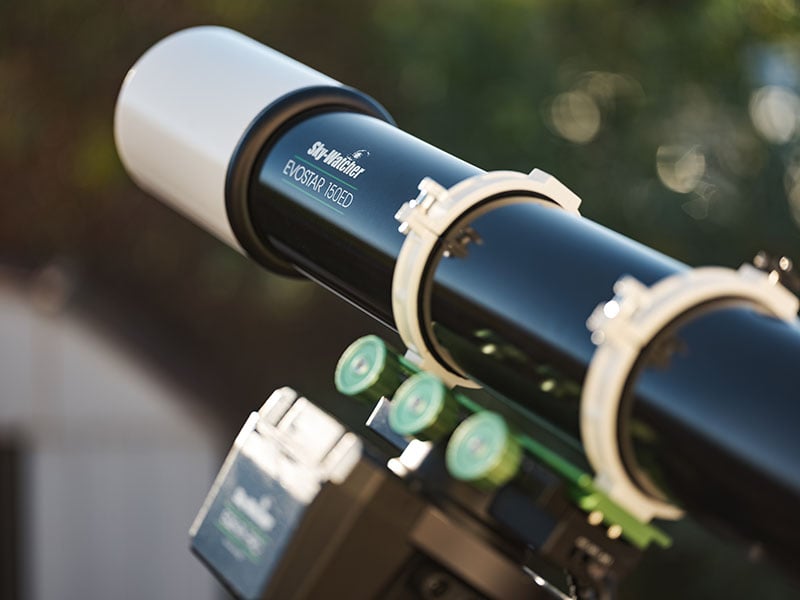
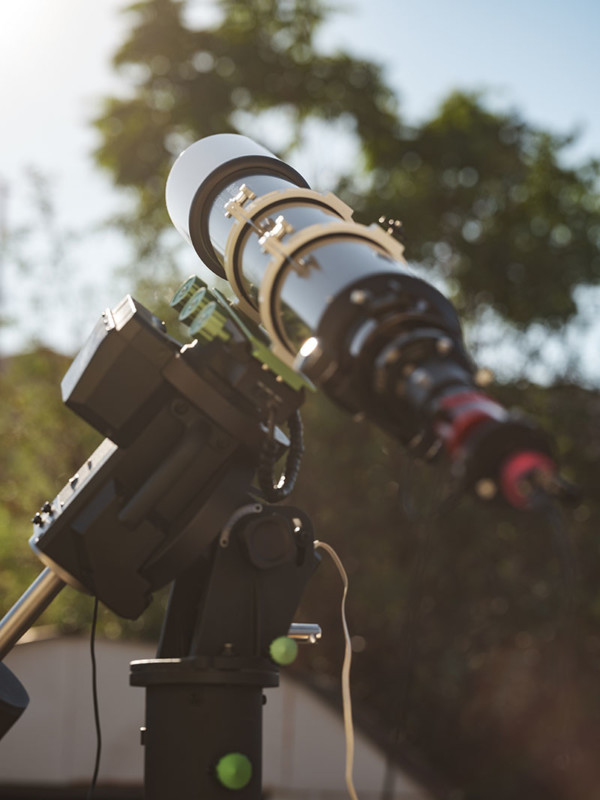
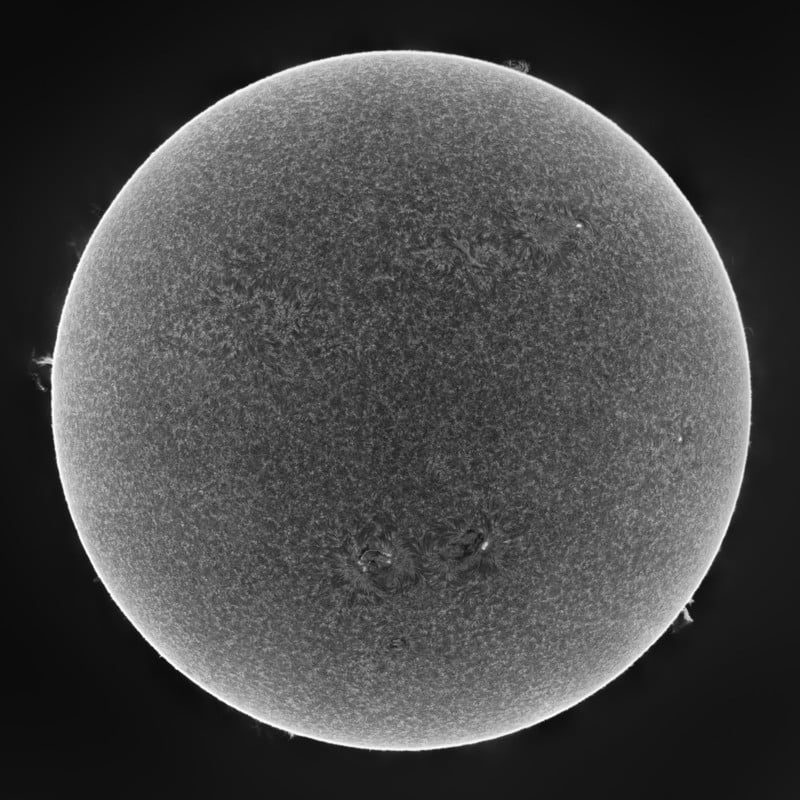
This full-disc image of our sun is created using a large refracting telescope and a high-speed CMOS monochrome camera.
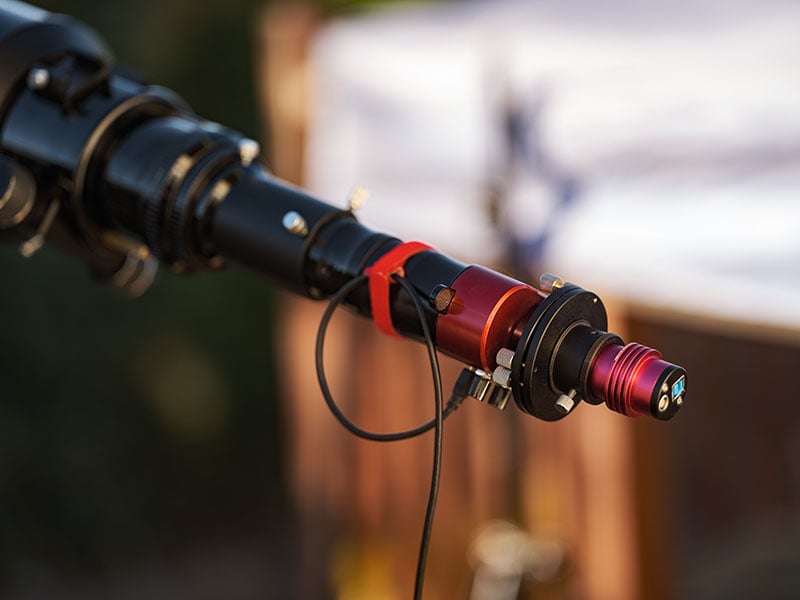
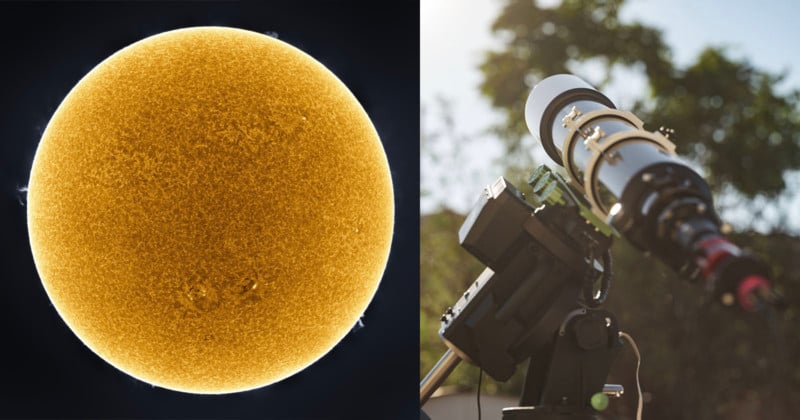
A special type of filter known as an etalon is used in conjunction with a blocking filter. Since the layer of the sun is what we want to observe, the blocking filter is designed to let in light at 656nm wavelength. In this case, a Daystar Gemini is used which also has a 4.2x telecentric Barlow built-in.
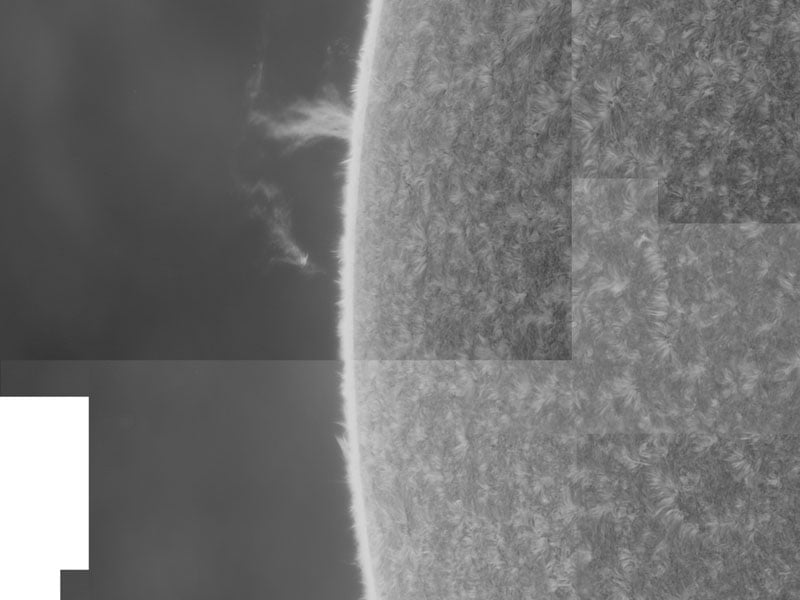
The camera in question is made by QHYCCD, a company that specializes in making cameras for the astrophotography market. This particular camera, the QHY5III-174M has a smaller sensor compared to what we are used to. At only 2.35-megapixels, a final image is built of 90 panels to create a mosaic of sorts, making a complete image of our star.
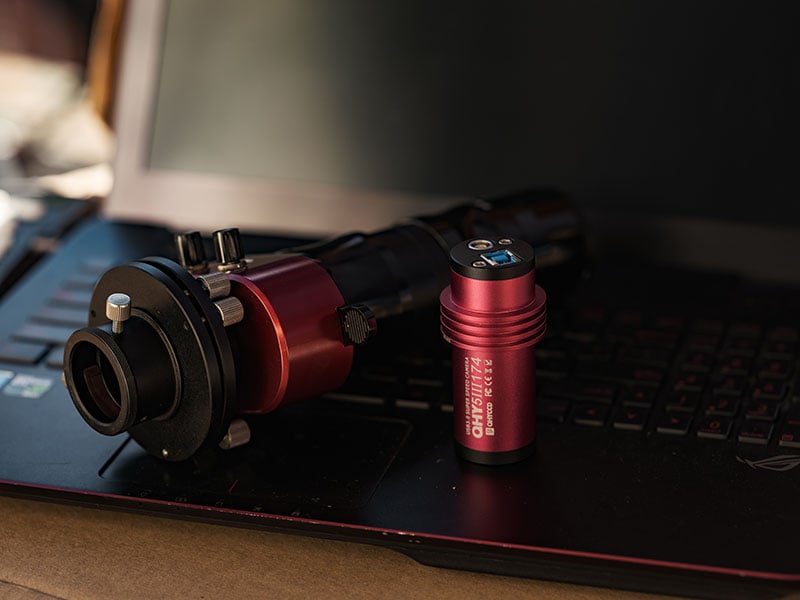
Each panel or image is made up of a high-speed video capture of 1000 frames, which is later stacked together to create a highly detailed image with smoother gradients and less noise.
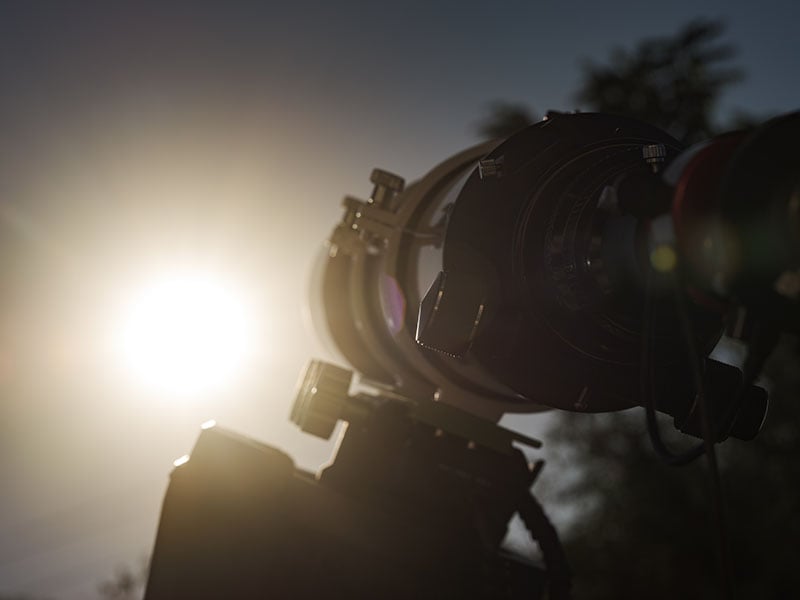
Since the camera has such a small sensor, a tracking mount was used with the assistance of a controller to pan across the sun, taking captures at various steps. Since the sun is actually in constant motion, the time taken to capture each panel has to be under a certain time frame. This sequence took approximately 25 minutes to complete to ensure that the surface did not change too much when creating the final image.
Astrophotographers often employ a technique during the initial phase to sort out what is signal and what is noise. The basic idea is that an image with a lot of noise when combined with other images from the same framing, will result in a better image.
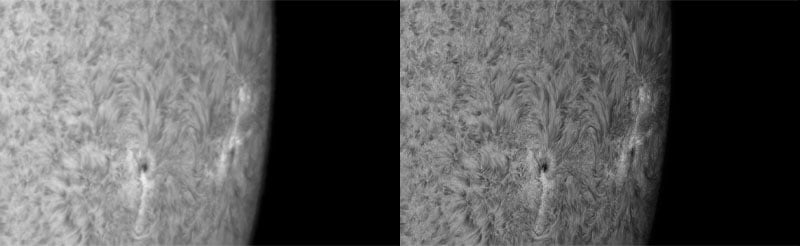
Once these images have been stacked, a process is then applied which helps sharpen the image. Using a specific technique known as deconvolution, a software called IMPPG allows details to be pulled back in. This is much like the pre-programmed settings found in almost all DSLR and mirrorless cameras. Astronomy cameras have these pre-processing steps removed to allow the user more control over the image at the cost of time spent processing.
Next is the long task of aligning each image. While there are many software options to make this process faster or automated, images such as these do not always line up correctly. Often, two images do not contain any specific features for the software to create alignment points and fail at creating stitched images without some type of distortion or misalignment.
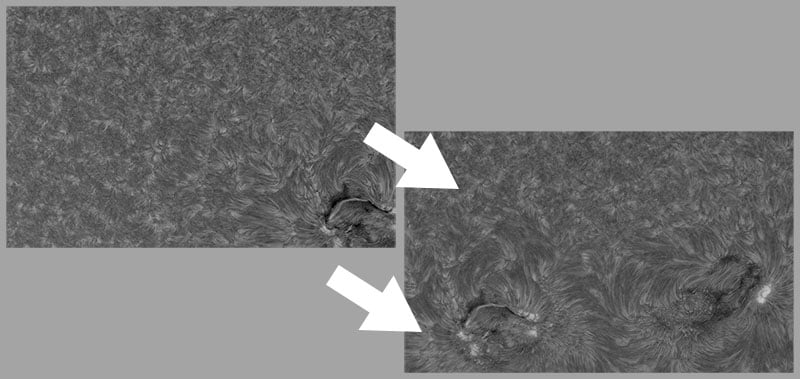
After each frame has been individually aligned, the images are then blended together to make a seamless image. Photoshop Auto-Blend is able to handle this particular task extremely well, even if the two adjacent frames have different varying levels.
Once each panel had been aligned and blended, a few other tricks were also used to enhance the details further. Applying HDR Toning, details begin to pop out. The HDR image is blended together with the previous result, to make a smoother transition. Varying hotspots and dark patches are also removed to create a more uniform image using the Camera Raw functions within Photoshop.

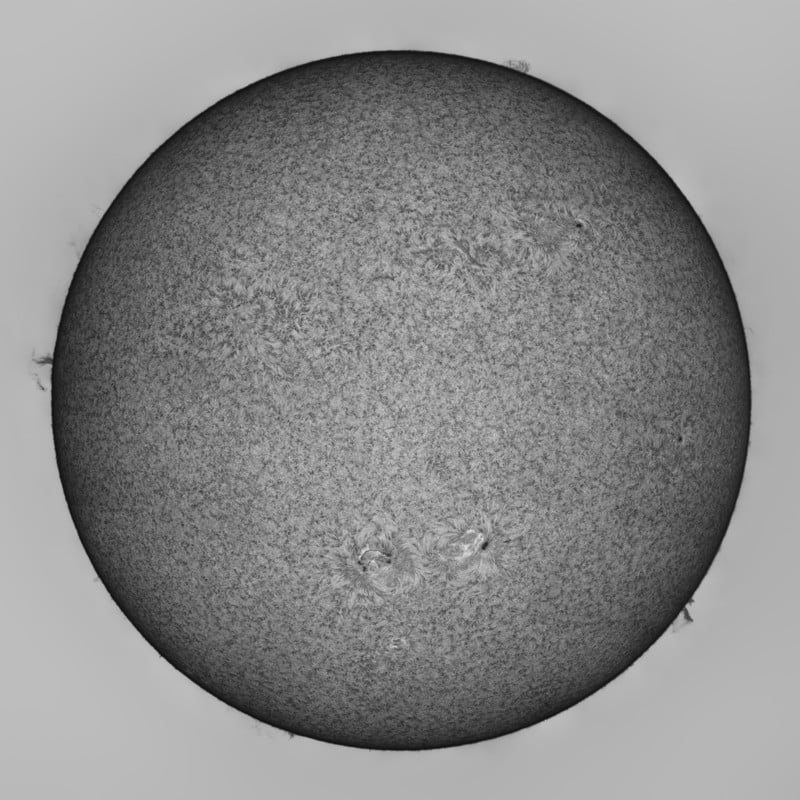
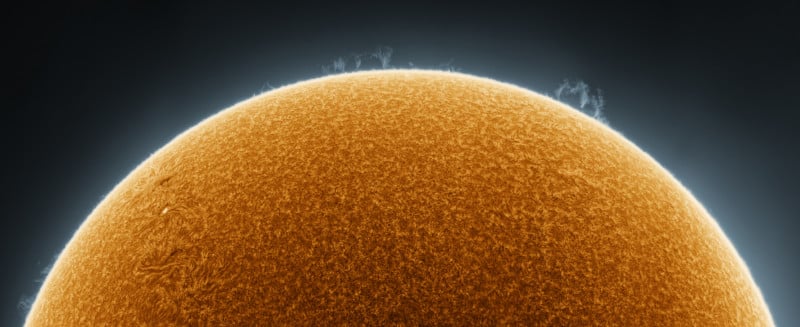
Once the final image is achieved, a false-color is applied to the image. Since our sun is not actually yellow, a curves adjustment is used to give the coloration that most people would associate with the sun during sunset.
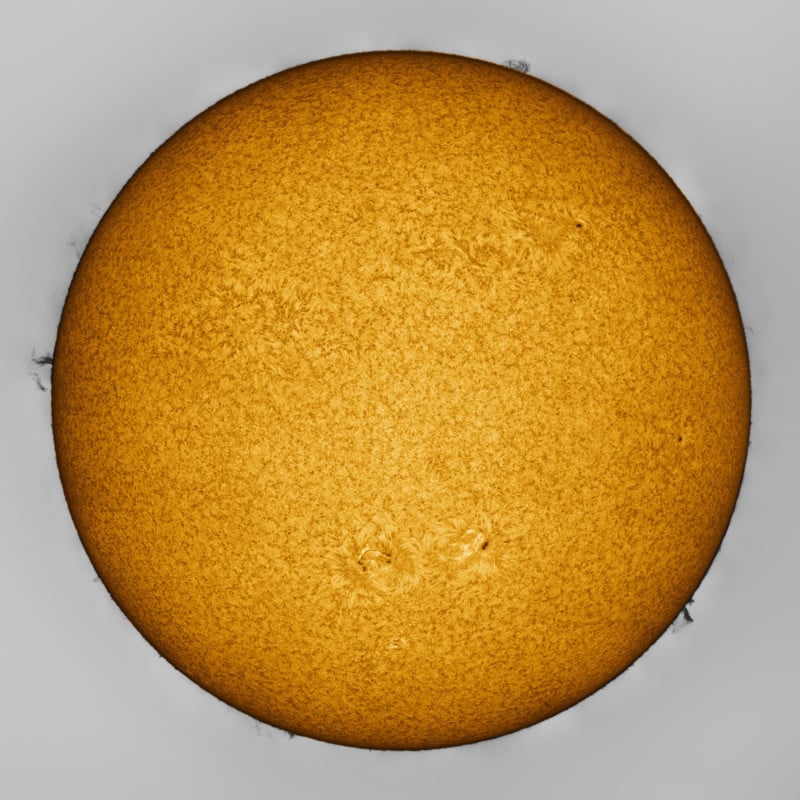
The final image created is a giant 248-megapixel image that freezes the sun at that moment of capture, never to be seen again in the exact same way.
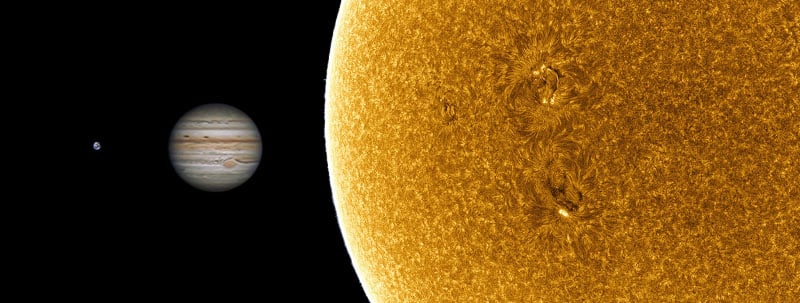
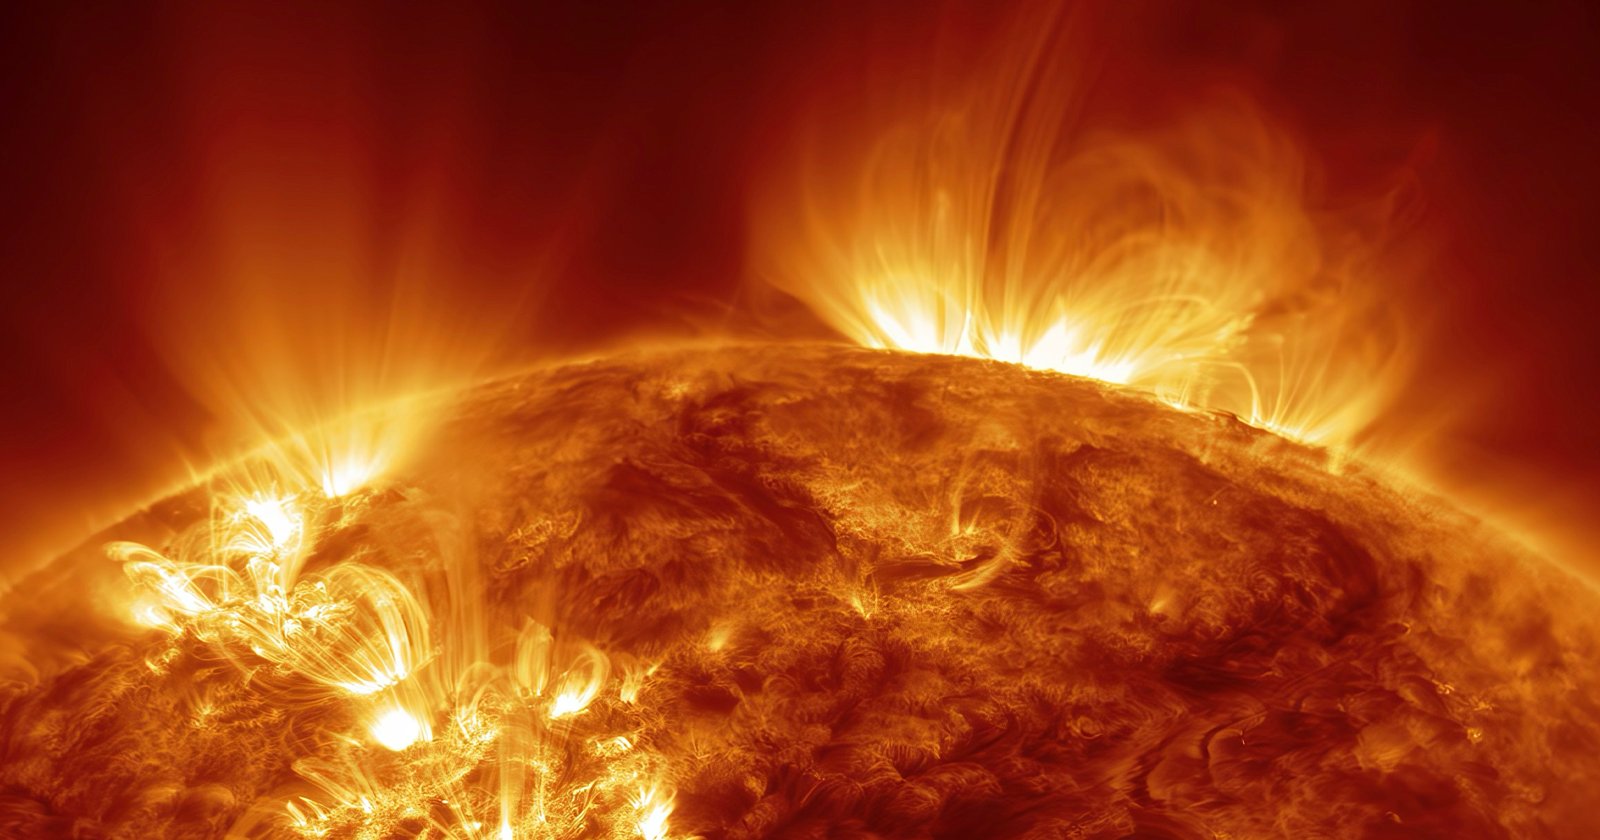
While a smaller telescope can be used to create these images, larger telescopes have the added benefit of being able to get more details than would with a smaller counterpart. At 1200mm focal length, plus the added 4.2x magnification, the smallest minor details become monstrously big. Each feature can be the size of the Earth and the larger ones would swallow Jupiter whole several times over.