11 Tips to Achieve Better Street Photos
Street photography is one of my favorite ways to create photos because it affords so much variety and opportunities for different types of photos.
Before we get to the 11 tips for street photography, I’d like to share a bit of an overview of street photography, including a loose definition, some inspirational photographers, and a bit about the law and ethics.
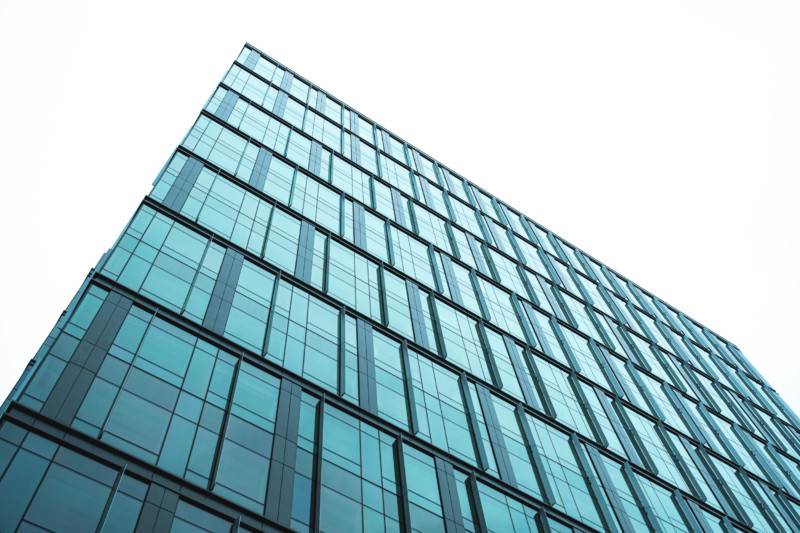
There are many definitions of street photography, and just as in landscape, portrait, fine art, and many other genres, there is no one definition to rule them all. To me, street photography is observational and intentional in exploring a specific location to create stories about that moment in time. The photos may include people, or may not. The photos may be abstract, or may not be. The photos may be black and white or in color. I like the word “cityscape” to suggest a connection to how the city is connected to its location.
For me, there are three photographers that have inspirited my street photography. First, is Sean Tucker. Sean lives in York, England and I love how he observes light and shadow and their interaction with objects and people. He is not afraid of high-contrast bright, sunny days. Next, is Joshua Jackson. Josh lives in London, England, and has a great eye for dramatic moments with amazing attention to light and gesture. I also find it interesting that many of Josh’s photos are taken at night, and have a completely different feeling than daytime photos. The third is Craig Whitehead. Craig also lives in the U.K. and finds incredibly unique ways to integrate people as subjects into their surroundings.
Regarding the legal aspects of street photography: I am not an attorney, so any advice and views here are based on my opinion and understanding of applicable laws in the United States. Please do your own research and contact an attorney, if you have any doubts or concerns. My understanding of the applicable law is that a person visible in public no longer has a “reasonable expectation of privacy” and can be observed and recorded (photographed), for non-commercial purposes, without their permission.
Having said that, I strongly believe that the ethical effects also need to be considered, in tandem, with legal considerations. In other words, just because you can, doesn’t mean you should. Especially when considering photographing someone else’s children in public without express permission — just don’t. There’s too much potential for misunderstanding and anger.
Now, on to my tips:
- Be safe! Be safe physically and psychologically. If unsure, find a photo buddy or friend to tag along. If a situation feels even slightly uncomfortable, move on, or try again another day.
- Be respectful. Respect privacy and personal space and be aware of how someone might feel about you taking their photo. Don’t take photos of children. It may be legal, but it’s a situation loaded with possibilities for misunderstandings and anger.
- Bigger isn’t necessarily better. I think midsize cities offer a majority of the cityscape, architecture, and people photo opportunities with potentially less stress, plus you’re more likely to find free parking and donuts.
- Be comfortable. Wear comfortable shoes and clothing for the weather. Limit gear to one or two lenses (ok, ok, I usually bring 3 lenses…) in a small bag that doesn’t broadcast “camera bag.” I would strongly recommend not using a tripod unless it’s a very small table-top tripod that fits easily in your bag.
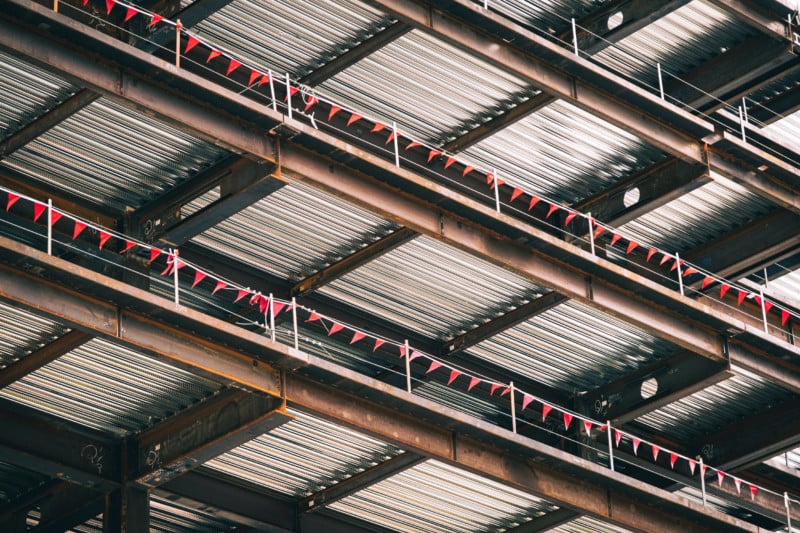
- Pay attention to the weather. Bright sunny days will lead to a certain kind of photos with high contrast and dramatic shadows, while overcast days will lead to different photo opportunities. More extreme weather, such as rain, snow or fog can transform a cityscape into something completely different.
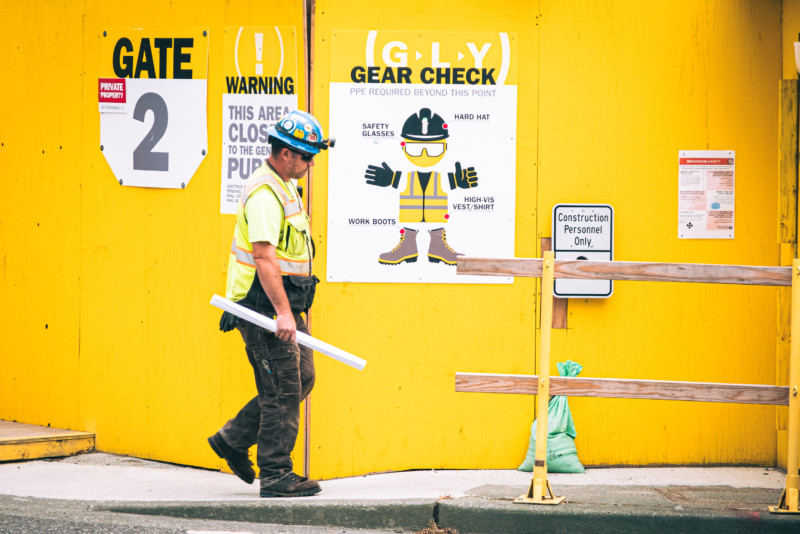
- Visit the same area multiple times. The first time you visit a location, it tends to be overwhelming, and all that’s visible is the obvious and “postcard” type photos. Repeat trips to the same locations allow for absorbing the details and unique elements in a location. Many cities are currently changing daily due to increased construction activity. This would be a wonderful time to photograph old favorite buildings and check-in to see if they are scheduled for demolition or modification. Also, try different times of day (especially evening) as well as different seasons and weather conditions.
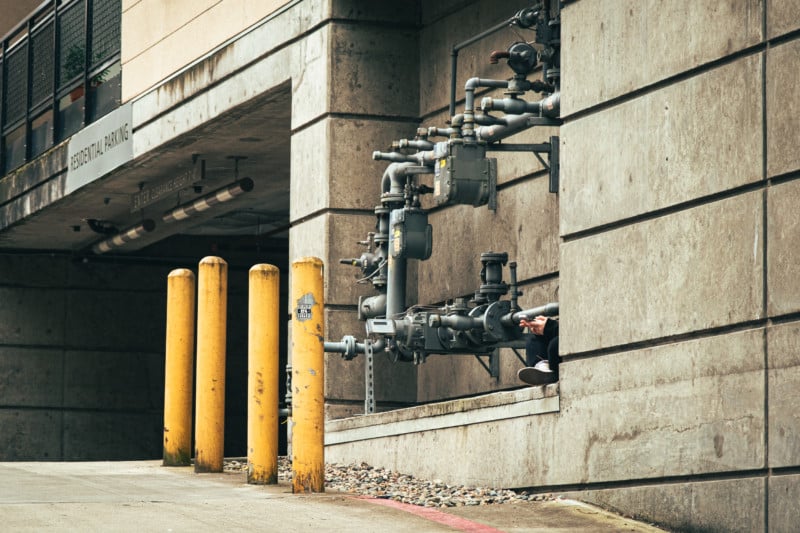
- Pay attention to what you pay attention to. Notice what you’re noticing on a given day. If you’re seeing patterns and textures, concentrate on that. If you’re noticing light and shadow in a location, wait there (see #10) and see what happens next. Also, be flexible and ready to react to what presents itself as you walk.
- Walk slowly. While the exercise component of street photography is important, it’s even more important to observe and notice, which is best done at a slow pace. Give time to look up and down. Give time to change perspective or follow an unplanned path.
- Reverse your path. When you turn around and walk in the other direction, the differences in what is visible can be quite dramatic. This is especially true with light and shadows on bright days. Related – try the other side of the street in the same AND opposite direction, with each street giving you four potential perspectives.
- Stop. Find a location where there is activity or an interesting background, and wait. Then wait a little longer. I tend to be impatient, so whenever I think I’ve waited long enough for something to happen, I wait two extra minutes. If a location looks promising, but not at the present moment, consider coming back later.
- Know your exposure and camera controls. Street photography environments can have wildly varying exposure situations, as well as varying ways to create a photo of a given subject. At a minimum, I would suggest the following:
- understanding how to use the exposure compensation dial, if using automatic exposure
- understanding the role of aperture in determining what’s in focusing, and choosing the aperture setting that best creates your intended story
- understanding the role of shutter speed in affecting the appearance of motion, and how to best use motion (or lack of motion) to best create your image
- understanding when to use continuous focus mode
- understanding when to use burst/drive mode to take a sequence of photos as long as the shutter button is held down
I hope you find these tips helpful and have the opportunity to explore you local cityscapes! You can also see more photos from a recent overcast day walk in downtown Bellevue, Washington on my Flickr.