Photography Composition Tip: Try Black and White
In a world of color, why would you want to create black and white photos? There are many reasons to do so, from the timeless nature of the image to the way it enhances the mood and tones in the photo. It is also a way to see differently and grow your composition skills.
This is part five in a series of videos about composition tips based on assignments I use with Introduction to Photography students at Highline College near Seattle, Washington. Read parts one, two, three, and four here.
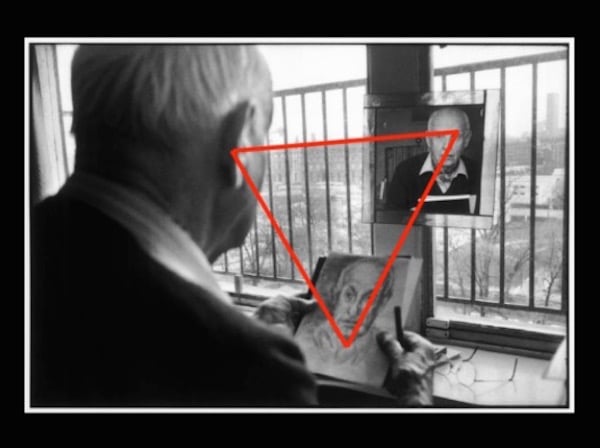
By removing the distraction of colors, we are left with lines, tones, and textures. The image is simplified and this can help improve your composition skills because it reduces many of the “easy” ways we usually create photos. Without color, we are forced to more carefully examine the tonal ranges of the light, how it interacts with the environment, and seek subjects that are most dramatically transformed by their interaction with the light.
Here are some things to look for in creating black and white photos:
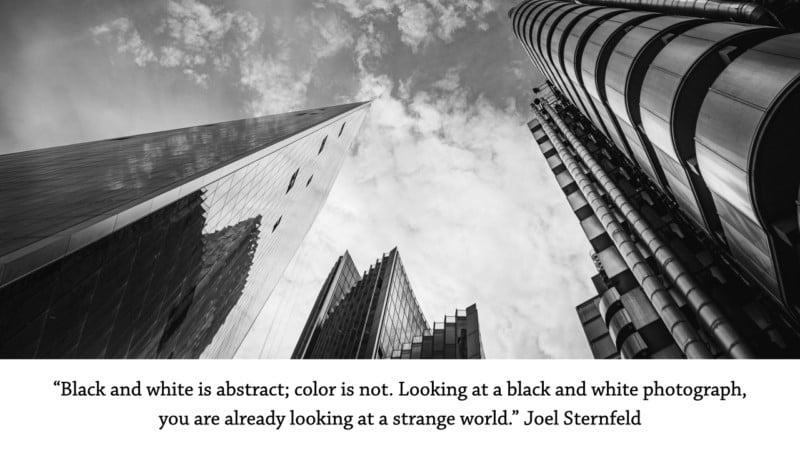
First, I look for contrast. The image will be strongest in black and white when it has the deepest blacks and brightest whites. It is called “black and white,” not “dark gray and light gray.” Seek out shadows and highlights. More on contrast in a bit.
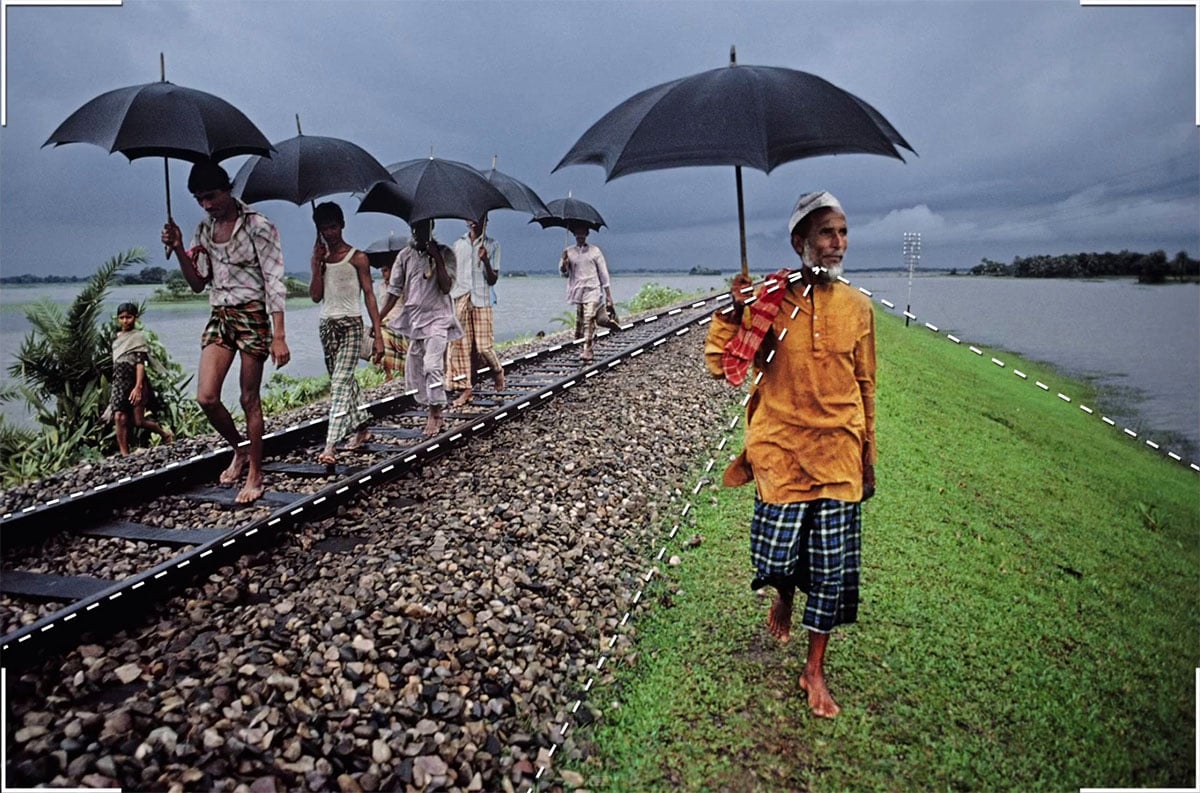
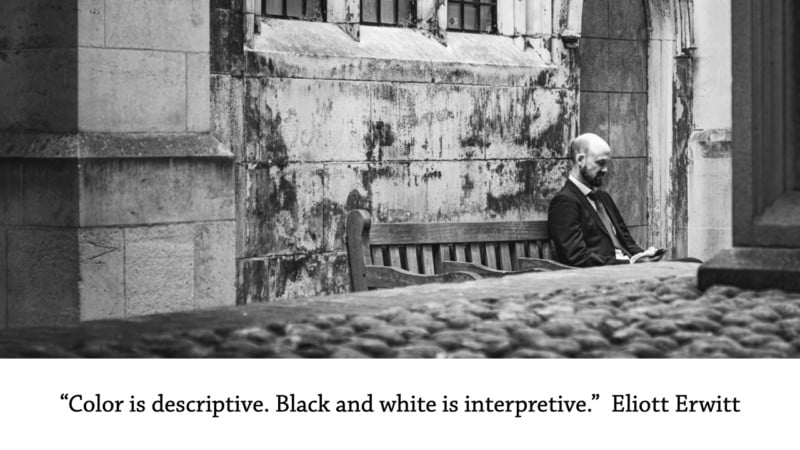
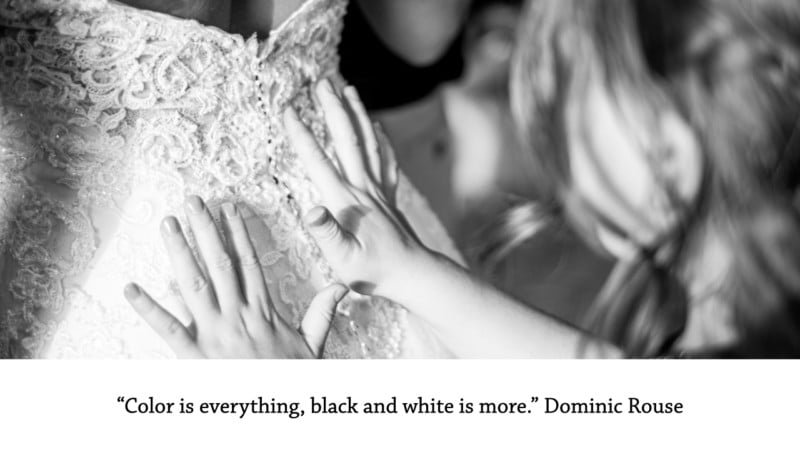
Second, look for texture. Subjects with texture will often have interesting interactions with light that creates shadows and increases the potential for story and mood in the image. Look for contrast in textures, too — rough and smooth, old and new, organic and human-made.
Third, pay attention to colors. If the composition is mostly one color, that can often work well in black and white, as the image is already monochrome. Also, watch for contrasting colors, as that will give you more options when adjusting the color mixes when processing the images. More on that shortly.
It can be hard to visualize what the composition will look like when rendered in black and white, but with practice, that skill tends to develop over time. If you have a mirrorless camera, you can get a head start on visualizing your images in black and white by changing your film simulation or similar to “black and white” and your viewfinder and screen preview will be in monochrome. If your image is saved as a RAW file, when viewed in software on your computer you will still see a color image, as the film simulation information is an “overlay” of information added to the original image.
Speaking of software, processing your image will be a large part of creating your final black and white image. There is a lot more to processing a black and white image than just clicking on the “black and white” button and calling it good. Once you have converted a photo into black and white, the next step is to work on contrast and there are many ways to do this with most software. I use Lightroom Classic, but most software will have similar, or analogous control options.

Generally, I’ll start by increasing the contrast control directly — usually, quite a bit and more than I would for a color image. Next, I will adjust the bright tones (highlights and whites in Lightroom) and the dark tones (shadows and blacks in Lightroom) to work with the original tones in the image.
There are two more ways to adjust contrast with software. In Lightroom, they are the effects controls and the color mix controls. Effects controls include Texture, Clarity, and Dehaze. Each of these will add varying amounts of detail and texture to your image, and the way they do this is by adjusting contrast. I tend to add a fair bit of Texture, a bit less Clarity, and then just a tiny amount of Dehaze. Your mileage will vary depending on your specific photos. The Color mix controls are similar to color filters used in film cameras to adjust the exposure of varying colors in film photos. For example, by adjusting the Color Mix of “Blue” in a photo with lots of sky, you can adjust the exposure (brightness) of the sky in your photo.
I hope you’ll give black and white photography a try, again or for the first time. It’s such a powerful way to view your compositions in a different way, and I hope you will find it helps you grow in your photography skills.
About the author: Michael Sladek teaches digital photography at Highline College near Seattle, Washington. He enjoys dad jokes, doughnuts, and helping others discover the fun of creating photos they love. Stay connected with Michael on his website, YouTube channel, and Instagram.