Photography Composition Tip and Assignment: Get Closer
The goal of most photography compositions is to create an image with a clear and distinct subject that creates interest for the viewer. There are many ways to create interest in a photo, but one of my favorites, and one of the easiest to accomplish, is to get closer to the subject and fill most or all of the frame.
This is part three in a series of videos about composition tips based on assignments I use with Introduction to Photography students at Highline College near Seattle, Washington. Read parts one and two.
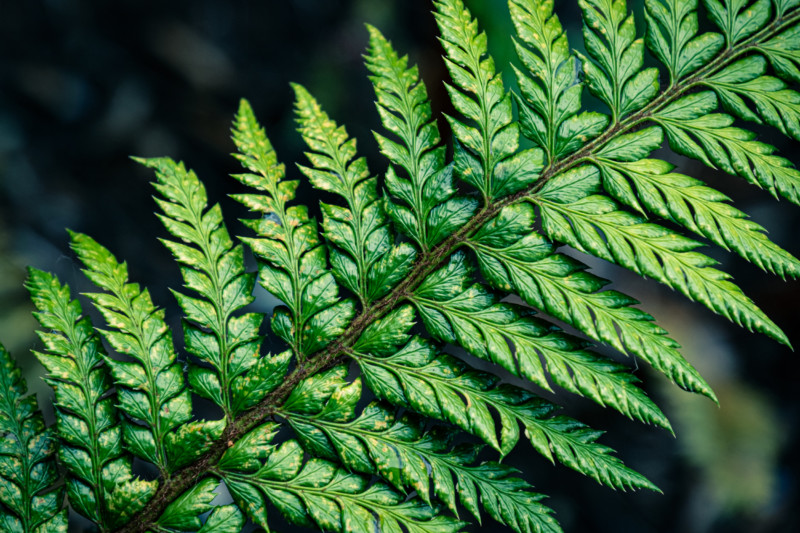
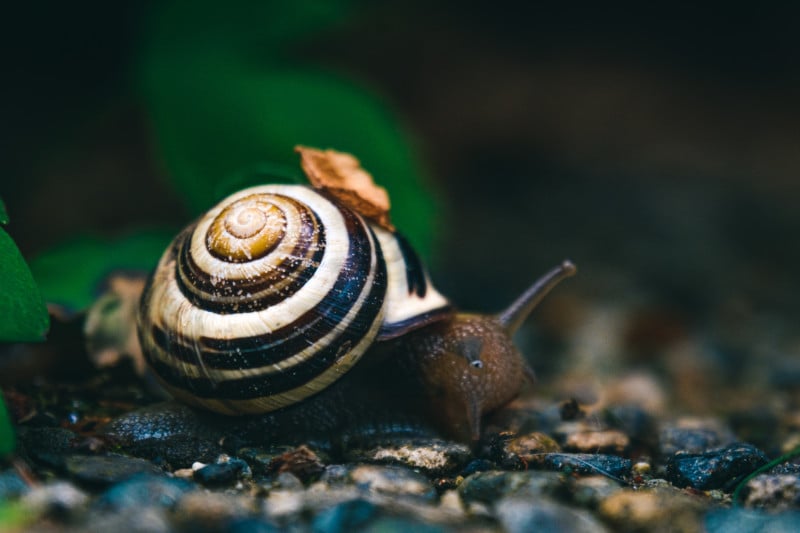
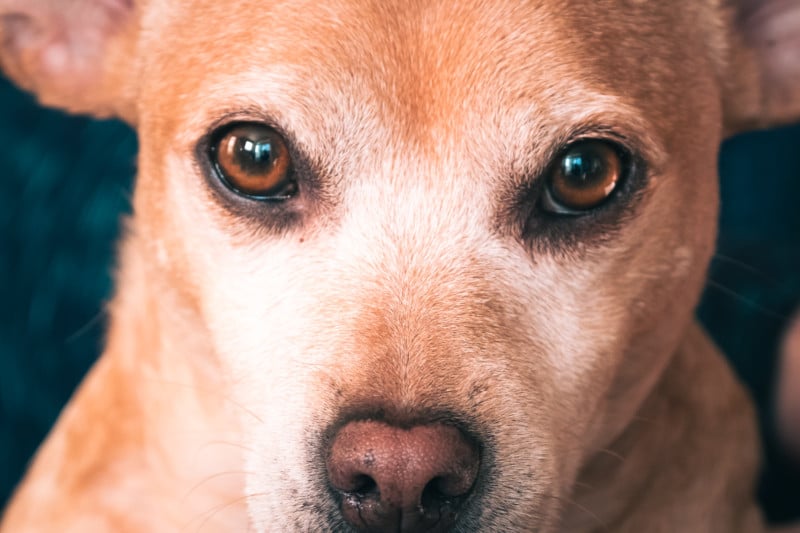
There are several powerful things that happen in your image when you get closer to your subject. First, when you fill the frame with the subject, there’s less room for distracting background elements. Second, when you get closer, the subject can become more abstract and an interesting collection of textures and details, rather than a specific object. Third, when you get closer to your subject, you’re increasing the relative distance to the background, which will make any background elements less in focus. Fourth, getting closer has the potential to create a sense of intimacy and connection with your subject.
A technique I’ll use often is to get closer to a detailed portion of a subject, when a photo of the whole subject would be less interesting due to elements around it. An example of this is at car shows: there are lots of amazing and interesting subjects, but there’s no way to photograph an entire car without including other cars, people, reflections, and distracting background elements.

How close is close enough?
My suggestion and preference is to get as close as physically possible and still have my lens be able to focus on the subject. How close is that? It depends; in this type of photography you’ll be dealing with the minimum focusing distance for your lens. For most camera lenses, that distance is anywhere from six inches to two feet. This means, if you are closer to your subject than the lens’s minimum focusing distance, your subject will be out of focus.
If you find you really enjoy close-up photography, you might consider a macro lens, which has the ability to focus very close and produce images at one-to-one size or more. These specialized lenses can be expensive ($400 – thousands of dollars), but there is another option! My less expensive choice is to use extension tubes, attached to the back of any of my lenses, to achieve the ability to focus more closely. Extension tubes are usually less than $100 for a set. The more tubes you add between the lens and the camera, the closer you will be able to focus. It will take some experimenting to see which lens of yours works best.
Once your subject fills the frame, and the details are magnified, everything in the frame will be magnified. This includes motion in your subject (flowers in the breeze) or motion while holding the camera. Here’s some tips to help with that:
- For motion in the subject or from the camera – choose a shutter speed of 1/250 or faster. Use burst mode (multiple photos taken quickly with one shutter press) and take photos for a second or two. Also, turn on lens and/or camera image stabilization. Using a tripod will help even more.
- When the shutter speed is slower (longer duration) than 1/250 second – use a tripod.
- When the shutter speed is slower (longer duration) than 1/15 second – use a tripod and a remote shutter release (or self-timer) to avoid mitten in the camera from pressing the shutter button.
- Depth of field (what’s in focus) will be very shallow, so suggest using an aperture of at least f/8-f/11.
Assignments like this give a framework and a general direction to your photo session. They hopefully create just enough structure in which you can feel like you have a starting point for creating photos. Think of it like being given a topic for a short story, rather than “write about whatever you want.”
Here’s the assignment:
- Over the next week, create photos getting close to the subject and (mostly) filling the frame with your subject
- Keep it simple and local so less excuses not to do it. I did mine mostly around my condo…
- Figure out the minimum focusing distance for your lens(es). For zooms, check at several points in the zoom range as minimum focusing distance will likely be different at different focal lengths
- Try to do 2-3 sessions of 15+ minutes each
- Select and edit 5-10 favorite photos
Think of these assignments as visual exercises and ways to develop your skills. Just as an athlete trains for their sport, it will help us to exercise our eyes and minds around the process of creating photos. This means that some photo sessions will be more “productive” from a keeper photo perspective, but all of the photo sessions will have the benefit of time spent creating images and practicing this craft.
About the author: Michael Sladek teaches digital photography at Highline College near Seattle, Washington. He enjoys dad jokes, doughnuts, and helping others discover the fun of creating photos they love. Stay connected with Michael on his website, YouTube channel, and Instagram.