How to Shoot and Stack a Photo of Comet NEOWISE
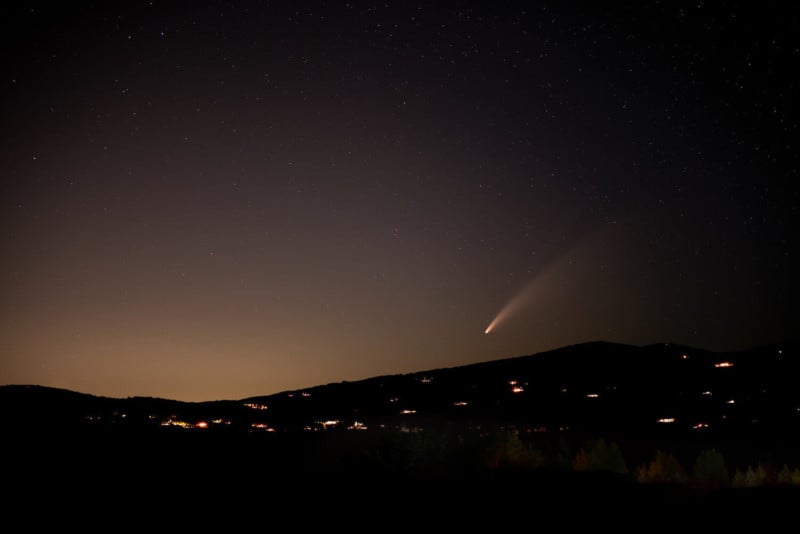
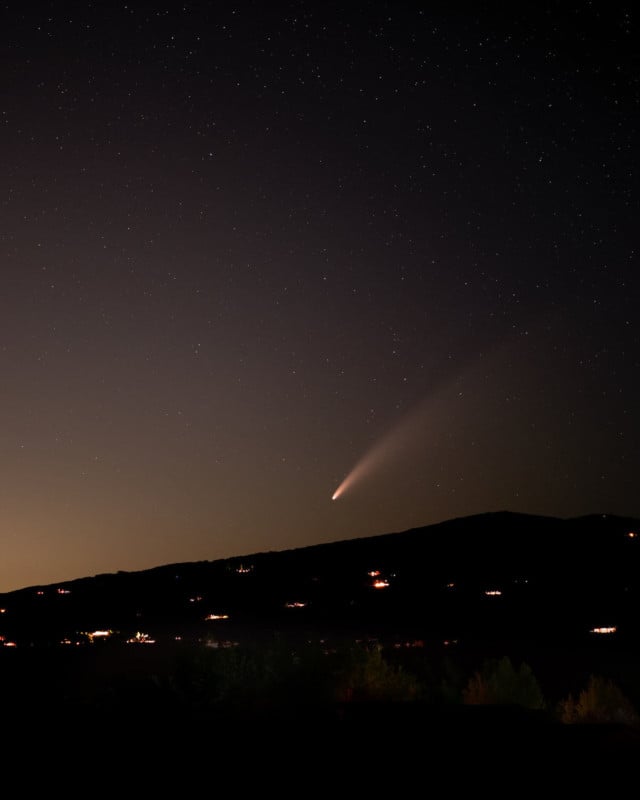
Earlier this week, I brought my Sony 70-200mm lens and drove only about 15 minutes away into Bortle Class 4 skies. What’s really exciting is that I was shooting towards Salt Lake City and the sunset, and still the image turned out remarkably well among all the light pollution and sunset in that direction!
Photographing
#1. Location
After sunset, find a clear view of the northwest sky.
(Make sure you’re not right in the middle of the mountains because the comet is a bit low and the mountains will likely obstruct it. I only drove about 10 miles from the mountains of Park City for the featured shot in this post)
#2. Setup
During twilight when it’s still semi-light, set up your camera on a tripod facing NW. You may begin to see the comet yourself. Or, start taking some high-ISO test shots and the comet will likely show up on-camera before you see it with your eyes.
#3. Basic Settings
Set your camera for ISO 5000, F2.8, and around 3.2 seconds. Use a lens around 70mm.
Play around with whatever ISO you need, but be strict about your shutter speed. Your shutter speed should never be more than 500/your focal length — otherwise you’ll get star trails.
#4. Other Settings
Other important camera settings are:
Turn off Long Exposure Noise Reduction (this option is likely in the depths of your larger camera menu). Turning this off will eliminate a delay between each shot.
Turn off Optical/Image Stabilization (this option is normally a physical switch on the outside of your lens). Whenever your camera is on a tripod, you want this off because your tripod is taking care of the stabilization.
Turn on manual focus (usually a physical switch on the lens). Focusing manually will allow you to get the most precise focus. Find a bright star or street lamp that is extremely far away, put your camera in Live View and manually adjust the focus until the object looks sharp
#5. Shoot
Take at least thirty 3.2” shots of the comet in succession.
(Use an intervalometer or remote trigger so you don’t shake the camera each time you press the shutter. If you don’t have one, set a 2-5 second timer so you can fire the trigger and have time for your finger vibrations to shake out by the time it exposes.)
#6. See
Don’t forget to look up and enjoy the scene with your bare eyes!
© Marisa Marulli, founder of Further Photo Expeditions
Post-Processing
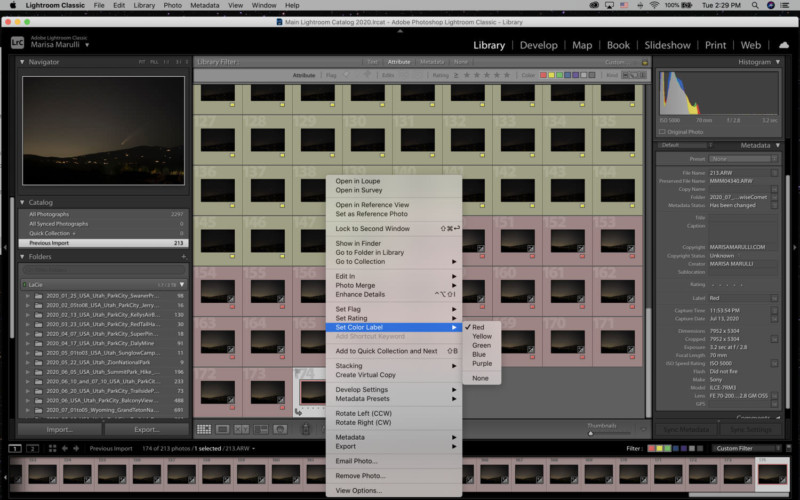
Once you’re home, load all of your images into Lightroom. For my sanity, I first start by organizing them into compositions, or scenes. (If you only captured one scene, go on to step 2!) I had three different compositions I tried last night; so in Lightroom, I grouped the 20 shots from my first composition by labeling them all with a green color, then I gave the second scene’s frames a yellow color, and so forth.
Choose your favorite composition series and delete any blurry shots (they would throw off your stacking in a later step). Choose one frame from the composition, and make minor edits only. I wouldn’t move much over +/-10, and wouldn’t move exposure more than 1/3 of a stop unless you must.
Turn off sharpening and noise reduction if you can. All of this will help the stacking software differentiate stars from noise. Once you’re done with edits to the one frame, copy and paste all settings to all selects from this composition series.
File > export all selects as 16-bit TIFFs to a folder of your choosing.
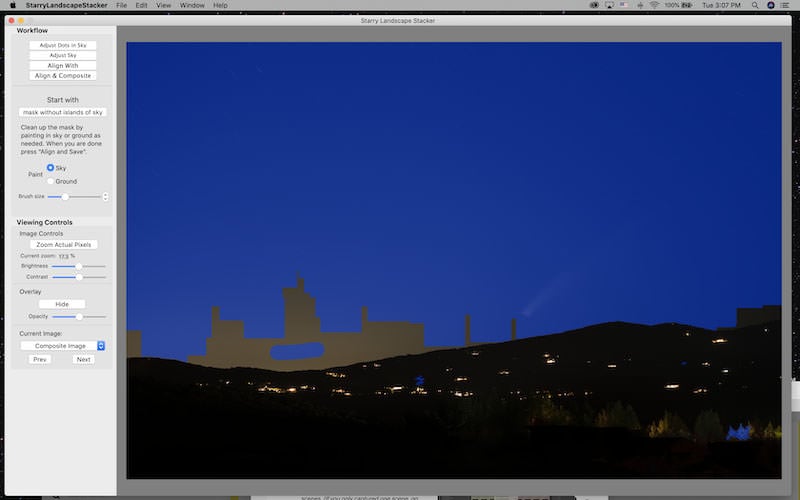
Open Starry Landscape Stacker [$40 for Mac. Sequator is a similar free app for Windows], load all of your previously-exported TIFFs from one composition. Once loaded, you’ll see red dots in places of your stars, and your comet might be blurred out.
Click the “Find Sky” button, and use the brush to paint all areas of the sky with the mask. Once done, click “Align & Composite”. Once this is done, you should see a great photograph of your comet with a lot less noise!
You’re done! If you want a better tweaking since you kept it minimal in the beginning, just drag that exported TIFF into Photoshop and start creating additional layers to adjust curves, adjust black point, use burn tool to darken any bright foreground lights, use the Adobe Camera RAW filter to play with overall light, saturation, color, etc. Export as JPG!
About the author: Marisa Marulli is a photographer and the founder of Further Photo Expeditions. The opinions expressed in this article are solely those of the author. You can find more of Marulli’s work on her Facebook and Instagram. This article was also published here.