Developing ECN-2 Motion Picture Film at Home

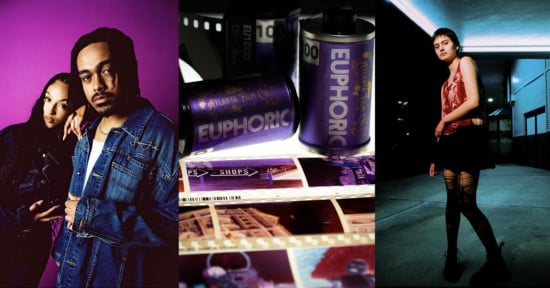
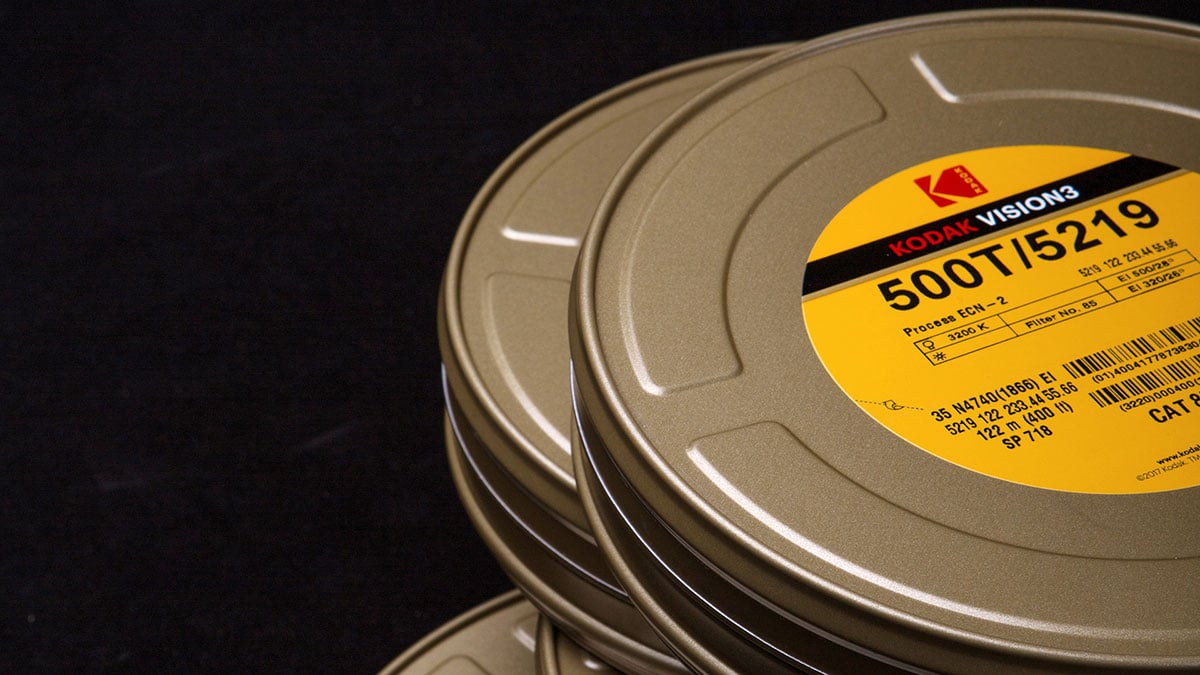
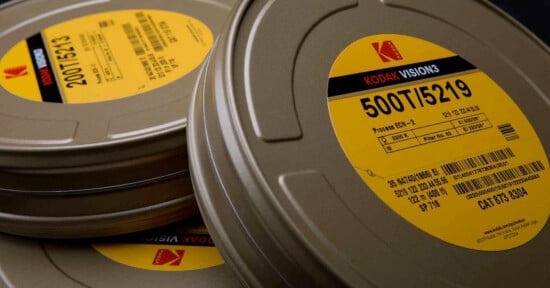
If you’re a film geek like me, these numbers should look familiar, 5203, 5207, 5217, and 5219. These are the film stocks Kodak Motion Picture offers to film directors and cinematographers. Since 2014, Quentin Tarantino, Martin Scorcese, and J.J. Abrams partnered with former Kodak CEO Jeff Clarke, to spearhead an effort in protecting the use of celluloid in the motion picture industry.
Since this effort, these stocks had gained significant popularity in the film stills community. The stills community is hungry to shooting film stocks often shot by Hollywood big shots like Christopher Nolan. However, it presented some issues which made it difficult to penetrate that market.
Now a new ECN-2 kit has hit the market, allowing photographers to develop motion picture film at home. QWD Lab reached out to Studio C-41 to beta test a 1L ECN-2 kit for home development.
Table of Contents
- Learning about ECN-2
- Video Review
- The Remjet Layer
- Mixing QWD Lab ECN-2 Chemistry
- Development Workflow
- Results!
- Final Thoughts
Learning about ECN-2
We had the privilege to interview QWD Lab and learn a little about this new kit. If you’re interested in learning the history of ECN-2, how to scan it, etc. You can do that here:
Video Review
The Remjet Layer
Kodak Motion Picture film, while it is a color negative film, is not intended to be processed in the C-41 color negative development process. These motion picture stocks use a chemistry process called ECN-2. While the processes may be similar, the process includes what is called a prebath. This prebath step removes the adhesive holding a layer of black carbon off the backing of the film called the remjet layer.
The remjet layer is on the back of this film for multiple reasons. The first is that it acts as a layer that significantly dampens halation (light passing through the film and bouncing back into the emulsion). Secondly, the remjet layer displaces static build-up. In the motion picture industry, film pulls through a camera at 24 frames per second (or more). This rapid movement through the camera can build up static. When static discharges on film, it creates a spark that shows up on your film.
While this may give a neat artistic look, it is something cinematographers want to avoid.

To remove this layer is rather pesky. The C-41 process does not have a step to remove a remjet layer. For DIY users, eliminating the remjet required a mixture of washing soda and baking soda. This alkaline step breaks up the adhesive holding the remjet to the back of the film and ultimately removing it during the rinse phase before developing.
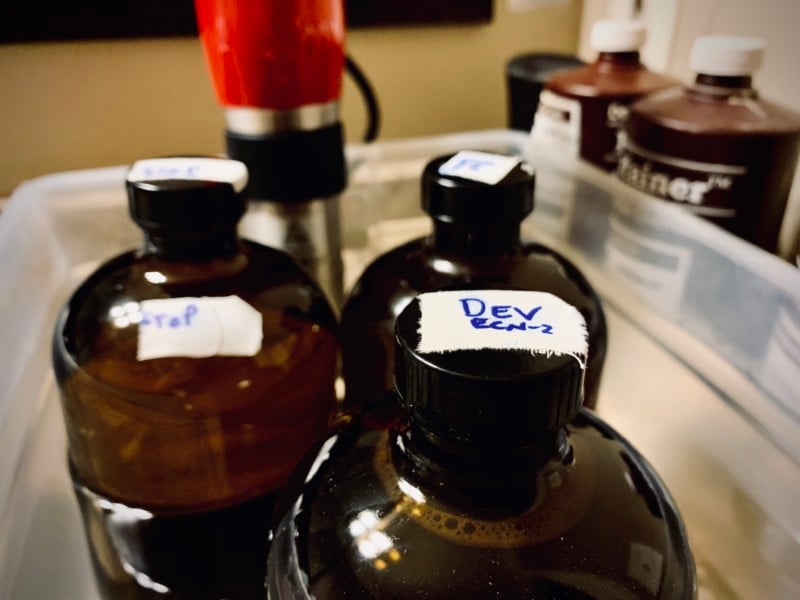
Mixing QWD Lab ECN-2 Chemistry
You will need at least five 1L bottles for ECN-2 Processing (Prebath, Developer, Stop, Bleach, Fix). The directions are very straight forward. Heat 700mL of water to 100°F then mix the powder/liquid into their bottles. Then add additional water to top each bottle off to 100mL (1L).
One thing to look out for in this current kit; the mixture for the stop bath is NOT included. You will need to mix your mixture of white distilled vinegar and water. QWD Lab said this step is required as the acidity in the vinegar is needed to neutralize the development step.
Development Workflow
The ECN-2 development process has multiple steps, and it can seem overwhelming when you realize how many steps are involved. We’ve been spoiled by newer home kits that have removed/combined steps to allow faster processing. However, this ECN-2 kit by QWD Lab does not do that, which I can fully appreciate.
This chemistry breaks the bleach and fix steps apart, allowing the ability to do a bleach bypass. This results in a low saturation, high contrast image (Think ‘Saving Private Ryan’)
The ECN-2 consists of the following steps:
- Remjet Prebath (80°F – 10 Seconds – No agitation)
Rinse to clear out the remjet until it is cleared - Developer (106°F – 3min, 2-inversions every 15 secs)
- Stop (80°F – 100°F – Continuous Inversions for 30 Secs.)
Rinse - Bleach (80°F – 100°F, 3min, 2-inversions every 15 secs)
Rinse until clear - Fix (80°F – 100°F, 2min, 2-inversions every 15 secs)
Final Wash
Final Remjet Removal (Gently rub off remjet in bucket of water with PhotoFlo).
The first thing I immediately noticed is the developer temperature is above the ranges for all other steps. This adds a level of complexity to merely adding the chemistry into a single bath. So I had to think about my approach to developing with this chemistry. This was my approach:
- Place all chemistry bottles (except the prebath) into a water bath heating to 100°F with a sous vide.
- When the bath reaches temperature, place the prebath bottle into the heated bath. Then, with a separate thermometer, measure the temperature inside the bottle until it reaches 80°F. Then, pour the prebath into the tank and follow step 1 above.
- As you’re rinsing out the remjet, I pour the developer into a 1L Pyrex measuring cup. Using the sous vide to heat the bath, I rinse it to wash away any contaminants. Then, I heat the developer to 106°F with the sous vide directly and pour it into the tank. Rinse the sous vide again and place it back into the bath. Don’t forget to bring the temperature back down to 100°F!
- Now that all the chemistry is at the same temperature ranges, process as you would typically; pouring from the bottle to the tank and then back.
This has worked well for me. I’d love to hear how you develop this kit!
Results!
Okay! Time for the grand finale; the results! I purchased several rolls of 65mm 5207 Vision3 250D that were spliced down to 61.5mm and then spooled to fit 120 medium format cameras. You can easily find this on eBay. However, thanks to COVID-19, shipping from China has been very limited. If you’re lucky enough to get your hands on a short end of 65mm and wish to spool your own, Emulsive has a fantastic write up on how to do this
For you 35mm film shooters, you can purchase pre-rolled 50D, 200T, 250D, or 500T at Freestyle Photo or the Film Photography Project.


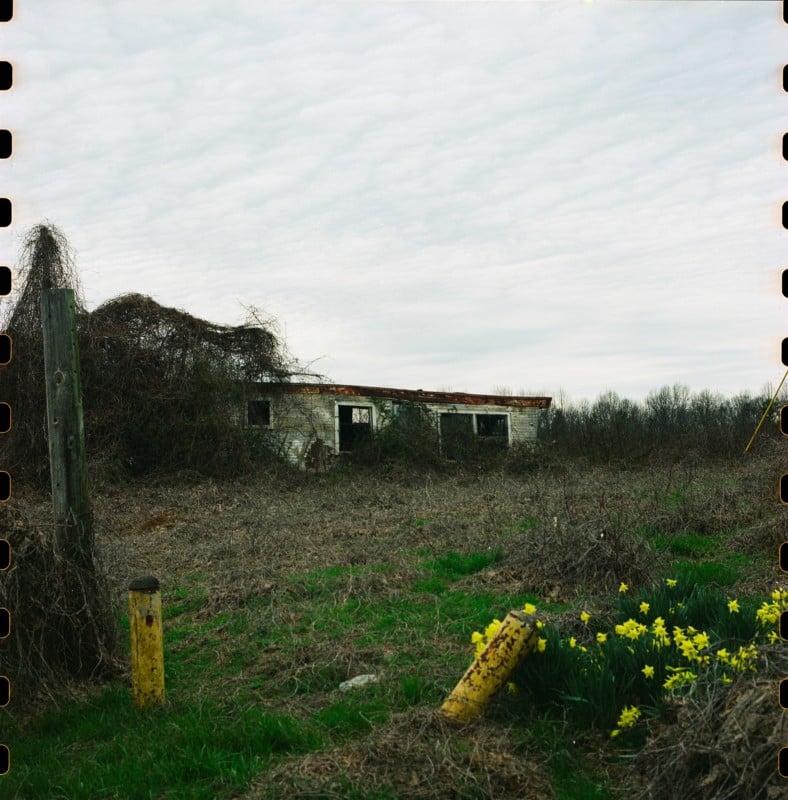


Shot primarily with my Hasselblad 500CM, I ran those rolls through as my test roll. Interestingly, one of the images came out smudged. This is because I didn’t get all of the remjet off the back of the film base. I left it in this set just to show what it would look like as a result.
However, I can gently wipe it off with a KimTech pad. If it’s still pretty stubborn, it is entirely safe to take it back to a bucket of water with PhotoFlo, soak it for a few minutes, then gently wipe it off. Then hang it back up to dry—the last image of the snowstorm (shot on the Pentax 67) we had earlier this year. I was pleasantly happy with the result. I did not see any color shifts in this scan and gave me a very pleasing white haze as it was near white-out conditions.


I also gave a roll of 250D to my friend Kevin Terrell, and he went around Indiana with his Mamiya RZ Pro. He was brave enough to let me develop it, fully knowing that I may mess this up. I’m so happy the results were to his liking!
Final Thoughts
I enjoyed processing ECN-2. I will admit it was a little intimidating when I saw how many steps it would take to process; however, I have to hand it QWD Lab for making this a straightforward process. I appreciate the simplicity of the instructions to measure all water to 700mL and then top it off to 1L. This really made the mixing process super easy and super fast.
The stop developer. If you don’t keep a close eye on the instructions, you may have missed how the heck do you make the stop bath. That is because you currently have to purchase that yourself. Still, with 700mL of water, you will have to provide your own distilled white vinegar. Mix in 300mL, and you have a stop bath! That’s it.
I do have to wonder, though. I have seen dehydrated distilled vinegar, and I wonder if QWD Lab could consider adding that into the kit. When I was ready to start mixing, I didn’t realize I needed the vinegar. Lucky me, I didn’t have any readily available in the pantry, so I had to go out and purchase a bottle. Not a big deal, but when you have everything out and ready to go, the last thing you want to do is run out and buy a bottle.
The next item is the temperature differences from the prebath to the developer to the ranged stop, bleach, and fix. The only slight annoyance is having to stage my prebath and my developers to their temps. While I was able to break it down easily with a sous vide, I wish I could still process them all within the same temperature. It would be nice to get everything at 100°F and just process. However, I do appreciate that the only critical step in this entire process is the developer. After that, you’re pretty much downhill from that point on.
I am excited to see this kit come to market. I have spoken to many other film photographers hungry to shoot 250D. However, many stray away from it due to the concerns of the remjet.
Some would say, “Why don’t you just go ahead and process it in C-41? It looks the same anyway.” Well, you can. And I’m not saying you shouldn’t. However, there is a reason why these film stocks look amazing and why top Hollywood directors prefer to shoot it on film. The range and tonality ECN-2 offers is arguably better than C-41. It has a fantastic look when used in the chemistry it was engineered to be processed in. While C-41 is chemically different than ECN-2, it does shift colors slightly and adds contrast to a motion picture film processed in C-41. The look is subjective.
Now processing for the first time in ECN-2, I’m left with one question. Why the heck is this not available for stills!?!?