3 Often-Overlooked Tips for Perfect In-Camera Exposures
There is a lot to dive into when it comes to perfecting and understanding exposure. In this video and article (part one of a two-part series), we’ll be covering important in-camera functionalities such as using the Highlight Alert, your Histogram, how to set up Display Brightness, as well as the importance of shooting a flat Picture Style to get the right information.
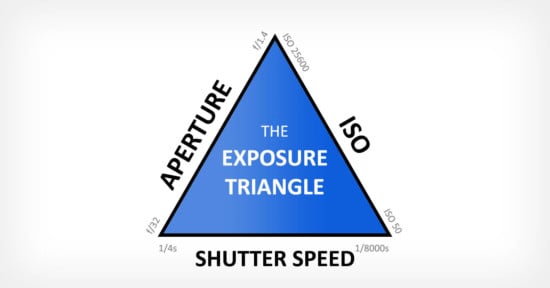
The Exposure Triangle: ISO, Aperture, and Shutter Speed
One of the first things beginner photographers learn about is the relationship between ISO, aperture and shutter speed. Known as the “exposure triangle,” this is the basis of the photography world, as addition and subtraction are in the math realm. Here is a short summary of how each component affects your image:
ISO: the sensitivity of a film, or the base sensitivity (and gain) of a digital camera sensor.
Aperture: the opening of a lens used to control the amount of light necessary to expose the sensor/film; in addition, the aperture is used creatively to control the compositional use of depth of field.
Shutter Speed: the length of time of an exposure, usually measured in fractions of a second and sometimes in whole seconds.
Exposure has both technical and creative elements; in fact, using exposure creatively is a key part of what makes good, artistic photographs. Here is a video that explains the Exposure Triangle and how to use ISO, aperture and shutter speed both technically and creatively in just 90 seconds:
Whether you are shooting Sony, Canon, Nikon, Fuji, or literally any other brand, these tips are meant to be applied universally across the camera market. So take out your manual (dust it off) or Google where to locate these next steps/functions on your camera to follow along.
Let’s dive into those 3 tips that will help you achieve perfect exposures every time:
1. Manually Select LCD Brightness Setting
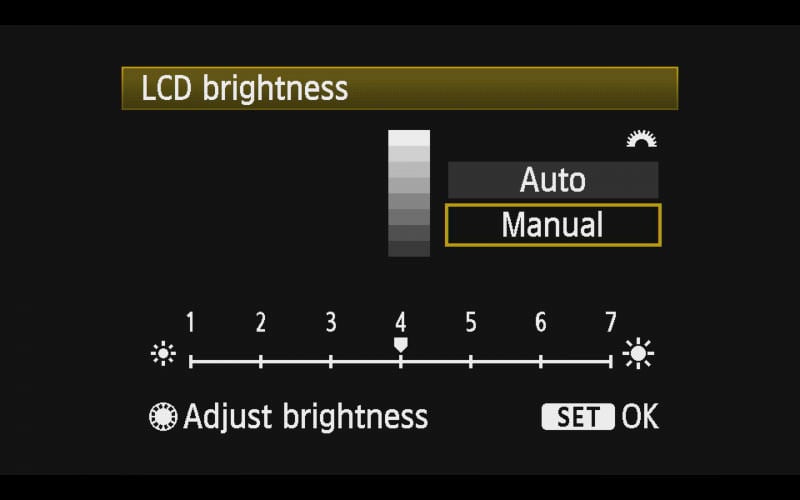
Locate your Camera LCD Brightness setting in your menu. Most cameras are set to ‘Auto’ LCD brightness to adapt to the ambient light around you. What ends up happening is that as we go from indoor to outdoor scenes we rely more on how the image looks on the LCD screen as a depiction of our camera exposure which in turn can make you over or underexpose your photo.
Setting the brightness manually gives you a more reliable way to judge what you see. If you 100% trust yourself to remember to change it between different shooting scenarios, you can manually adjust it so that you know exactly how your image is meant to look and the LCD is optimized for different ambient light levels, but for most of us, selecting a brighter setting and sticking with that throughout your shoot.
2. Turn On Highlight Alert

Locate your Highlight Alert function in your camera’s menu system. Highlight alerts are a flashing overlay that can be enabled to alert you when you’ve blown-out highlights and lost that information. This means that if you take a photograph with portions of it so bright that no detail is recorded at all, the portions with the missing detail will flash on the screen.
With highlight alerts, it’s important to recall that what we are looking at is, in fact, a JPEG preview, so if you’re shooting RAW and only a tiny bit of image flashes, you will probably not actually lose that data when you open the image to post-process. But, if a large portion of the image is flashing, watch out, because your camera is alerting you that you may not be able to recover most, or any, of that data.
Sometimes it’s ok to lose highlights. For example, if you’re shooting a backlit natural light portrait, often some of the backgrounds will blow out, but it fits the aesthetic and what is lost is not important to the final image. If you’re shooting a bride and her white gown is flashing at you on the back of your camera however, you’re in trouble and need to dial back your exposure ASAP or face a very, very angry bride when she sees her wedding photos and her multi-thousand dollar gown is reduced to a wash of pure white.
3. Adjust Picture Style to Flat Profile
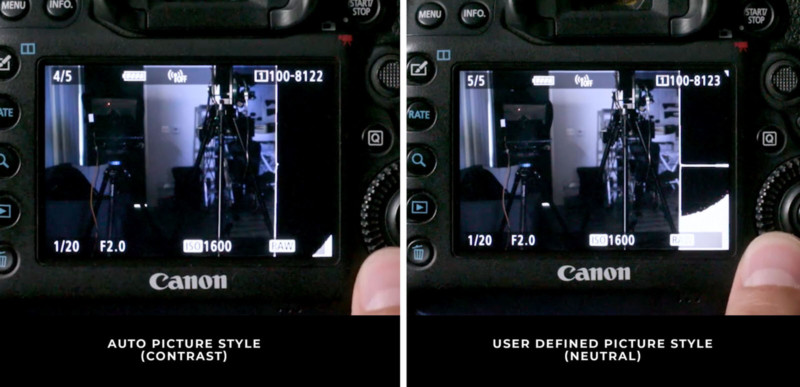
Locate your Picture Style settings in your camera’s menu system. Your camera will likely default to the ‘Auto’ option and we don’t want that, in fact, none of these picture styles are ideal so we are going to make our own User Setting.
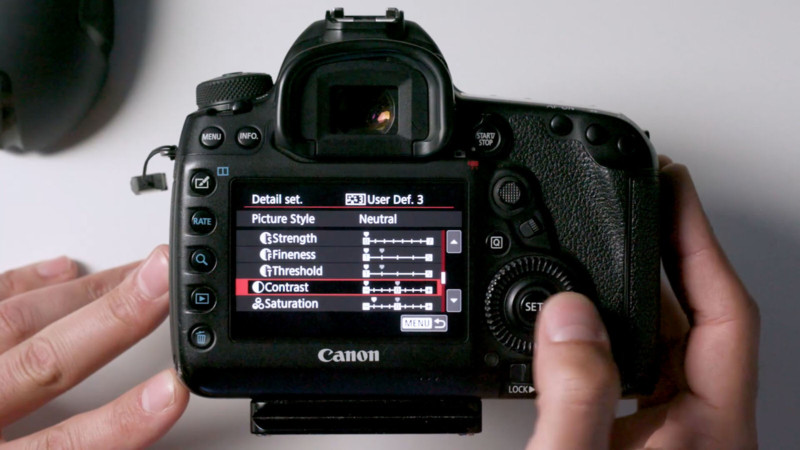
You want to make this custom picture style as flat and neutral as possible. I’ve turned the Contrast, Sharpness, and Saturation all the way down to keep the image looking as flat as possible to retain all the information in your image. Your images will look a bit more flat and less contrasted in-camera but at the end of the day, you’ll get better information when you’re exposing.
In the upcoming part two of this series, we will dive into comparing what we see in-camera vs. what we see on the computer and discuss Dynamic Range, teaching you how to shoot by exposing to the left vs. exposing to the right, to maximize quality regardless of the camera that you’re using.
P.S. We discuss some of these concepts in depth over at SLR Lounge in our Photography 101 workshop. If you’re interested in more of our premium photography education, be sure to check out SLR Lounge Workshops to gain access to over 30+ courses on everything photography.