Think Differently in the World of Macro Photography
Macro photographers learn over time that this genre of photography can break rules you’d always follow in other areas like landscape or portrait photography. It’s a different world to explore, and taking a different approach is an asset when mixing science with art.
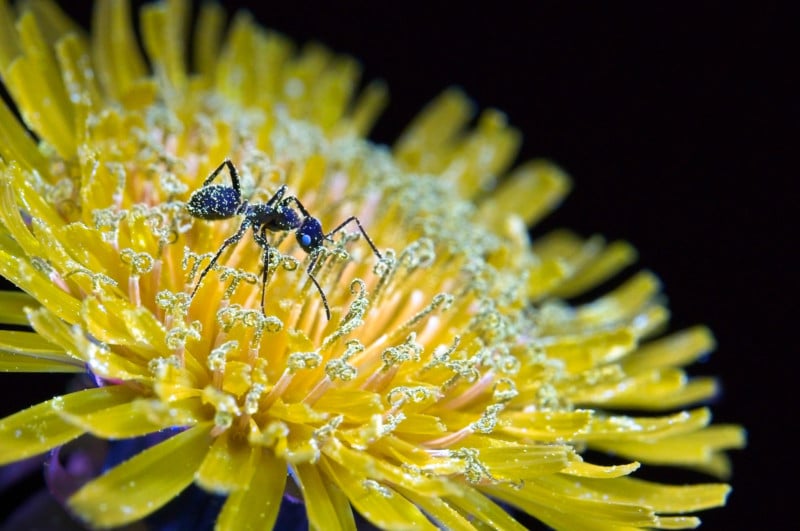
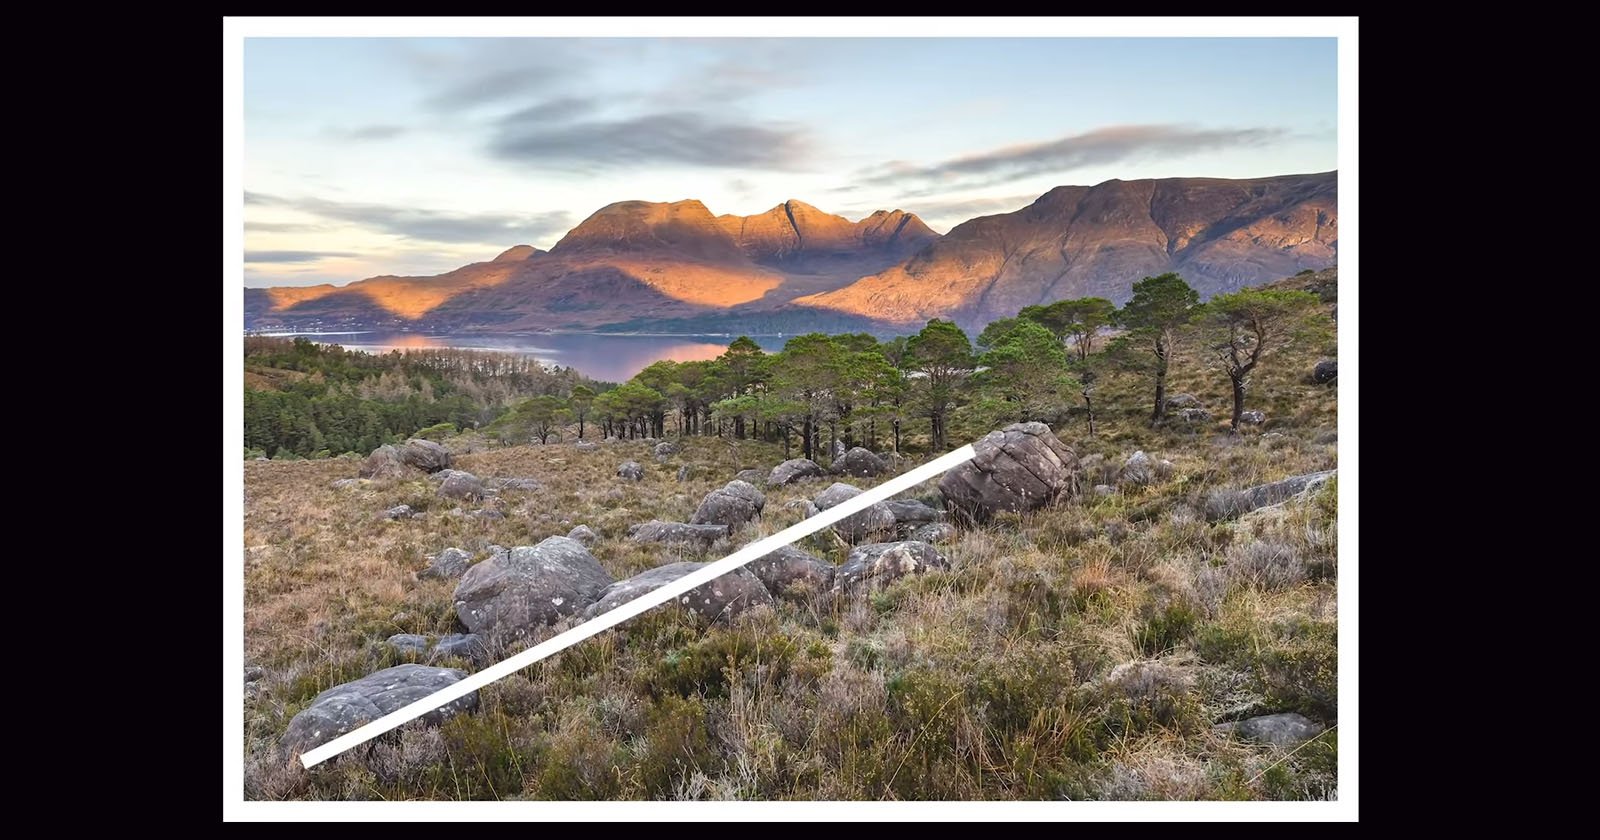
As a landscape photographer, having a horizon line two degrees off is an annoyance, but for small-scale subjects where no horizon exists, it can be creatively freeing to rotate the camera arbitrarily to allow for the lines, shapes, and colors of the composition fit together better.
A flower stem or a blade of grass can be put to a diagonal line for stronger visual appeal. It’s completely believable for most insects to be seen at angles or completely upside down, as if gravity plays a far less important role in their lives.
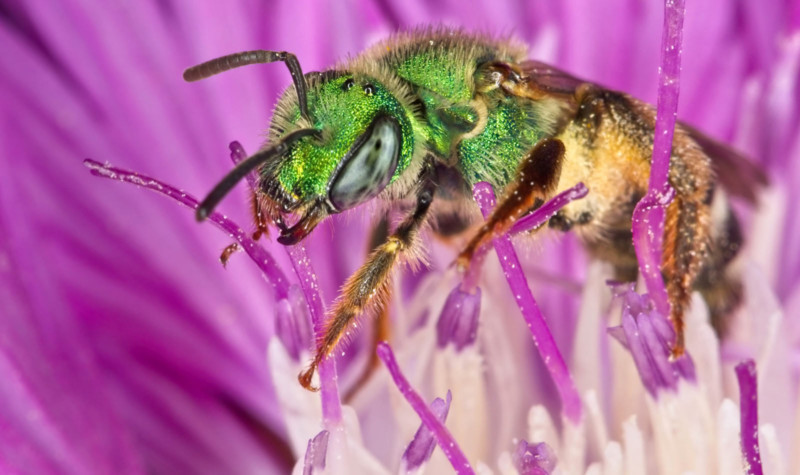
I constantly have to make a mental note to play with odd angles as it doesn’t become instinctual. Something that easily becomes second nature with a bit of practice, however, is focusing by physically moving the camera. Autofocus can be hit-or-miss with many macro subjects, especially when you are aiming for maximum magnification – if your subject is a hair too close to the camera, it might never end up in focus.
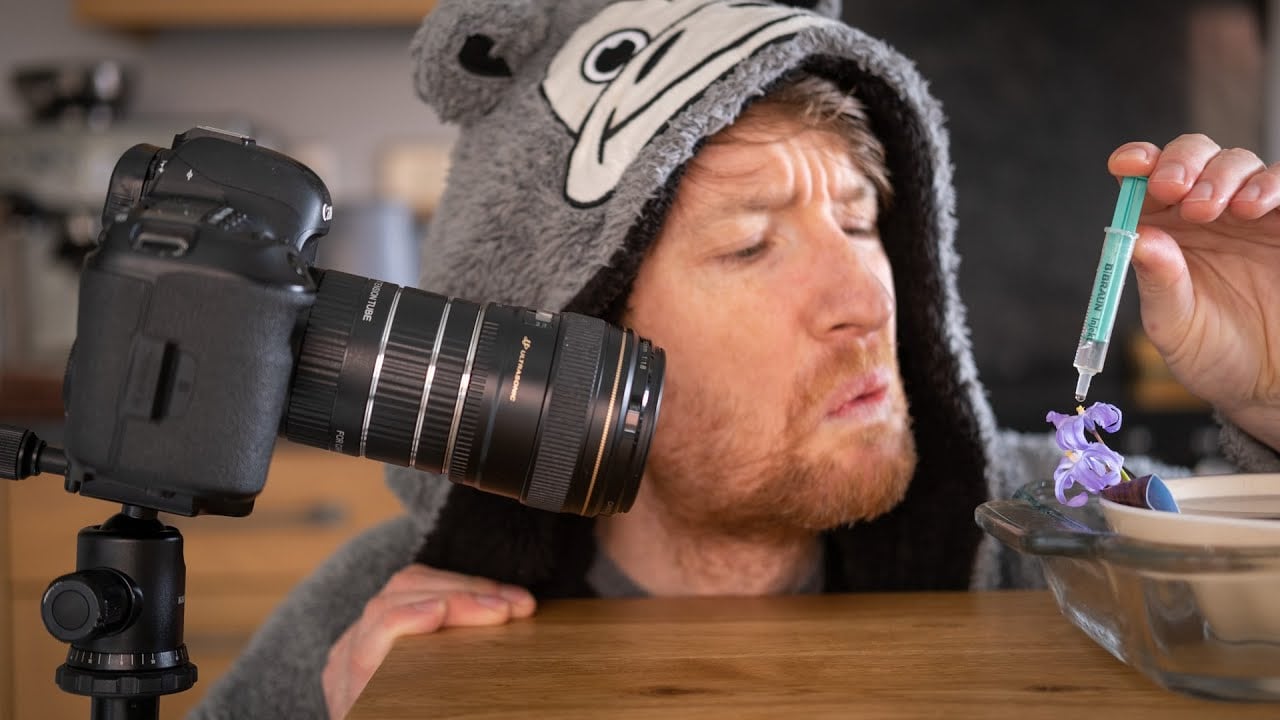
Manual focus can work, but it’s often easier to physically move the camera forward and backward to make the subject pass through the focal plane. This might sound intimidating at first, or at least a foreign concept. It’s easier to focus this way on frolicking bees!
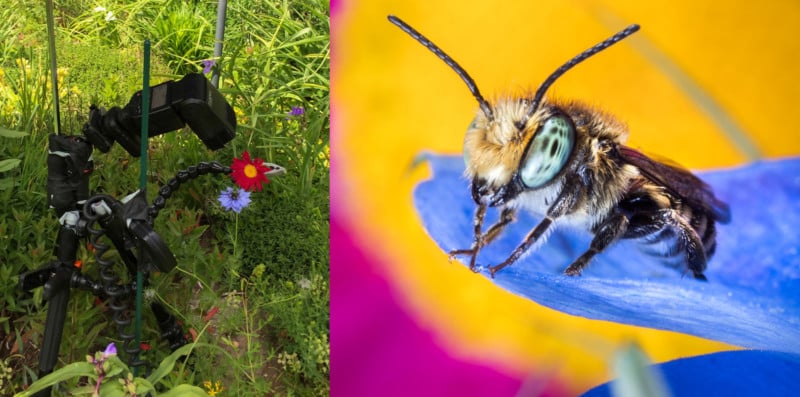
This is how focusing rails work, akin to adjusting a microscope: the optics stay the same, the distance between lens and subject becomes the variable. This technique is useful handheld as well as on a tripod with a focus rail, and I tend to shoot most of my images handheld – it provides a level of creative freedom where moving your forward and backward while simultaneously rotating it around your subject for the best composition allows for far more creative options than you would have “locked down”.
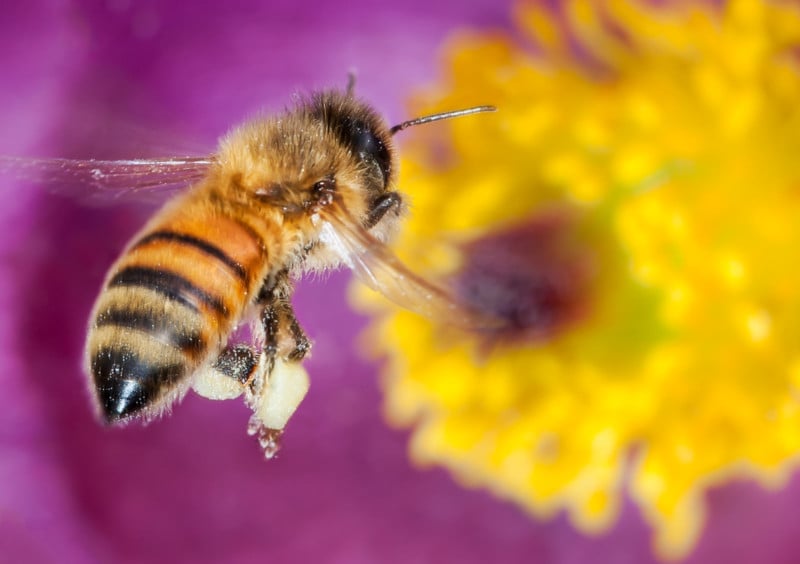
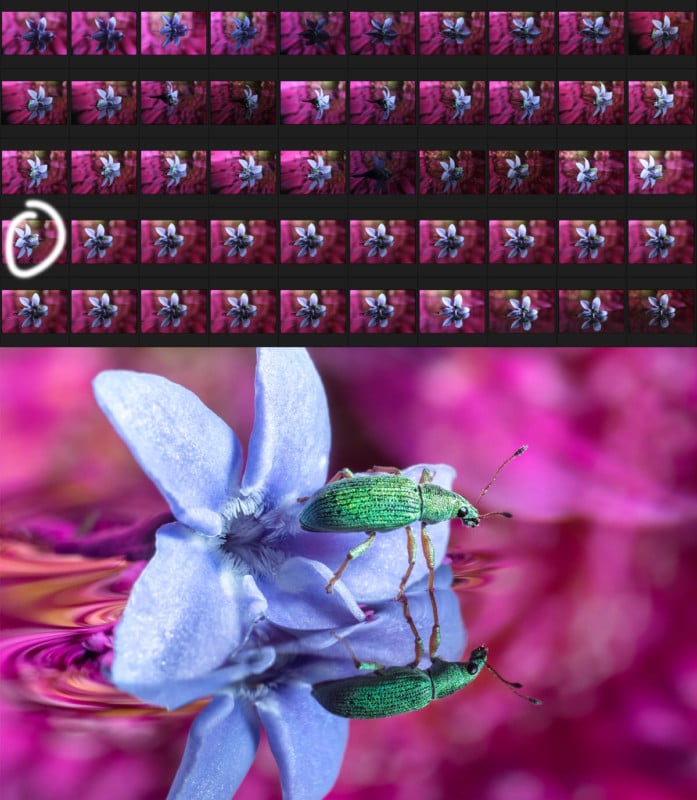
Using this technique, you set the focus on the lens based on the size of your subject (you’re effectively using it as a magnification ring) and then let the focal plane pass through your subject with physical movement. With the below example of a bee, everything is staged but the “actor” is an element you need to be flexible around.
Using this technique, it’s common to shoot a high-speed burst of images as you approach proper focus, and pass through the proper focus hoping that you nail exactly the focus you were after – applicable to insects and other moving subjects.
Adding an extra battery pack to your flash will help keep things illuminated – the Bolt CBP is a great inexpensive option. You’re hedging your bets by taking images likely to be out of focus in order to hit exactly the right focus point on a chaotic subject.
It’s not uncommon to take 100 images to end up with one photo where all the variables are aligned. You’re not using the images as a “spray and pray” concept, but rather as an attempt to overcome pandemonium.
Why can’t you overcome such a shallow depth of field by other means? If your aperture could go infinitely small, why couldn’t you just shoot at f/96 to get greater depth? Well, light doesn’t play nicely in such scenarios due to diffraction. What is diffraction? Essentially, when light passes through an opening (your aperture) it bends – just as water waves behave in ripple tank experiments. The smaller the opening, the more the light will bend off-course, eventually spilling onto neighboring photosites on the sensor. This coloring outside the lines problem can be easily seen when you push to these extremes.
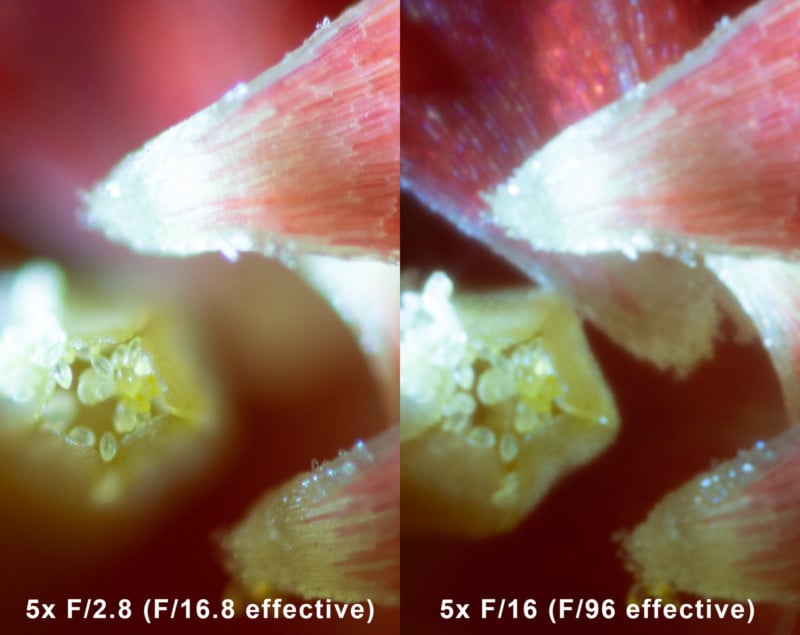
One great example is the Canon MP-E 65mm f/2.8 1x-5x lens set to 5x magnification and f/16. The manual for this lens details a chart (page 8) that illustrates how your “dialed-in” aperture needs to be translated to your “effective” aperture since the lens magnification has an impact on this setting. You’ll actually be shooting at f/96 given the above variables, and diffraction makes a muddy mess out of your image.
There are a number of diffraction calculators online to see if you are limiting your resolving power, but remember this: increasing your depth of field becomes problematic the closer you are to your subject, as your aperture effectively becomes smaller with higher magnification.

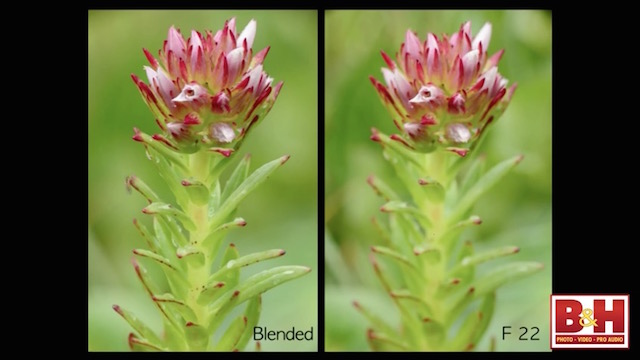
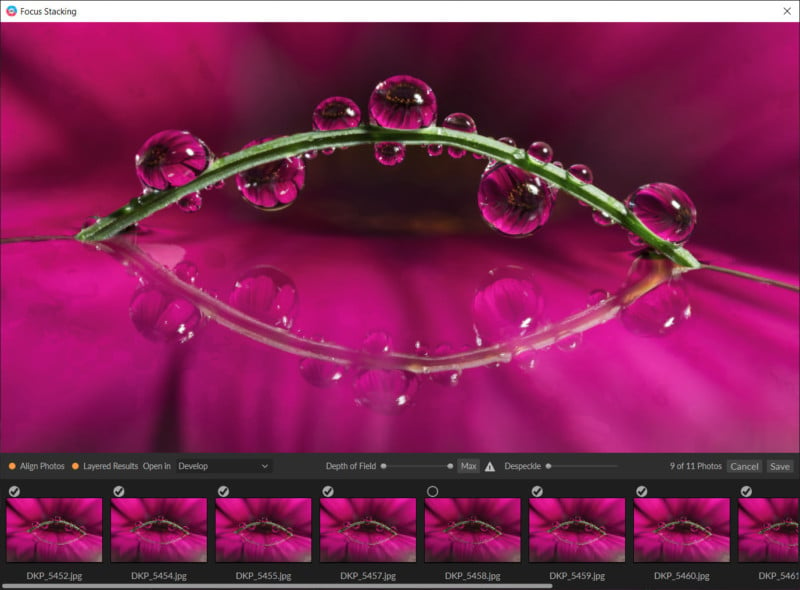
If we cannot overcome the physics of light, we can at least work around it: focus stacking. By combining narrow slices of focus that slightly overlap, we can create a composite image with greater depth in post-processing. Remember those hundreds of images you shot earlier looking for perfect focus? If two or more of them are very close together, you’ve got a decent chance of combining them for even greater depth.
Some subjects such as water droplets might require 2-15 images, my work with smaller subjects such as snowflakes will average 40 images to get everything tack sharp. Remember that you don’t have to get everything in focus, but you have tools available to help you get the most of your efforts in post-processing. You don’t even need dedicated software to handle this: Photoshop works great and ON1 Photo RAW recently added focus stacking to their RAW processing workflow with a simple and easy to use interface.
As always, new technology allows for more options to overcome certain limitations. A fun example is using the sensor-shifting “high resolution” mode found on many mirrorless cameras. If I only need a 20MP image but I can shoot a 187MP image with the Lumix S1R, I can be farther away from my subject. This will inherently allow for a greater depth of field, and I can crop in heavily and still have great results. Only five images were needed for the below image, which would have otherwise required closer to 15:

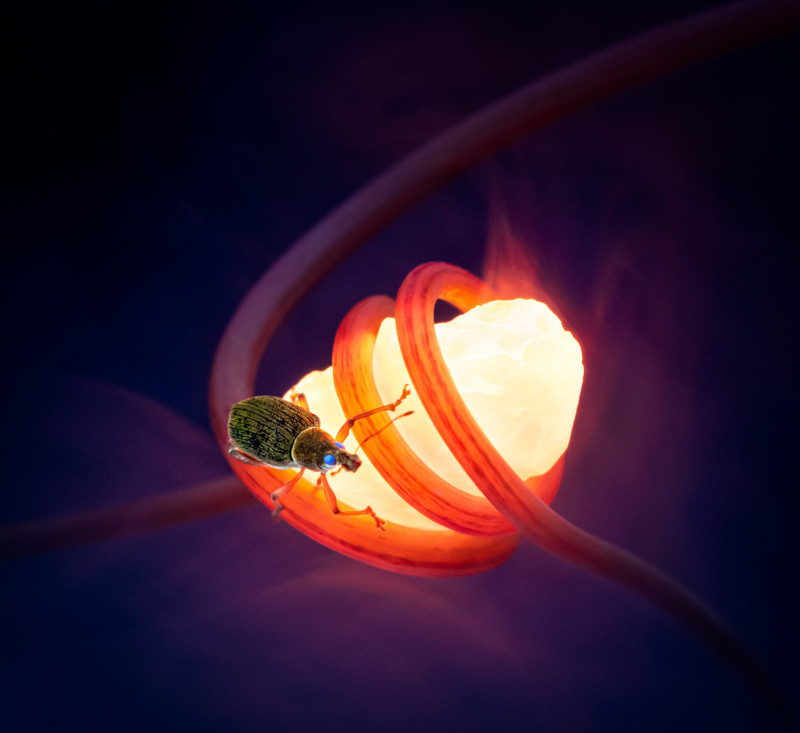
Getting lost in all the technical information is easy, so let’s bring this back around to the artistry of macro photography: storytelling. Few people would disagree that an image is weaker when it contains a narrative of some sort, and the possibilities of creating fantasy fables in the macro realm are endless.
Often times I’ll just wander around our gardens looking for a story – some insect interacting with its environment, the progression of the season from bloom to dead flower head, or even just looking up from the ground to see the world from the perspective of a flower. Ask yourself “what if?” and try to see the world from a new perspective before picking up your camera and you’ll find a story worth shooting.

Editor’s note: Want to learn more macro photography techniques and ideas? Don Komarechka is currently producing a 352pg hardcover book titled Macro Photography: The Universe at Our Feet that you can back on Kickstarter, due out before Christmas 2019.
About the author: Don Komarechka is a nature and macro photographer who specializes in snowflakes. He has published a book, Sky Crystals, which details the wonderful science of snow in addition to an exhaustive photographic tutorial from equipment through settings, techniques and post processing. His work on the subject has been featured in documentary films from CBC, BBC, and National Geographic as well as on limited edition Canadian currency. Komarechka hosts the podcast Photo Geek Weekly. You can also find more of his work on Facebook and Flickr.