How to Clean and Mod the Beam Splitter in a Rangefinder Camera
I recently collaborated with Chris from filmismorefun and made a video about how to clean the beam splitter in your rangefinder camera as well as how to improve the rangefinder patch too. This is an advanced tutorial with great results.
As you can see in the 3-minute video above, it’s a very easy procedure, and although we present the Yashica Electro 35 as an example in the tutorial, I already used the same process on my Canon Canonet QL19 with the same excellent results (some images are below). The beam splitter has a delicate coating on it, so it is important to use caution when cleaning it.
Here’s what I use for the cleaning process, in detail.
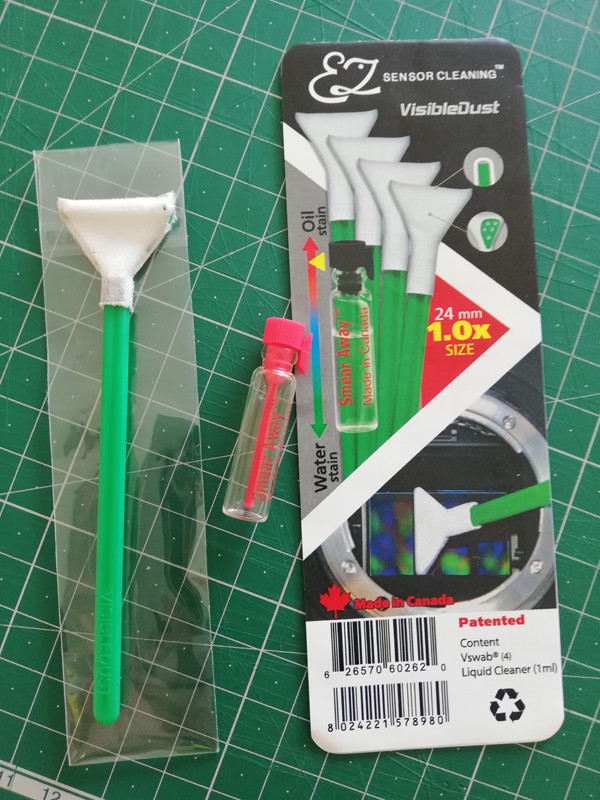
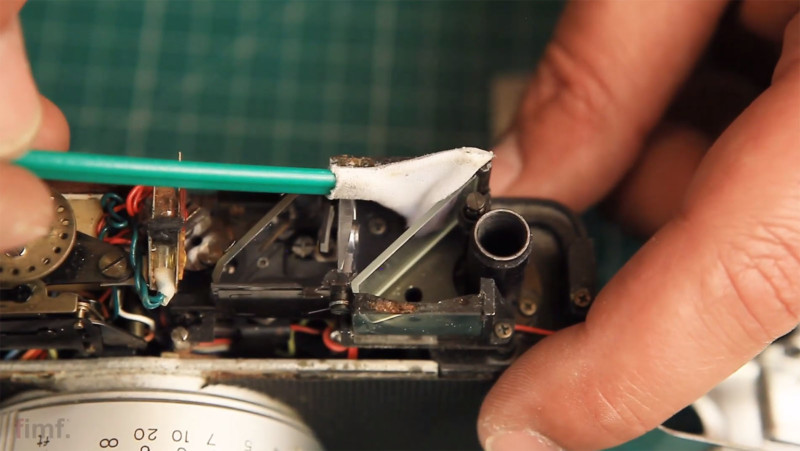
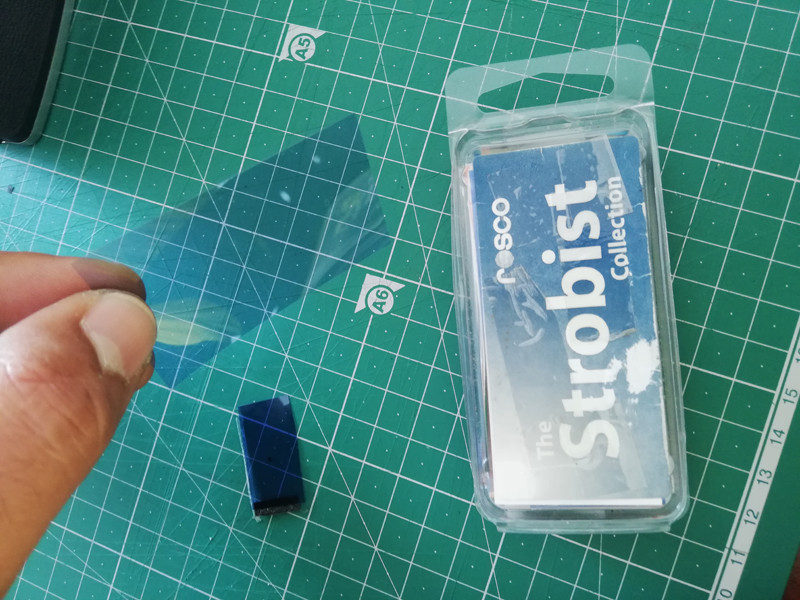
I use a 1/3 stop gel, but you can use a strong color gel, like 2/3 or 1 stop. It depends on how bad your focus patch is. And I use a blue gel because it increases contrast with my yellow patch. Take into account that if you use a very dark gel, the visibility gets a little reduced in the case of photos at night. It’s a matter of testing and finding the best of both worlds.
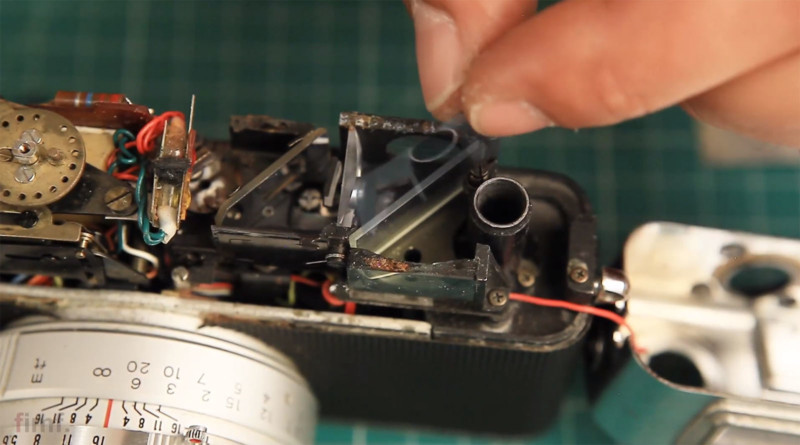
Here’s my Canonet undergoing the same process:
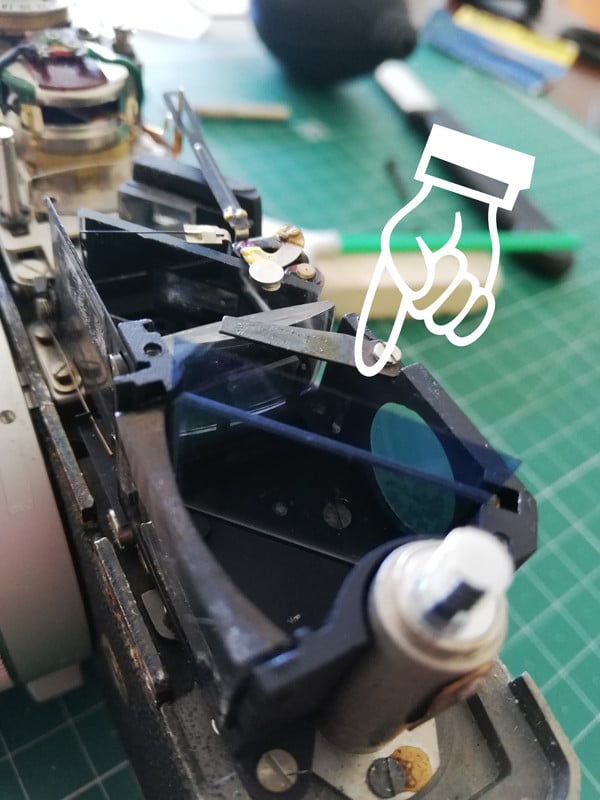
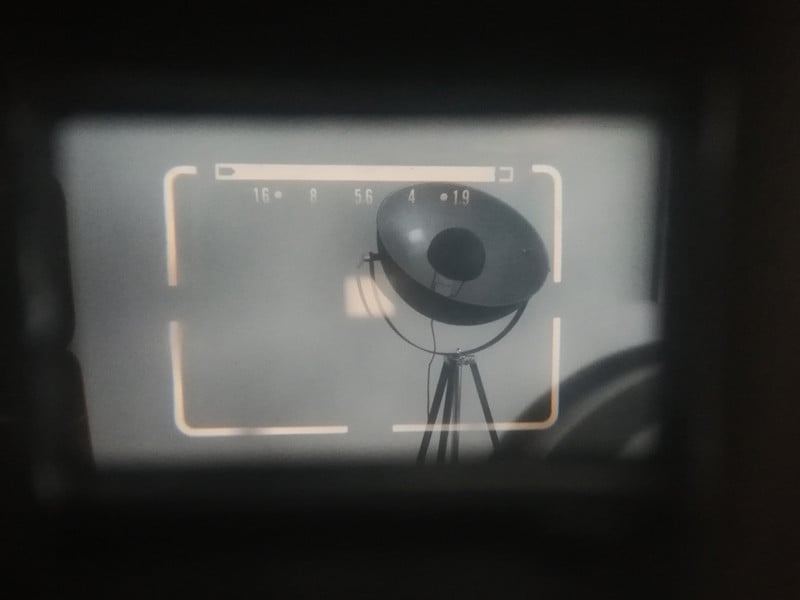
And here’s the final result showing my Canonet QL19 viewfinder after the cleaning and modification:
I hope you find this tutorial helpful.
About the author: Pedro Cardoso is the Lisbon, Portugal-based photographer behind filmlovephotography, a website for people who love analog photography. The opinions expressed in this article are solely those of the author. You can find more of his work and writing on his website and Instagram. This article was also published here.