A Closer Look at Lightroom’s New and Improved Profiles

With the release of Lightroom 7.3, the entire ecosystem (Lightroom CC, Lightroom Classic, the Lightroom Mobile Apps) receives access to the updated “Camera Profiles” (now just called “Profiles”). If you weren’t using profiles before, you probably should have been.
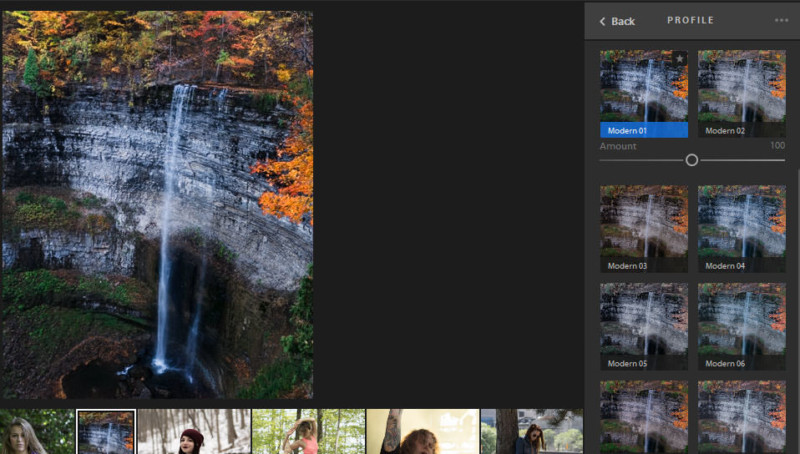
It’s important to note that unlike presets, Profiles have an ‘Amount’ slider. This is controlled by the profile creator, but by default allows you to scale the effect down to 0, or up to 200. The default value is 100/as designed.


Lightroom Classic has had access to Camera Matching profiles for quite some time, though not everyone used them. This ranges from “Camera Standard” to actual film emulations. This update enables Lightroom CC to benefit from these profiles as well.

Now let’s look at the profiles themselves. This isn’t a full and exhaustive list because I wanted the comparison images to not be entirely useless. I highly recommend updating Lightroom and taking a spin. The profile browser is extremely easy to use and even has preview on hover.

These are the new standard ‘Adobe’ profiles. You’ll see tried and true ‘Adobe Standard’ top center. This will be replaced by ‘Adobe Color’ (Colour!) on new imports. To me, it’s a much better starting point than Adobe Standard was. Adobe Monochrome exists but as you will see, there are many other BW Profiles to choose from. If you want a full description of all the new profiles, please check the Adobe announcement.


Moving beyond the basic profiles, we have several other styles of profiles. There are “Artistic”, “Vintage”, “Modern” and “BW”. Of course, people can create their own profiles as well using Adobe Camera Raw. Many of your favorite preset providers will likely start offering profiles.

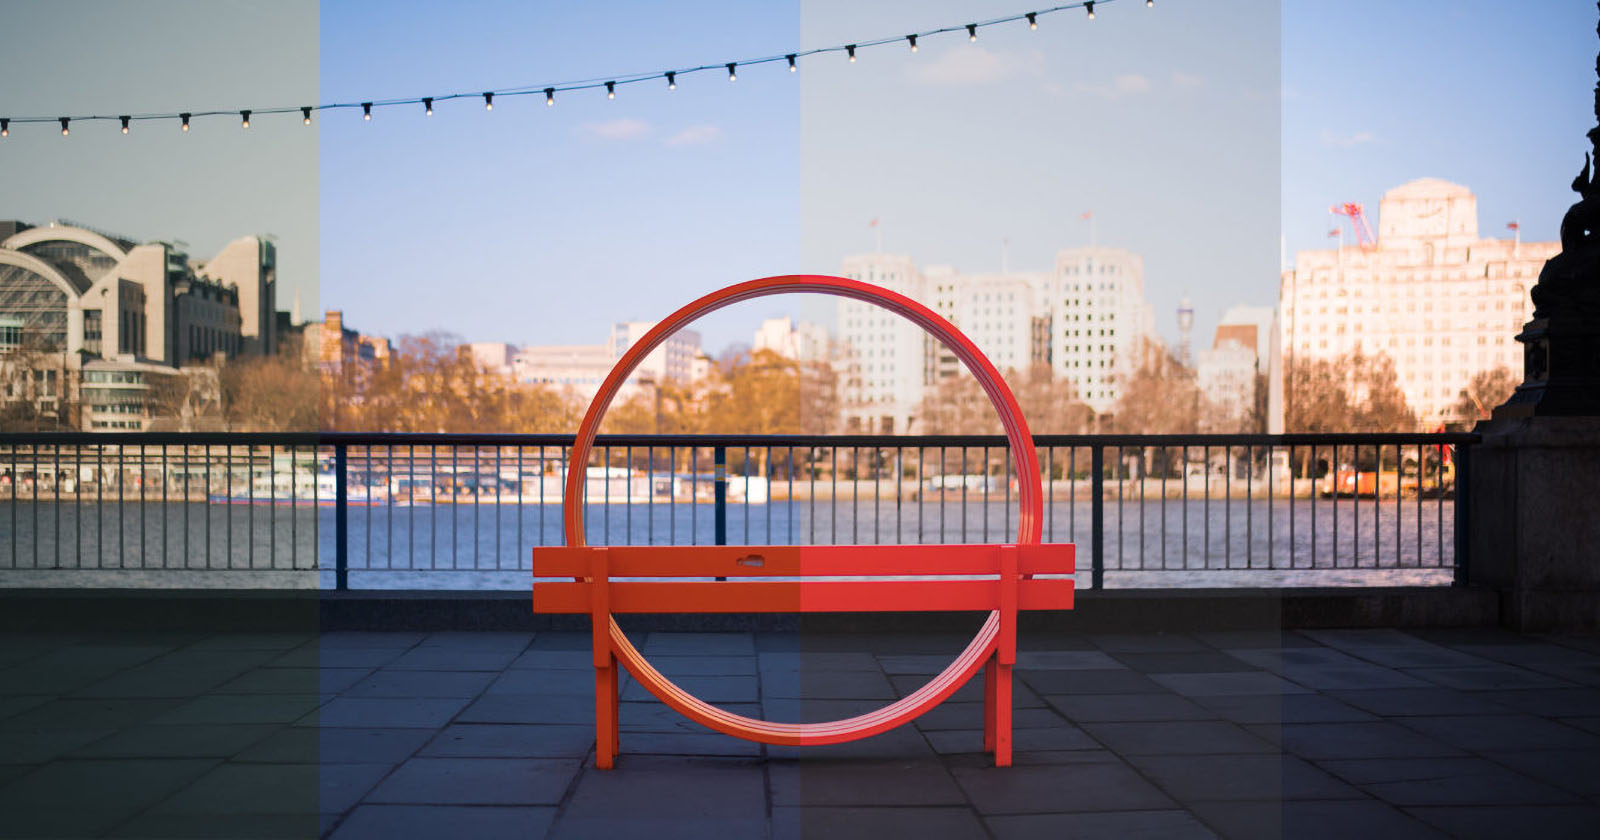
Here’s an example of the ‘Artistic’ profiles. For me this is where the lines begin to blur – you start to get a film-esque toning to some of them, but they’re not part of the “vintage” lineup – presumably because they’re not based on any particular film stock.

Vintage means film, right? Unfortunately, I’m not familiar enough with film emulation to let you know what these are based on. Vintage 07 and 08 probably look very familiar if you post your work on Instagram/Tumblr.


There are even different color filters available, but this image wasn’t a good candidate, so we will head back to the waterfall.

That’s all there is to it. I will leave it as an exercise for the reader to check out all the ‘Modern’ Profiles.