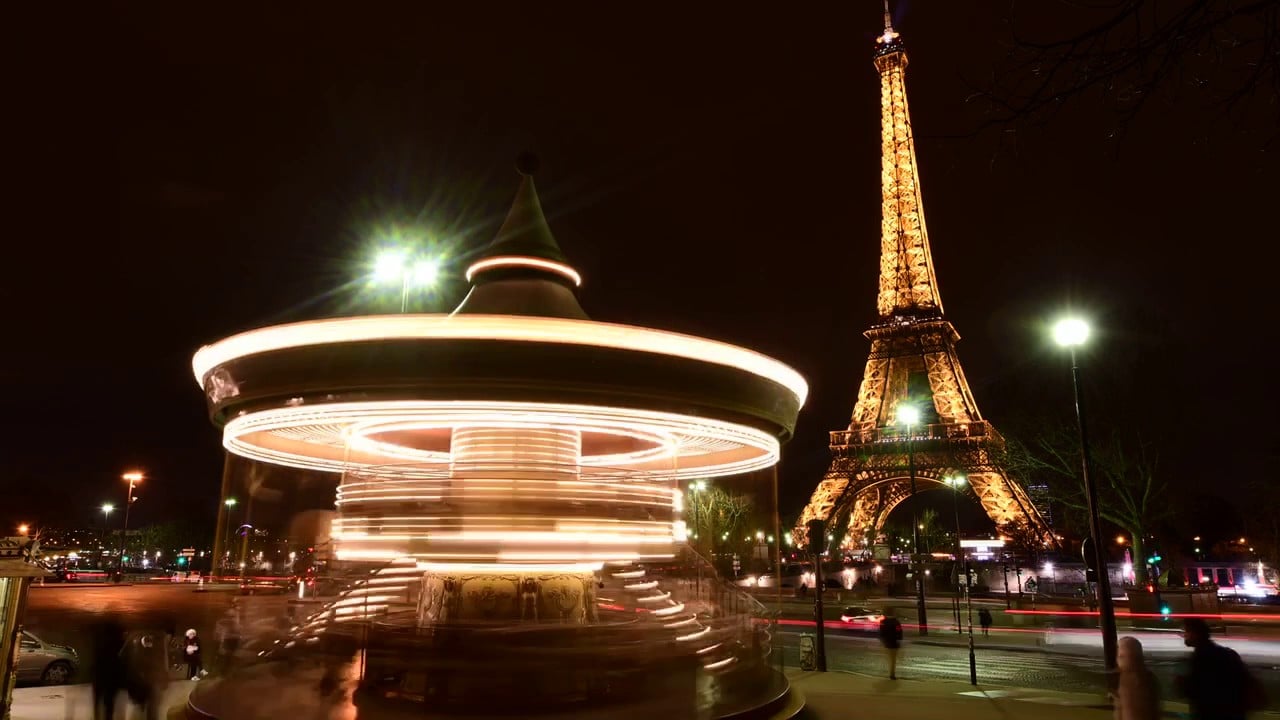
Shooting a Day-to-Night Timelapse the Cheap and Easy Way
Shooting a day-to-night time-lapse doesn’t have to be hard. In this tutorial, I’ll show you how to create one of these “holy grail” timelapses the easy way.
What You’ll Need to Shoot
- A camera (any camera — even a phone — will do)
- A tripod or mount
- A trigger/intervalometer (can be a hardware remote or controlled in camera via software)
What You’ll Need to Edit
- Adobe Lightroom
- Adobe Photoshop
Shooting the Photos
First, set up your camera in a secure spot and make sure it won’t move. Turn off Image Stabilization (both in camera or in lens) if you have it.
Create your composition and set up your exposure with all settings turned to Manual. You will be in control of the exposure, not the camera. White balance, ISO, shutter speed, aperture — you’re in control!
Start by overexposing slightly and let the sequence run until it is underexposed. Stop the shoot, create a new folder and repeat the process until fully dark.
Your interval will depend on where you are — 5 seconds will usually be a safe bet and is what I used.
The Post-Production
We’ll be using Adobe Lightroom and Adobe Photoshop to organize and compile/render video files from a series of JPEG images.
Dump all your footage on a hard drive, import the contents of the hard drive into Adobe Lightroom using the ‘Add’ method and rename your folders to reflect the content accurately and in a clear manner.
I like this naming structure: date-location-shot
Open Photoshop, hit File > Open and select the first photo of a JPEG sequence, make sure to import it as a sequence (hit option, select ‘image sequence’).
Adjust the scale of your layer if needed by transforming it to fill the canvas. You can add any grading you want on top of the layer.
Hit File > Export > Render video to create your video files. Once you have your video clips (five for me in this case) hit File > Script > ‘Load files into stack’ and select the video files.
Layer them sequentially with a bit of an overlap, in the overlap you are going to add Opacity keyframes and gradually fade into the layer below. You’re effectively making the top layer invisible over a second or two revealing what is underneath.
This can be a bit fiddly and annoying to do in Photoshop so if you have Premiere or After Effects, I recommend doing it in there.
Once the layers are lined up properly hit File > Export > Render video to create your final clip.
About the author: Matthew Vandeputte is a Belgian photographer living in Sydney, Australia. He’s a professional “time warper” who shoots timelapse and hyperlapse projects for brands and tourism boards. You can find more of his work on his website, Instagram, and YouTube.