Testing Sony’s New Pixel Shift Feature in the a7R III
![]()
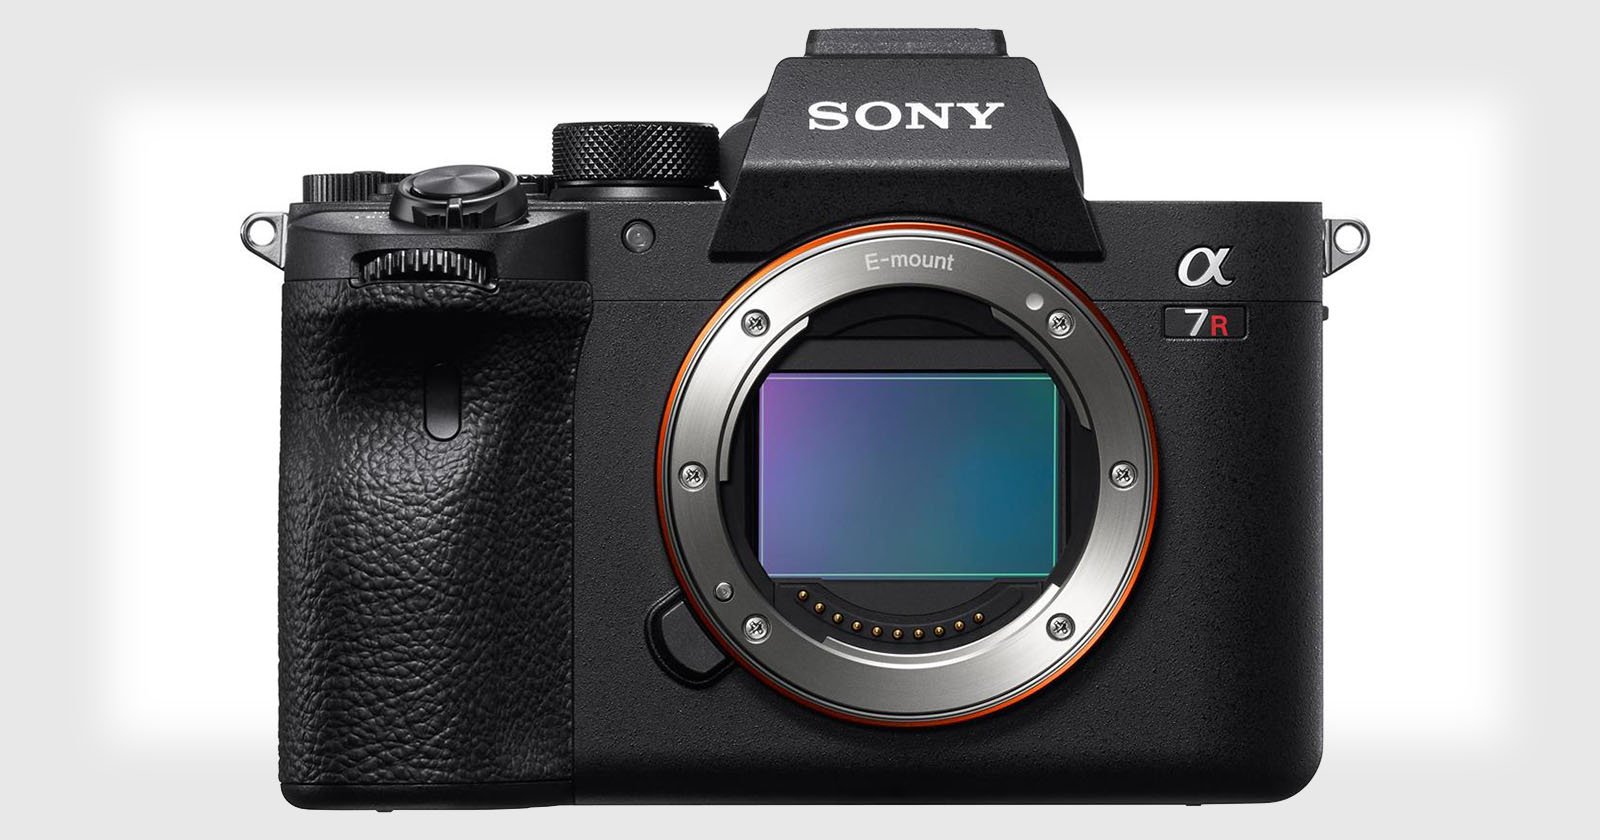
The new Sony a7R III has a new function called Pixel Shift. This function basically increases the resolution of your images by 4 times. In short: the camera takes 4 photos and shifts the sensor 1 pixel in between. By combining these images later (the camera itself doesn’t do this) you get an image that has 4 times the resolution of a normal raw image (4 x 42 megapixel).
So how exactly does this work? By shifting the sensor by 1 pixel in every direction the sensor captures the full RGB data for every pixel. This is explained in this Sony video:
Advantages of this function are the removal of aliasing and moire, increased color accuracy, and most of all a great increase in sharpness. Of course, I had to test this myself. For testing purposes, I took a still scene with some detailed objects in it.

Testing
I set up the Pixel Shift function on the C3 button of the camera so I could quickly turn it on/off. This could be useful in the field when I quickly want to activate the function. Upon pressing the button you can select the interval you want the pictures to be taken. This is by default set to 1 second, and you can’t set this lower, only longer. You would want a longer interval if you were working with flashes and need to wait for it to recharge, for example.
After you activate Pixel Shift, it’s a matter of pressing the shutter button and waiting for the camera to finish. All the shots are taken in Silent mode with the electronic shutter, which makes sure there are no vibrations — it is very crucial that there is no movement because the shift is only 1 pixel. It’s recommended that you use a remote or turn on the timer in camera before using this function. Because the camera is using the silent shutter, certain functions are not available. For example, you can’t go lower than 100 ISO and bracketing is unavailable (which is obvious).
When the camera is done you end up with 4 photos. Note that these are 4 uncompressed raw files, even if you set up your camera to shoot compressed raws.
Here’s a video of me shooting a still scene with the Pixel Shift function:
To combine the 4 images, use Sony’s new Imaging Edge Software that can be downloaded here.
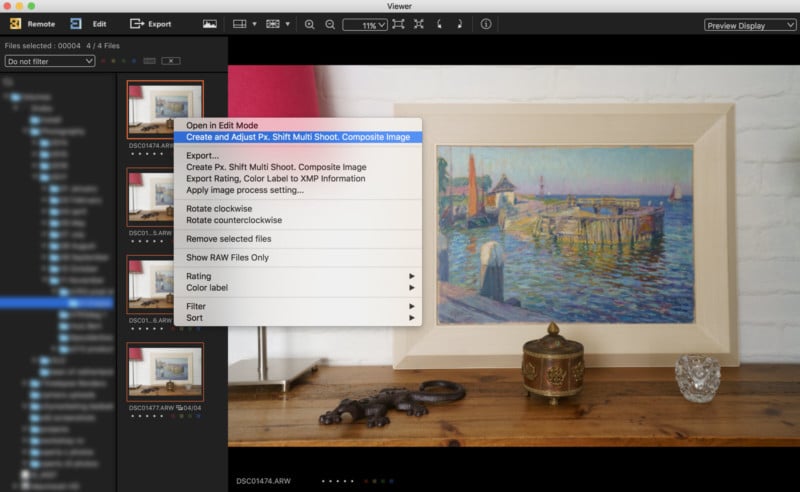
Open the Viewer software, select your images, right click and choose Create and Adjust Px, Shift Multi Shoot, and Composite Image. The software now combines the 4 images and creates a new file with the .ARQ extension. You can now export or edit this final file.
So how does the final file look? The detail increase when zoomed in is great. It really ‘pops’ and it has this 3D look. You can very easily notice the resolution increase. Here are 2 crop comparisons:


Here’s another crop comparison:
If you’re having trouble seeing the difference (there’s some sharpness applied on the images on this site), you can download the full-res photos here. I also included the full resolution JPEGS from both the shift result and without pixel shift. Note that no editing was done, not even lens correction profiles have been applied.
I also tried pixel shift with a cityscape and I have the following observations: it works as expected, and detail in the bricks is insane — way sharper than without pixel shift. However, there are downsides. I’m not sure how the Sony Imaging Edge software stacks the 4 shots together, but it does NOT work well with moving parts in between images. I tried combining several sequences of 4 images and they each came out with artifacts on moving parts.
![]()
An ancient gate close to my house which is perfect for trying the Pixel Shift function on. The bricks on this one create moire on some sensors. The bricks are super detailed and sharp with the pixel shifting function. However, the moving parts like water and clouds (these are also long exposures, short exposures are even worse) get artifacts when combining the images. Here’s an example of the artifacts:
I am very interested in the technical side of this as I want to know the algorithm that the software uses to combine the 4 images. I thought it would be a similar algorithm as the stacking functions in Photoshop (median and mean on smart objects) but this was totally not the case. I tried stacking the images with multiple stacking techniques and they each came out worse than the original. This is probably because of the slight pixel shift that works differently here. The Imaging Edge software is using a different algorithm.
I could still use this technique to get sharper results in certain parts of the image and blend them together with other images. This is a bit of a hassle though and I would only use it in some situations. My advice would be to not use the pixel shift function when you have moving parts in your image for now.
TL;DR
- The Pixel Shift function creates higher resolution images with better sharpness, color accuracy and less moire.
- The camera takes 4 shots with a minimum of 1-second interval. Therefore it can be tricky to shoot a scene with moving subjects. It is meant to use for still scenes.
- The camera shoots 4 uncompressed raws, even if you set up your camera to shoot in compressed raw.
- You have to manually combine the files with the Sony Imaging Edge software. The camera doesn’t do this automatically for you.
- The final file you get Is still 42 Megapixel. It’s not a file with more Megapixels (some people think that).
Conclusion
So in short: this function is not a gimmick, it really works. Will I use it as a landscape photographer? I will definitely try. I love to shoot images with as much detail as possible. In reality, I will often not be able to use this function because of moving subjects. However, as I am blending images lots of times I can definitely see this function being integrated into my photography.
Think of very fine stones on buildings, churches, mostly ancient structures. I would sometimes see slight moire when shooting these. Shooting with Pixel Shift completely eliminates the moire. Also, I could blend a pixel shift image with ‘normal’ images to overcome the moving scene issues. There are definitely possible situations in which I will use this technique.
It’s also super fast to activate, and if you have your camera on your tripod waiting for a sunset, why not shoot a pixel shift image while you’re waiting?
About the author: Albert Dros is a 31-year-old award-winning Dutch photographer. His work has been published by some of the world’s biggest media channels, including TIME, The Huffington Post, The Daily Mail, and National Geographic. You can find more of his work on his website, or by following him on Facebook and Instagram. This article was also published here.