Tips for Shooting Mountaineering at High Altitudes
I recently dipped my toe for the first time in the world of alpinism, also known as mountaineering. I took part in a course teaching basic alpinism skills, and at the same time shot photos of the course for Mountain Network, the agency that organized it. I’d prepared for this assignment by reading up on how to shoot photos in this unique environment. Some of the tips I’d found on the Internet came in handy, but I also learned some things I hadn’t read about before, which I thought I’d share here.
Be Fit as Hell
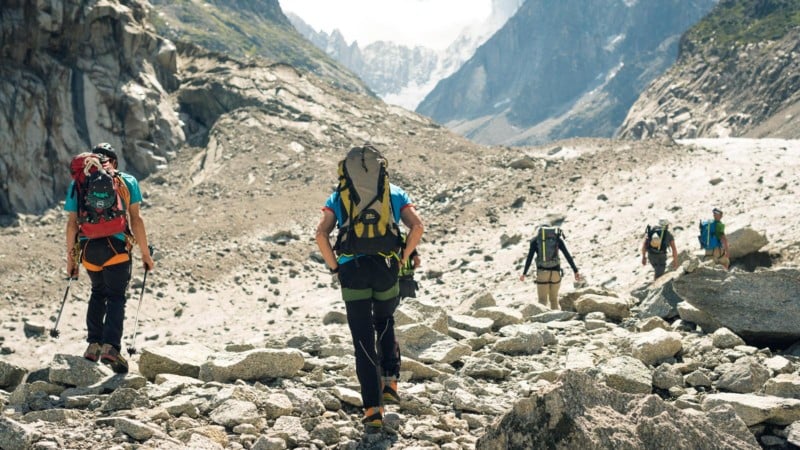
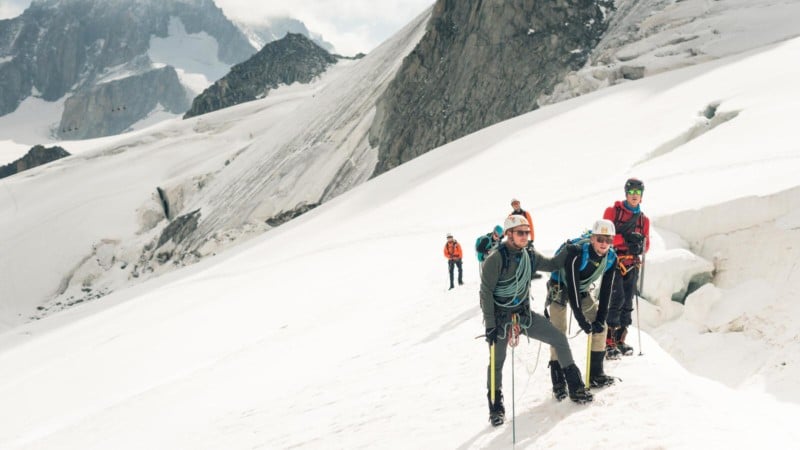
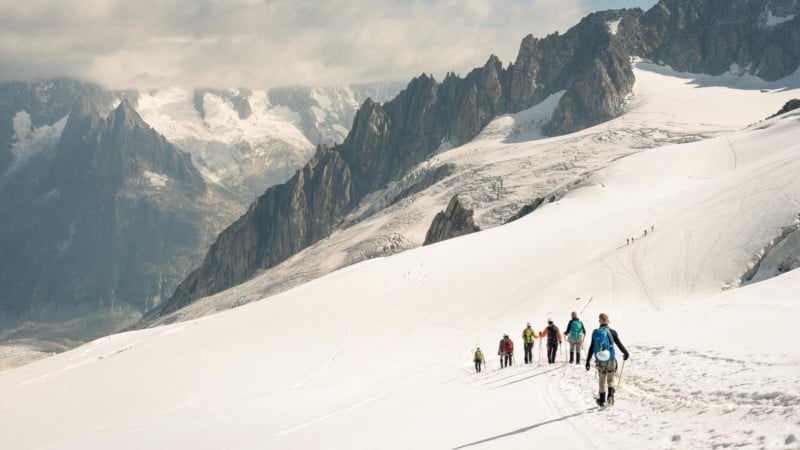
Climbing mountains is hard work. The approach to the actual (alpine) climb often involves steep and sustained mountain paths and rocky terrain. Climbing the actual mountain takes you onto dangerous glaciers and through deep snow for very long periods. Going up will make you feel the pain in your leg’s muscles, while the descent can wreak havoc on your knees.
That’s not all though, the physical impact of these athletic feats is amplified by the altitude and thin air, making every movement harder. The last thing you want is to be so preoccupied with moving across the terrain that you don’t have any mental or physical energy left to be creative and shoot some great photos. Capturing great photos in the mountains means you’ll often want to get out in front of your fellow climbers or lag behind a bit, both of which require some extra energy.
Tons of books have been written on the subject of training for alpinism, but I highly recommend Steve House’s Training for the New Alpinism. For me personally, going for frequent 10k runs, doing some high-intensity interval training, walking stairs, taking long hikes with a heavy backpack and doing squats and step-ups to train my knees have worked wonders, in addition to regular training at my local boulder gym.
In the end, you’ll want to make sure you’re just as fit as any of the climbers you’re photographing, but preferably in an ever better condition so you have a little bit to spare and can carry the extra equipment you’ll be needing.
Modern Day Camera Batteries Are Tough
Before going on this trip, I expected the worst for battery life while shooting in these conditions. I brought as many as four batteries for the single camera body I’d be using. Little did I know camera batteries have become extremely resilient. There wasn’t a single day my battery dropped below 50%, and I was shooting about 1,000 to 2,000 photos per day. Granted, conditions weren’t extremely cold during this trip, but this just goes to show there’s no need to stress out about batteries.
I would advise you to try out how your own body and battery fare in cold conditions before leaving all of your spares at home though. If you do decide to bring an extra battery, remember to wear it on your body to keep it warm. If you go on a multiple-day hike and stay in mountain huts, it could be a smart move to take fewer batteries and just opt for packing a charger instead. This’ll be different for each brand, but I feel that a charger is lighter to pack than 1-2 extra batteries.
Take a Simple Kit
This one perfectly relates to deciding to leave some spare batteries at home. In climbing, every ounce matters and can make your day every bit easier. Believe me, you really don’t want to be wearing both a normal pack and a camera bag. It can be quite useful in climbing to be able to see your feet when trying to navigate between crevasses. This means any gear you decide to bring should really fit in your backpack or be worn on you. For me personally, one body with a 50mm lens was all I used for this assignment. In hindsight, I would maybe have also packed the second body and a wider lens I left in my camera bag at our cabin, but going with the minimally viable kit is a good attitude in alpinism.
Light in the Mountains is Easy and Often Beautiful
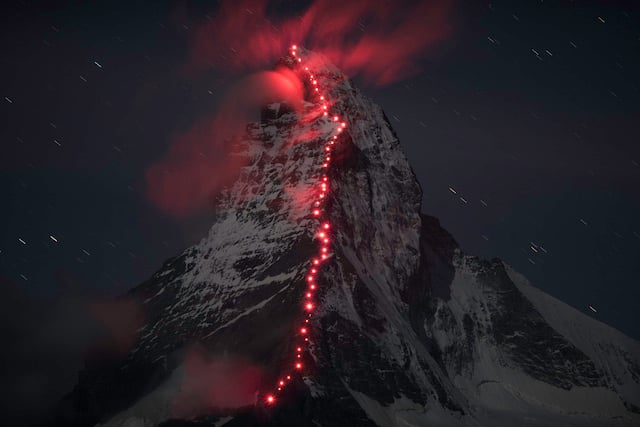
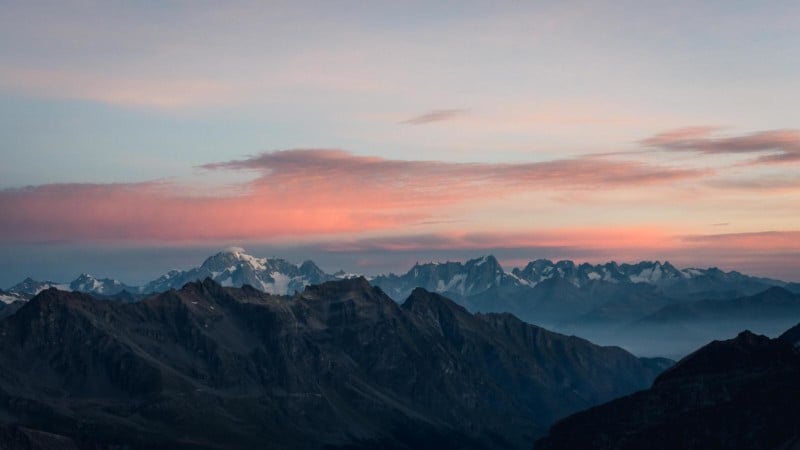
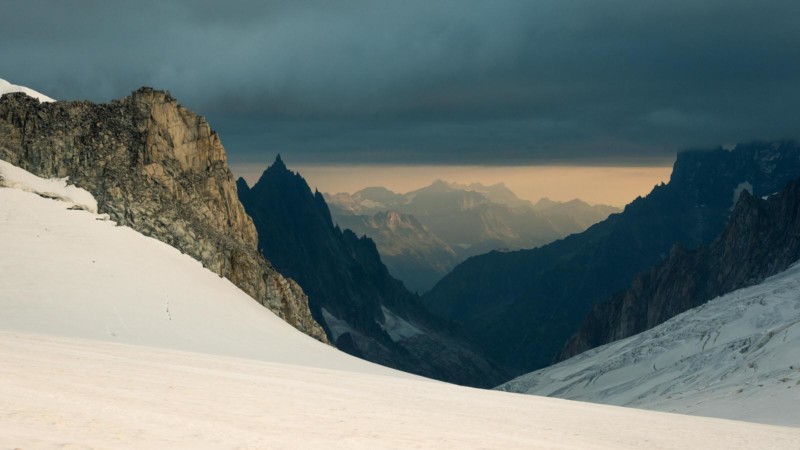
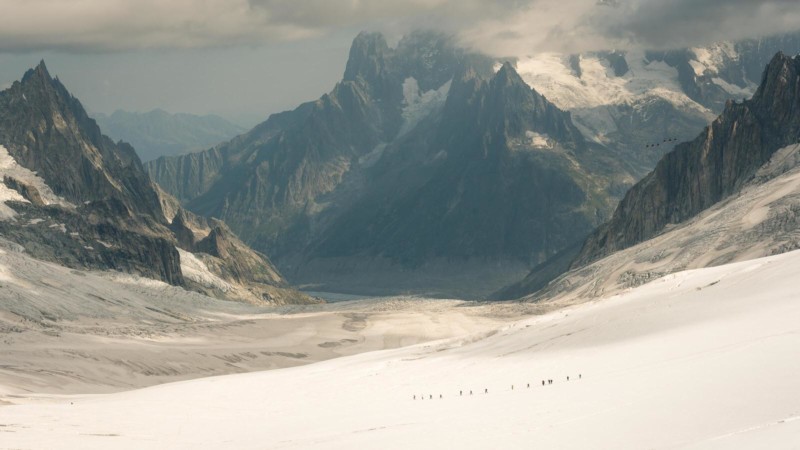
One of the things I really loved about shooting alpinism is the light I got to work with. Climbing big mountains takes place throughout the day, with each part of the day presenting its own unique light. For our final big climb of the week, we left the mountain cabin at 4 AM in pitch dark. Naturally shooting photos is pretty much impossible at this time, although the headlamps each team member wears could allow for some unique photos to be shot. Sunrise then presents some absolutely stunning views, with a dramatic red glow being cast on the skyline.
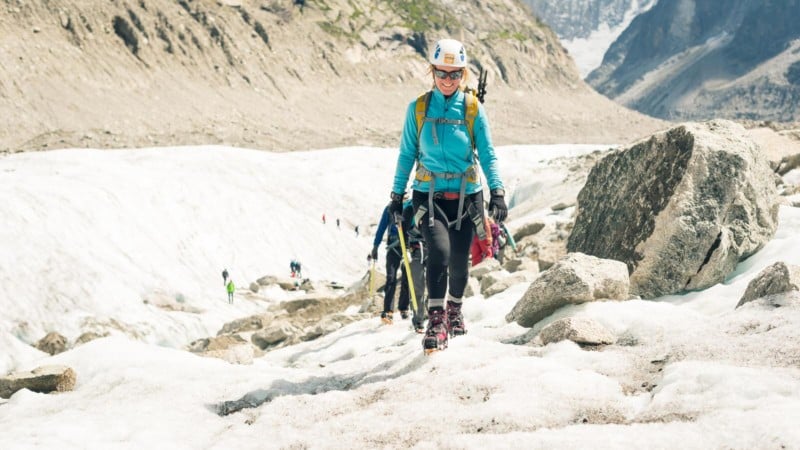
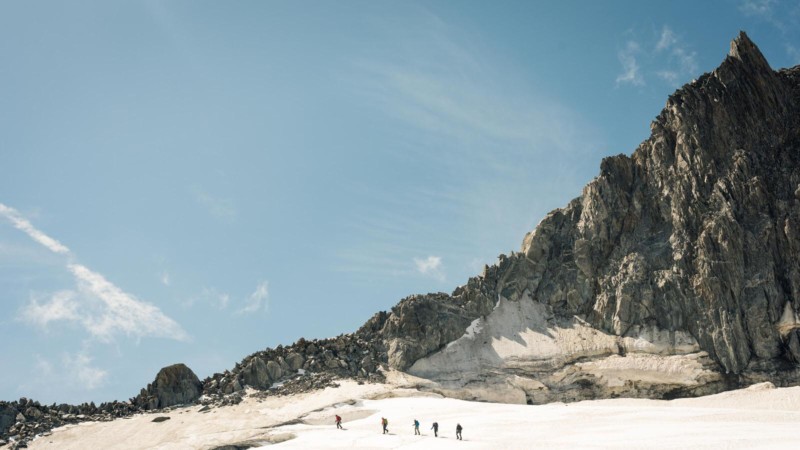
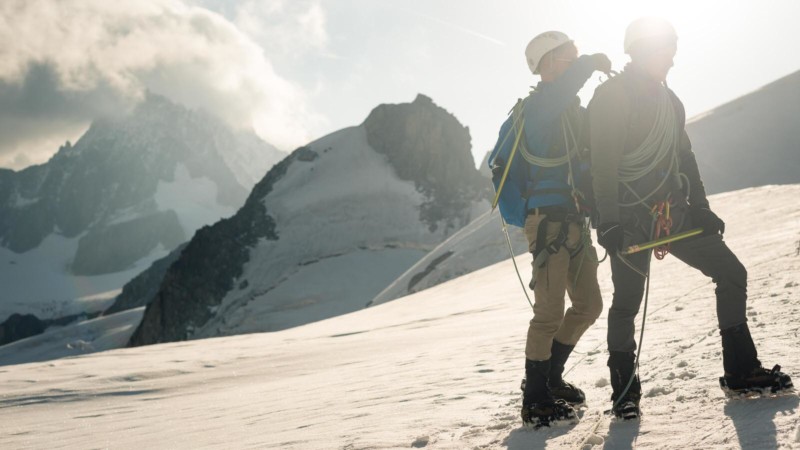
Once the sun is properly up in the sky, things possibly get even better. In normal shooting environments, midday is a horrible time to shoot photos, with the sun casting hard to work with shadows on faces and the environment. Shooting in the mountains is a whole different game though. There’s this amazing ever present white reflector in the mountains: the thick layer of snow that graces many mountains and glaciers.
With light bouncing from every direction, people’s faces are wonderfully filled in and no harsh contrast or shadow is to be found. Whether you’re shooting against the sun, from high or from low, light will hardly ever be an issue. The only potential downside to this is that the light can sometimes be a tiny bit flat and lack direction, making it hard to capture somewhat moodier photos.
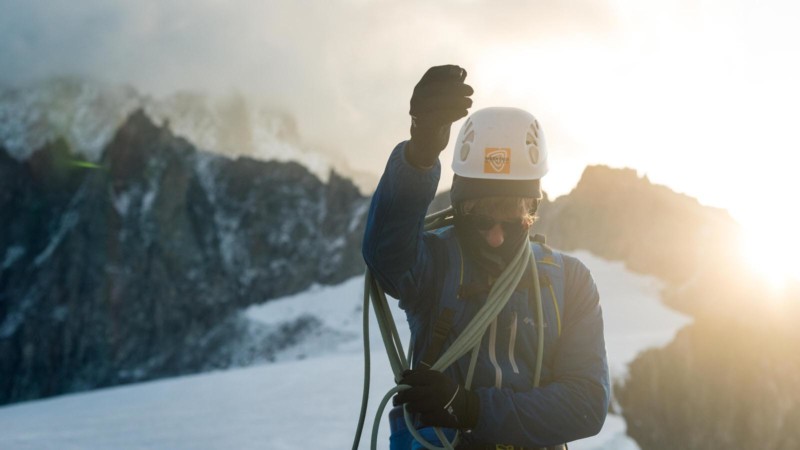
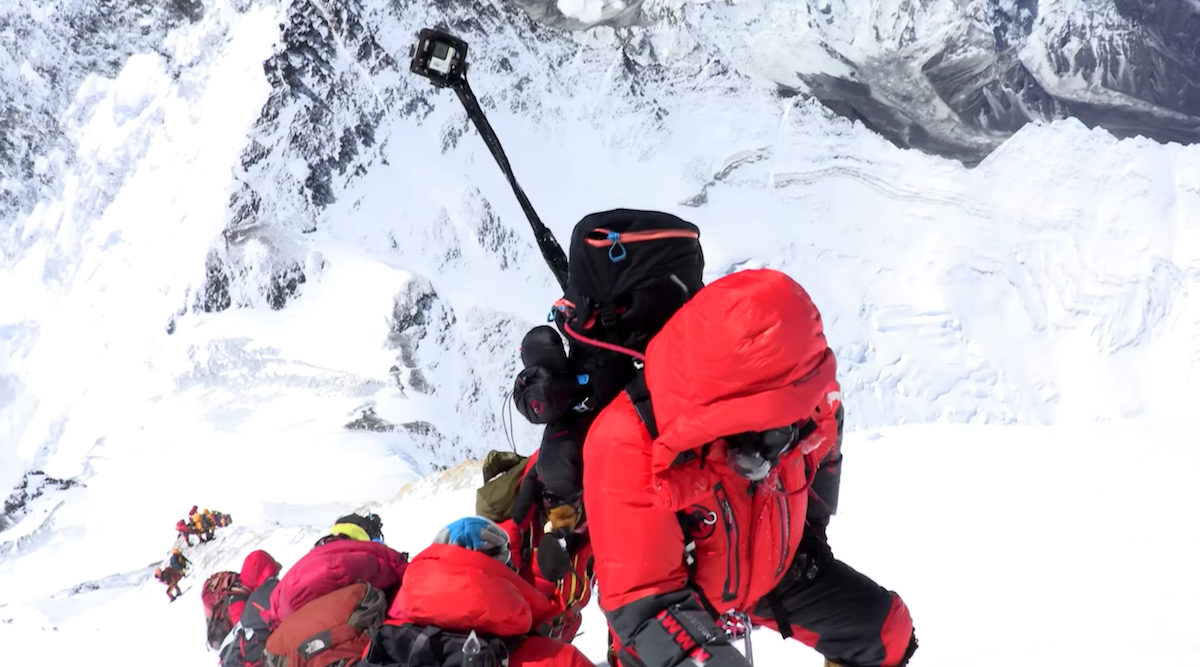
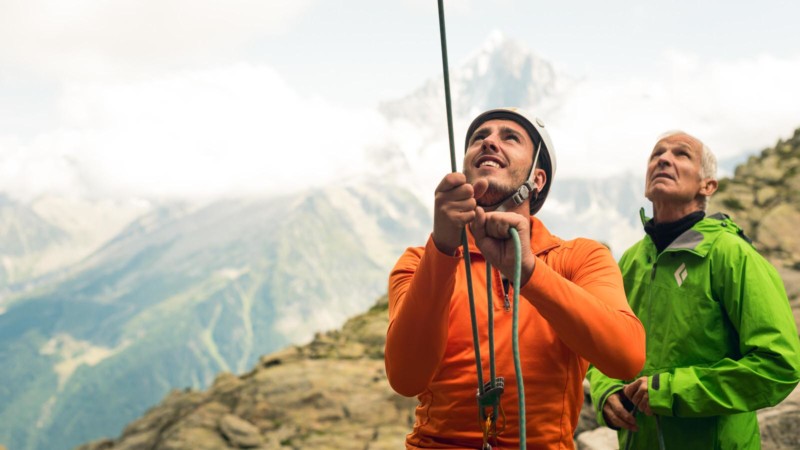
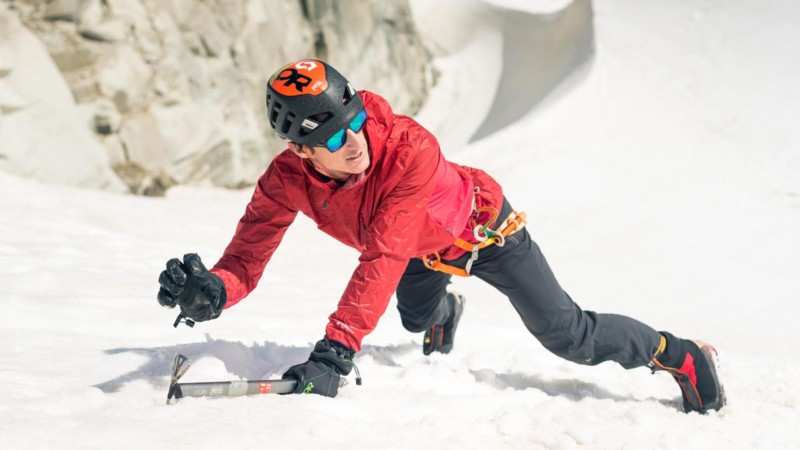
Keep Your Camera in Hand or Wear it Diagonally Around Your Body
In climbing, there tends to not be a whole lot of time to stop and change lenses or take a camera from your bag. Especially when roped in, team members are interdependent and the pace sometimes needs to be kept up in order to evade bad weather or make a summit. This means your camera should really be handy at all times.
On easy terrain, I tend to keep it in my hand with the strap wrapped around my hand for safety. When the going gets tough and we enter more dangerous terrain where a fall could occur, I put the strap diagonally around my body, with the top on my shoulder and the camera dangling on the other side of my body. This way, I can use both of my hands for climbing and I can still easily move the camera to my eye to grab a photo. In addition, unlike when putting the strap around your neck, the camera doesn’t dangle.
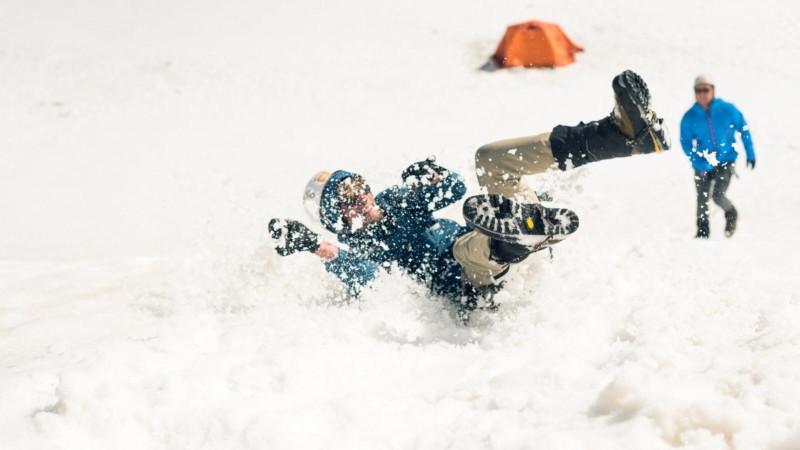
Another thing I’ve learned is that professional camera bodies can take a whole lot of abuse. I haven’t been careful at all with my camera, putting it down on rocky terrain, in snow and banging it into a rock wall multiple times. It’s great to not have to worry about my equipment and treat it like it’s porcelain.
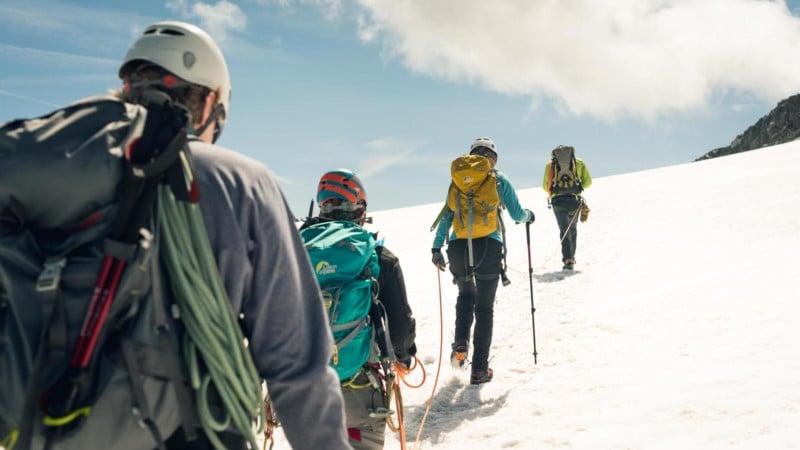
Be an Experienced Climber or Bring a Buddy to Walk in a Separate Group
Probably the biggest challenge for me personally was both learning the skills of alpinism and capturing others doing so at the same time. I feel that my photos could’ve been better if I’d been able to navigate all terrain autonomously to get to the best vantage points. Alternatively, having an experienced climber or guide dedicated to walking with me in a rope team to get to these best angles could also have worked.
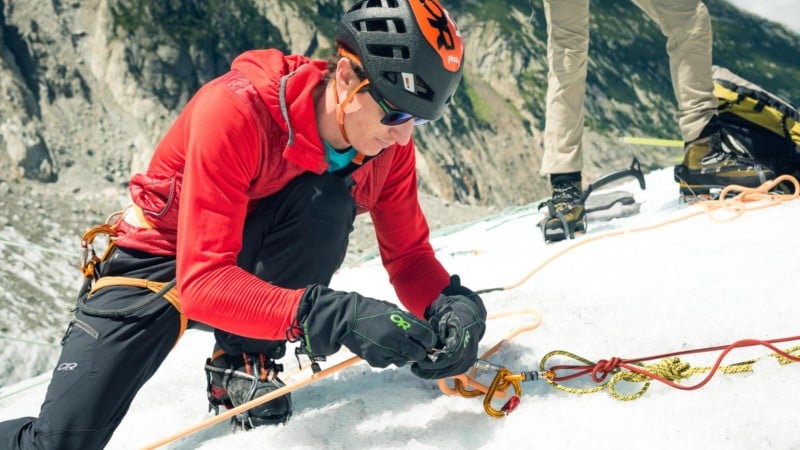
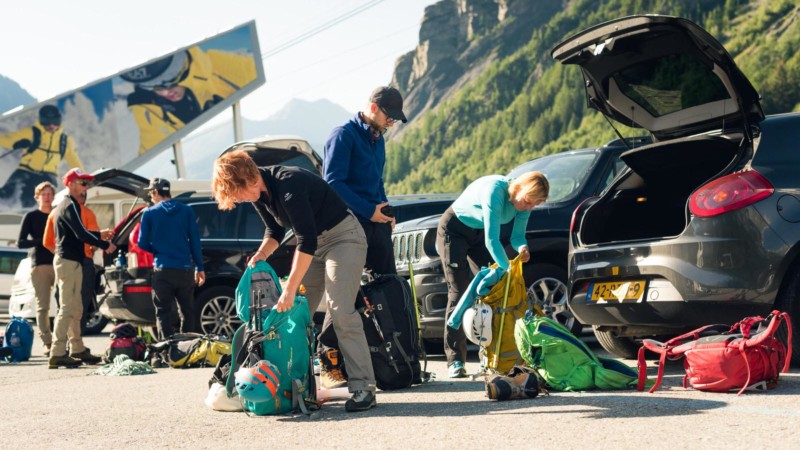
On a related note but on a slightly more concrete and smaller level, it can be a huge benefit to be faster than your team members when gearing up. Putting on a harness, putting on your shoes and crampons, selecting the proper amount of clothing layers to wear and tying a knot are actions you’ll repeat endlessly and can be practiced easily. If you manage to execute these things faster than your teammates, you’ll have some time left to shoot some photos. It also pays to pack your bag and gear in advance.
Make the Most of Every Moment
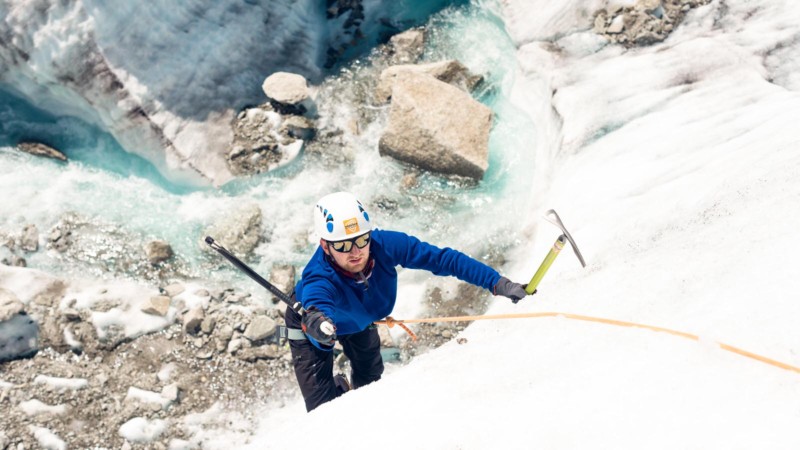
I already mentioned this briefly in one the previous tips, but should explain in a bit more detail. Climbing mountains basically comes down to sustained periods of hard work, either walking or climbing. There stretches offer limited opportunities for photos, both logistically and creatively. Very little tends to change in terms of landscape and not a whole lot of action other than walking occurs. It’s the tiny moments of changing gear, shows of exhaustion or exhilaration and difficult sections of climbing, that will offer you a chance to capture the action and lifestyle of climbing.
If you’re faster and fitter than the rest of your group, you’ll be able to make the most of the moments when the action occurs. It also helps to plan out the day in terms of climbing logistics, and then figure out which moments will be vital to capture in order to best tell the story of the day in photos. This way, you may identify the moments where you need to be a little bit ahead of the group or change gear a bit quicker so you have some spare time to shoot photos.
Please note that these are just some of the things I learned during my first experience with shooting alpinism. I imagine experienced outdoor photographers will have many more tips to share on the subject, and I do encourage them to share their knowledge in the comments! I certainly am looking forward to shooting more climbing and can hardly wait to get out there again.
About the author: Bram Berkien is an active lifestyle photographer based in Eindhoven, The Netherlands. You can find more of his work on his website, Facebook, Twitter, and Instagram.