An Advanced Look at Photoshop’s HSL Adjustment Layer Tool
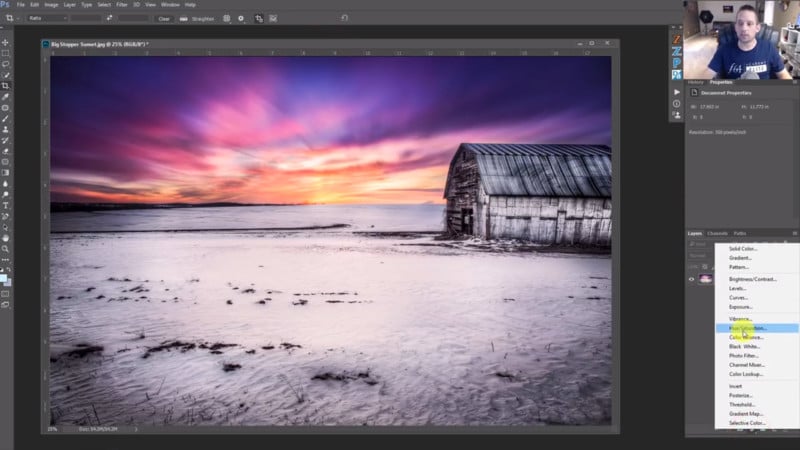
You’ve probably used Hue/Saturation/Lightness adjustment layers in Photoshop before, but there’s likely more to it than you may have known. This 8-minute video from f64 Academy looks at the tool in detail and shows how you can use it to enhance your control over color ranges.
![]()
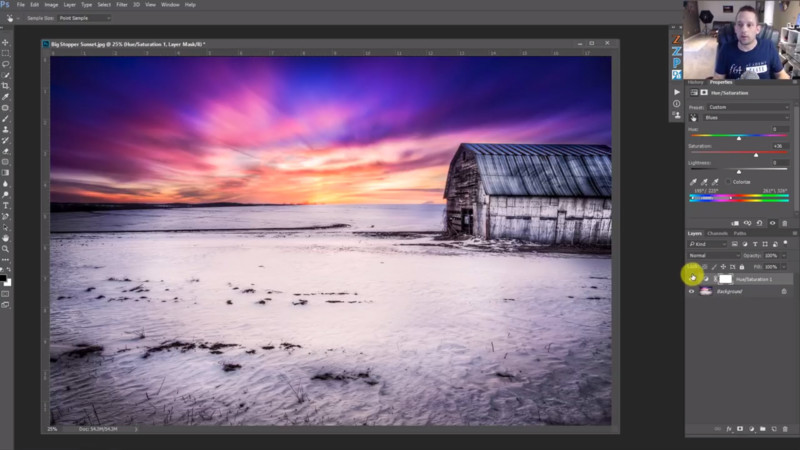
As Blake Rudis explains in the video, by using the targeted adjustment selector (the hand icon in the upper left of the HSL panel) and selecting a color from your image, you’ll notice that little bars and triangles appear on the color slider, pictured above.
By dragging one of the outer triangles, you will affect the color fall-off (or feathering) of your selection. By dragging the bars, you will change the color range that is selected, meaning that your HSL edits will affect a wider range of colors in your image.
You can also click and drag on the area between the bars to convert the selected color to a different color entirely.


Watching along with the video at the top will make this much clearer, as Rudis has included a color swatch diagram to illustrate the changes in real time as he explains the functions of the sliders.
We hope you’ve learned something new from Rudis’ tutorial. If you want to see more of his tips on lesser-known Photoshop features, be sure to check out the f64 Academy YouTube channel.