How to Prep Your Photos for Print in Photoshop
If you have never printed your own work before, you might not know that some careful preparation is needed to make sure the colors in your print match what you see on your screen. This 20-minute video from photographer Michael Woloszynowicz will teach you how to print your images with confidence.
Secondly, different brands and finishes of paper will give different results. This is where ICC Profiles come in to play, allowing you to preview or ‘soft proof’ your image as it would look with a specific paper and printer.
Woloszynowicz explains this in detail in his video, helping to demystify Photoshop’s color management options, as well as providing general tips for print preparation.
The video is broken down in to the following topics:
3:00 – Setting your image resolution
5:05 – Creating a border
5:50 – Adding contrast using Blending Modes
6:20 – Adding sharpness with the High Pass Filter
8:15 – Intro to ICC profiles
10:00 – Applying an ICC profile
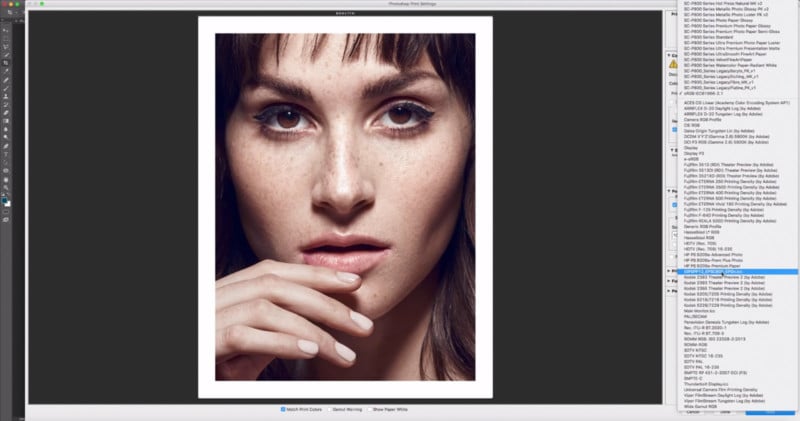
12:20 – The print dialog: printing at home
15:08 – Manual color management
16:20 – Why monitor calibration is important
17:38 – Rendering intent: handling out of gamut areas
19:17 – Sending off to a printing press
19:50 – Hard proofing
22:40 – Selecting a paper type
If you’re printing at home, Woloszynowicz recommends printing your proofs on 4×6 paper so that you don’t waste too much paper and ink while you are perfecting your printer’s output.
We hope this tutorial will help you to print out some of your own images with controlled results. If you enjoyed the tutorial, Michael Woloszynowicz has many more high-quality videos available on his YouTube channel, which we recommend checking out.