What It’s REALLY Like Taking Pictures at Antelope Canyon
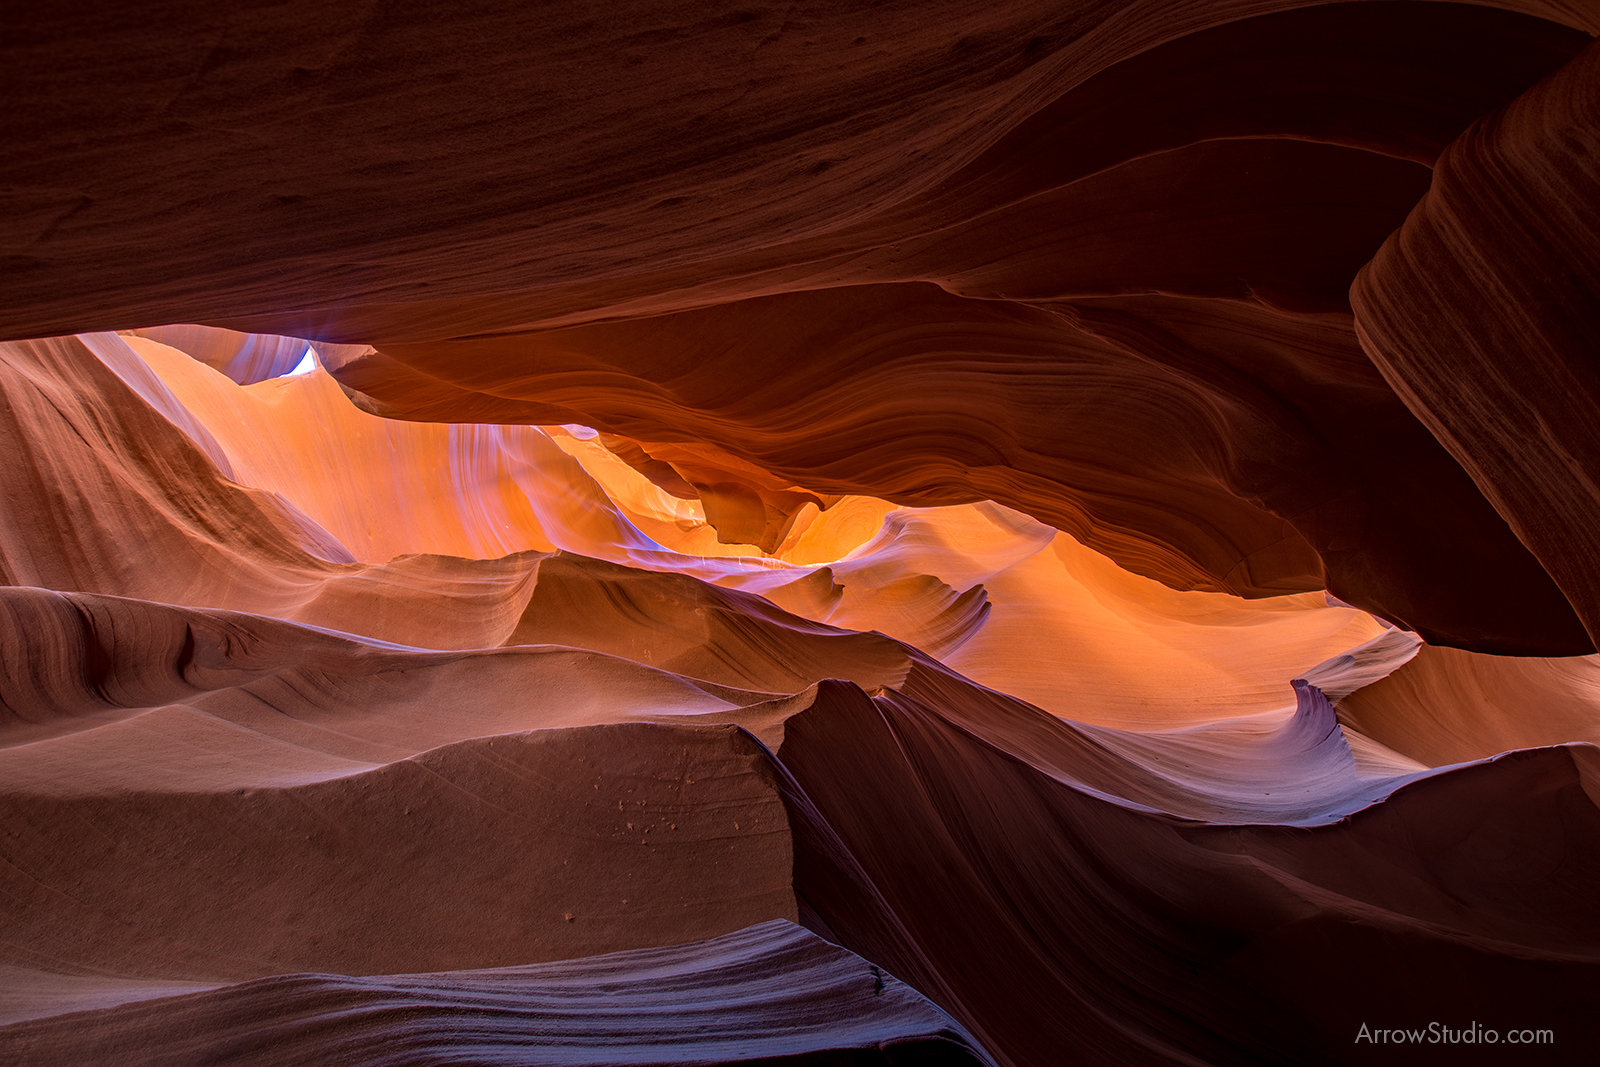
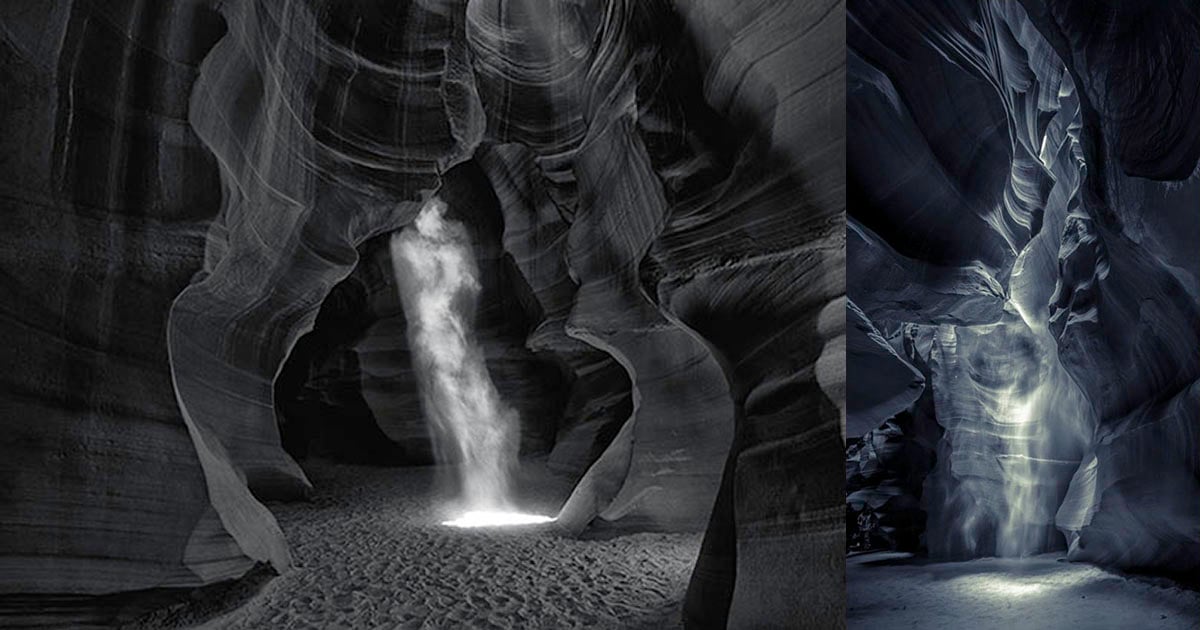
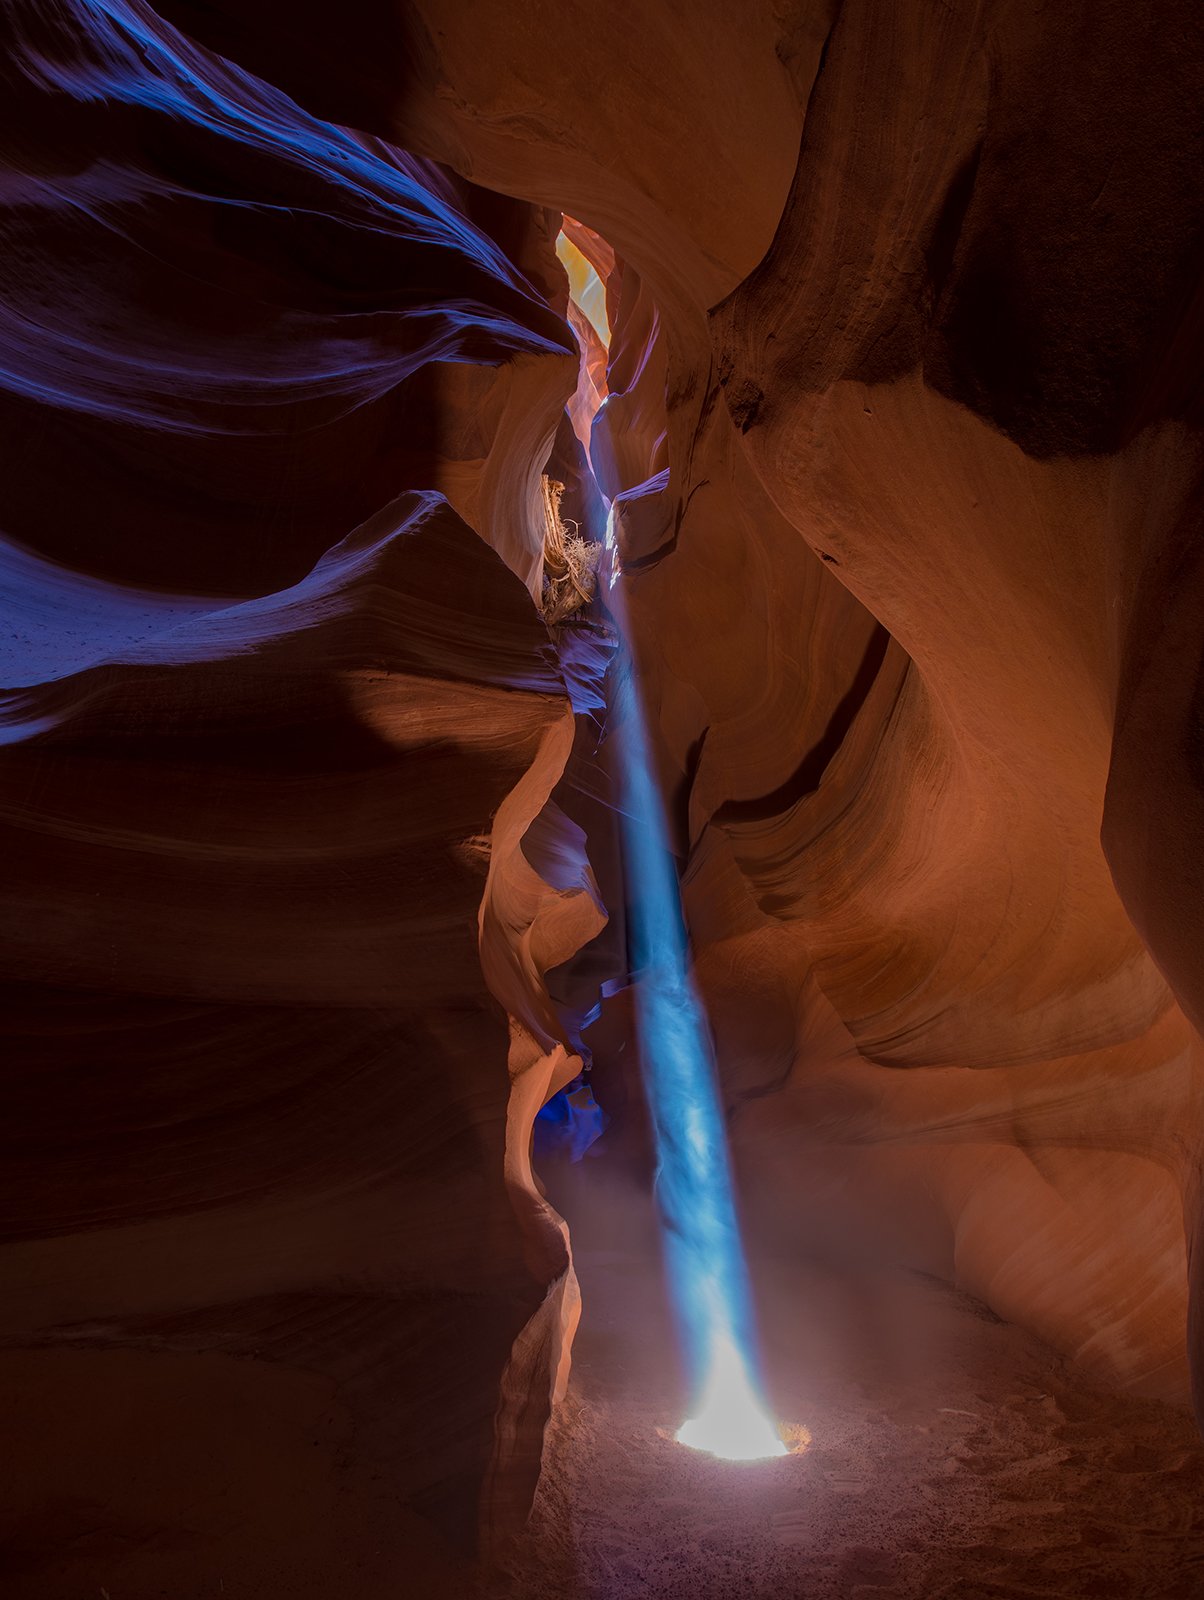
Antelope Canyon had been on the top of my “must-photograph” list ever since I saw the first picture of a sunbeam penetrating the curvy, orange walls of the Arizona natural wonder. This unique beauty captivates most photographers in love of landscape photography.
Many, many articles have been written about both the Upper Antelope Canyon and Lower Antelope Canyon, and while I knew that I had to have an SLR camera, that I had to have a tripod, that I should not change lenses… I still found the experience as fascinating as I found it odd.
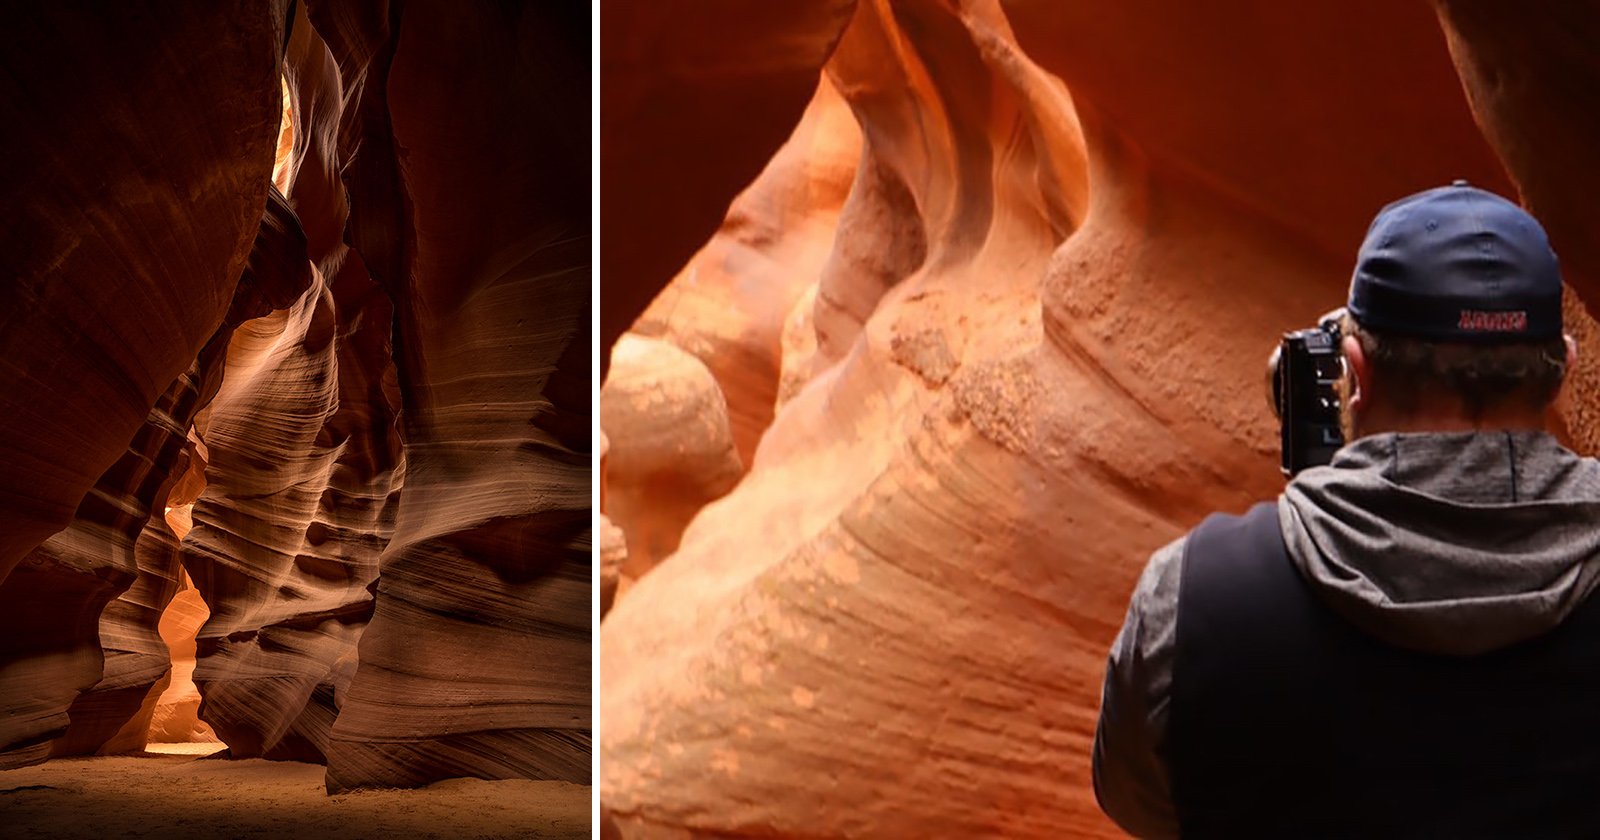
For the purpose of this post, I will concentrate on Upper Antelope Canyon. While Lower Antelope Canyon is as beautiful a destination as well, it lacks the sunbeams that make Upper Canyon so attractive.
Visit in the Summer
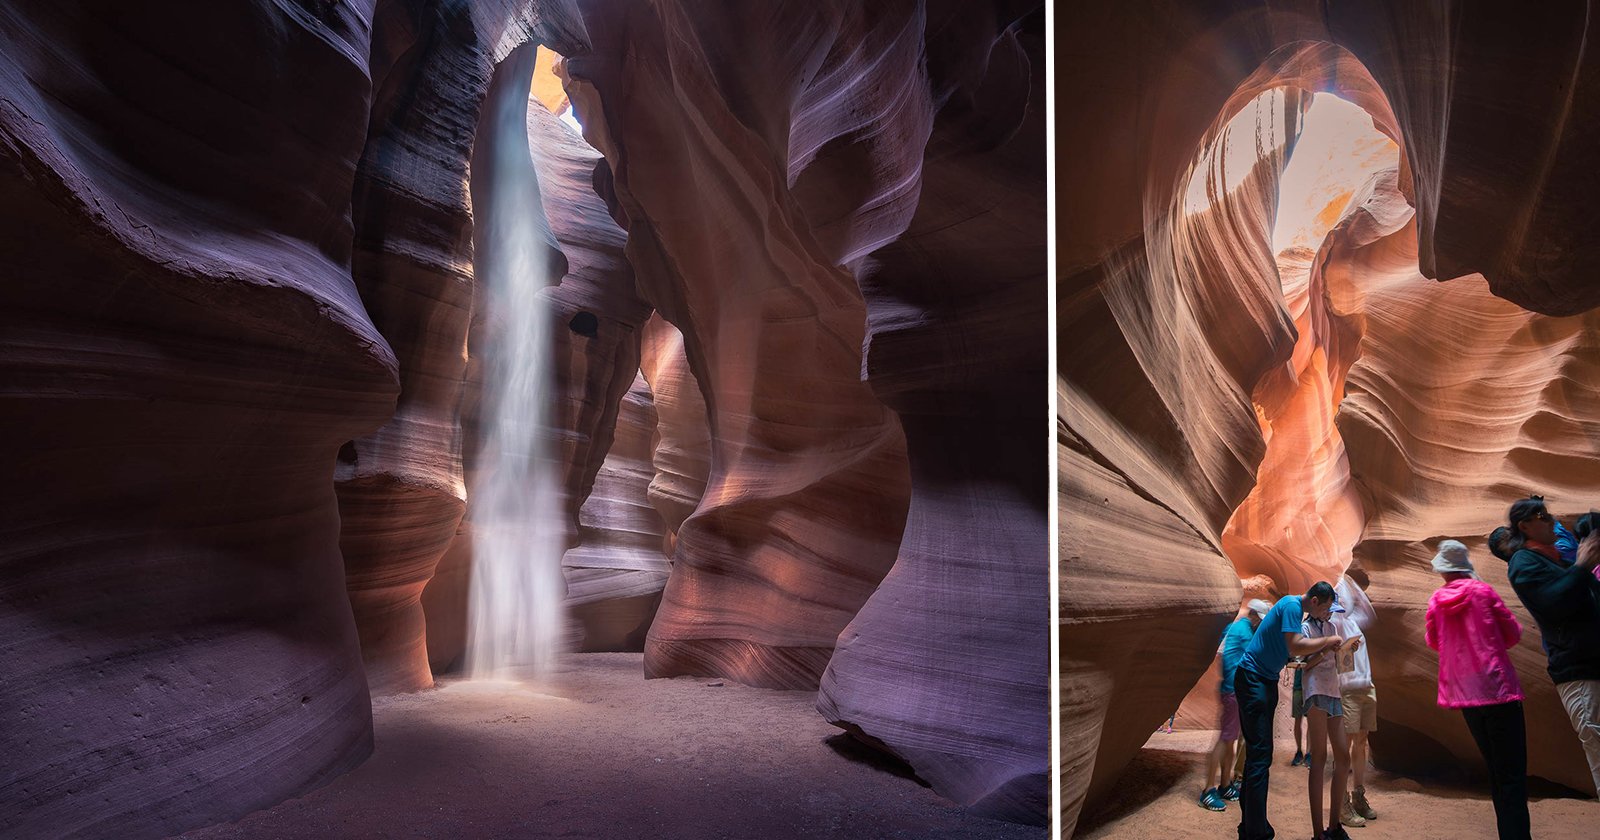
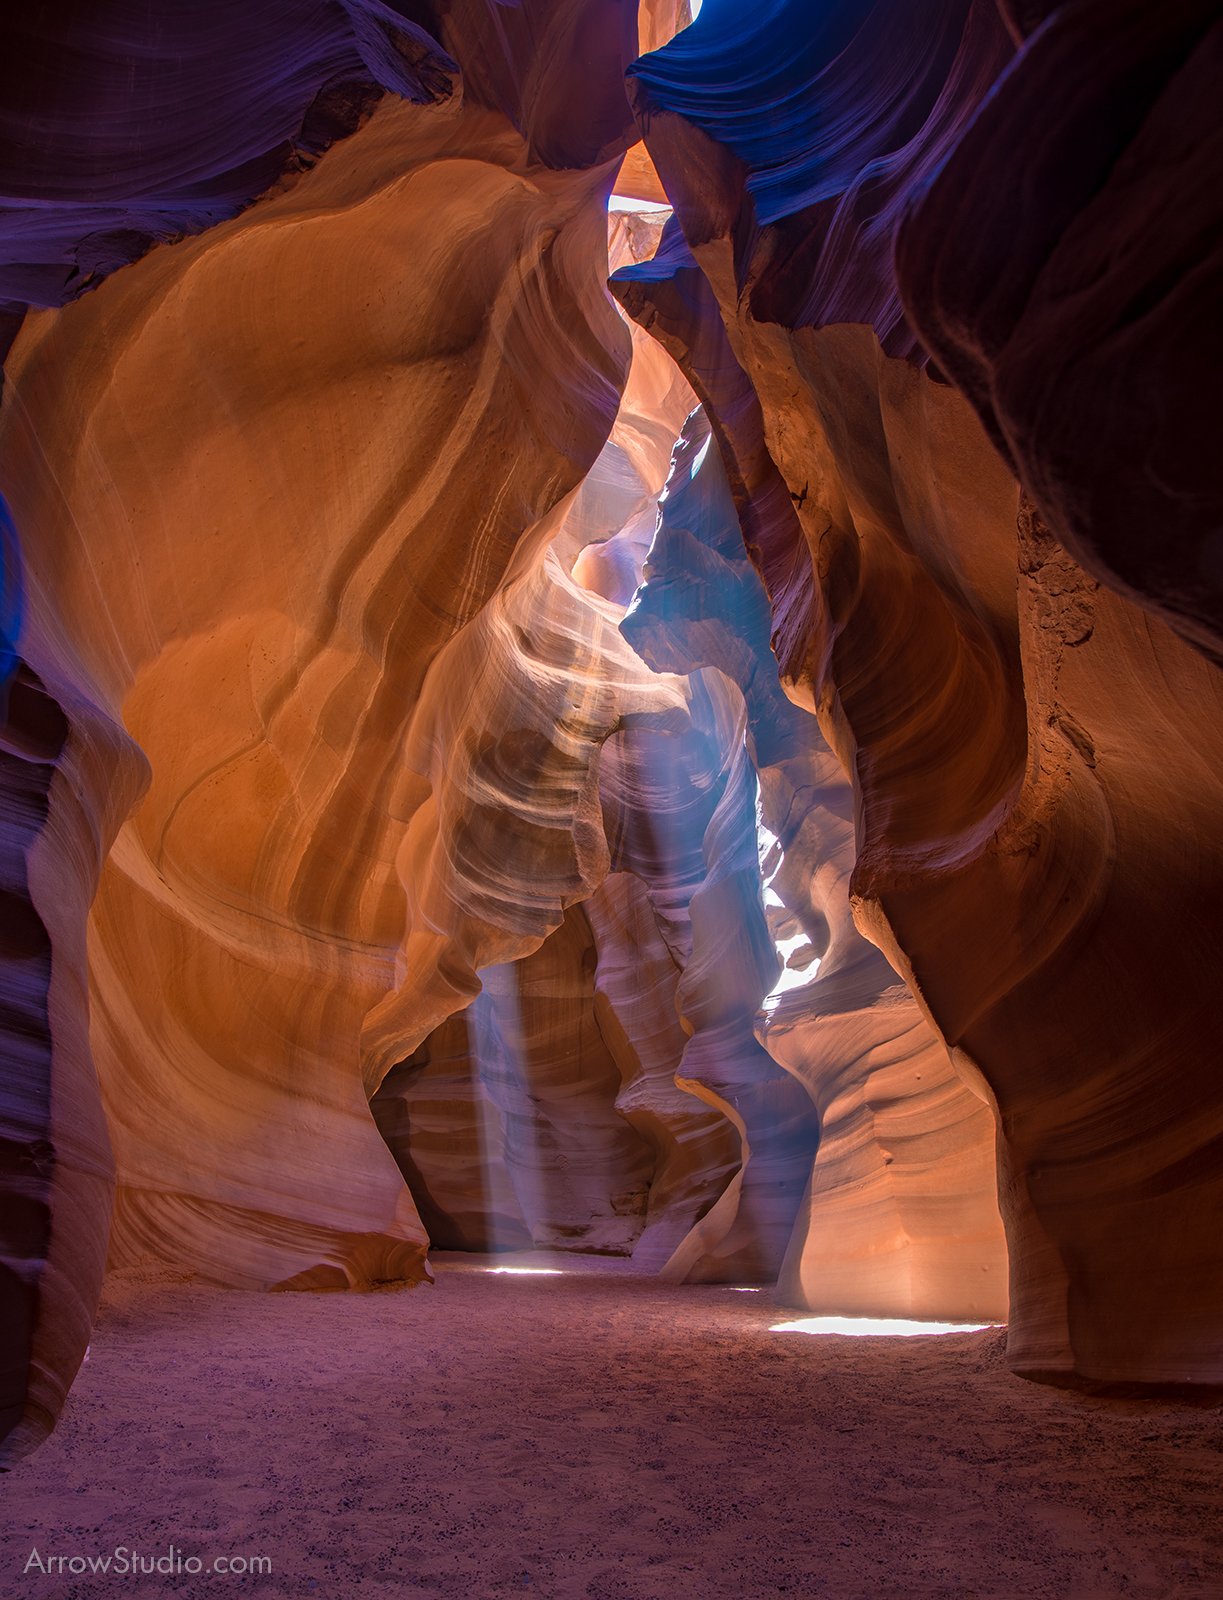
If you are planning to capture the sun shining into the Canyon through small spaces in the canyon opening, you must go in the summer. In the winter months, the sun is just too low to shine into the canyon straight down.
Book a Photography Tour
You do want to book the photography tours for the summer several months ahead. Depending on the operator, you will pay between $120 and $190, but you will get extra time, you will get better chances of the places cleared of tourist traffic, and you will get a guide who knows the right spots.
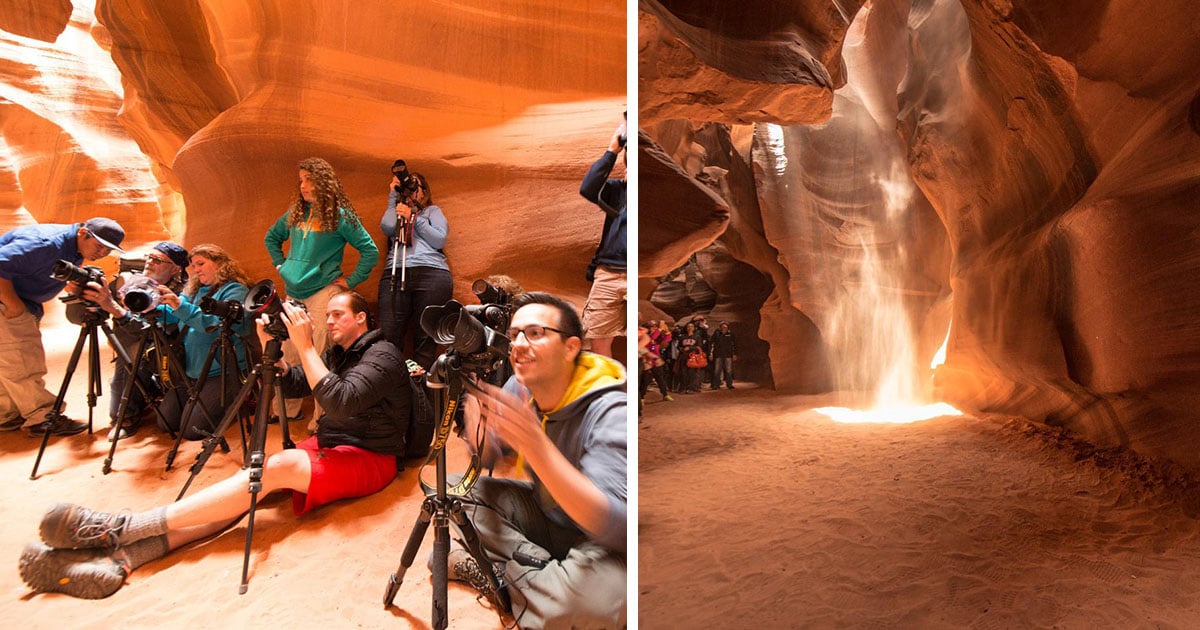
The guides are knowledgeable about the location and will provide assistance with angles and will throw dust into the light beams, or sand on the walls to get a beautiful waterfall effect.
What to Expect
You are coming to a Native American Reservation, and the tour I took was operated by Navajo Tours. You are supposed to check in an hour before the tour, so keep in mind you will be sitting in the sun for some time. While there is a small place with a roof to get shade, in the packed summer months not everybody gets under. Bring some water and a magazine or a fully charged phone. And sunscreen.
While everything went well at the check-in, this is not Disney-customer-support treatment. Rather, expect a no-nonsense approach. The gentleman at the check-in will want to see your equipment—your camera and tripod. If you don’t have an SLR, or possibly Sony mirrorless (A7R or other interchangeable lens camera), you may have a problem getting on the photography tour. I have talked to people who were rebooked because their point-and-shoot was not serious enough.
At some point, you will hear a scream for your time slot. Once the group gets organized, you will all get on a truck‚ this is when the fun starts.
On the truck, you do want to keep your cameras in a camera bag. The truck is full of people filled to the last spot, thus you sit side-by-side with your neighbors, your arms touching theirs. As you drive the bumpy road, you will jump up and down and bounce to your left and right with your neighbor in an uncontrollable fashion.
I would not advise keeping your camera hanging from your neck as that might cause injury to you or your device. Once at the entrance, your entire group gets unloaded.
Tip: On the truck, you will see a sign with a suggestion to tip your guide if you were happy with the tour. You may want to tip the guide prior to the tour—it is worth it.
Your guide will start a short orientation. You will learn that you have to create three lines. First row will have tripods on their minimum length, second row midsize, and third as extended as it gets. You will get assigned your spot in the group.
Tip: Get to the very first group. You will get a great angle from the bottom, you will not have to worry about others bumping into your tripod, and you will have an easier time moving around with it. If you can avoid it, do not end up in the middle group.
Your tour of 12 photographers (or so) will be required to organize in a small space as other tours must walk around, and you will have to shoot with long exposure. In fact, all of my photos in the canyon were shot as bracketed exposure with 5 shots for each image.
Because the canyon is frequented by so many tours and visitors, it is difficult to clear the space of any traffic. Once your tour guide clears the traffic, you have 30 seconds to shoot.
It goes something like this:
Set up your tripod, set it up, first row, second row, and in the back third row. Get ready; we are starting to shoot in 15 seconds… in 10 seconds… start shooting now, you have 30 seconds. Shoot, you have 20 seconds… shoot you have 10 seconds… get ready to finish, and 3, 2, 1 we are done, grab your tripod and get up we are moving, we are moving, take your tripod… sir, you too, take your tripod and move with the group.
While this organization may seem rather ruthless, once you see the number of people moving through the narrow (and relatively short) canyon, you will understand why this is necessary. Occasionally, the tour guide throws sand into the air and you shoot like your life depends on it. And then you move. If your camera malfunctions, too bad. 3, 2, 1 and you are done and move.
You will visit several typical spots with the opportunity to shoot this or that scene. If you have researched the canyon, you may notice that many of the photos look fairly similar. The guides are going by predefined spots assuming you do want this or that shot. Luckily, at the end, you will get 15-20 minutes just to hang around and shoot whatever you want.
You may be severely limited as there is nobody to stop the flow of tourists/photographers, but then again, you do have some freedom to try some different compositions.
Conclusion
While the whole experience was great, after the allocated time, I was ready to leave. Perhaps because of the rushed shoot-n-go schedule, and the price you pay for it, you want to concentrate on getting the most out of it. So, when the shoot was over, I was happy to get back on the truck and exhale.
If this does not sound like something you would want to endure, check out the Lower Antelope Canyon. With a considerably lower price tag, you may get to go 1-on-1 with a guide, depending on whether or not other photographers are in your time slot.
During my tour, I went with one other photographer, and it was a very easy walk/climb without the crowds, without the timing, and without the drill. Then again, it was also without the dramatic sunbeams for which many photographers come in the first place.
About the author: Martin Purmensky is a commercial and architectural photographer in Orlando, Florida. He is the owner of Arrow Studio and theVideoCards. You can find more of his work on his website, or by following him on Facebook and Instagram.