Use Polarized Lighting Techniques to Capture Cool Color Effects
![]()
Polarized light is light that has waves oscillating all in the same direction. There are two basic ways to get polarized light: from reflection or by using a filter.
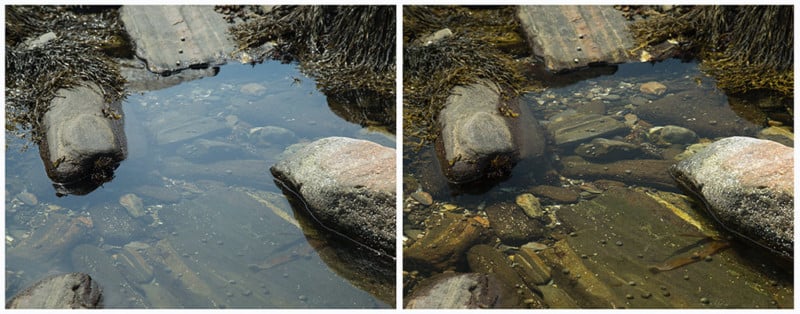
When light reflects off water or any other flat surface the light becomes polarized in one direction. It is common for fishermen to used polarized glasses to block the reflected polarized light (which causes glare) so they can see below the water better.
The second and most common way to produce polarized light is with a polarizing filter. Polarizing filters were invented by Edwin H. Land in the 1930’s. Land developed an inexpensive process to align polarizing crystals and fix them into position with a binder. This polarizing filter became the standard for photographic and industrial processes.
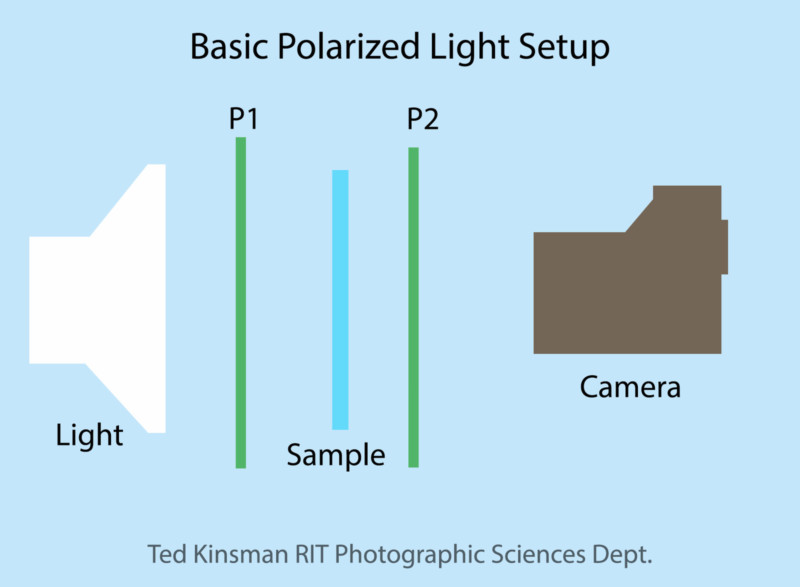
To experiment with polarized light, you will need two polarizers, these can be easily purchased on the internet. There are also other sources for polarizers, like the glasses from a 3D movie or even an old pair of polarizing sunglasses. I use these Rosco Polarizing Filters. For best results, try to obtain two relatively large sheets 3 to 4 inches across.
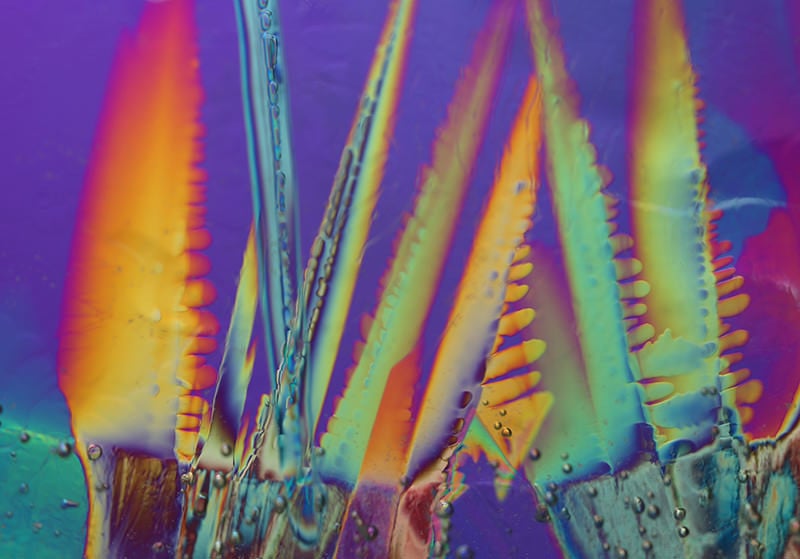
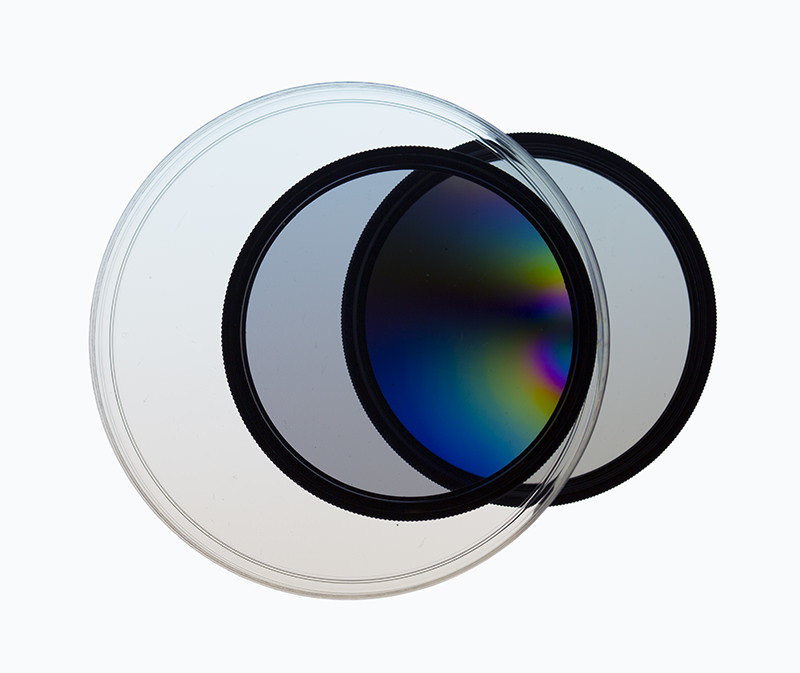
Many materials show internal stress when illuminated with polarized light and photographed with a second analyzing polarizer. This unique property of materials is called birefringence and is caused by the polarized light interacting differently with the stressed material, compared to the unstressed parts. Some of the more common material that exhibits this property are glass, ice, plastic, and many types of minerals. The full list of materials would include thousands of entries.
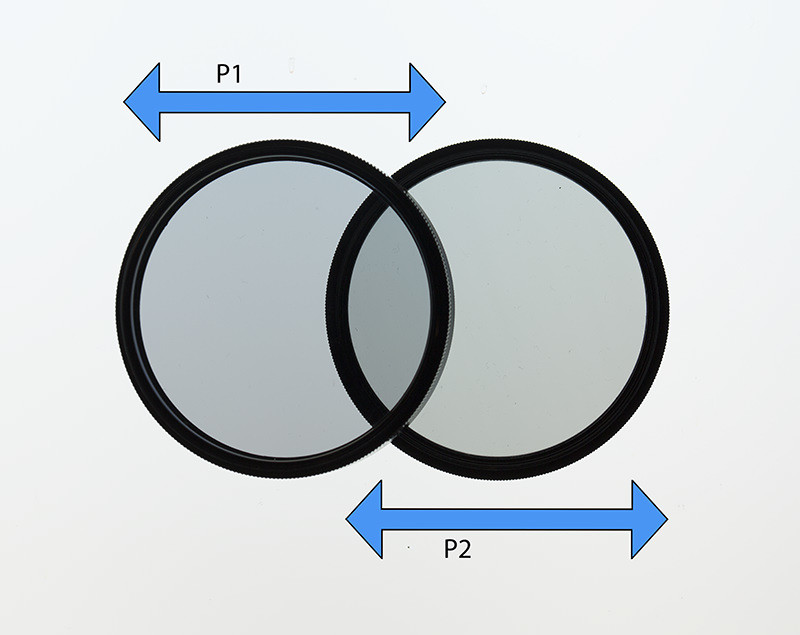
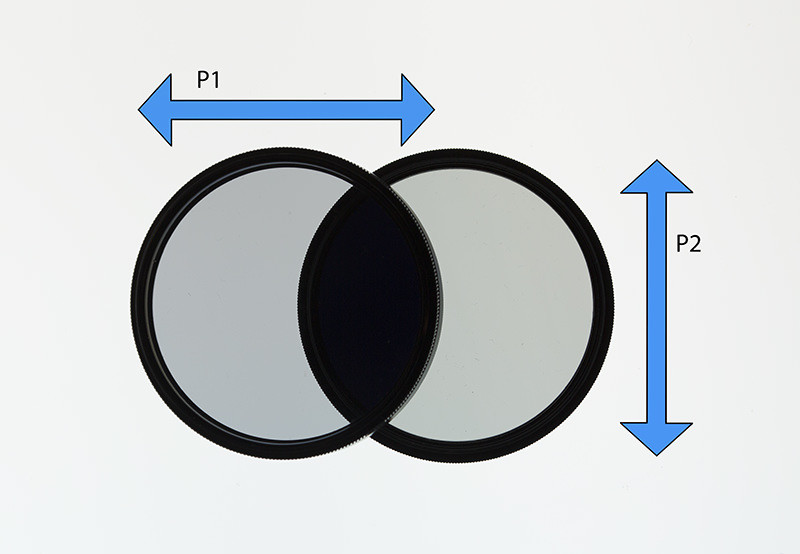
To observe the effects of polarized light on a material, the material is placed between two sheets of polarizing material. The first filter is called the polarizer while the second filter is called the analyzer. If the second filter is placed at a 90-degree angle to the first, the light passing through is almost completely eliminated. The second sheet of polarizing material does not have to be in contact with the sample; it can be placed in front of the observer’s eye or in front of a camera. Without the analyzer, you would not be able to observe the birefringence in a sample. I like to think of these systems as a polarizing sandwich where the meat is the object showing the stress, while the bread represents the polarizers.
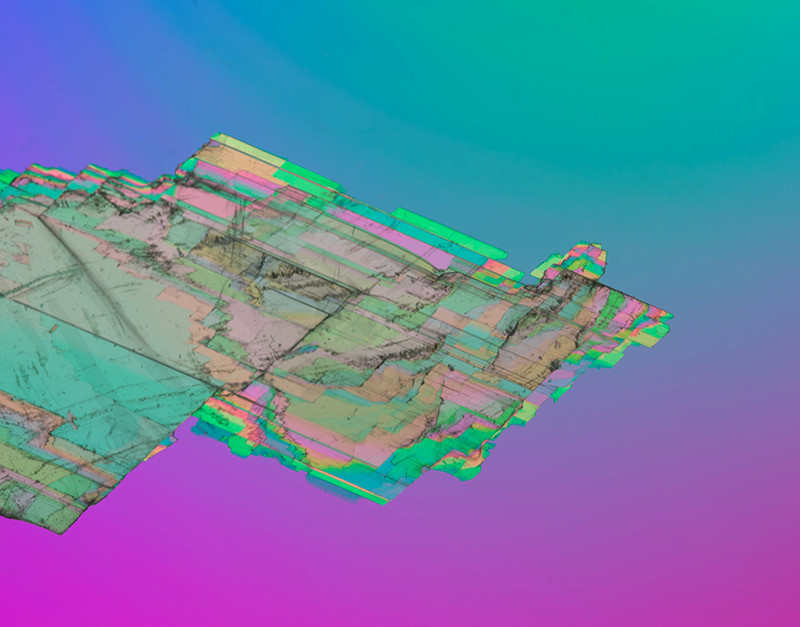
Gypsum crystals demonstrate birefringence, here the different thicknesses of the crystal show up as different colors. The rock sample is placed between two polarizing filters and is about 2 inches wide in this image.
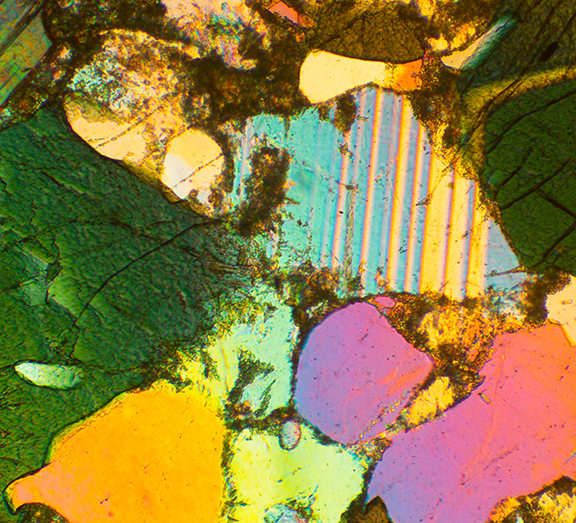
For many years, minerals have been identified by the way thin sections of rock interact with light in a special polarizing microscope. Above is a sample of hornblende photographed at 80x magnification.
![]()
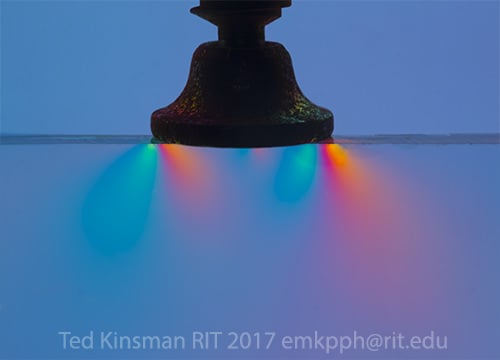
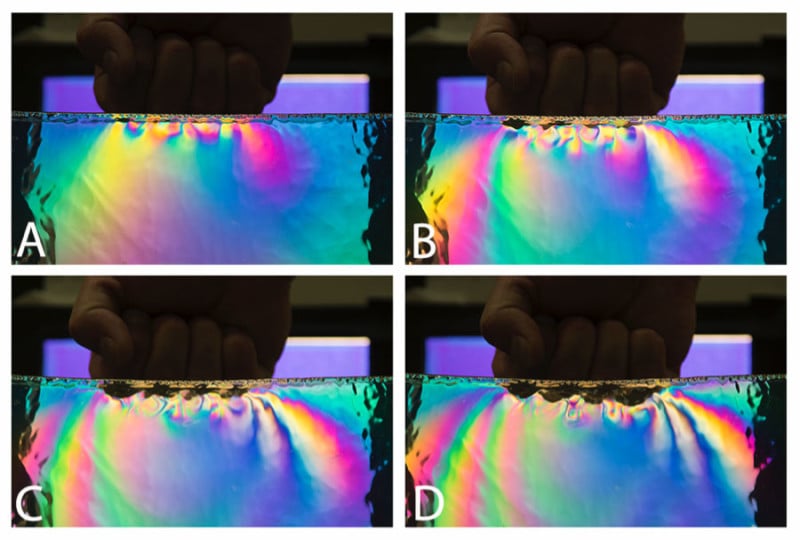
Above, a karate punch is visualized in polarized light with the help of a large block of ballistic gel. The gel is basically a polymer that exhibits birefringence. The force of the punch can be clearly visualized with polarized light to show the stress in the gel; created by the punch. This ballistic gel is created to simulate human flesh.
About the author: Ted Kinsman is an assistant professor of photographic technology at the Rochester Institute of Technology. He teaches advanced photographic technology, light microscopy, and macro photography courses. Kinsman specializes in applying physics to photography. You can find more about him and his work in his faculty profile and on his website. This article was also published here.