‘A Dream’: Turning a Landscape Into a Dreamscape in Photoshop
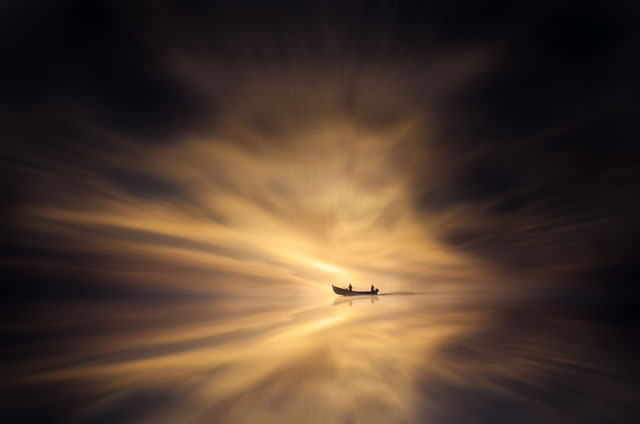
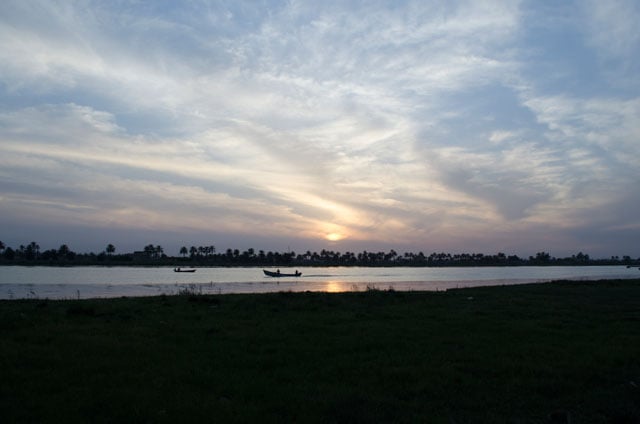
This surreal photo-manipulation is titled “A Dream,” and it was created using a single photograph that was edited in Photoshop. In this post I’ll provide a step-by-step walkthrough of how it was made to show you how you can make a similar image yourself.
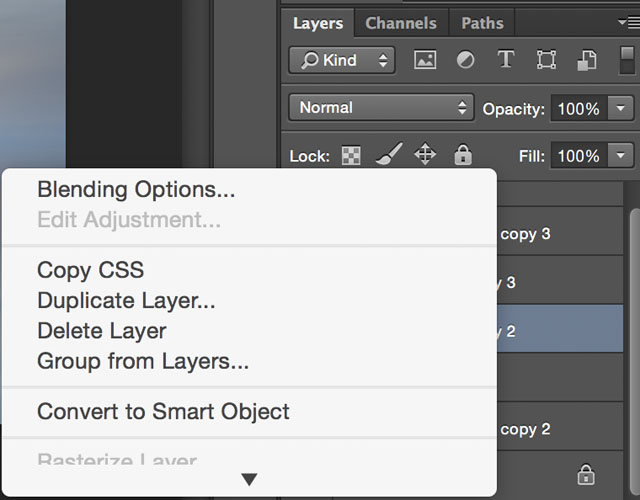
First, I extracted the boat from the image using the “Pen Tool,” put it in new layer, and adjust the Opacity and Fill as shown below:

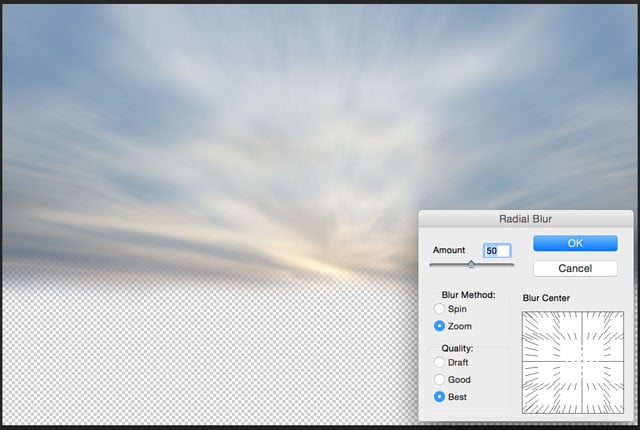
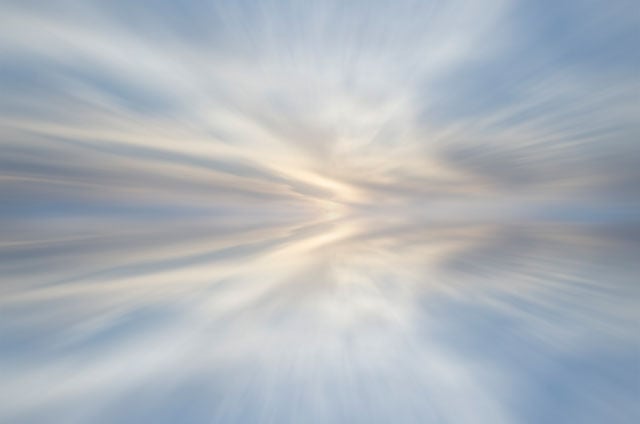
Next, I applied a “Radial Blur” to the sky, adjust the amount to 50, chose “Zoom” for the blur method, and “Best” for the quality. As shown below:
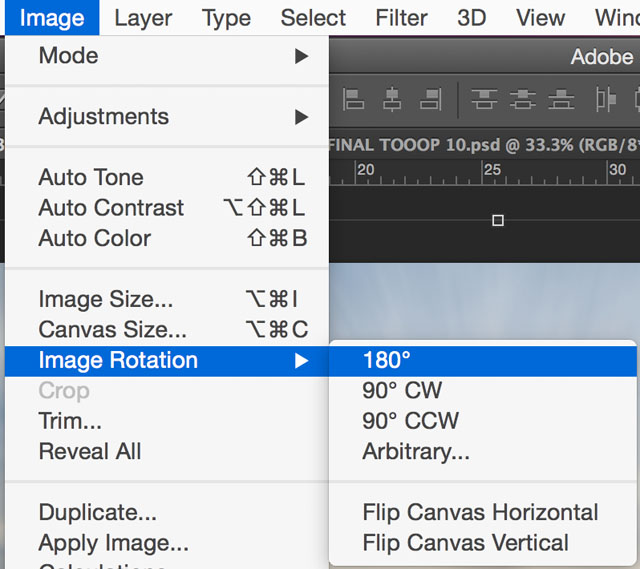
Third, I made a Photoshopped reflection by creating a duplicated layer for the sky part and rotating it 180° to complete the reflection.
Rotate the duplicated layer 180°.
Here’s the result after you position the duplicated and rotated layer:
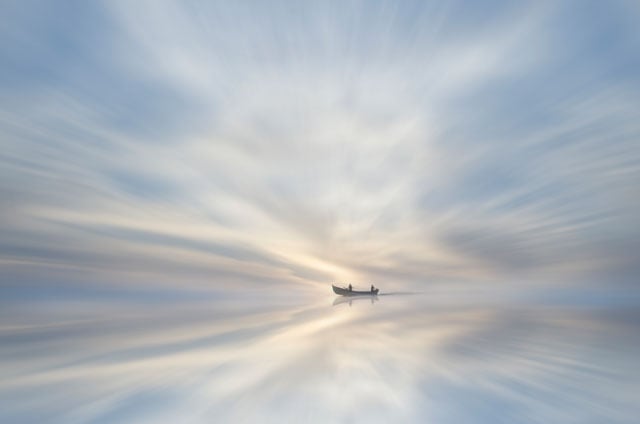
Finally, we add the boat back in to get the image below, and the time has come to move over to Lightroom.
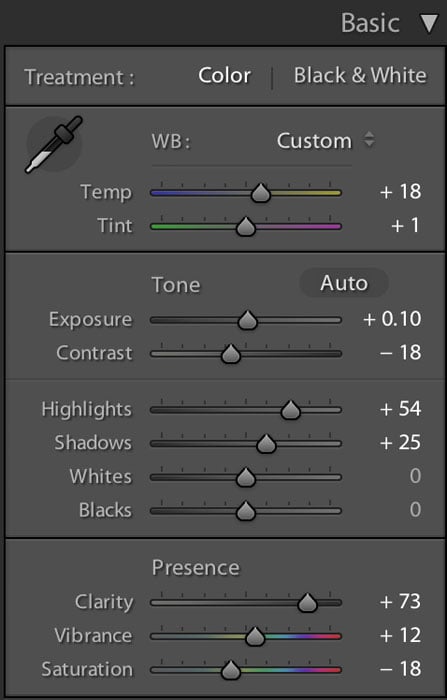
In Lightroom, I adjusted the Temperature, Tint, and Contrast.
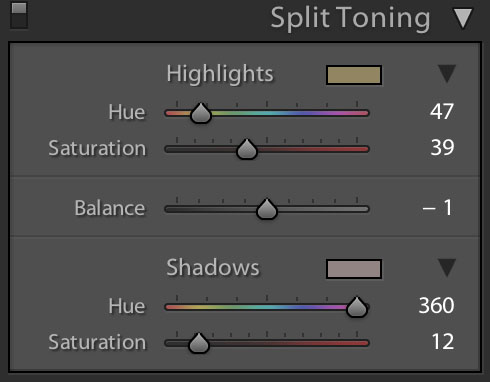
Then I adjusted the Split Toning as shown below:
Finally, I used some masks to adjusted some specific spots on the background, leading to the final result: