How to Make a DIY Studio Portrait Backdrop for $46

Many moons ago I was enrolled in a class on portraiture by Don Giannatti that studied and sought inspiration from the greats in photographic portraiture. The final artist studied was William Coupon. Coupon is known for his formal painterly backdrop portraits. Being the dutiful student I turned my assignment in post haste, or rather several months late. Either way, I learned that creating a painted backdrop had to be neither difficult nor costly.
Here is a short tutorial of how we, mostly Cheryl, accomplished this feat on a pauper’s budget.
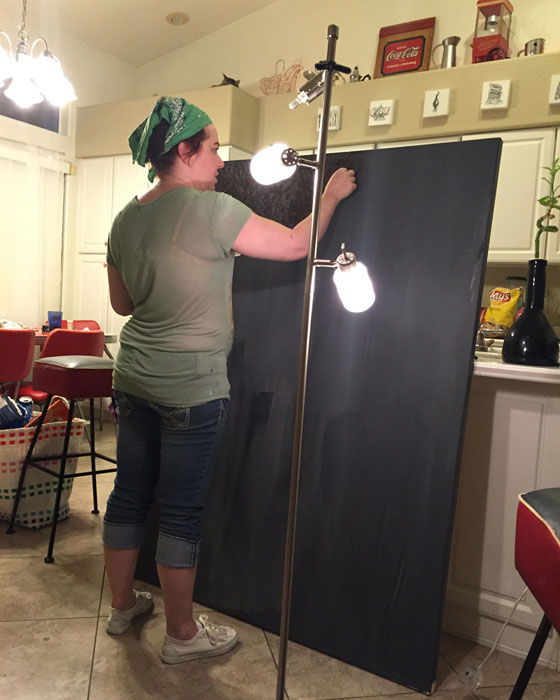
From my vantage point on the comfy, wheeled computer chair, it appeared Cheryl used a variety of paints and paint applicators. I contributed as a sort of artistic back seat driver. An often overlooked position in any creative endeavor. The whole process took about six hours over the course of three days.
You know when you are done when there is mutual silence. One would hope that the aforementioned silence would be reverence for the work, but the truth is that it is far more complex. Mostly having to do with patience, trust, and general aggravation. Either way, we finished.
Phase 1: Gray base coat painted with paintbrush
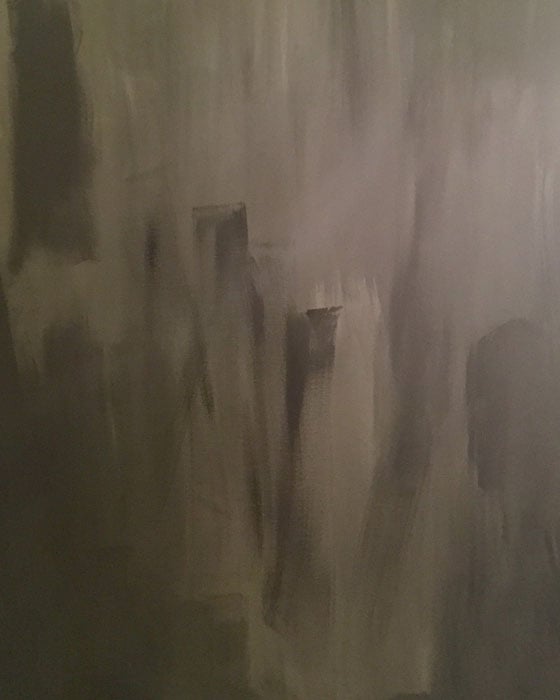
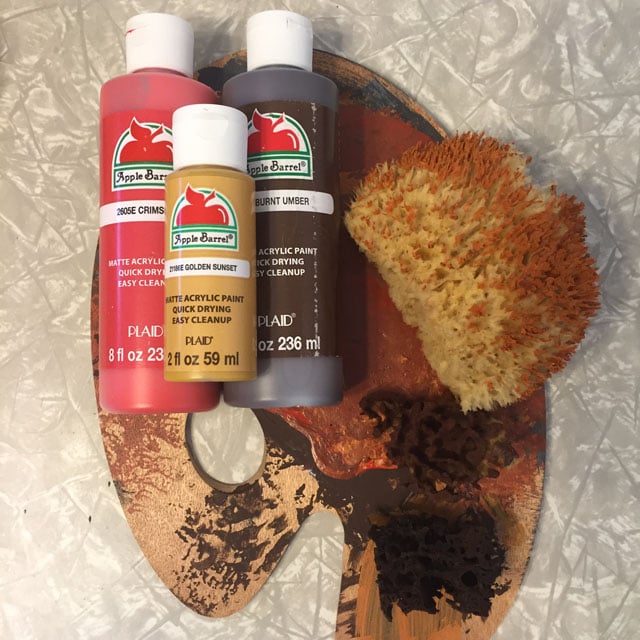
Phase 2: Gray base coat sponge painted with a mixture of burnt umber & crimson
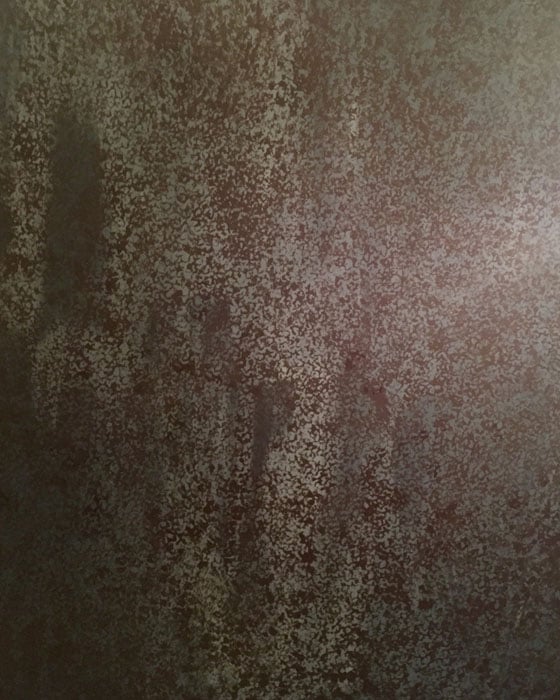

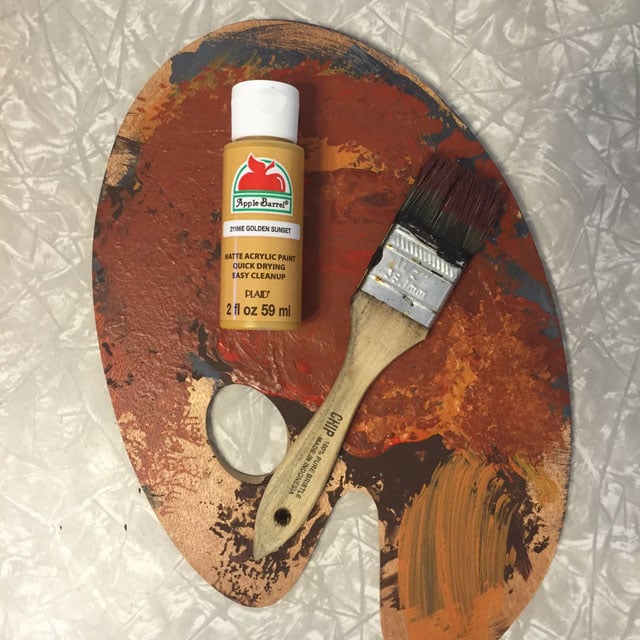
Phase 3: Yellow highlights are applied
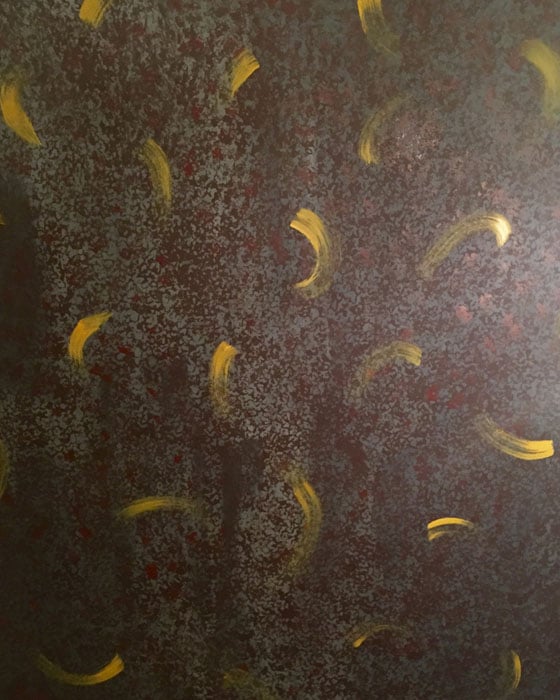
Phase 4: Additional layers are applied with sponges of varying shapes and sizes, spring for larger sponges, they’re much more user-friendly
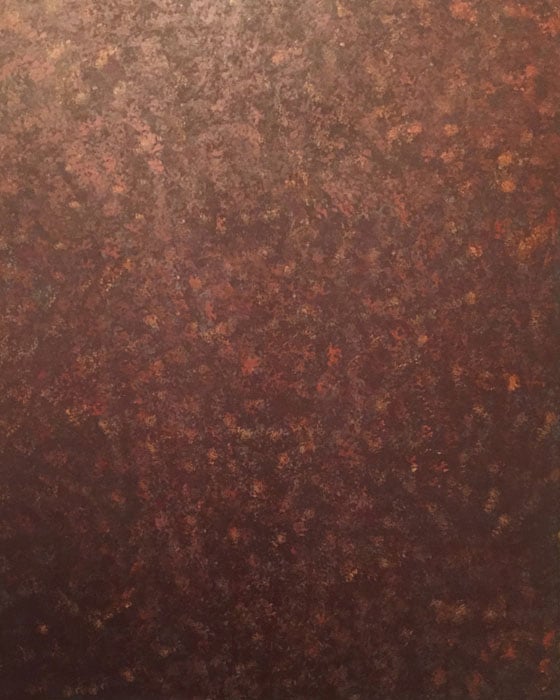
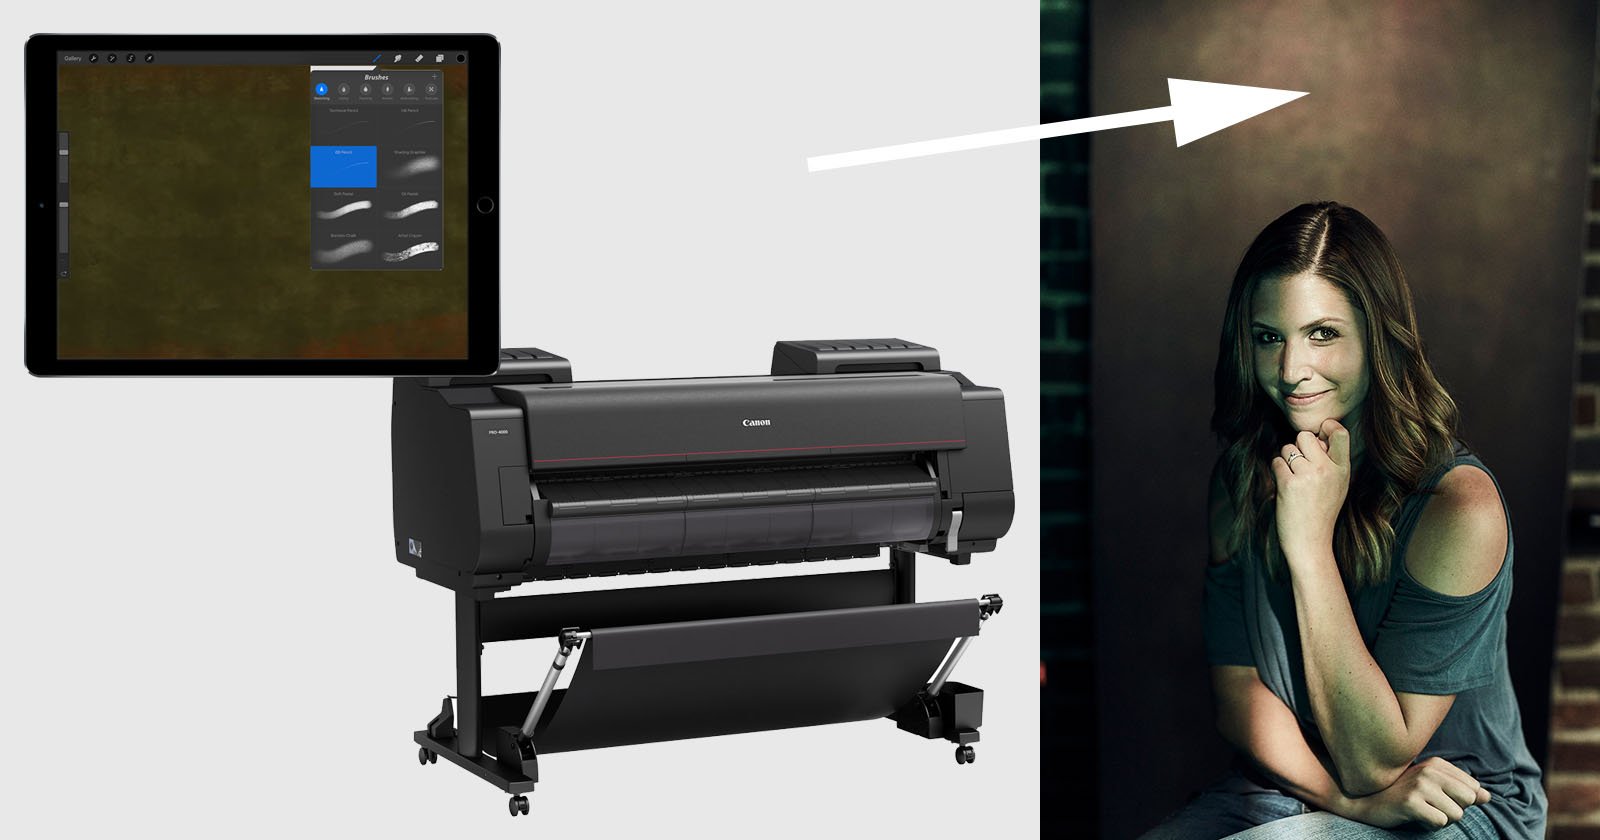
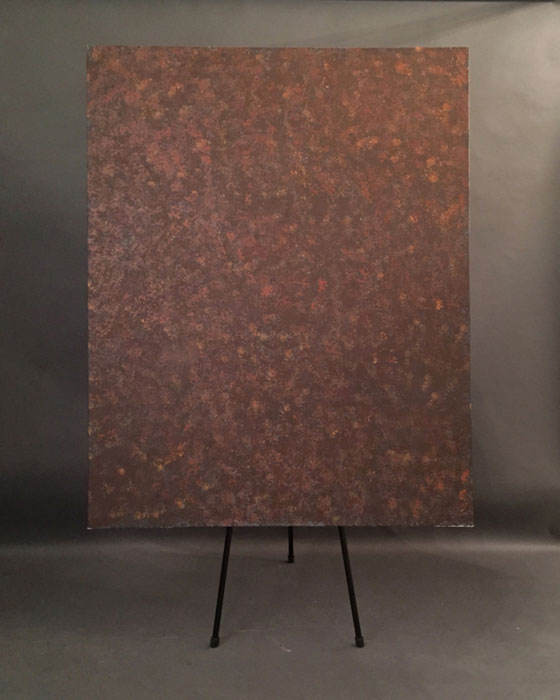
Here’s the final, finished canvas backdrop:
As much as I love thrift stores and thrifting, another visit to the thrift store was made without my knowledge. If you did not detect the sarcasm, I actually hate thrifting and thrift stores. The dress was hanging in the back door of the guest bathroom for longer than I care to admit before I realized it was there. Shame on me apparently, it is bright red and fabulous and highly visible every time I felt the need to empty my bladder.
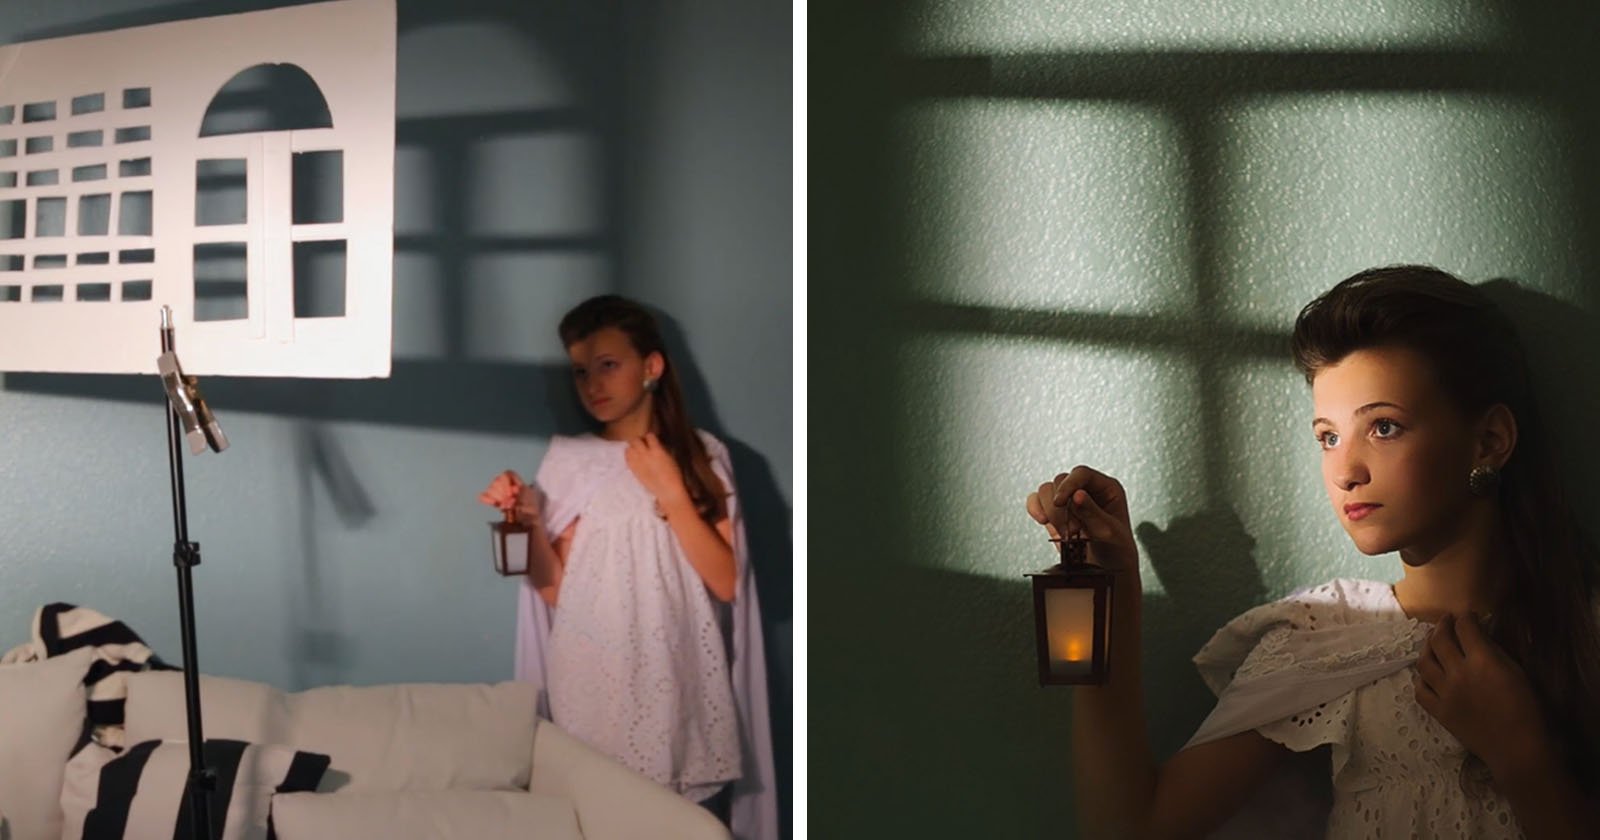
I had several hours to set up the lights. I spent most of that time surfing the web and contemplating the nature of the universe. When I was told that we would be ready to shoot in five minutes, I began to figure out the lighting. Given that the inspiration was William Coupon I decided to go with “Rembrandt” lighting. One key light and one fill.
The backdrop, at four feet by five, is really only big enough for head shots and tight medium shots depending on the size of your model. The dress in all its fabulousness (I’m told) would require full length shots as well. I have Thunder Grey on hand at all times because it’s awesome. I rigged the canvas up on my tri-pod and we were in business. Figuratively, in business, that is. No money was harmed in the making of this shoot.
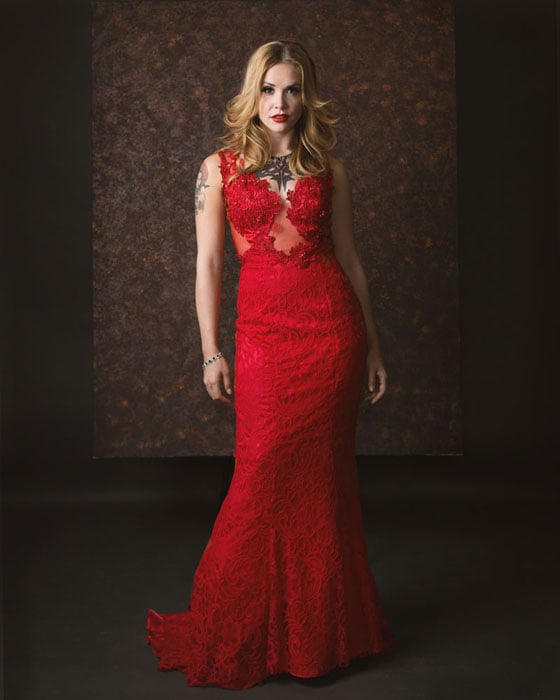
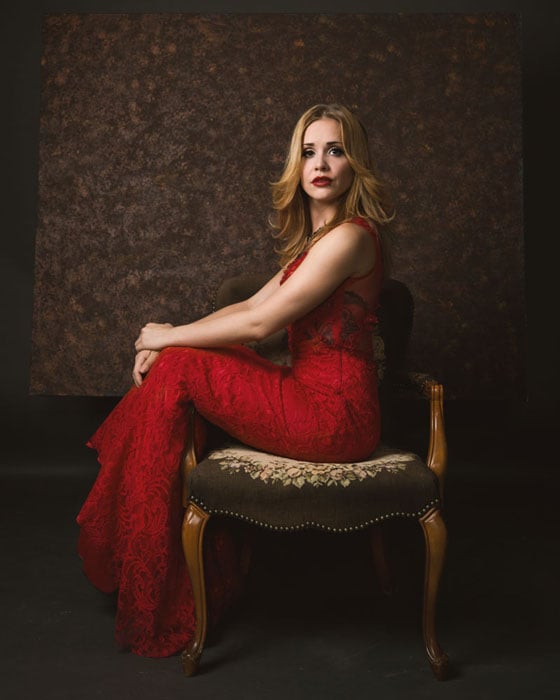
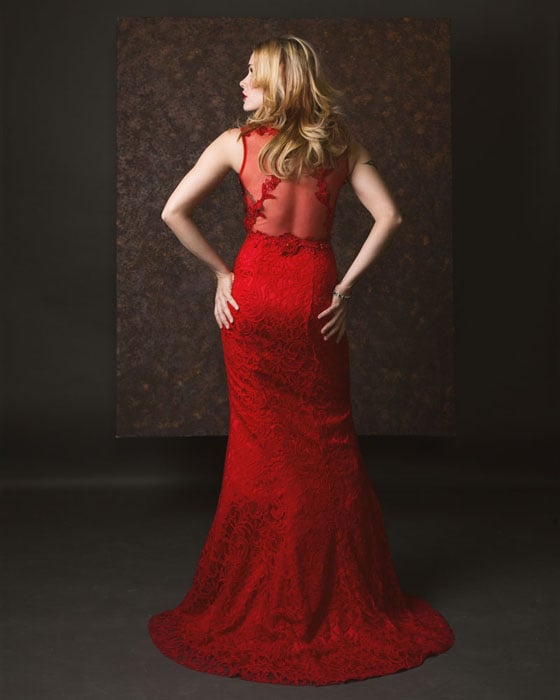
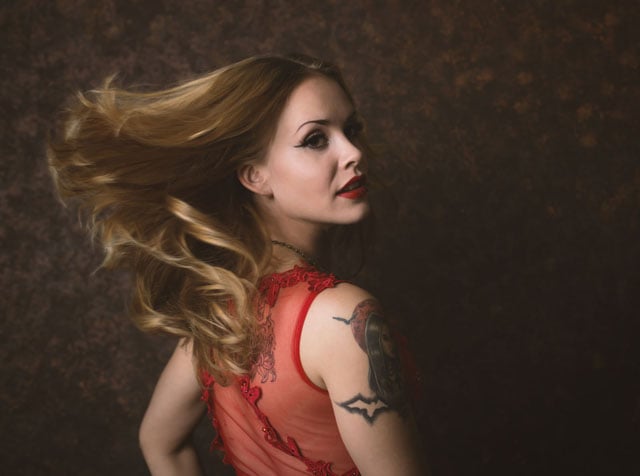
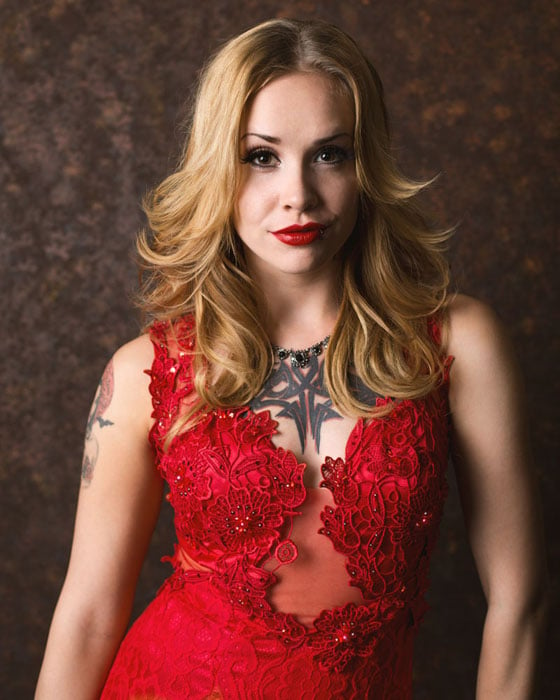
Anyway, here is how it turned out:
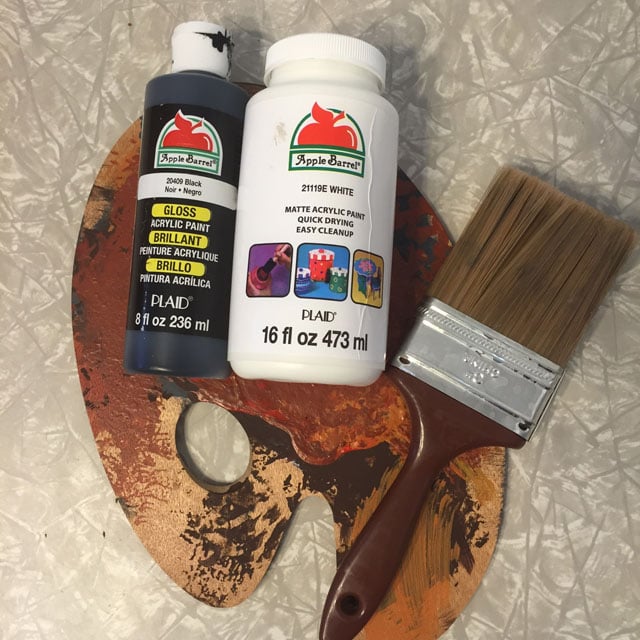
Canvas: $24
Paints: $20
Sponges: $10
Brushes: On hand
Dress: $16
Total time spent: 6 hours
Total cost: $46