DIY: An Ultraviolet Flash for Black Light Photography
Back in May, a body painter offered to collaborate with me for a photo shoot with airbrushed models. This offer gave me a reason to finally experiment with black light photography, which I’ve wanted to try for years now.
The problem with ultra violet constant lighting is low light output. For example: even when using a pair of 400W UV lights, it would require relatively high ISO and low shutter speeds, that wouldn’t work with my old Nikon D5100.
The other option, black light strobes, solves the problem with low shutter speeds and high ISO, but the problem is in cost. For example, a single Broncolor UV Attachment costs more than all of my camera gear combined.
At this point I was rather discouraged with these options. But with some luck, I got my hands on an old soviet UV flood light, that used ultra violet filters, not UV bulbs.
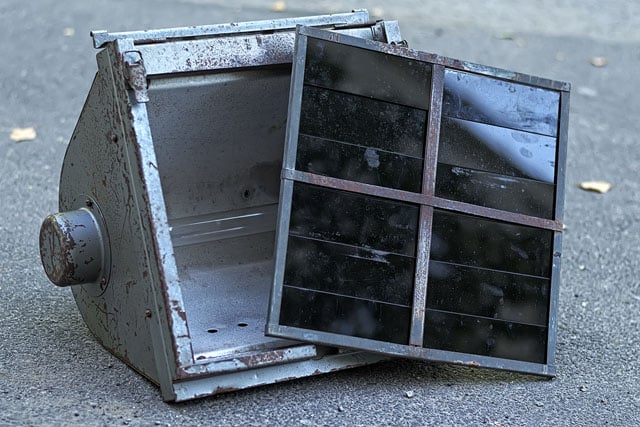
After searching some info about these filters, I found, that it is possible to purchase suitable filters on AliExpress (you can find industrial vendors by googling: “Ultraviolet Transmitting, Visible Absorbing Filter”).
How do these filters work? Most of light sources emit light in visible spectrum (390-700nm) and some light in the ultraviolet spectrum (300-400nm). These filters simply block out visible light spectrum and allows only ultra violet light to pass through. This is what the previously mentioned Broncolor UV Attachment does.
After this long preface, let’s get straight to the point: here’s how I made ultra violet strobes for black light photography.
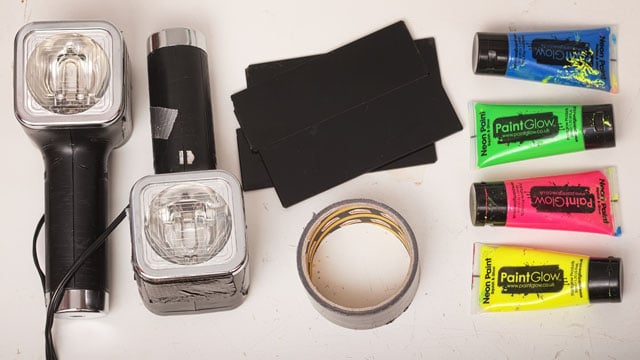
What You’ll Need
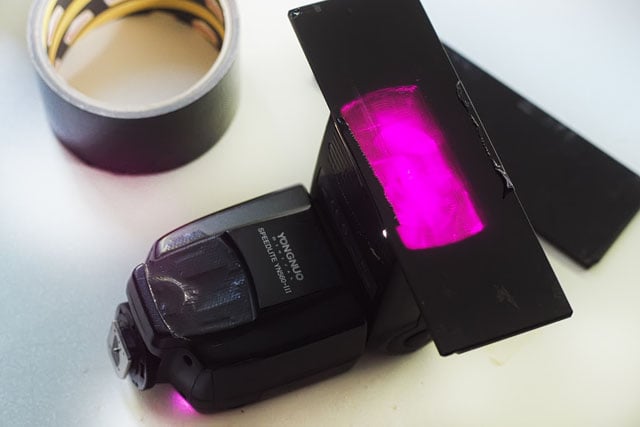
– A flash (I used a pair of old FIL-105)
– Ultraviolet transmitting, visible absorbing filter.
– Gaffer tape
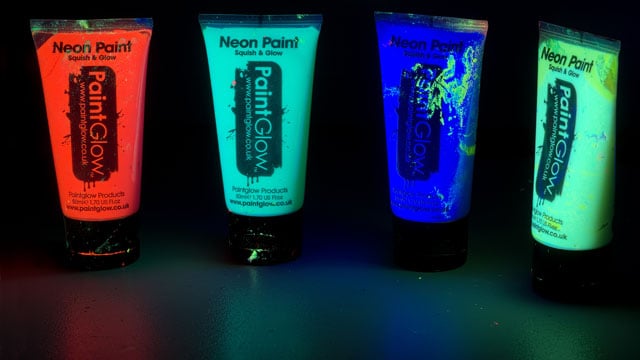
– UV body paint
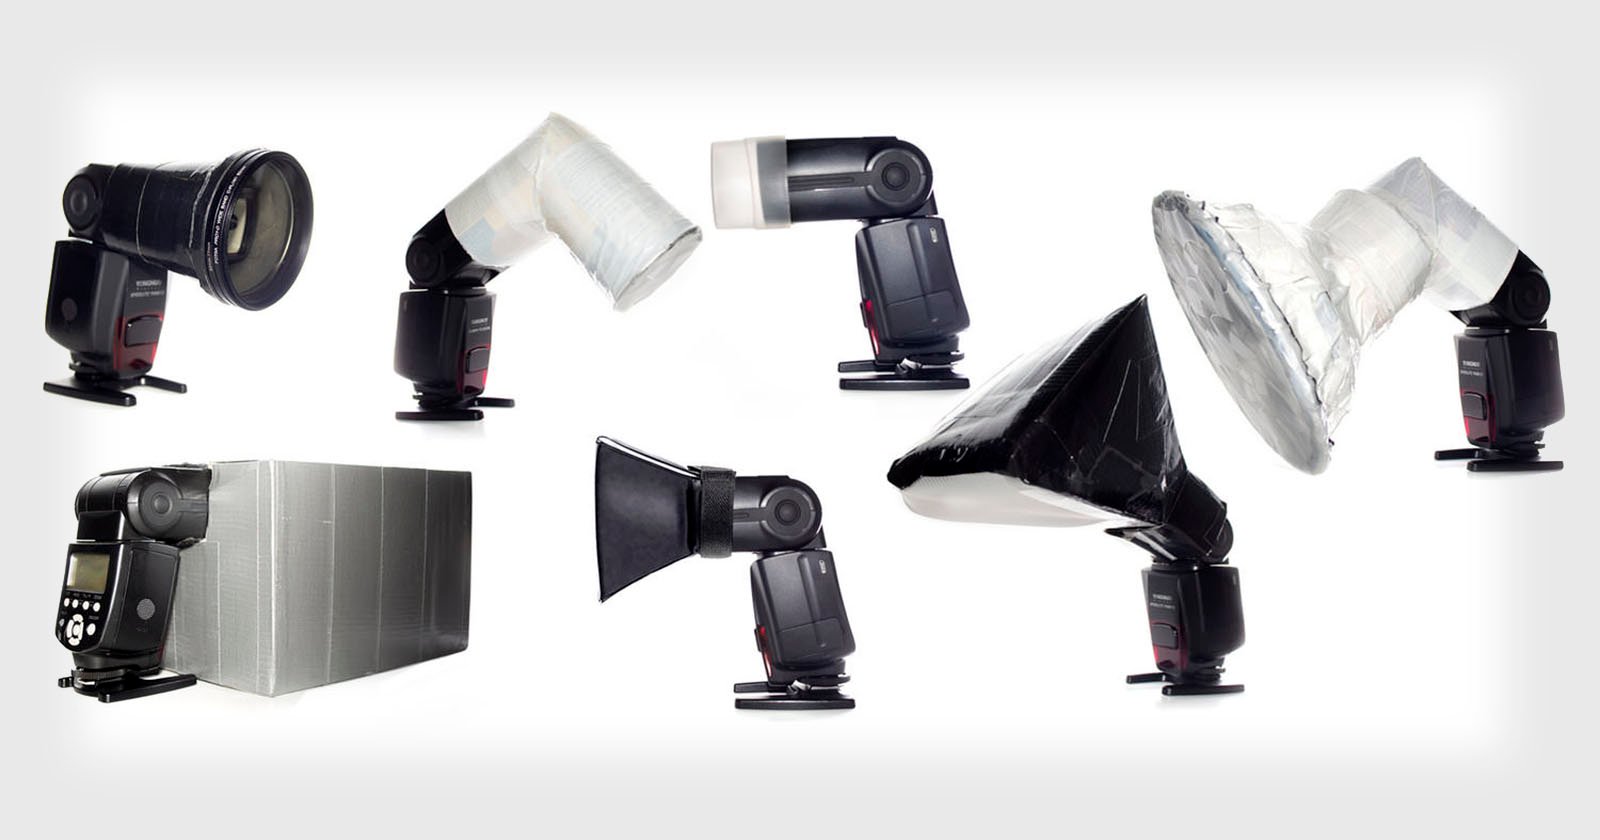
The hardest part about this project is to get the supplies, but after that you don’t need to be a brain surgeon to attach UV filters to strobes.
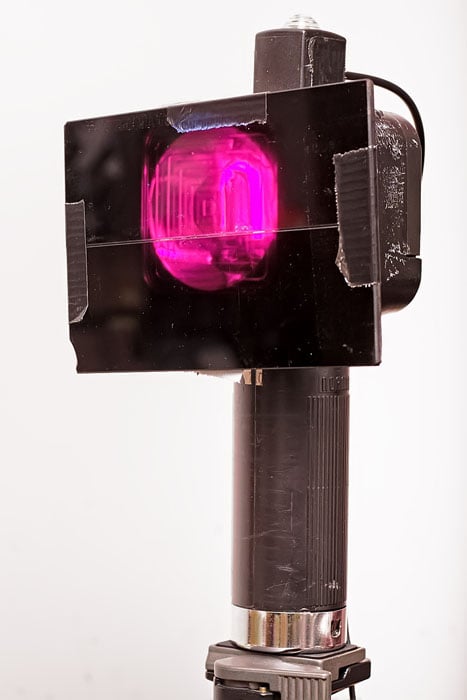
Now, when it comes to hot-shoe flashes, it can get a bit more complicated. Some flashes, especially high-end ones, like CaNikon, have UV blocking filters. These flashes require removal of this filter to work with black light photography:
In case of my YN560-III I didn’t need to do this because it did not have uv blocking filter.
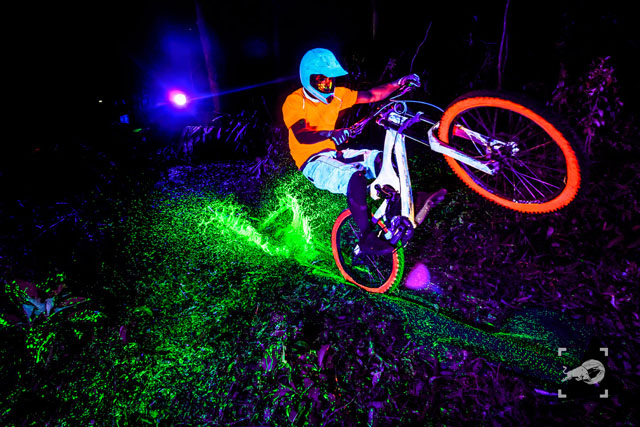
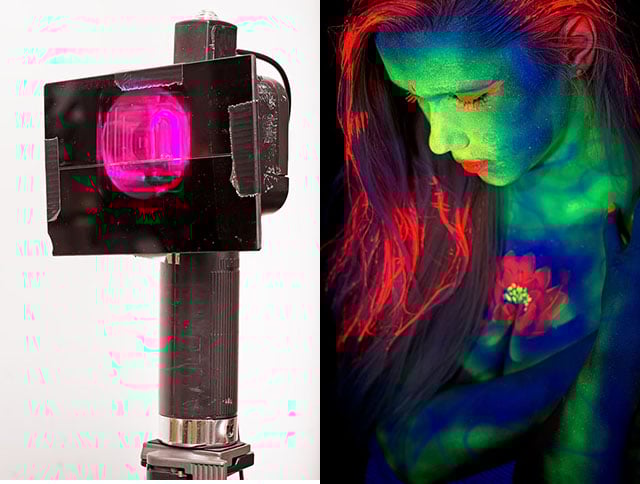
Here below is a test shot with UV paint, illuminated with YN560-III.
Next, I’ll discuss my UV photo shoot setup and some of the photos, from my first UV photo shoot. Here’s a behind the scenes look at setup.
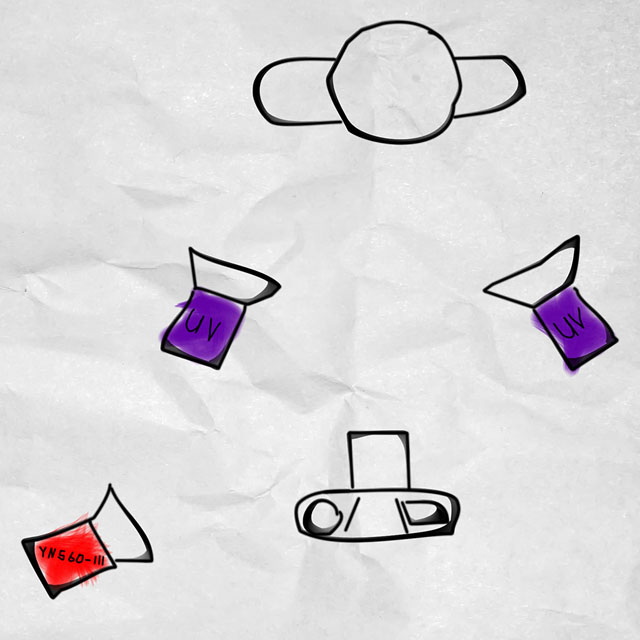
My light setup was really simple. I used both FIL-105 flashes for UV. Because these FIL-105 flashes synchronizes optically, I use YN 560-III on lowest power to trigger them.
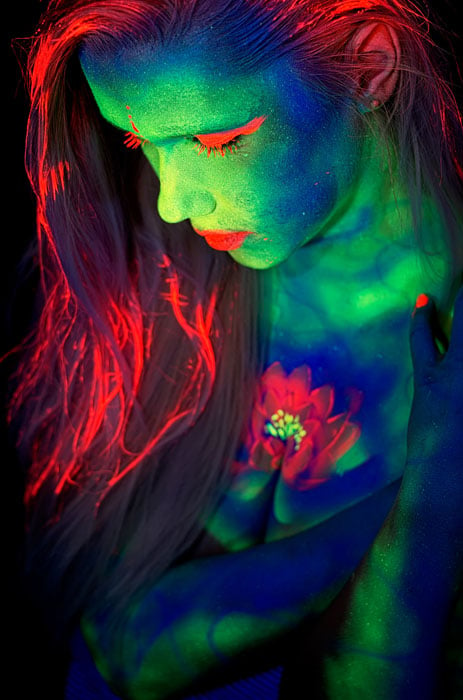
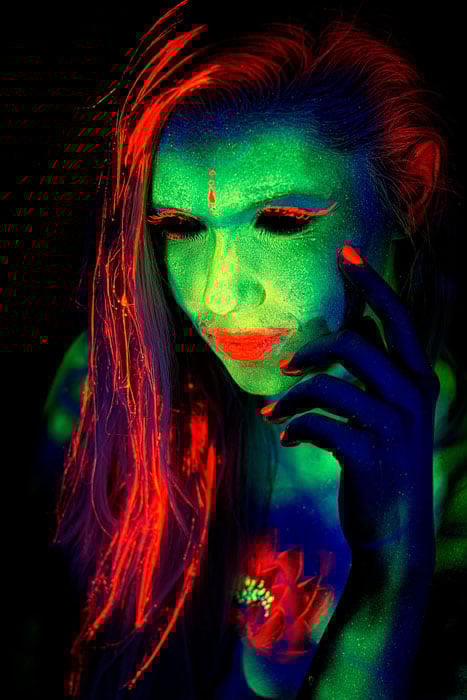
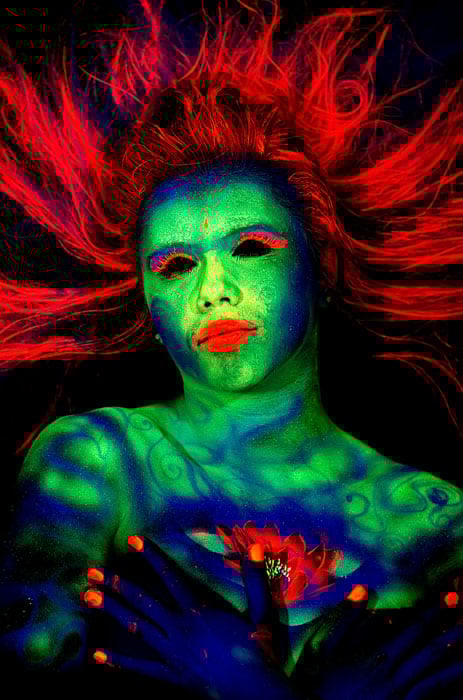
Here are some photos, made with this setup:
A few extra tips,I learned from this project:
– Be careful with blue UV paint because its fluorescence is the brightest comparedto other colors. This makes it really easy to blow out blue tones.
– Theoretically, it should be possible to salvage filters by cutting UV bulbs in half.
– Most text highlighter pens are fluorescent.
– Avoid incandescent UV bulbs and UV LED lights.
That is pretty much it! You can find more photos from my UV shoot here. Good luck.
About the author: Gvido Murnieks is a photographer based in Valmiera, Latvia. You can find more of his work and writing on his Flickr and website. This article was also published here and here.