DIY Strobe Reflector Uses an IKEA Lampshade and Leaves Your Modeling Light Smelling of Coffee
If you happen to have an old studio light sitting around, or you’ve found a set on Craigslist you’d like to pick up, we found a clever DIY hack that you should take a look at. Put together by Instructables user gmjhowe, the hack uses an IKEA lampshade and the bottom of a coffee tin to make a basic, but impressive, reflector.
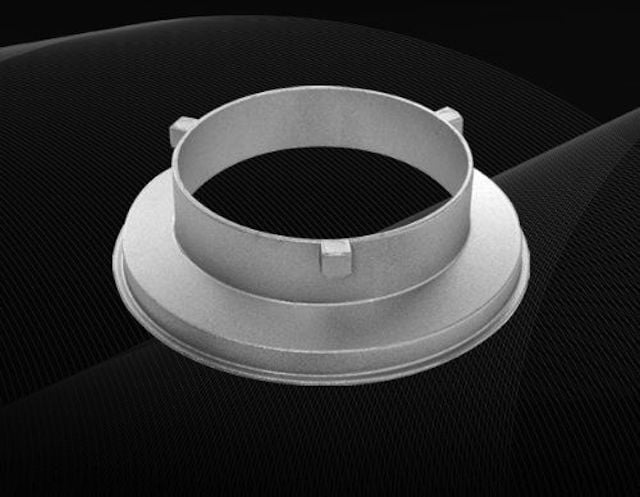
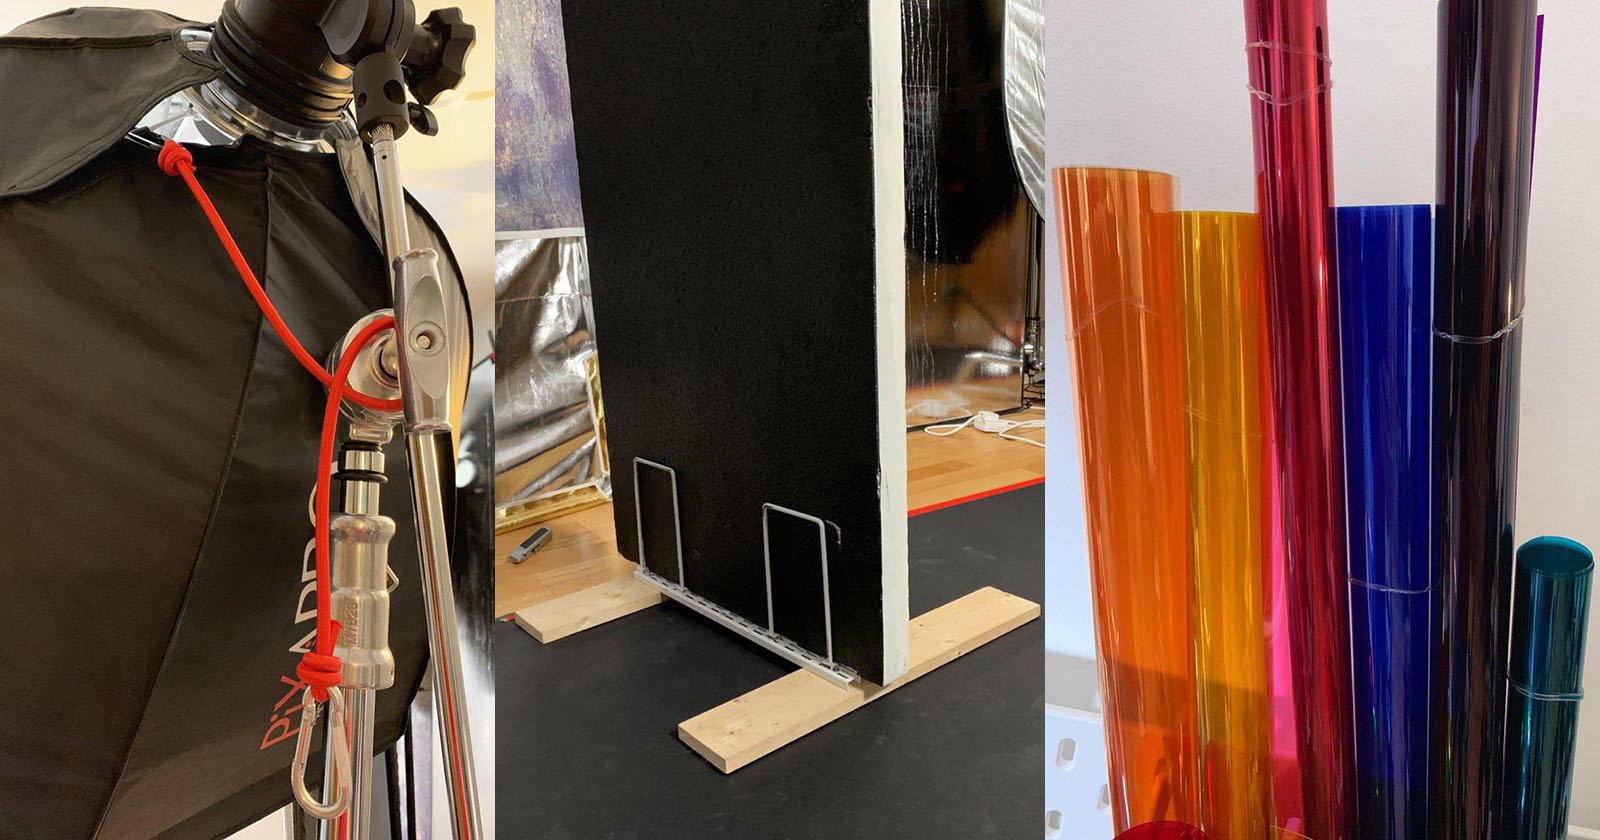
As with all DIY activities, you have to start with the materials. For this one, you’re going to need an IKEA Foto lampshade, a cheap adapter that has your strobe’s proper mount, some small nuts and bolts, a file, a drill and a handsaw or plier cutters.
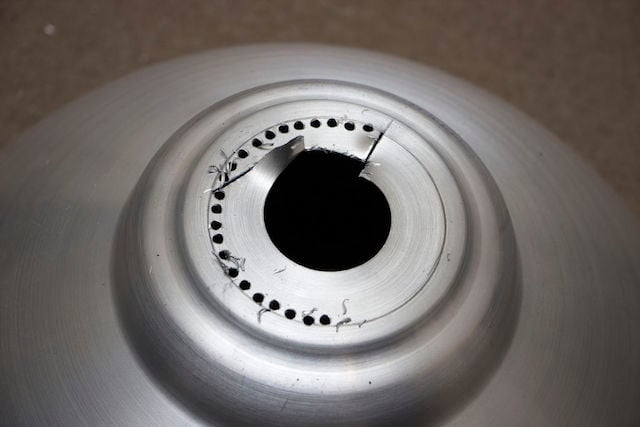
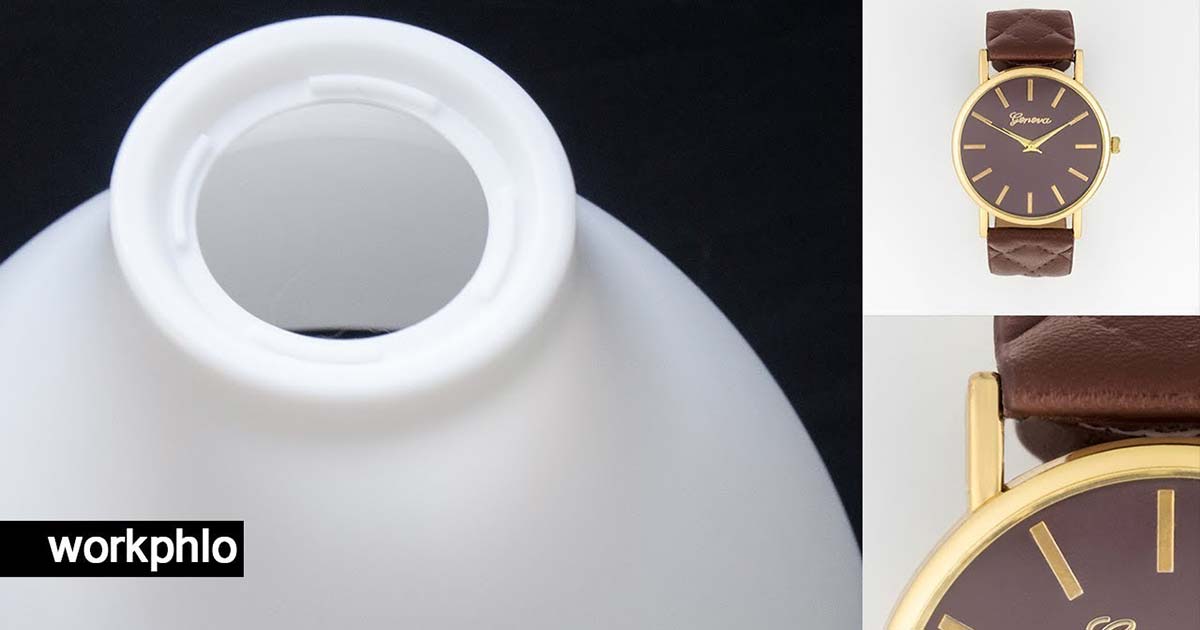
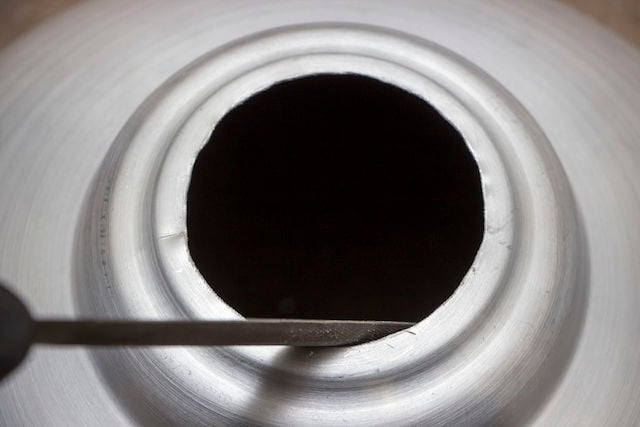
Once you’ve gathered your supplies, you’re onto the creation process. The first step is to make the rear hole of the lampshape larger so that you can attach the strobe adapter onto it. This is where the handsaw and file come in.
Once you’ve made the hole large enough and smoothed out the rough edges, place the adapter onto the lampshade by marking where the mounting holes are, drilling accordingly, then using the nuts and bolts to attach the two together.
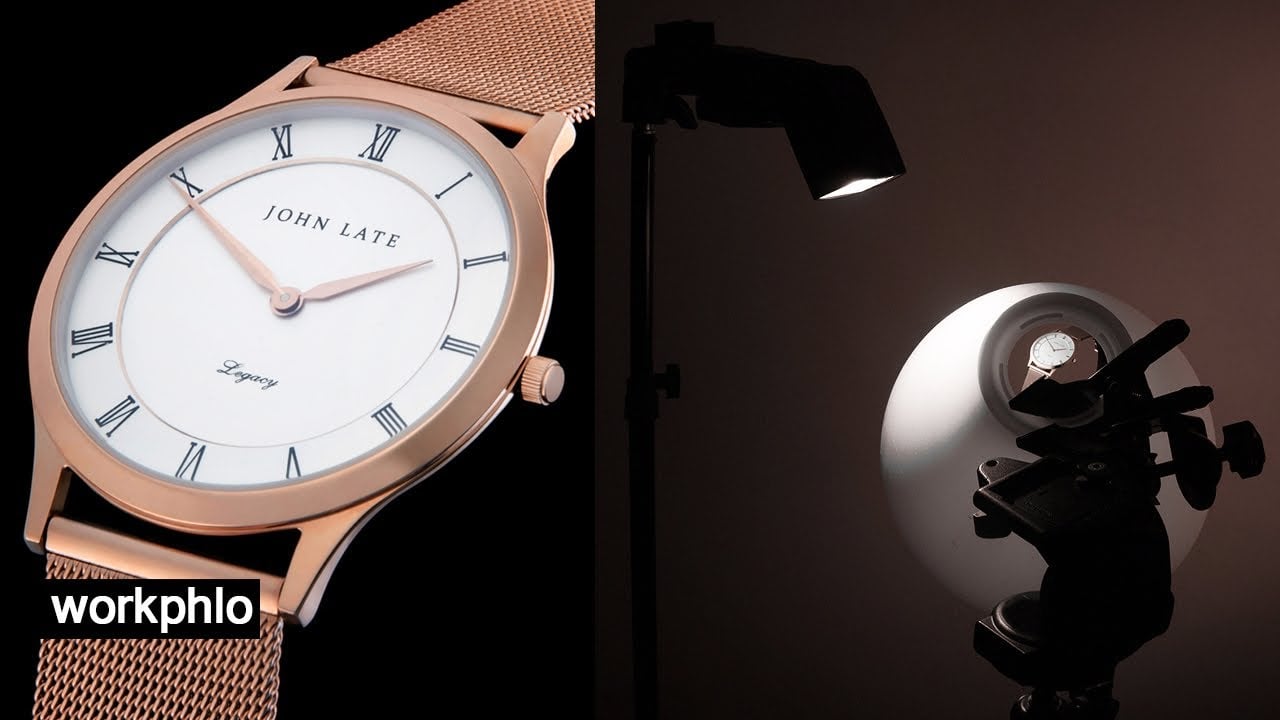
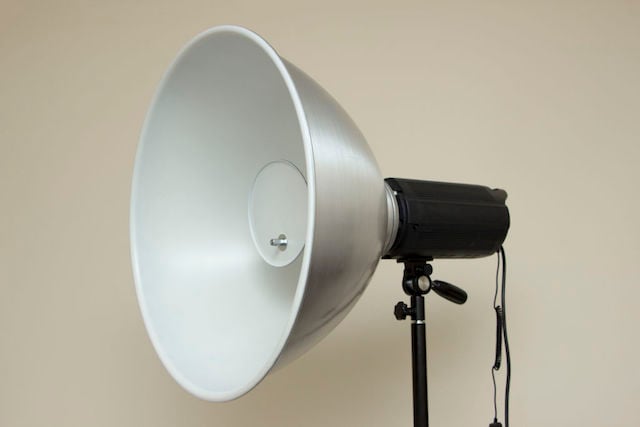
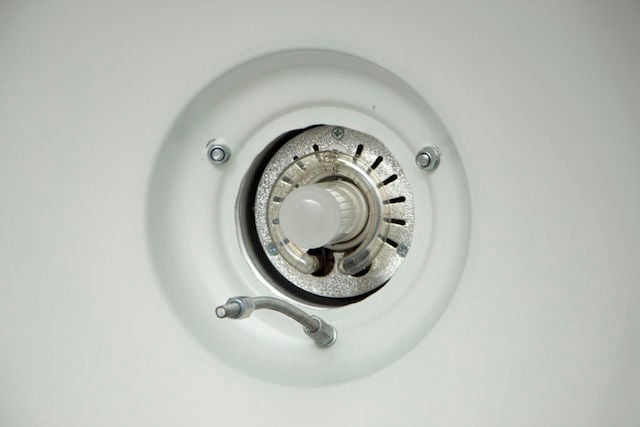
The final step is to take the metal base off a coffee tin, paint it white or silver, and use another nut and bolt to attach it to the lampshade as seen in the image above.
In addition to its practical purpose, the coffee tin bottom adds a bit of a perk to the light: when you use the modeling light, your studio will smell like coffee… take that professional non-DIY alternatives.
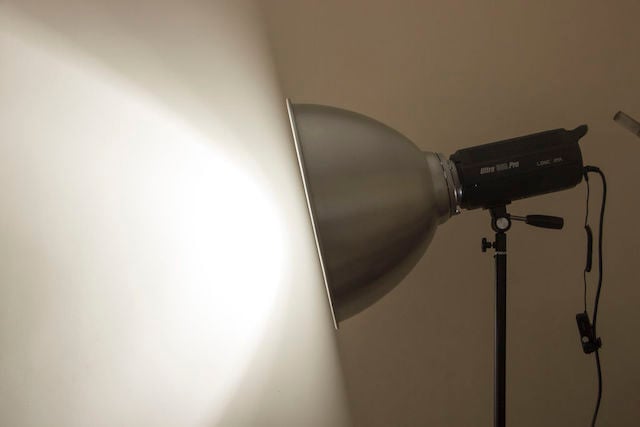

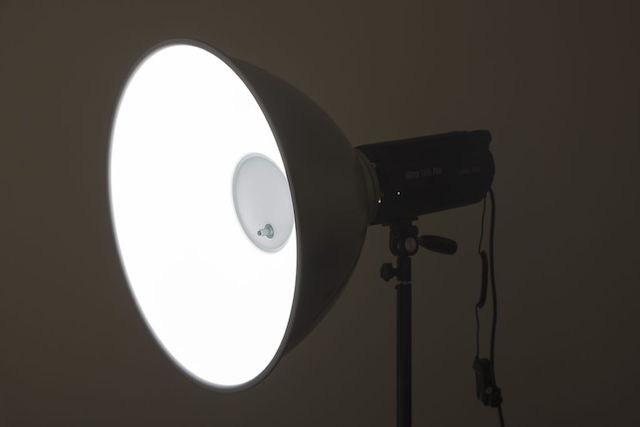
And that’s it. Now you simply mount the reflector onto your strobe and you’re good to go! The steps and pictures above should get you most of the way there, but if you’d like to check out the full tutorial, head over to the Instructables post by following the link below.
DIY Photo Reflector for Portraits [Instructables]