How to Make Your Own Photographic Negative Business Cards
Editor’s note: The creative photographic negative business card idea that we shared recently was pretty popular with our readers. Here we’ve asked Steph Goralnick to share how exactly it was made in case you want to make your own.

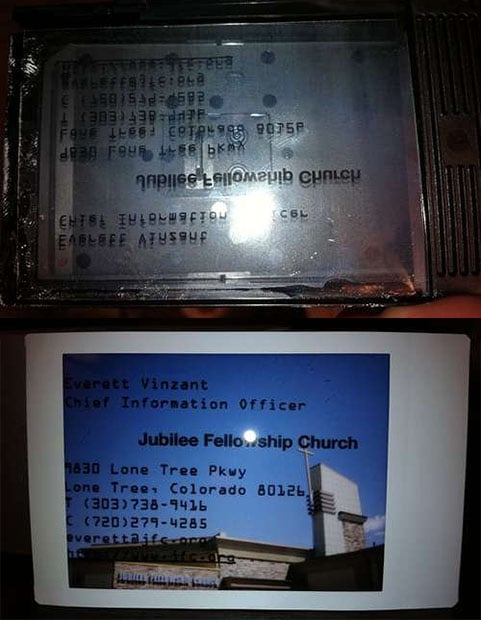
The realization that I had run out of my regular business cards the night before I was scheduled to attend a weekend-long special event inspired me to create a small edition of extra special cards on the fly. I was aiming for a simple design with a unique construction that would showcase my skills as both a photographer and a graphic designer. Due to the fact that time was an issue, traditional vendors out of the question; and since I didn’t need more than a couple dozen cards, I decided to make them myself at home using an inkjet printer and some negatives.


Adhesive was applied, the negative placed onto one half, and the front and back of the card folded together and trimmed with a metal straight edge and x-acto knife.


Since it is made from two pieces of thick paper glued together, the result is a heavyweight card with a die-cut for the negative to show through when held up to the light.

About the author: Steph Goralnick is a photographer and designer based in Brooklyn. Visit her website here