How to Create and Capture Stunning Ink Flow Photos
Have you wanted to capture your own ink flow photographs at home? Below, I’ll explain a few easy tips that make use of an inexpensive fish tank and a pot of ink or paint. As the paint is poured into the water a multitude of incredible shapes form which, when photographed, transform into the most unreal underwater sculptures.
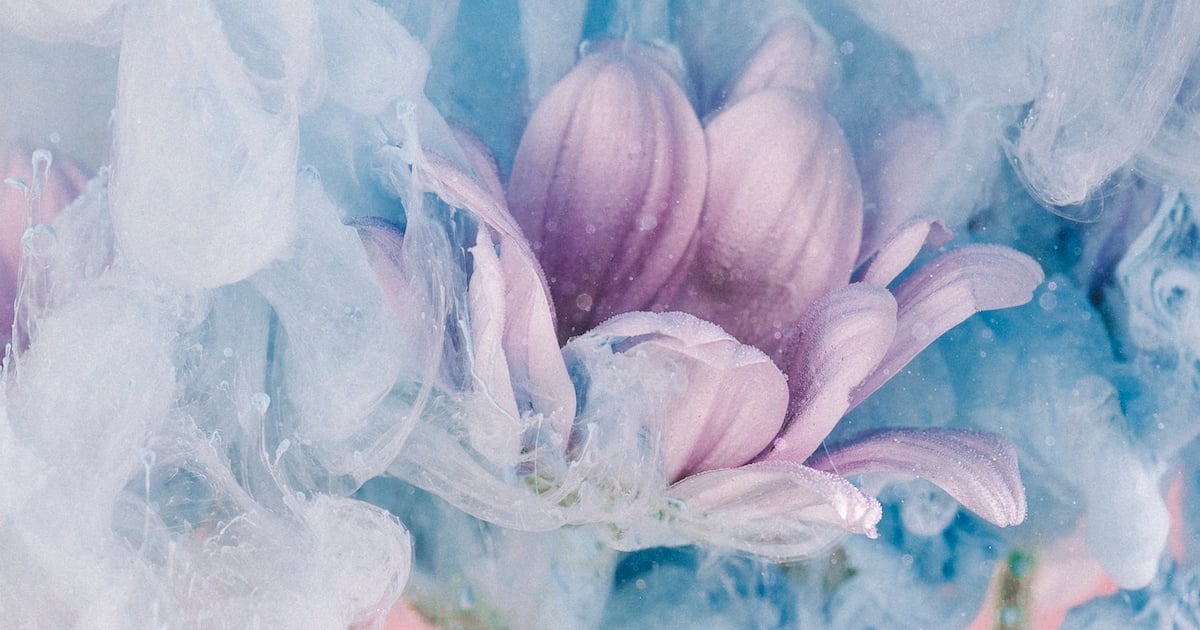
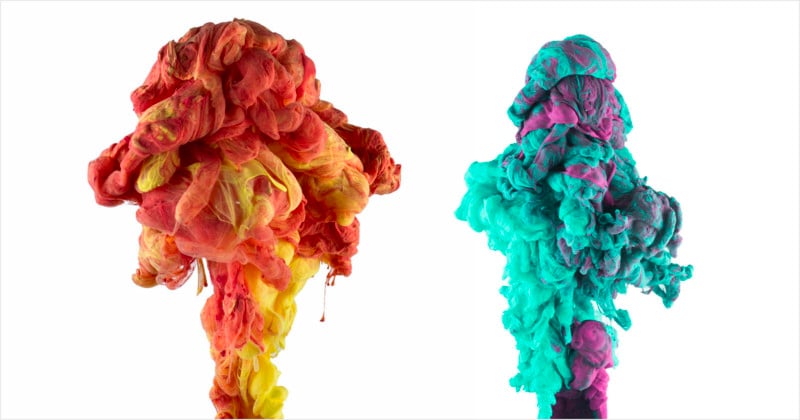
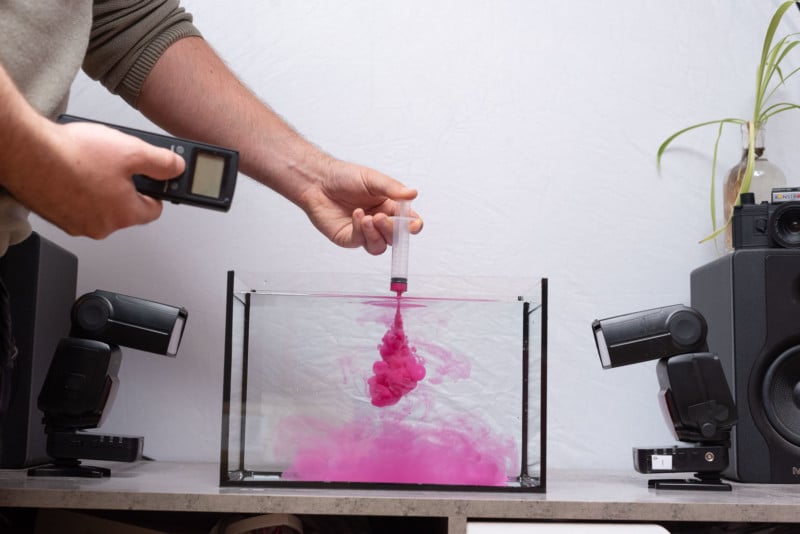
Ink flow photography involves pouring ink, paint, or another colored mixture into water in order to capture the fluid shapes and textures. When set up correctly with good lighting, intricate folds form as the ink billows. Capturing this action with split-second timing results in ink flows that look more like solid sculptures than liquid.
There are ten key steps to ensure you have maximized your chances of creating good ink flow photographs. They involved selecting the right water tank, preparing and cleaning said tank, using the right ink or paint, and mixing viscosities. There’s also a careful balance between off-camera lighting and camera settings to adhere to if optimal shadows and texture are to be achieved.
Luckily, this is something you can do at home relatively simply. To demonstrate, I’ve set up in my living room with a $20 tank I bought online and a $1 bottle of paint, so let’s get started.
1) Setting Up the Tank
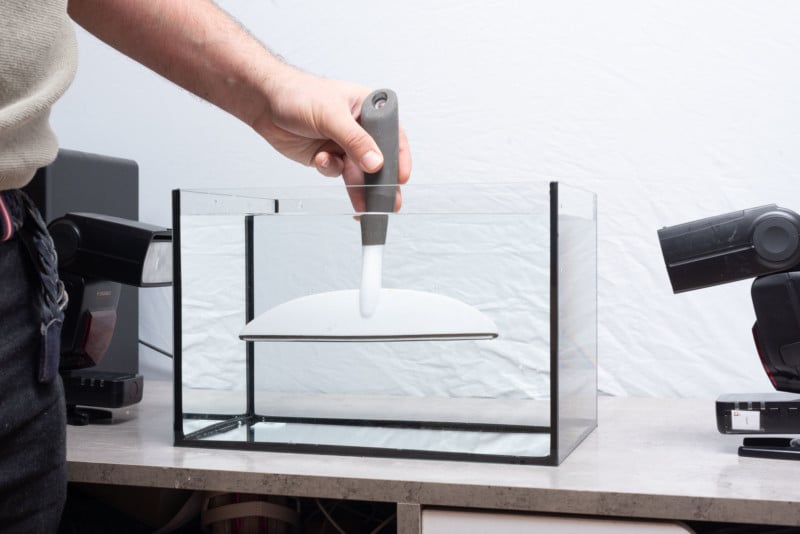
The most crucial stage is choosing the right tank and setting it up properly. The best tank to use is one made of glass with flat panes because the flat panes will distort the image less and reduce the likelihood of chromatic aberration and softness in the image. Also, glass generally has better clarity than plastic which will result in photos that appear more cloudy. Also, plastic discolors over time (though I’m sure there are some plastic tanks out there that work suitably well, in my experience the glass ones have always been better).
Once filled with water, you’ll want to use something like a squeegee to knock off the air bubbles that accumulate on the side of the glass. Make sure you set up in an area that you don’t mind getting wet, preferably near a sink or hose. Also, place a white sheet of card or have a similar clear, plain backdrop behind the tank. It could be any color, but I prefer white to help reflect light into the frame.
No tank? No problem. Just use a glass suitable for boiling water and make a cup of tea (I would say that as a Brit, wouldn’t I?). Let it brew for just a few seconds until the water turns a light brown, then slowly pour a dash of milk in. Photograph the top or side of the glass in order to capture the fluid dynamics.
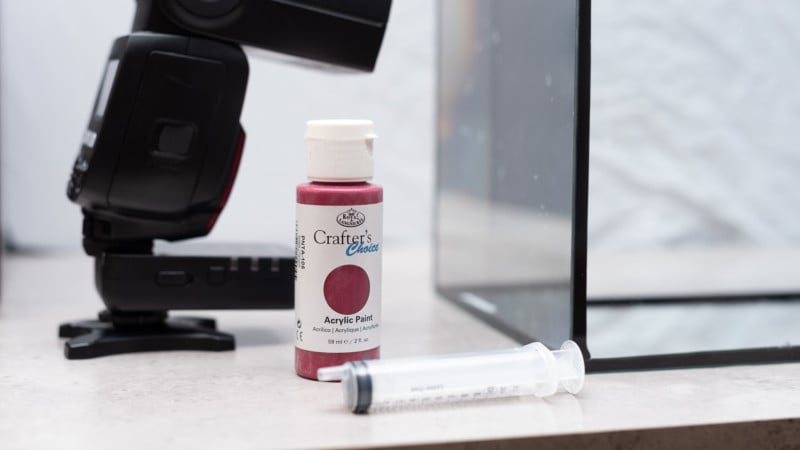
2) Choosing Your Paint or Ink
Often referred to as ink flows, there’s actually a variety of media that work well for this kind of photography. Ink, as well as paint or even food coloring mixed with glycerin, can produce evocative effects. The crux of mastering the flows, though, is in the viscosity of the ink you’re using. You can make ink more viscous by mixing in a thickening agent like glycerin if you want flows to hold together better, but add water to the mix if you want more blending between ink and water.
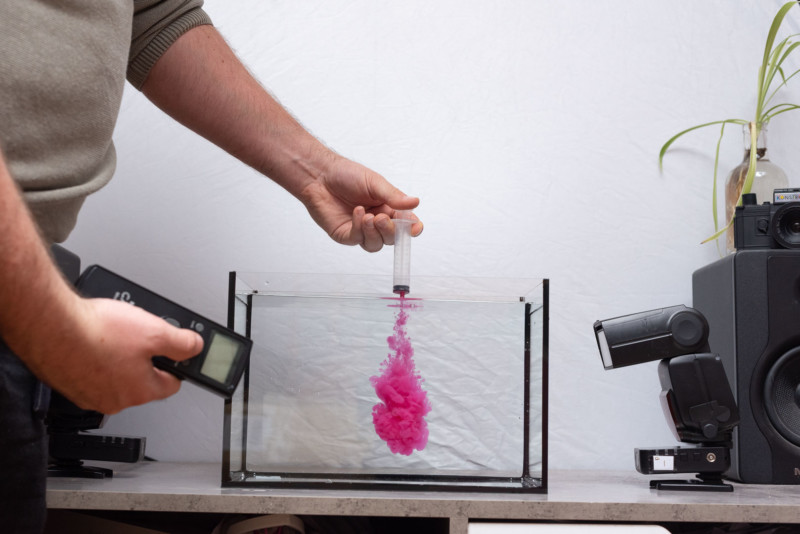
I like to use a syringe to inject the ink into the water just beneath the surface for a cleaner flow. If I inject it above the water, the surface seems to spread the ink out too wide before it sinks down and shapes become amorphous. I usually tape the syringe to a piece of wood that rests across the top of the tank. If you don’t have a syringe then cut the top off a bottle, flip it upside down and suspend it with tape or string in the same way, with the opening resting just below the surface.
3) Ideal Lighting
Lighting makes a huge difference to ink flow photography. You can use continuous lighting like LED lamps or flashlights, but it’s hard to freeze the movement of the ink as you continue to shoot because the lamps are often not bright enough to attain a shutter speed fast enough.
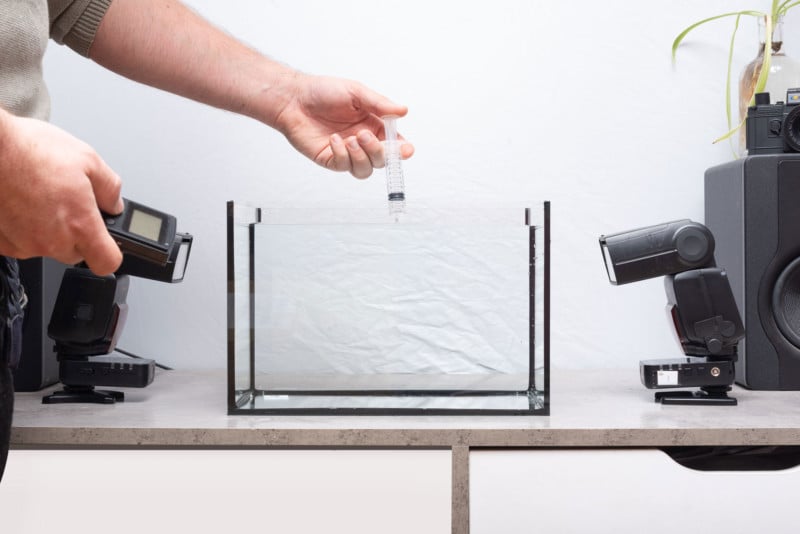
Instead, I prefer to shoot using one or two speedlights with wireless triggers. I place them on either side of the tank and aim them into the center for flattering side light. I prefer to flag the speedlights placed on the camera side so that I don’t get flare in my shots because the camera is usually quite close to the tank.
4) Composing the shot
Place the camera on a tripod and use a standard 50mm lens or similar to shoot with – you probably won’t need a macro lens as the ink flows are usually quite big by comparison to macro subjects. Never shoot too close to your tank, especially if you have a small one. While filling the frame with the subject is normally a good idea to maximize image detail, it’s actually better to include most of the tank, if not the whole thing, in the frame.

That’s because as you pour the ink in the water it will start to billow outwards, filling the tank to the sides, and eventually completely coloring the water inside. By shooting wider than required you can choose from many more photos later when editing, cropping down where needed for the perfect composition.
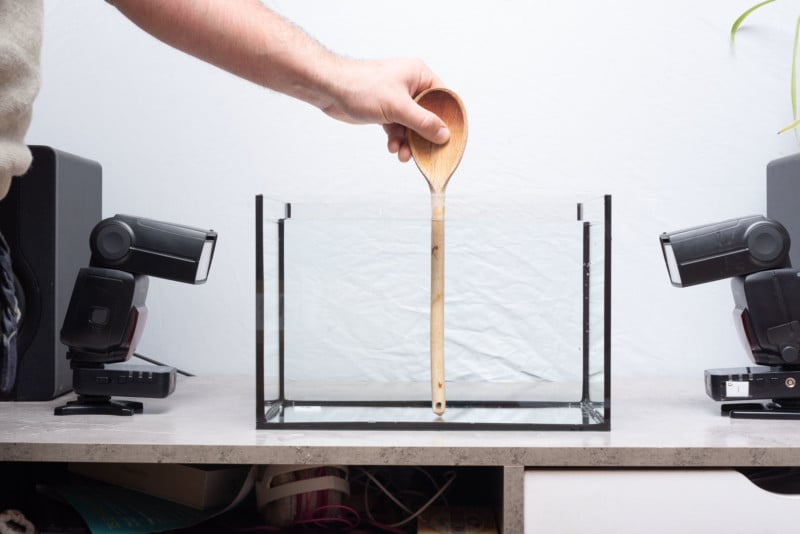
5) Focusing Up
Now that the camera is in place and the pouring location is decided, I like to place a wooden spoon or chopstick where the end of the syringe or bottle top enters the water. I use Live View on the back of my camera and manually focus on the spoon and then disengage autofocus to maintain sharp shots throughout.
6) Choose the Right Camera Settings
To create that familiar ink flow look, there are some key settings you must dial in. Depth of field has to be just long enough that the entire ink flow is sharp, so an aperture of around f/5.6 to f/8 is ideal on a 50mm lens. Synchronize the shutter speed with your speedlights if using them; this is usually 1/250 sec. I set ISO as low as possible (usually around ISO100) and then adjust flash power to get a balanced exposure.
Turn the camera to continuous burst mode to rattle off multiple images in one pouring. If you find the speedlights haven’t had time to recycle to complete the burst then turn down the power and increase the camera’s ISO sensitivity to compensate.
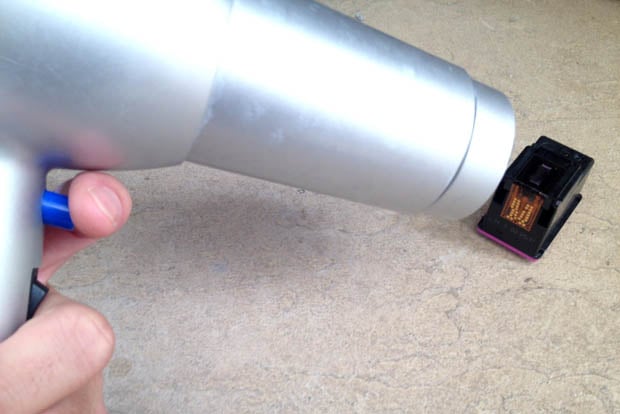
7) Use an External Shutter Release
Pouring and shooting the camera at the same time will be difficult if you’re on your own. In this case, it’s worth investing in an external shutter release. They’re relatively inexpensive for a basic model and will allow you to trigger the camera at a distance while pouring the ink in. I find this better than a self-timer or exposure delay mode because I can decide precisely when and how long the shutter fires.
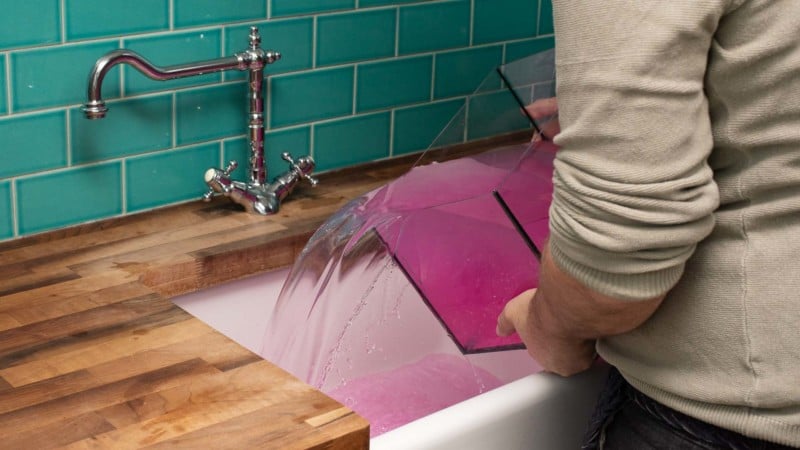
8) Empty and Clean the Tank
This is the most time-consuming part of the whole shoot, especially when you’re all set up with the camera and lighting. Once filled with ink, the tank will become obscured and you’ll have to clean it out before shooting again. Tanks are heavy when full of water so take care when emptying (this is why it’s helpful to set up near a sink). Clean the inside too, as some paint may remain on the glass and will seep into the shot again when refilling.
9) Shoot Early and Keep Shooting to Reveal Unravelling Shapes
Start shooting just as the ink starts to fall in the water and keep the shutter release depressed as it unfurls. You’ll get loads of photos that each look different as the flow changes shape in the water. However, you might find that your camera’s buffer or memory card write speed is low and shots get hung up while waiting for this to clear — that means you’ll get lots of initial shots and miss all the later ones. If you’re experiencing this issue, shoot in small bursts instead of holding the release down continuously.
10) Experiment With Different Colors
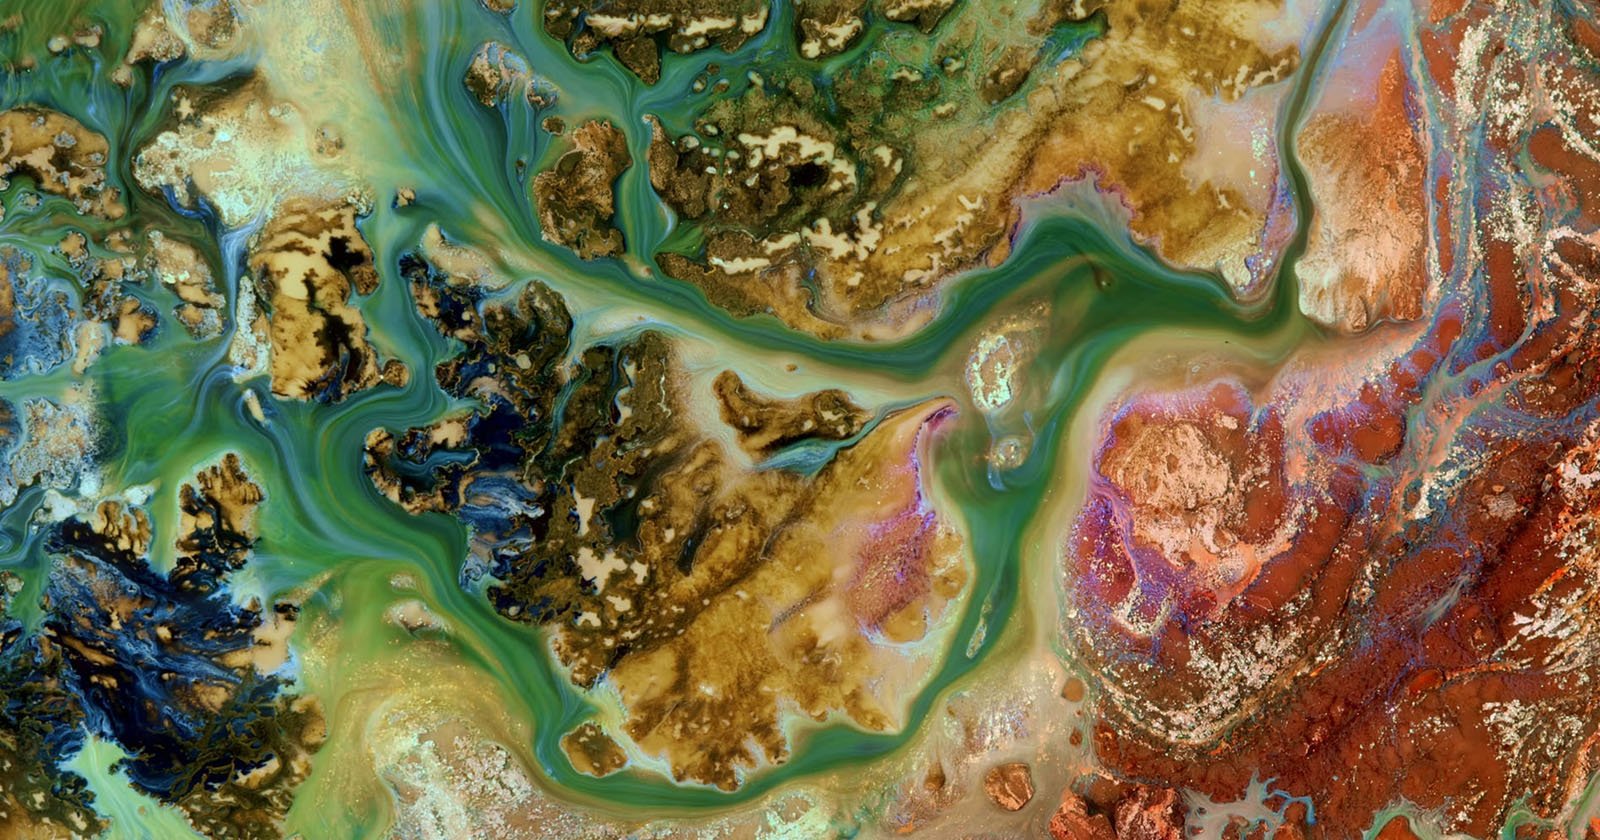
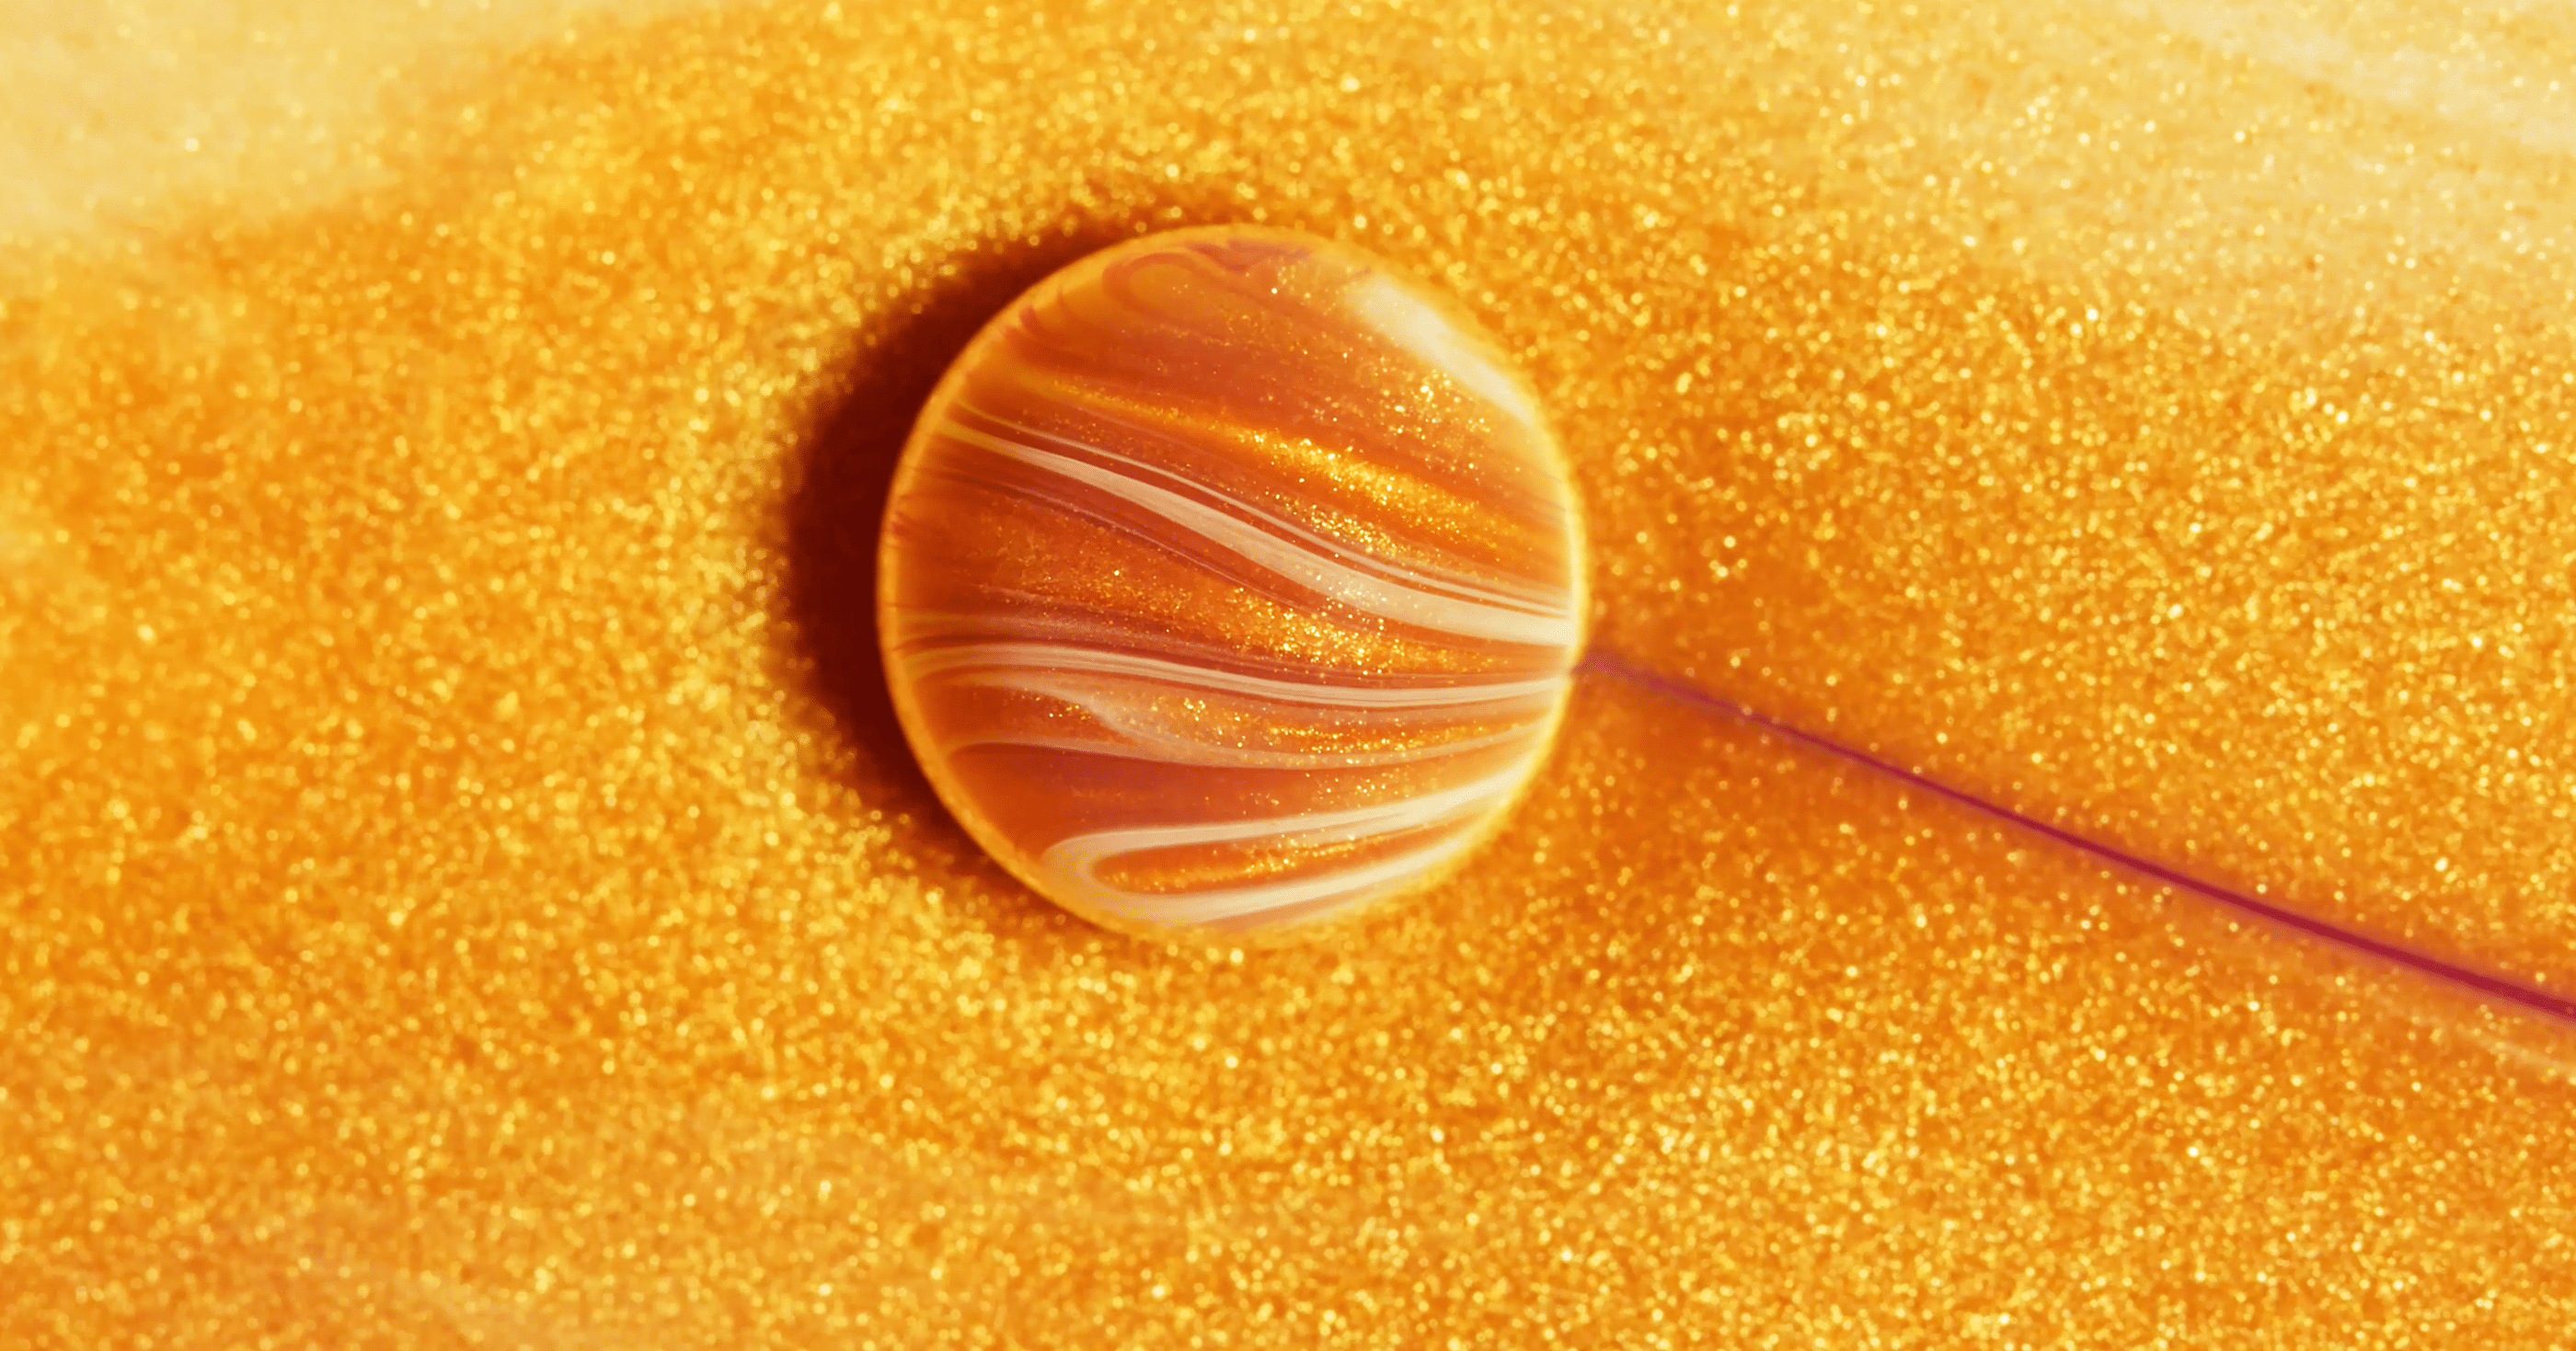
Once you’ve taken a few shots and got some nice ink flows, experiment with different colors and even try multiple pours in one go. Mix colors to complement or contrast each other. Blue and pink, yellow and red, or blue and red all work well together. Pour the paint in from different sides to allow both colors to display fully in the flow.

Bonus Tip: Post-Processing
While this tutorial isn’t about post-processing, it should be noted that adjustments to the whites and blacks sliders in image editing software can help expand dynamic range and improve contrast. Removing little bubbles with a healing tool is great to tidy up the finished photo, too. Rotating the image upside down can make the ink flows seem like statues standing upright, which is how the main image has been edited.