How to Blur the Background in iPhone Photos
Your iPhone can nicely blur the background to enhance a photograph or video. A similar effect works well with video chat software, eliminating distractions and putting the focus on the subject. Whether you want to blur the background during a FaceTime call, snap a beautiful portrait photograph with your iPhone, or edit the background blur in pictures you’ve already captured, we’ll explain how it works to help you get the blur you want from your iPhone.
Table of Contents
How to Use Portrait Mode on an iPhone
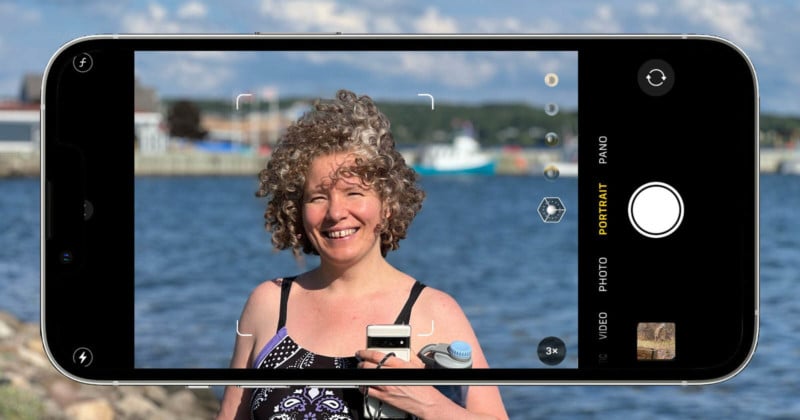
Most recent iPhone models (as old as the 2017 iPhone 8 Plus) include a special camera effect called Portrait mode that simulates the pleasant background blur that’s common in photos captured with DSLRs. To take a picture in Portrait mode, simply open the Camera app and slide the mode selector that’s near the on-screen shutter button until the Portrait option is highlighted.
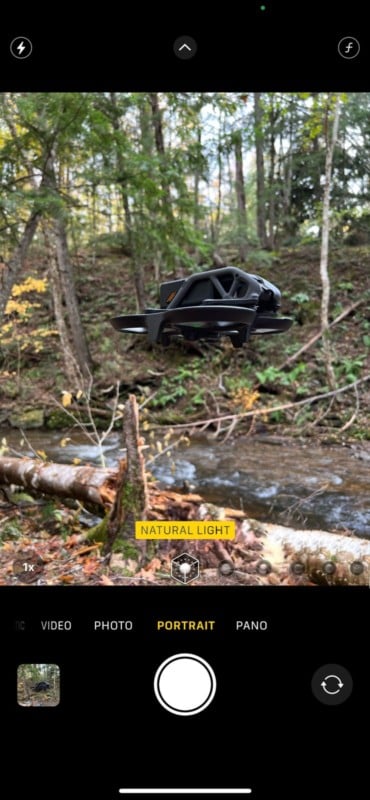
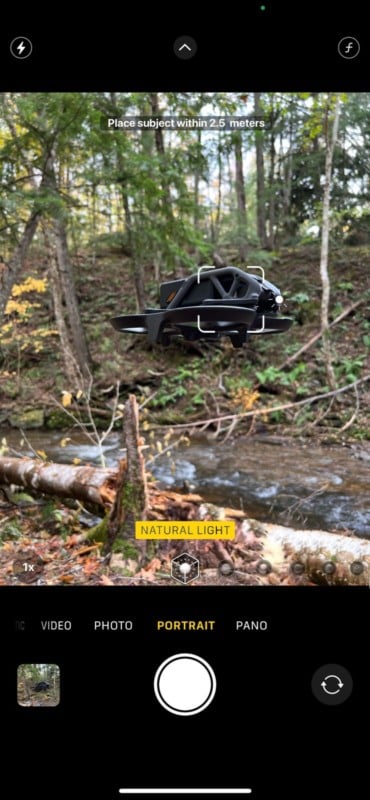
When you first start to take Portrait photos, tap the subject to make sure the distance is sufficient to enable the Portrait effect. If you’re too close, the iPhone will warn you to increase the distance to about a foot for the main camera and further for the telephoto camera. If there’s no warning, proceed with the photograph as usual. You can slide your finger up and down near the focus reticle to adjust brightness, or open the options bar to access other features.
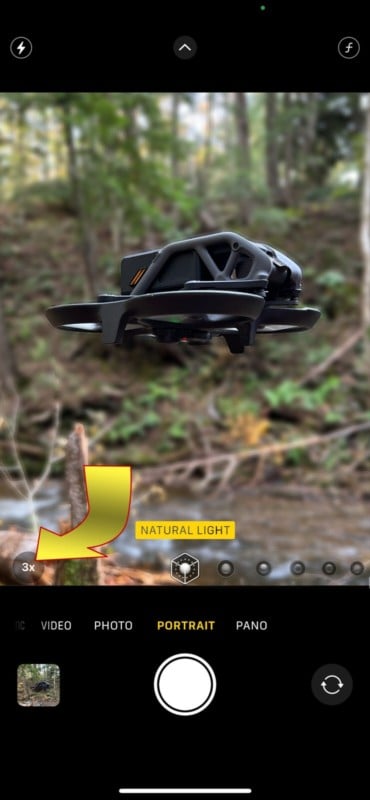
If your iPhone has a telephoto lens, you can switch between the main camera and telephoto by tapping the camera selector at the lower-left that shows “1x,” “2x,” or another zoom level to use the preferred lens. In most cases, the telephoto will offer the best Portrait mode photos.
There’s also an option to set the amount of blur. Swipe up to see camera options, then select the “f” button that appears at the bottom right. This reveals a depth slider that adjusts the apparent f/number of the picture. The viewfinder will update to give you a preview of how the blur effect will look.
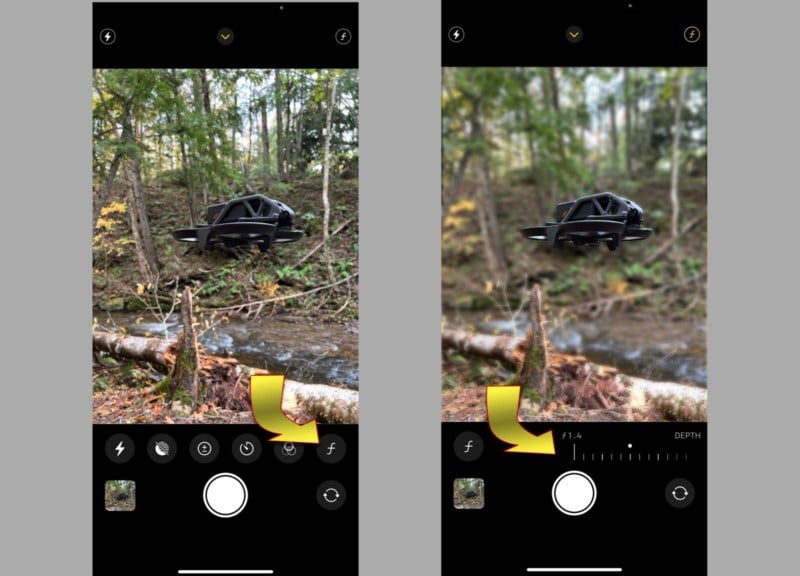
When you’re satisfied and everything looks good, tap the shutter to take a Portrait mode photo. The amount of blur can be adjusted afterward so you can focus on getting time-critical shots as they happen and refine the blur effect later.
Adjusting Blur After Taking a Picture
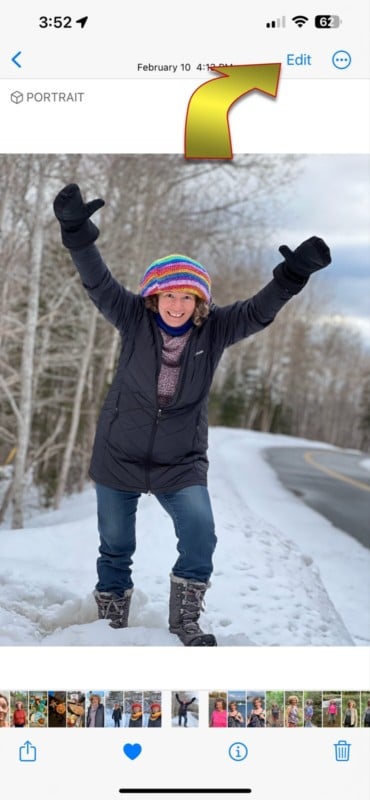
The amount of simulated blur that’s apparent in a Portrait Mode photo can be changed even after the picture has been taken. Open the Photos app and choose a Portrait photo or select the thumbnail after taking a picture, then tap the edit button to make changes.
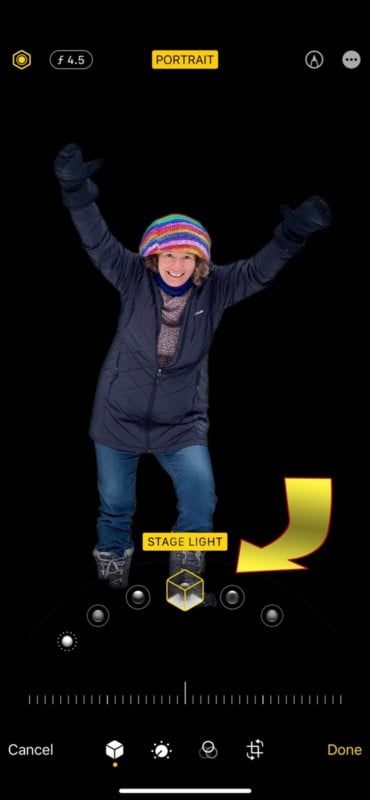
Portrait Light effects will open initially. This control offers a few different looks, simulating studio, contour, and stage lighting, as well as a couple of black-and-white effects. It might be worth sliding through the options to check if any enhance the look of your photo.
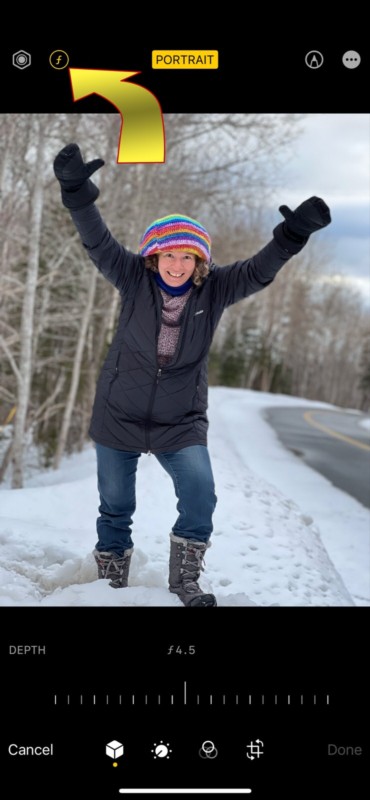
Since you’re interested in background blur, the more important control is the f/number option that appears at the top-left, just to the right of the Studio Light icon. Tap the f/number button and drag the slider that appears at the bottom to adjust the amount of simulated blur.
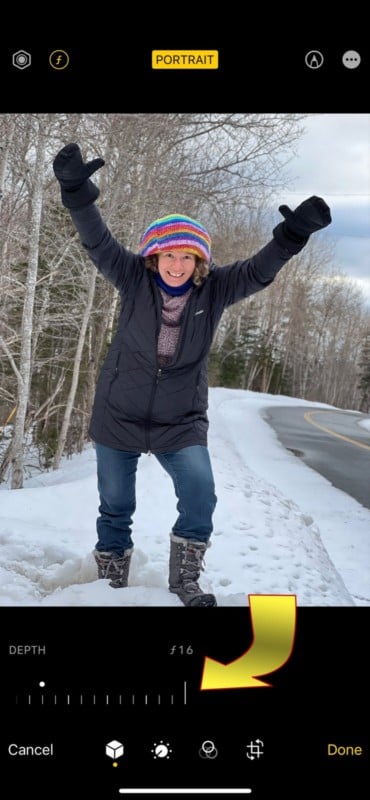
If the iPhone makes an error about which parts of the picture are foreground and background, the photo might look better with the depth slider positioned at the far right, minimizing blur and hiding any odd artifacts at incorrectly identified edges. A photo can be ruined by a sharp portion of the background that appears between fingers or when there is blurred hair on an otherwise sharp subject.
All of the normal photo editing controls are available as well, so you can brighten shadows, crush blacks, and correct white balance just as you can with any other iPhone picture. When you’ve finished editing, tap the Done button to save the changes. Portrait blur can be edited with any iPhone starting with the 2018 iPhone XR.
Using the Natural Blur of the iPhone Cameras
In the last few years, iPhone cameras have improved enough that a noticeable amount of natural background blur is possible without resorting to software effects. The three most important camera details that affect the amount of natural blur in iPhone cameras are the size of the image sensor, the aperture, and the focal length of the lens.
A larger image sensor can provide a shorter depth of field and full-frame DSLRs have a big advantage in this area. The iPhone’s main camera has the largest sensor and that helps it to achieve the best background blur in most cases.
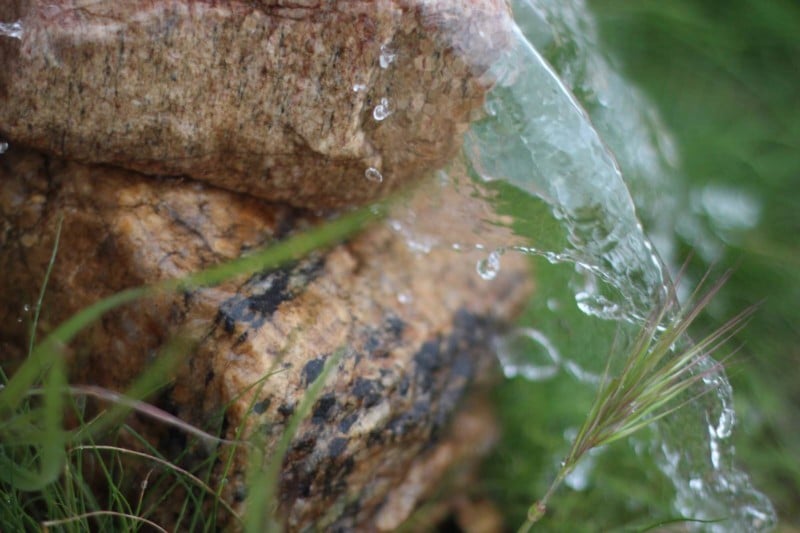
A wider aperture equates to a smaller f/number and also results in a shallower depth of field. That means the background will be more likely to have a nice blur with bokeh rings visible around points of light. The aperture size varies for each camera.
A long focal length is typically accompanied by a narrow aperture, however, the longer focal length also yields a shorter depth of field so there is a tradeoff. That means determining which iPhone lens will have the most natural blur depends on the situation. Sometimes it’s better to zoom in and other times that will reduce background blur.
With a traditional camera, photographers choose a wide aperture to increase bokeh and background blur, or stop down the camera to a narrow aperture, creating a larger depth of field with greater sharpness throughout the scene. The iPhone, like most other smartphones, has fixed apertures, but most recent models include more than one rear camera, each with a different aperture. That means there’s a way to enjoy natural background blur by choosing the correct camera for your subject.
For example, the iPhone 13 Pro Max includes an f/1.5 main camera, an f/1.8 ultra-wide camera, and an f/2.8 telephoto camera. The main camera has the widest aperture and will have the most natural blur at standard distances. Since a longer focal range shortens the depth of field, the telephoto camera has the second most blur despite its narrow aperture, and the ultra-wide will capture nearly equal focus throughout the photo.
Best Natural Blur at Close Range
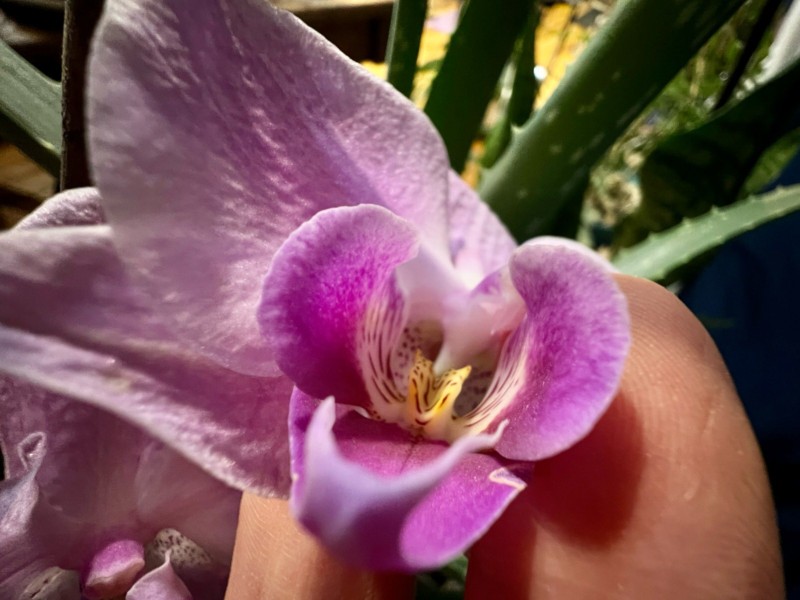
There are exceptions to this rule, however. When you move in very close to the subject, the Pro models of the iPhone 13 and 14 have ultra-wide cameras that can switch to macro mode. This offers an extremely narrow depth of field, with the greatest possible natural blur. The iPhone’s main and telephoto cameras require the subject to be several inches away to focus, so it becomes an entirely different shot that includes a much wider area.
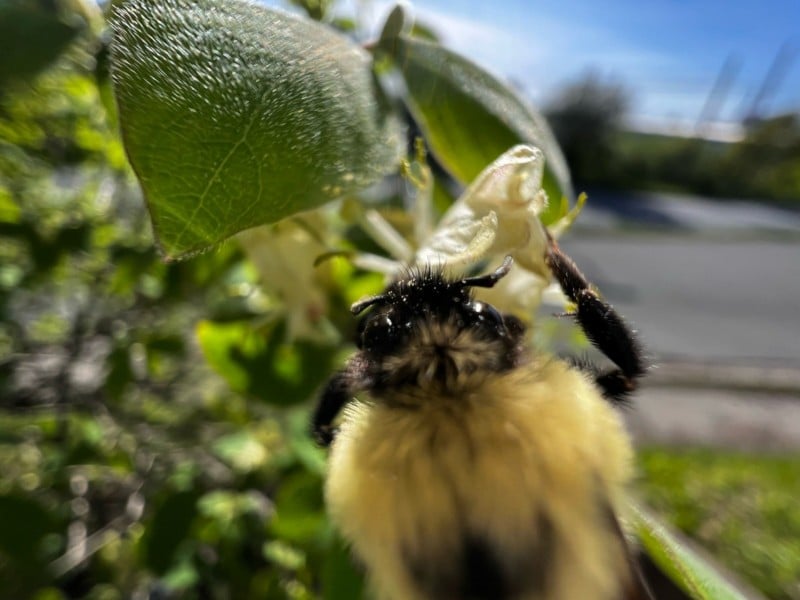
Macro photography works well for small items or tiny details but usually isn’t a good choice for pictures of larger objects. For pictures of a person, you probably want to capture their entire face and possibly their body. The iPhone’s macro mode would be more appropriate to get a closeup of a finger touching a delicate blossom.
If the subject is several inches away, the ultra wide’s macro capability doesn’t help with blur and a large portion of the picture will be in focus. In that case, the main camera will have more blur due to its wide aperture.
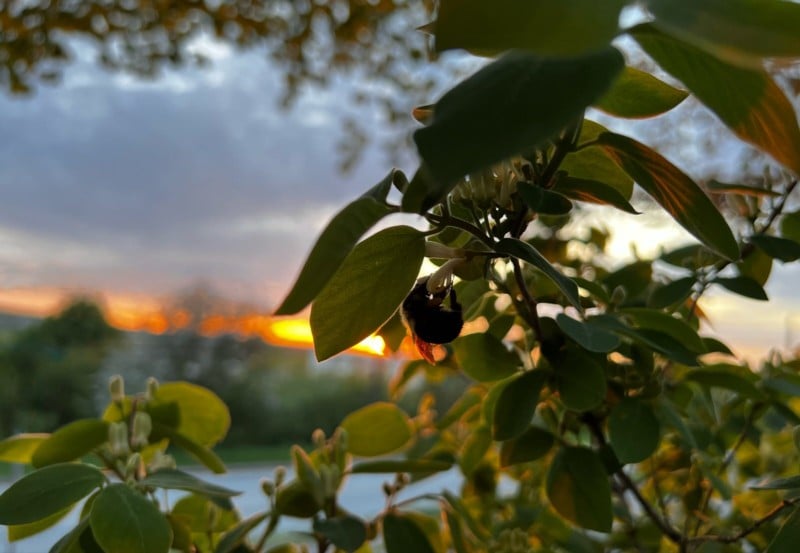
Best Natural Blur at a Distance
For a distant subject, the rules change again and the telephoto’s long range will help it to get the most dramatic blur as well as frame the subject more closely. With photography, there’s rarely an easy answer about what’s best and it pays to experiment before taking a picture so you can get the best shot at a moment’s notice.

It’s easy to tap the camera selection icon to switch between each lens and see what effect the various focal lengths and apertures have on the blur. Using a stand-in that’s about the same size and distance as your subject is a big help in preparing for a shot.
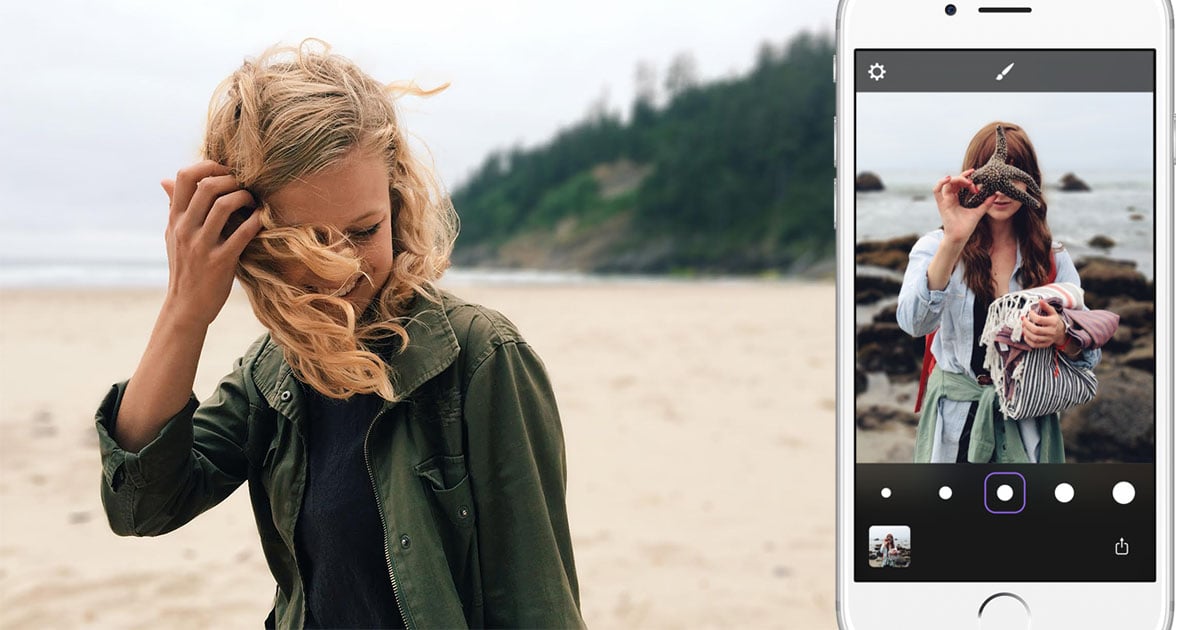
Add a Blur Effect with an App
AI-powered apps analyze photos to estimate the depth within the image and are becoming increasingly effective at creating realistic blur effects. That means planning a shoot in advance isn’t as critical as it used to be. Even if you don’t shoot in Portrait mode or choose the iPhone camera with the best background blur for a particular shot, you might be able to simulate the look after the fact with an app.
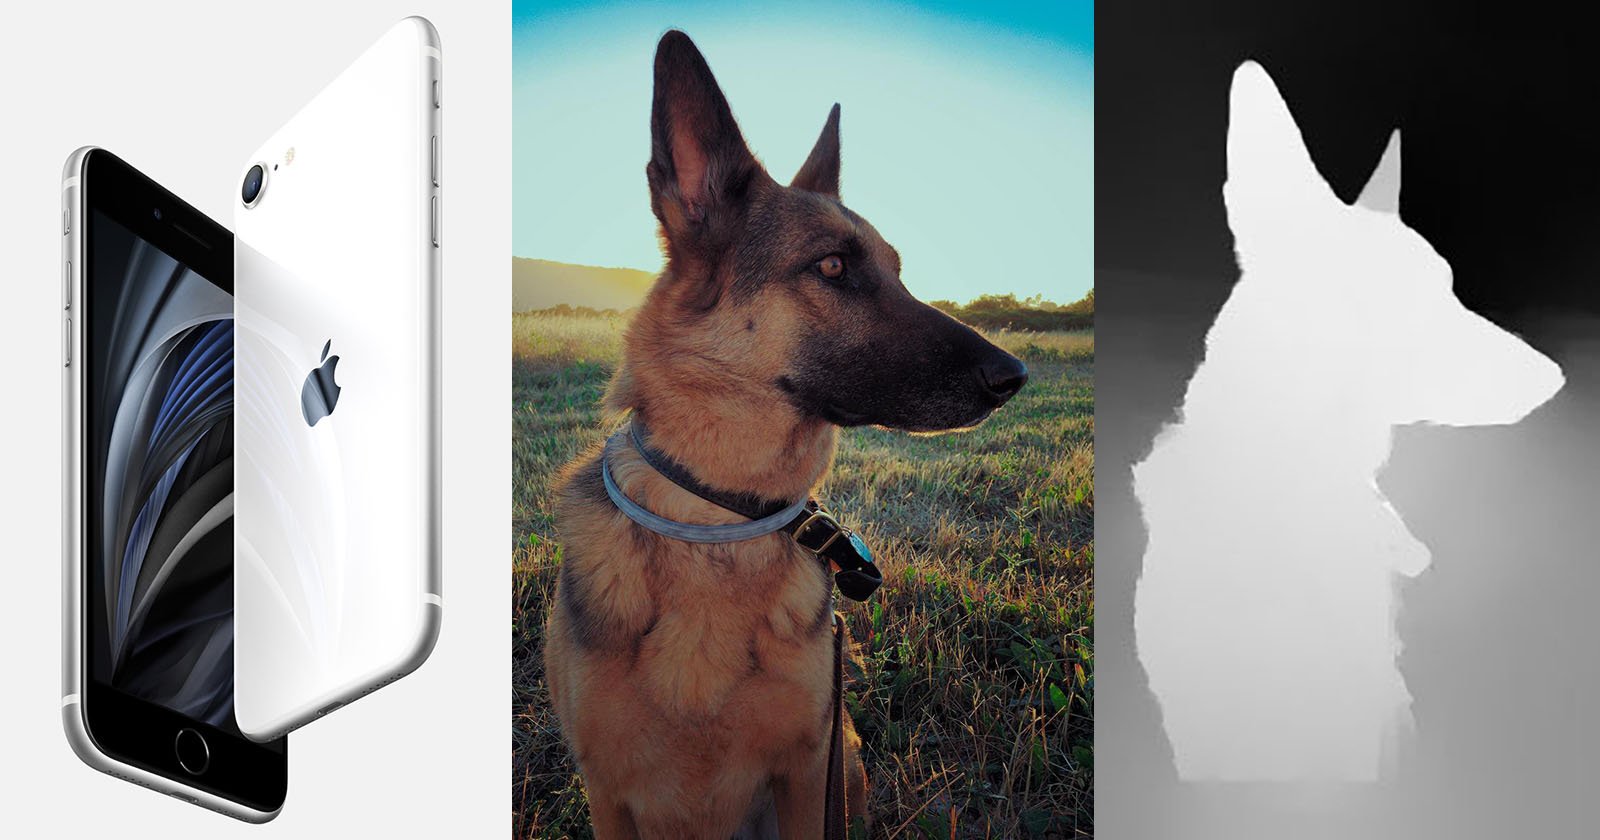
One of the most notable AI blur apps is called Focos and it works with any photo to create a depth map of regular photos or to enhance the accuracy of pictures captured in Portrait mode. Even if you don’t subscribe to access the advanced tools, you can tap anywhere in a photo to change the focus point.
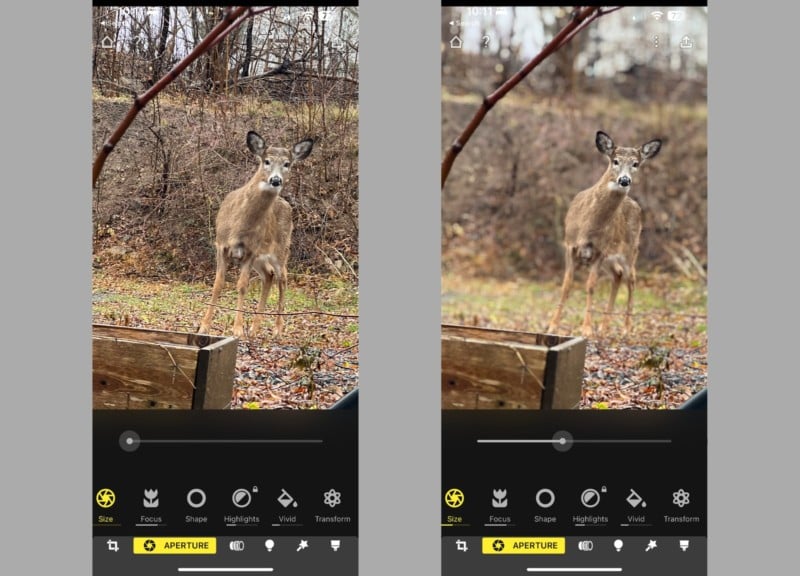
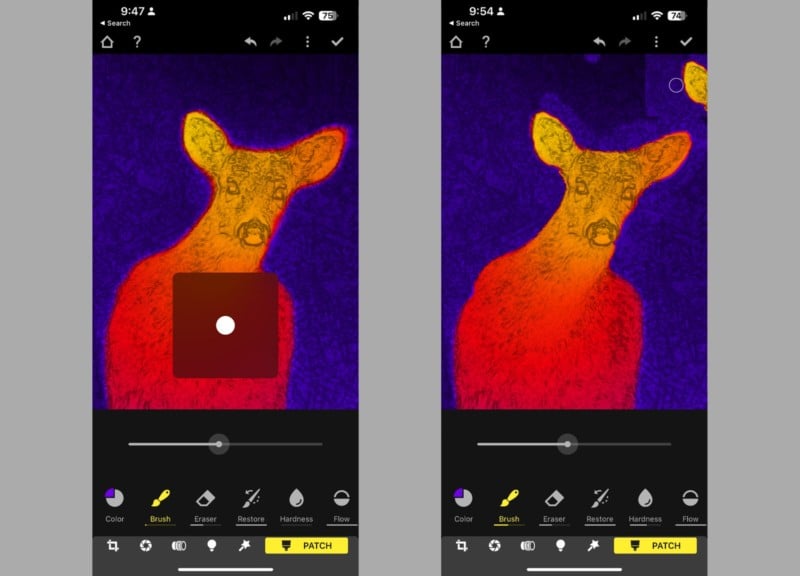
You can also select the paintbrush icon at the bottom right to patch a flawed depth map. Drag the color slider to choose the new color/depth that you want to “paint” on the depth map. Then tap the brush tool and paint over the erroneous part of the image.
When you’re happy with the corrections, select the aperture icon at the bottom-left to preview the changes. When everything looks good, select the export button which is located at the top-right and looks like an up arrow.
Portrait Blur for iPhone Videos
The latest iPhone models have the option to record videos with a background blur effect that’s quite similar to Portrait mode photos. This artificial intelligence-powered feature, called Cinematic mode, is very demanding on the processor, and an iPhone 13 or newer is needed to record videos of this type.
Background blur helps remove distractions in a photo but allows the director to shift the viewers’ attention in a video. It’s a compelling tool when it works right. Even if an error is made, it can be hidden or corrected afterward in the Photos app,
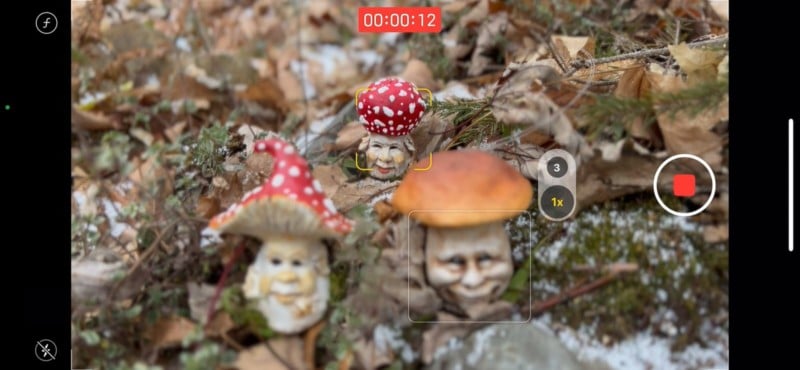
In the camera app, swipe the mode selector that’s near the shutter button until Cinematic is highlighted. You can swipe up to see the f/number icon that lets you set the amount of blur. Tap anywhere in the viewfinder to set the focal point, then tap the shutter to start recording.
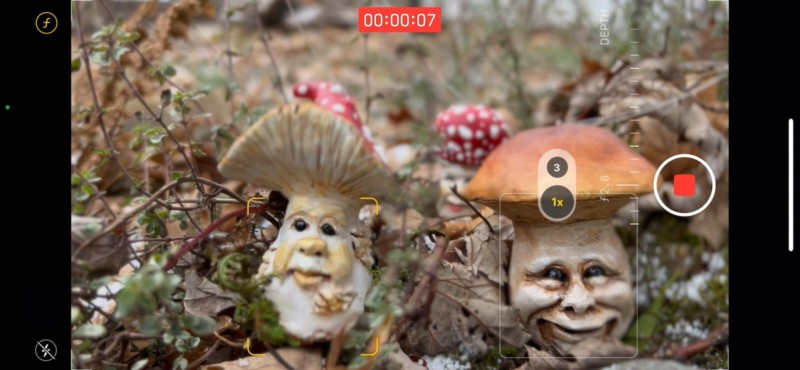
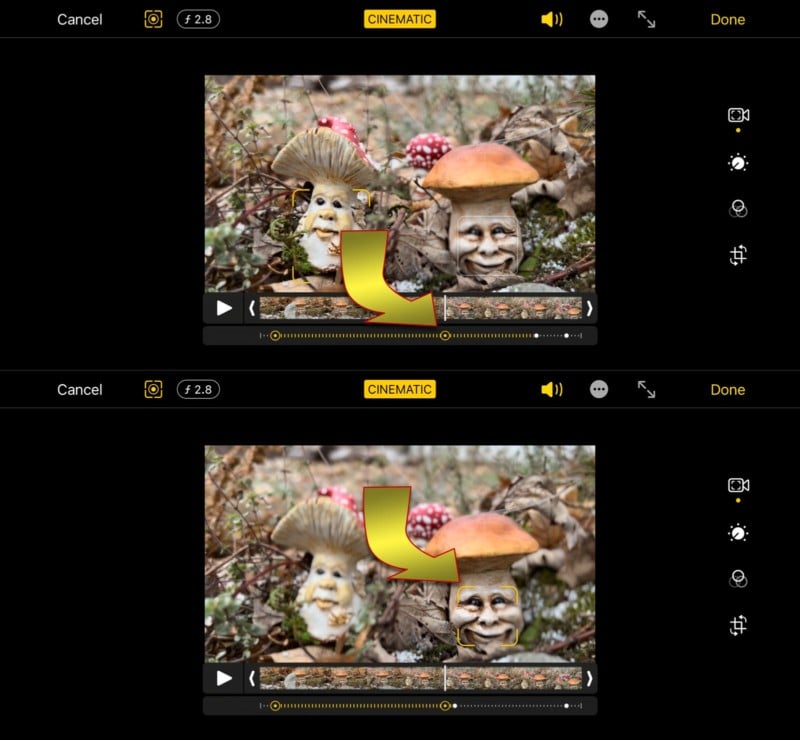
During a Cinematic mode recording, the iPhone tries to intelligently assist and might change the focus from the foreground to the background if a person enters the scene in the distance. Panning and tilting the camera might also inspire the iPhone to shift focus. The AI doesn’t always get these transitions right, but you can change the focus afterward.
Just select the edit button in the Photos app and choose any of the points on the dotted line below to make adjustments. Tap anywhere in the preview image to set the position of the focal point at this particular moment in the video. You can also add new focus points and delete others. To return to the original focus points, select the tracking icon at the upper left.
Adding Background Blur to a FaceTime Call
The iPhone can blur the background of a FaceTime call so that you don’t have to worry so much about what can be seen in your surroundings. This might also help others around you feel less wary about walking by when you’re in a video chat. This feature is supported on models as old as the iPhone XR, which launched in 2018.
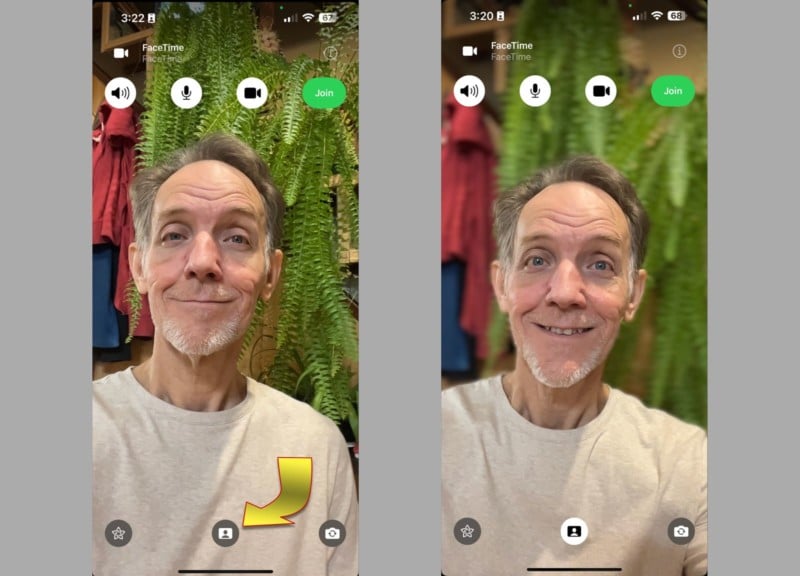
When you’re on a FaceTime call, select the tile that shows your face, then the Portrait mode icon in the upper-left. This button acts as a toggle switch so another tap will switch Portrait mode off.
Many video chat apps have similar controls but may require you to search through settings to find where that option is located.
Conclusion
Adding blur to the background is a great artistic tool that can improve a photo or shift the viewers’ attention in a video. It’s a powerful effect that was once only available with expensive equipment but is now accessible to anyone with an iPhone. Many Android phones have similar capabilities. It’s even possible in video chat apps like FaceTime, making the subject the focus and literally blurring out less important details. Getting familiar with these controls can improve your photos and videos in almost any situation.