Understanding Aperture Will Instantly Improve Your Photography

In my previous article, we embarked on an adventure that started with a basic understanding of metering and exposure. Hopefully, you appreciate how the camera measures light and how its aperture, ISO, and shutter speed can be balanced to expose the image correctly. Each of those changes the way the image looks, and here’s what the aperture does.
If you haven’t read my previous article and are unsure about metering and exposure, it’s worth reviewing before reading this one.
As we discussed last time, reducing the aperture size diminishes the amount of light passing through the lens. This, in turn, will affect the shutter speed, which will alter the look of your photograph. I’ll discuss that further next time. However, in this article, we examine the aperture and its impact on your photos.
Why Do F-numbers Seem to be Back to Front?
Firstly, let’s talk about f-numbers. It seems counterintuitive that as the f-number increases, the aperture size decreases. But there’s a reason for that, and it’s elementary math.
Each lens has a focal length, usually measured in millimeters. The longer the focal length, the narrower the angle of view it sees.
So, a wide-angle lens might be something like 12mm, and lots of the scene will appear in the picture. Consequently, objects will appear to shrink in size and seem more distant. Meanwhile, as the lens gets longer, the angle of view decreases. So, a 300mm lens has a narrow angle of view.
Strangely, we don’t call it a narrow-angle lens, but a telephoto. “Tele” is Greek for “far.” Telephoto lenses make distant objects appear closer. Although photography is a science, it is inconsistent when it comes to nomenclature.
If we divide the focal length by the aperture’s diameter, we get the f-number. So, on a 50mm lens with a 25mm aperture, the f-number would be 50mm ÷ 25 mm = f/2. However, if you have a 25mm aperture on a 100mm lens, the f-number would be higher: 100mm ÷ 25 mm = f/4. On a 100mm lens, the aperture would need to be 50mm across to be f/2.
What’s important to remember is that f/2 will let through the same amount of light on every lens. (It is a little more complex than that, but this is keeping it simple.)
Similarly, as we shrink the aperture, the f-number increases. E.g., 50 mm ÷ 4.545 mm = f/11.
Lenses with wider apertures compared to others of the same focal length are sometimes called fast lenses. That’s because they enable faster shutter speeds. Others refer to them as bright lenses as they let more light through.
If we had a 300mm lens and wanted it to be f/2, the aperture would need to be 150mm across. Consequently, the lens and glass would need to be significantly larger, and therefore the cost would be substantially higher.
Here’s an easy way to remember how the aperture gets smaller as the f-number increases. Although the “f” in f-number stands for focal, if you think of it as standing for fraction. ½ is bigger than ¼, which in turn is bigger than 1/8.
The widest aperture of your lens is usually written on the side or end of the lens, usually as a ratio. For example, the lens I have in front of me reads 1:2.8. Therefore, the widest aperture is f/2.8.
The F-Stop Scale
Here’s the scale of whole f-numbers.
f/1 – f/1.4 – f/2 – f/2.8 – f/4 – f/5.6 – f/8 – f/11 – f/16 – f/22
These are called f-stops, and each consecutive number to the right halves the amount of light coming through the lens. So, with each additional stop, one would need to double the length of time the shutter is open to balance the exposure.
On your system, it may show third-of-a-stop increments. These smaller steps enable more precise control of the exposure.
f/1 – f/1.1 – f/1.2 – f/1.4 – f/1.6 – f/1.8 – f/2 – f/2.2 – f/2.5 – f/2.8 – f/3.2 – f/3.5 – f/4 – f/4.5 – f/5 – f/5.6 – f/6.3 – f/7.1 – f/8 – f/9 – f/10 – f/11 – f/13 – f/14 – f/16 – f/18 – f/20 – f/22
Depth of Field
The most significant effect of the aperture is how it alters the amount of the picture that is acceptably sharp. This is referred to as the “depth of field.” As the aperture size decreases, the depth of field increases, allowing more of the scene, from nearby to distant, to appear in focus.
Look at the following sequence of the same photo shot at one-stop intervals, starting with f/2.8.


You can see how the image gets sharper with each successive aperture stop.
Other Ways to Change the Depth of Field
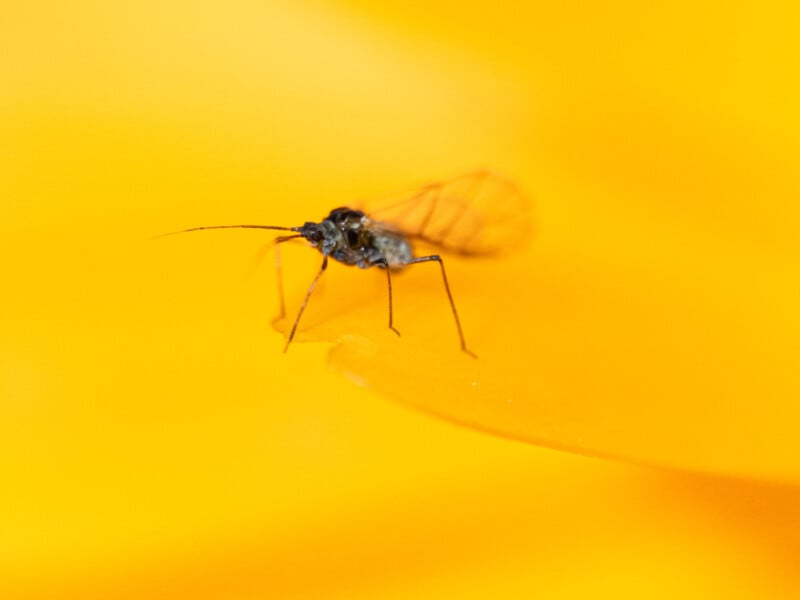
The aperture isn’t the only factor that affects the depth of field. Changing your proximity to the subject will also affect it. As you get closer, the depth of the field gets shallower. Notice how, in the following shot, the insect, which was less than 5mm long, is only partially in focus.
Using a telephoto lens will make the image appear to have a shallower depth of field than using a wide-angle lens.
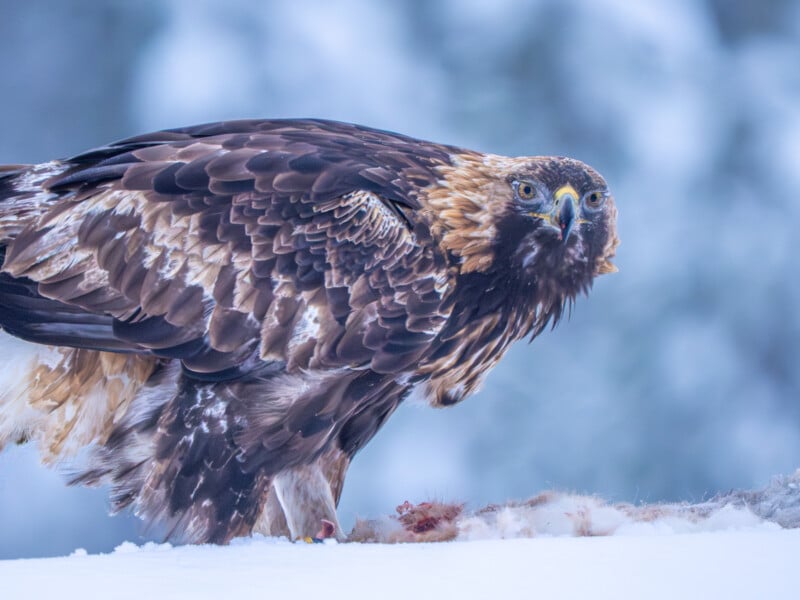
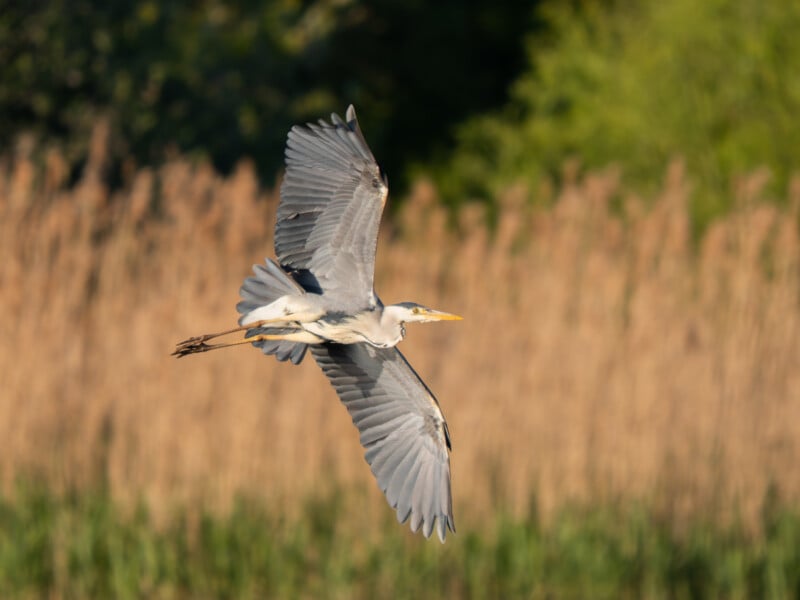
This is where the physics works to a wildlife photographer’s advantage. A wide aperture (low number) and a long focal length will give you a shallow depth of field, which helps isolate the subject from the background. Then, that wide aperture will also give you a faster shutter speed, allowing you to stop any movement.
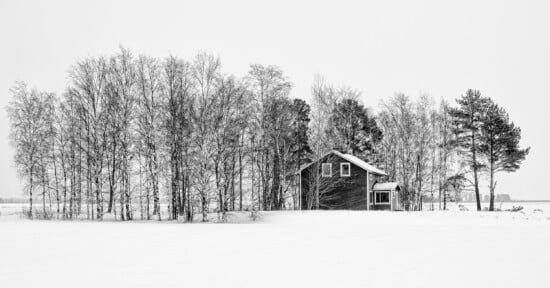
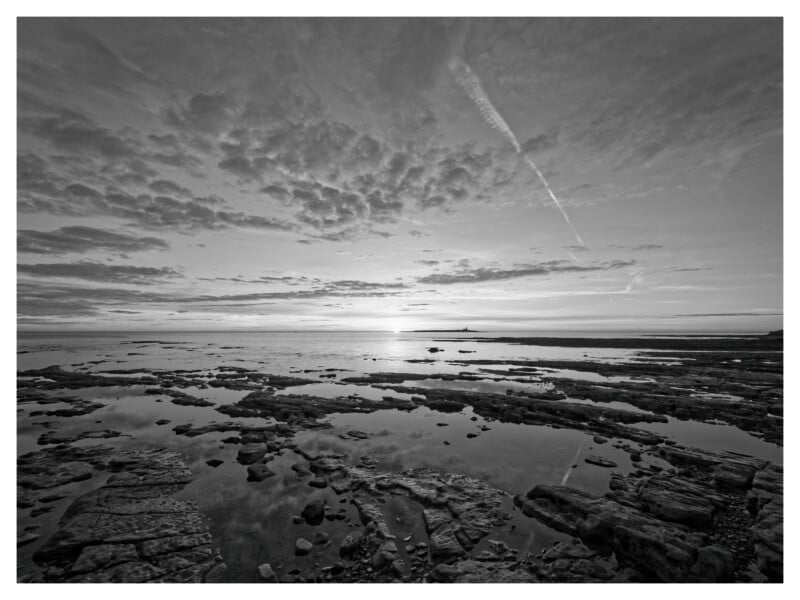
The critical thing to remember about depth of field is that you need to decide how much of the photograph you want in focus. There’s no right or wrong here; it’s entirely subjective. Like the header image of this article, you may decide to blur a sufficient portion of the background to add separation while retaining context. Alternatively, you can completely blur the background to eliminate any distractions.
A Limitation of Smaller Apertures
When we shoot landscapes, we typically want sharpness throughout the image. Therefore, we need to use a smaller aperture to achieve a greater depth of field. However, another area of physics comes into play here, and you might want to avoid tiny apertures. Luckily, it is easy to understand.
Light travels in a straight line, but when it hits an edge, it bends. With a wide aperture, most of the light passes through the lens far from the aperture blades. But as you decrease the aperture, a larger proportion of light is hitting and being scattered around the edges of the aperture. Consequently, the light isn’t travelling in a straight line, and although the depth of field increases, the image gets softer.


Throwing the Hyperfocal Distance Wrench in the Works
It doesn’t follow that the depth of field continuously increases the farther away you focus. There comes a point when both the foreground and infinity are in focus. If you focus beyond that, infinity remains in focus, but the foreground doesn’t. The point at which you have maximum depth of field is called the hyperfocal distance. That, and precise depth of field calculations, are for a future article.
An Exercise
For this exercise, I recommend setting the camera to aperture priority mode. An explanation of that was in my previous article.
Repeatedly photograph any stationary subject, like an ornament or a coffee cup. Gradually decrease the aperture size and observe the depth of field changing with each shot. Repeat the experiment, but at different distances.
Use your zoom to adjust the focal length and observe the effect it has.
Do you observe what I have described above?
In Conclusion
Larger apertures (lower f-numbers) allow more light to pass through the lens. That results in faster shutter speeds. Large apertures also give a shallow depth of field, as do longer lenses and proximity to the subject. That is all ideal for wildlife photography, where the subjects usually move quickly and you want to separate them from the background.
Conversely, smaller apertures have higher f-numbers. They let through less light, so the shutter stays open for a longer period. They also give you more depth of field. Using wide-angle lenses and stepping farther back from the subject also gives you more depth. That’s all great for landscape photography.
A too-small aperture will result in a soft image.
Next Time
For my next article, I’ll be examining the shutter speed and ISO, and how they impact the appearance of the photograph. In the future, we will explore focusing and how depth of field affects that. This is an ongoing series of articles designed to help you grow your photography skills portfolio step by step. The articles are progressive, with each building upon the previous one. If you’d like to continue learning, please follow me to get notifications of future articles.