The Camera Equipment Beginners Don’t Need
There’s no denying that photography is a gear-focused endeavor. We are constantly pitched fancy new equipment with the idea that more gear will make us better photographers. For some photographers and their needs, that’s absolutely true. But for those just starting, some equipment simply isn’t necessary.
As you begin your photography journey, it can be challenging to filter through all the noise and decipher what is “must-have” versus “nice-to-have,” or flat-out unnecessary. Below are some tips on things that you can likely skip as you start learning, saving you money and keeping you focused on the things that matter.
The Most Expensive Camera
Obviously, a camera is the first step in getting started with photography. And while you may be tempted by the latest and greatest cameras on the market, expensive and advanced cameras may be overkill as you are learn the ropes.
When choosing a first camera, it is important to plan ahead and select an option that will give you room to grow, but only within reason. Otherwise, you’ll be paying for features you likely won’t be able to take advantage of for some time.
For example, the most high-resolution images aren’t necessary for many, and increase the barrier to entry. The same goes for the fastest cameras on the market. Photographers must learn to walk before they can run.
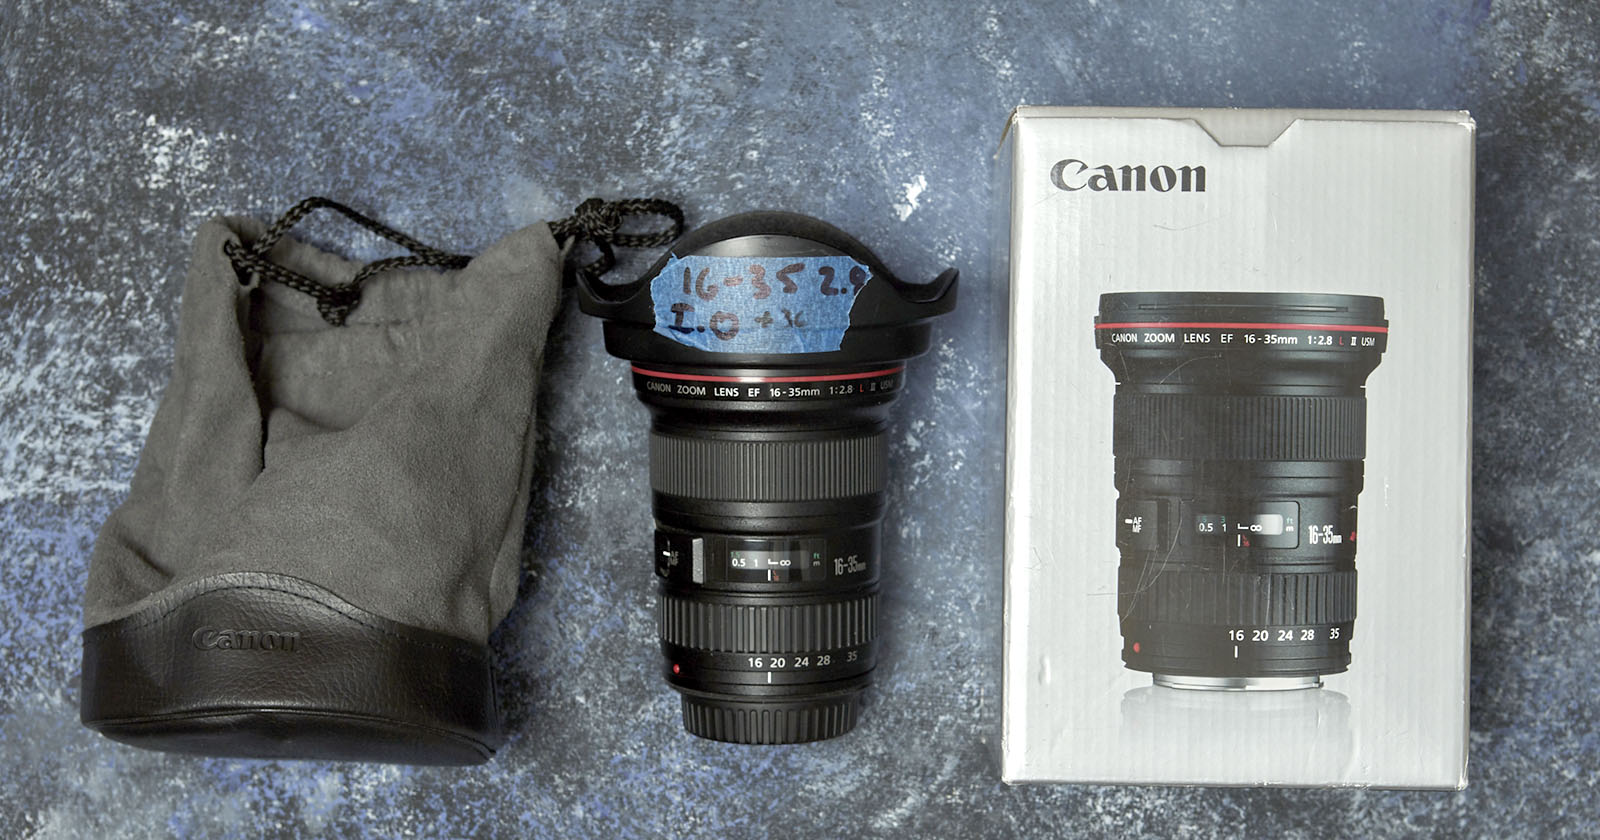
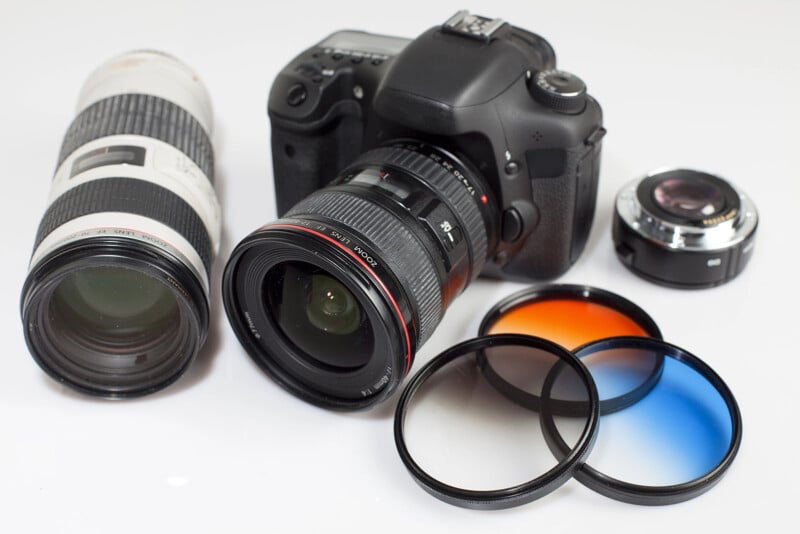
Super Telephoto or Ultra-Wide Angle Lenses
Lenses are a critical component of exploring the creative aspects of photography. However, don’t feel like you need to go out and buy a full kit of lenses right off the bat. It’s more important to have a few quality lenses with useful focal lengths and get used to those while learning the basics of exposure and composition.
When I taught introductory photography classes at a university, I encouraged all my students to invest in a 50mm and not worry about anything else for a while. 50mm offers a perspective close to our vision, meaning you don’t need to account for inherent distortion or perspective shifts related to different focal lengths. For those wanting a bit more versatility, a 24-70mm or 24-105mm standard zoom is a fantastic lens to start out with as well.
While ultra-wide and super telephoto lenses are fun and undoubtedly useful for certain situations, they can add a layer of complexity. This is especially true when learning about topics such as depth of field and distortion. These principles will be easier to understand with a normal lens (one with a focal length close to how we see, such as 50mm) and easier to tackle if you stick to one focal length for a while.
Once photographers find their current lens, or lenses, to not allow them to capture the kinds of images they want, it’s time to upgrade. But making the plunge at the start is a surefire way to unnecessarily spend a large chunk of change.
Niche Filters
There is no shortage of lens filters out there. They range from practical to strictly creative. It can be confusing to figure out which of those filters are worth buying and which are just extra.
Neutral density (ND) and polarizing filters have their place and may be worth purchasing even for beginners, depending on what they photograph. ND filters reduce the amount of light coming into the lens, allowing for the use of wide apertures or long exposures, even in bright light. Polarizing filters, like polarized sunglasses, reduce glare, intensify blue skies, and saturate colors, making them useful for photographing water or working in bright, sunny conditions.
ND and polarizing filters are by no means must-haves, so don’t fret if you don’t have the money for them now. But they can be useful in ways that image editing apps struggle to replicate. Beyond those two, however, most filters serve niche purposes that are rarely relevant to beginners. No matter what, the key is to invest in quality filters. The glass that the light passes through significantly impacts image quality, so opting for cheap filters (including ND and polarizing filters) can negatively impact your images.
Cheap Tripod
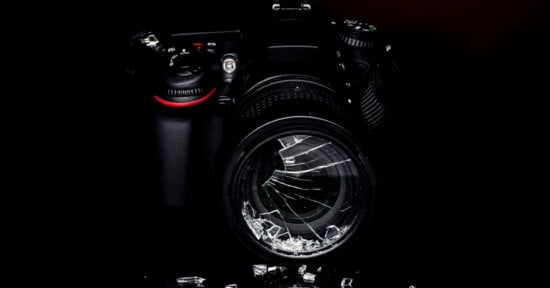
We get it; photography equipment is expensive, so it is tempting to look for cheap alternatives. Buying used gear is a great way to save money, for example. But there are some things you shouldn’t skimp on, tripods being one. While you by no means need the most expensive tripod, investing in a durable, sturdy tripod from a trusted manufacturer will actually save you money in the long run.
Cheap tripods are typically flimsy, defeating the purpose of a tripod. Instead of getting stable, sharp images, you’ll be left dealing with blur and camera shake. Or, in the worst-case scenario, it could even blow over in some wind, leaving you with a broken camera. Also, cheap tripods tend to break, so you will likely be buying a new one long before you would need to if you spent a bit more the first time around.

Editing Tablet
If you watch YouTube videos of photographers, chances are you’ve seen one working on an editing tablet when retouching photos. While these tablets can be useful, editing tools are complicated enough without adding another layer to the mix. Tablets typically have a steep learning curve, making the editing process even more confusing if you aren’t intimately familiar with the editing program and tools.
Instead, as you start your editing journey, focus on the basics of editing, adjusting things like exposure, contrast, white balance, shadows, and highlights. Once you get those things down pat and start diving into more complicated editing processes requiring fine adjustments, a tablet may make sense for you.
Paid Editing Software
Speaking of editing, when you are a beginner photographer, paid editing software may be more than you need. Programs like Photoshop or Lightroom are advanced tools with nearly limitless options, which makes them challenging to learn. There are some highly capable free editing programs to learn on, allowing you to get a feel for the editing process and if it’s something you want to explore before paying for an expensive program.
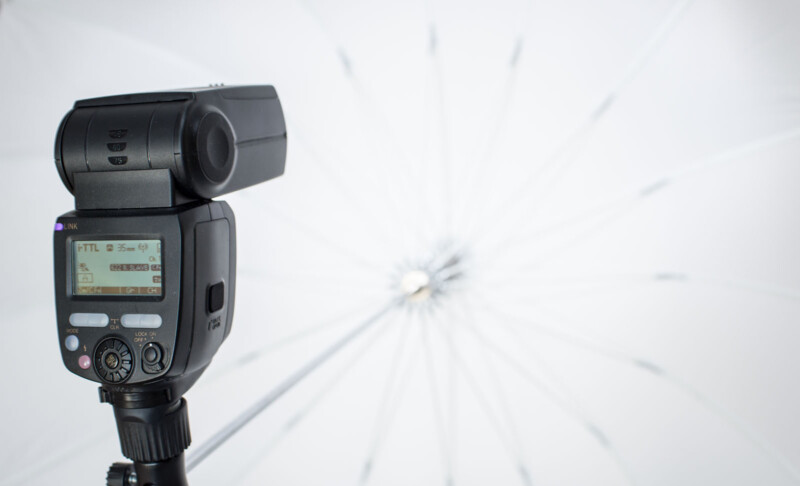
Lighting Equipment
Lighting equipment can be fun and is a way to create dramatic, unique images. However, for beginners, external lights are not necessary because it’s best — and free — to start with natural light. The basics of photography can be complicated enough, and things get a lot more complicated when you add artificial light, especially flash.
So, instead of spending money on constant lights or strobes, get familiar with natural light and how to adjust exposure based on different lighting conditions. You can also modify light with simple and cheap tools (such as reflectors) instead of investing in lights.
As your skills improve and you find ways in which natural light is limiting your creativity, you’ll know it’s time to jump into artificial lighting. Of course, by that point, you’ll be far from a beginner!
Invest In Gear You’ll Actually Use
At the end of the day, what gear you buy depends on your goals and what you shoot. Certain genres are more gear-heavy or gear-specific than others. Likewise, a beginner casual hobbyist will have different needs than someone who aims to pursue photography as a career or side gig. No matter what, give yourself some room to grow and try to avoid getting sucked into the hype of fancy or niche gear that you likely won’t end up using.
More gear doesn’t always mean better photos, and more expensive equipment is not a shortcut to reaching your photography goals.
Image creditsHeader photo licensed via Depositphotos.