Photographing Mushrooms in Their Natural World
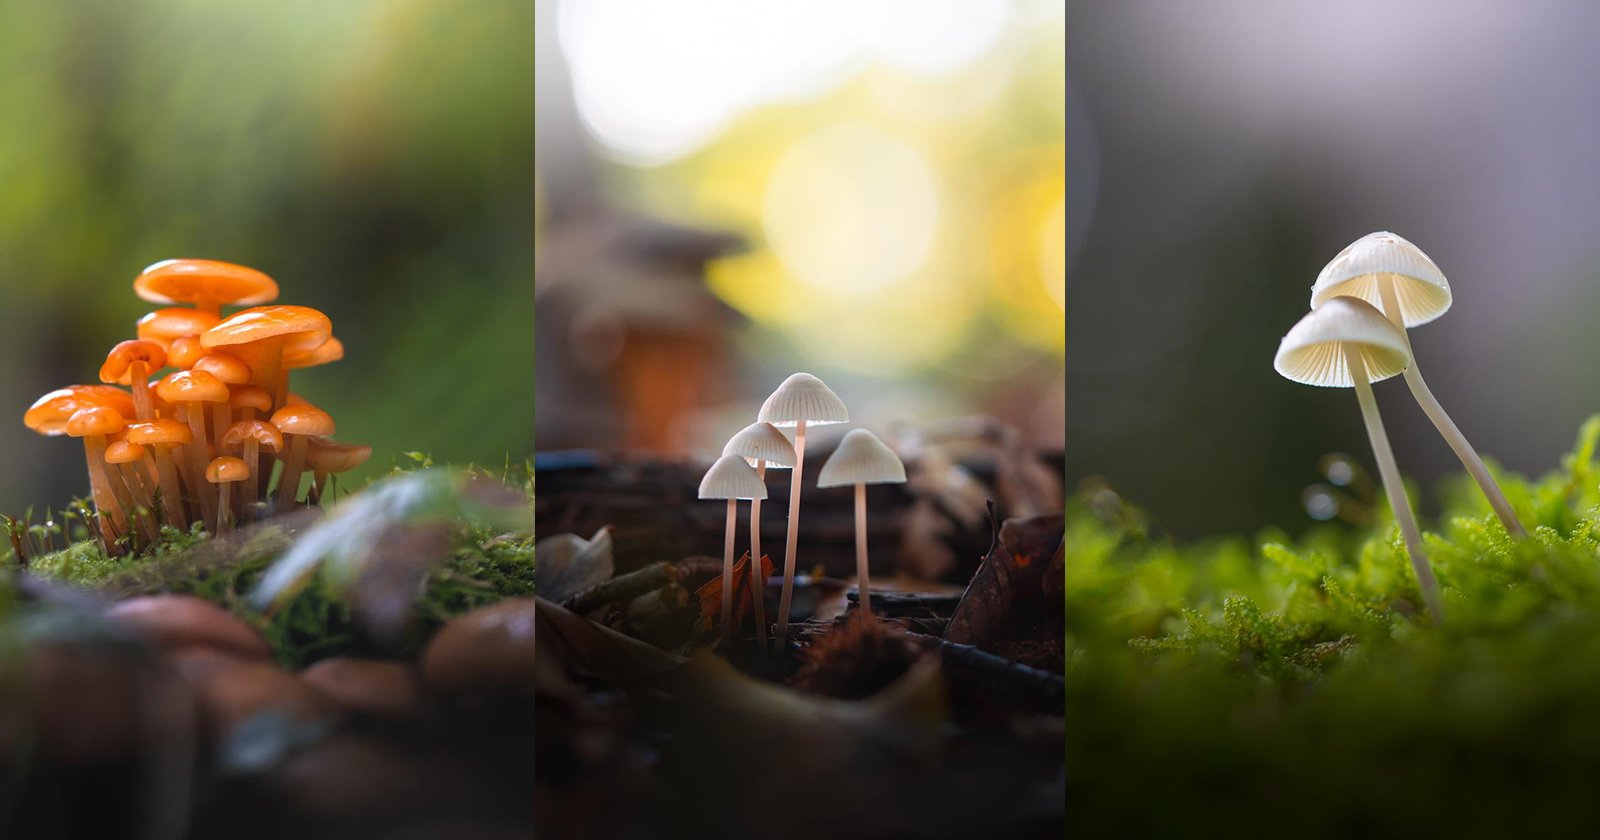
I’ve taken quite some mushroom photos over the last few years and most of them were done with my macro lens. Mushrooms are often tiny, and it’s very inviting to single them out with a beautiful soft background. I wrote a specific article about this back in 2020.
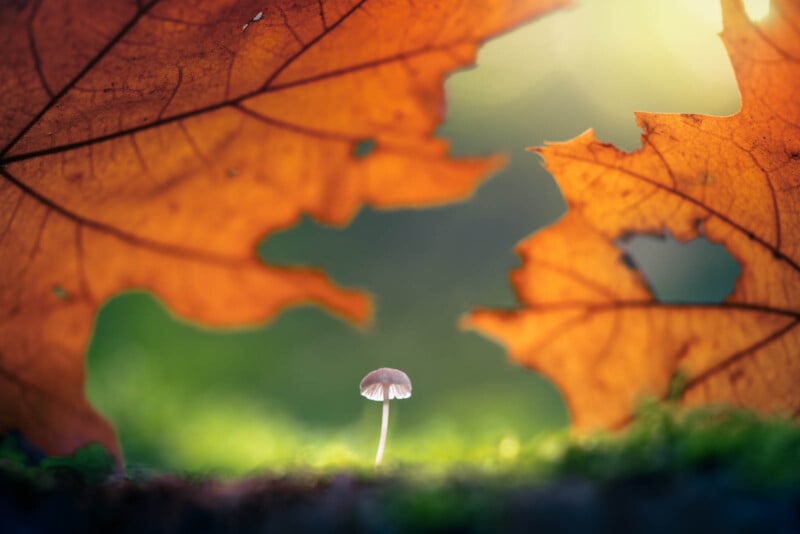
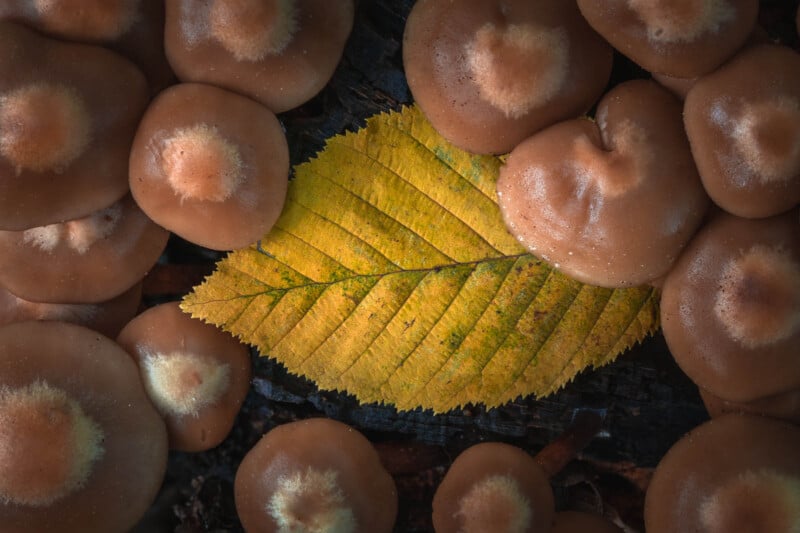
Also, I started to experiment more and more with focus stacking in mushroom photography. Focus stacking is often used in macro shots (especially these super sharp insect photos). Here I use this technique to get this small scene with shrooms that grew around an autumn leaf from a top-down perspective:
But I also use it in wide-angle landscape photography to get everything sharp from front to back. Quite some of my shots are quite known for these ultra-wide angles where everything is super sharp.
The Different Approach
This year, I approached the mushroom season a little bit differently. I wanted to capture the mushrooms and really show their environment. I wanted to blend the world of macro with the world of wide-angle landscapes, two different worlds that I really love, and bring them together in photos. And I wanted to do all this in my own ‘fairytale’-like style.
Upon posting some of these online, I’ve received an incredible amount of positive responses with people often saying that they have not seen this way of photographing mushrooms before. I’m sure this is nothing new and that it’s been done by many before me, but the way of photographing mushrooms like this really inspired me to do more. People also asked many questions about the work, and that’s actually one of the main reasons for writing this article: so that I can simply link to it when people ask the same questions over and over.
If you want to skip right to the questions, there’s the FAQ section at the bottom of this article.
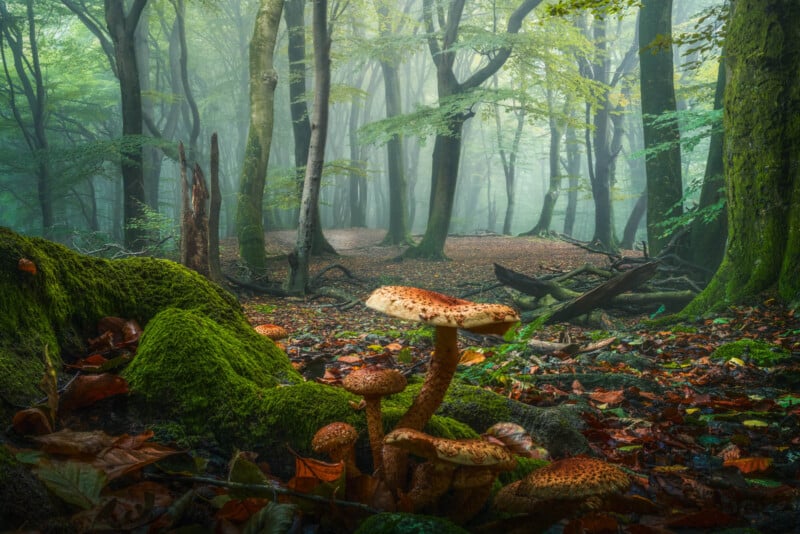
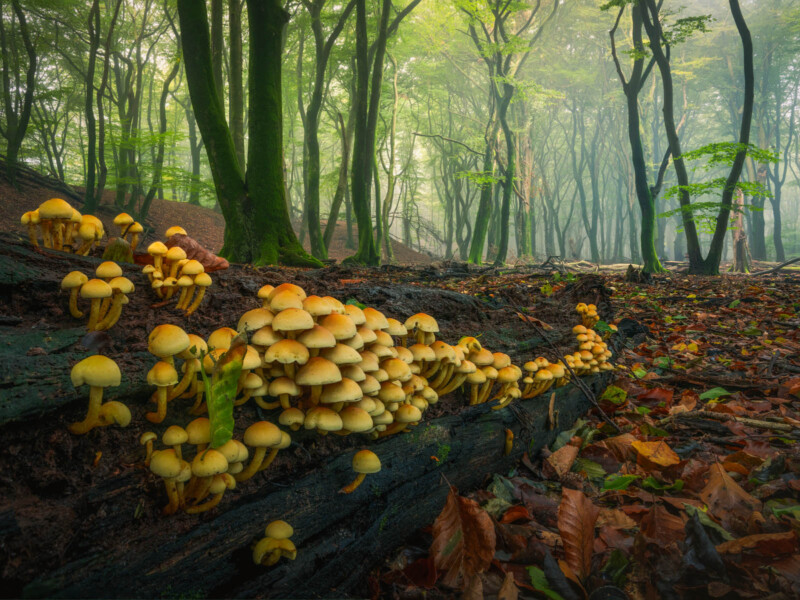
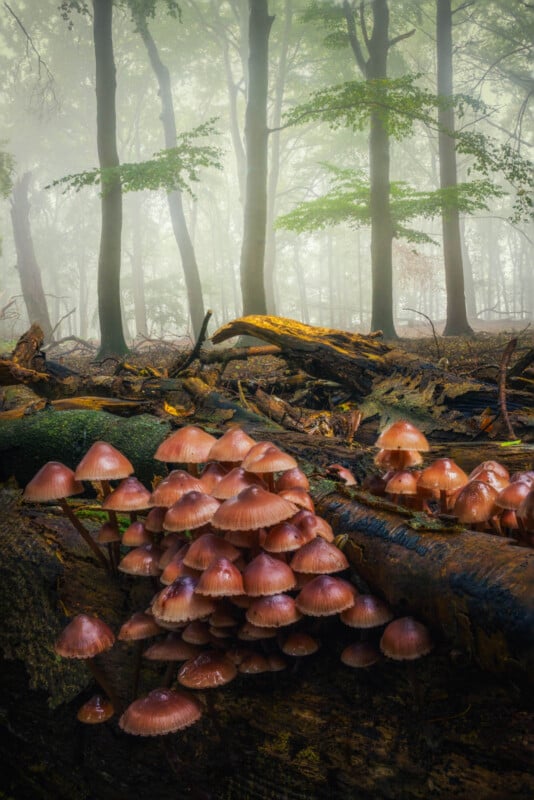
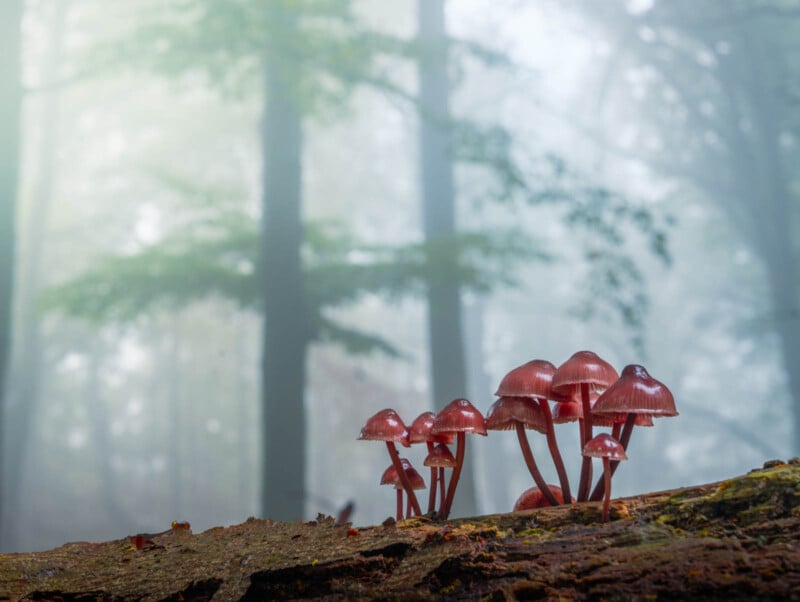
In the photo above, we see a group of mushrooms with a misty forest behind it. The technique used to capture this photo is to get very low with the camera (almost on the ground). Photos are taken from a tripod, so you need a tripod to get super low to the ground. Also, a flip screen on your camera is a big plus. Then, I don’t get ‘too’ close to the mushroom. Because I want a proper balance between the size of the mushroom and the forest behind it. So I move slightly back and then zoom in a little bit. This was shot with a 24-70mm lens, at 39mm. So really not even that wide.
Because I am quite low to the ground and I often have to put the tripod in tight spaces, I always check the composition with my phone first, so that I can quickly see how it’s going to look. A tip I can recommend to everyone: Use a small tripod for shots like this, because a big tripod gets very clumsy in these tight spaces.
I then used a technique called ‘focus stacking’ where I take multiple shots at different focal points and later blend them together, to get the whole shot in focus. Even shooting at f/22 doesn’t get the background sharp. And in these photos, I wanted to create that 3-dimensional look that you can achieve with proper focus stacking. I have a tutorial about this technique on YouTube.
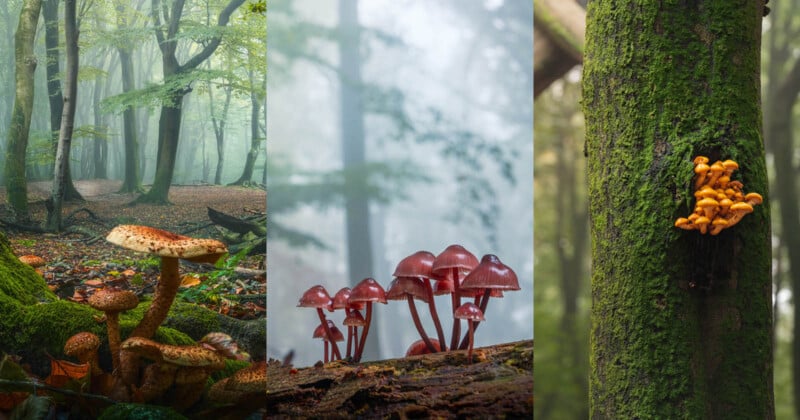
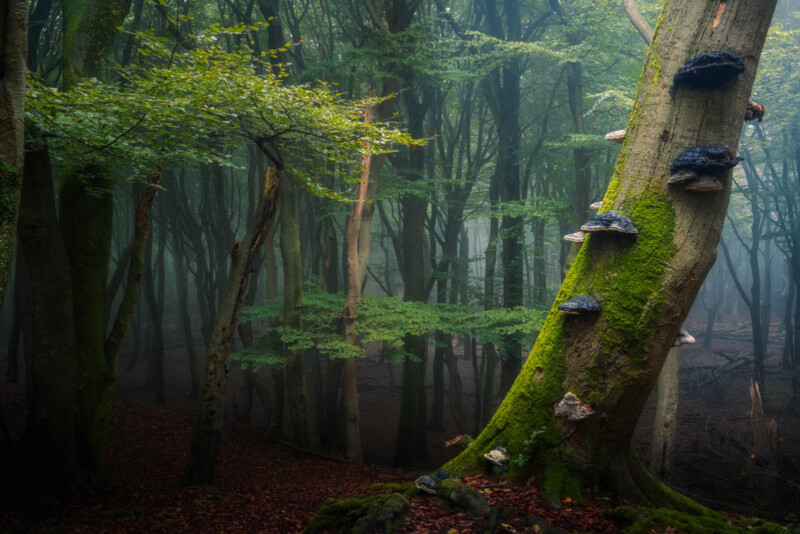
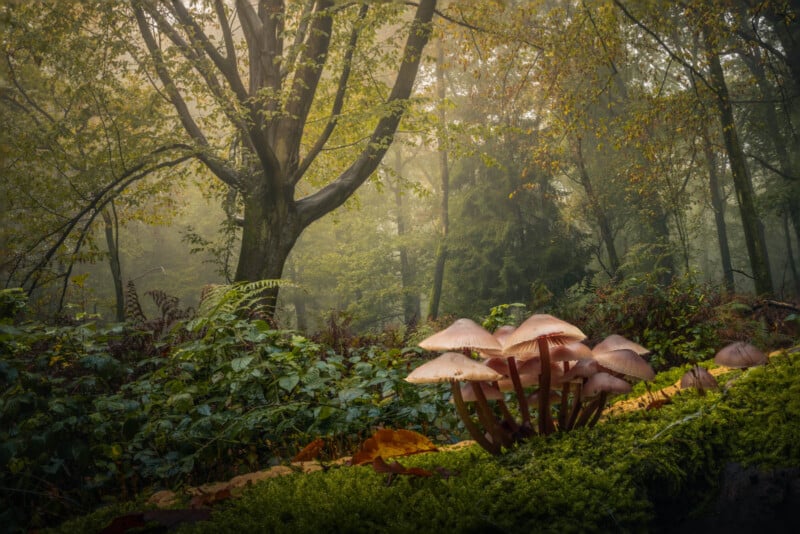
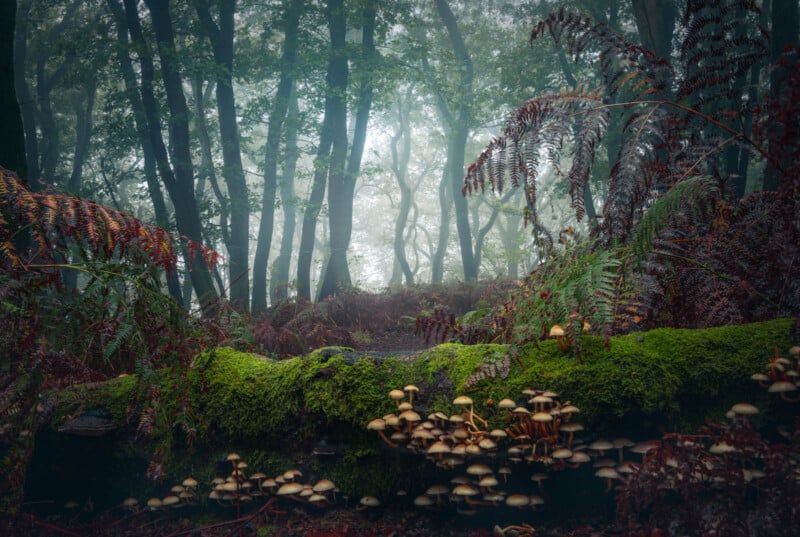
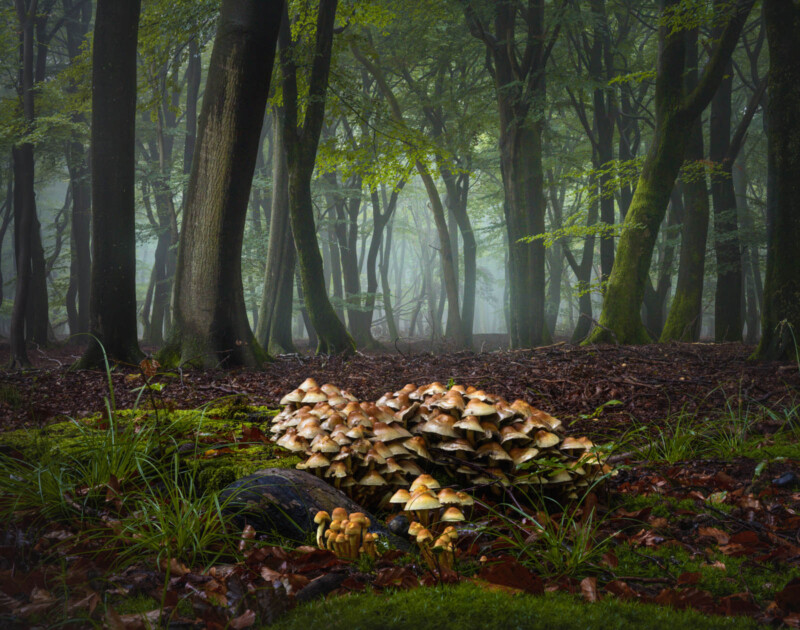
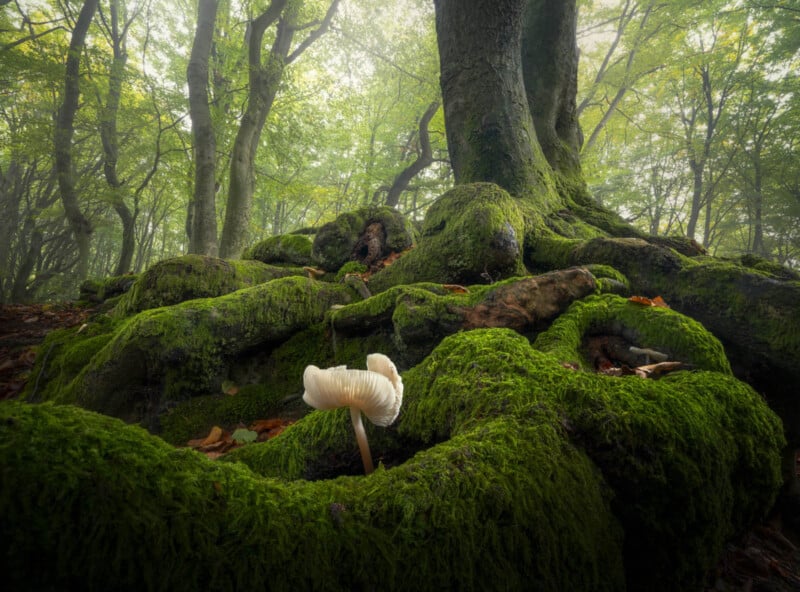
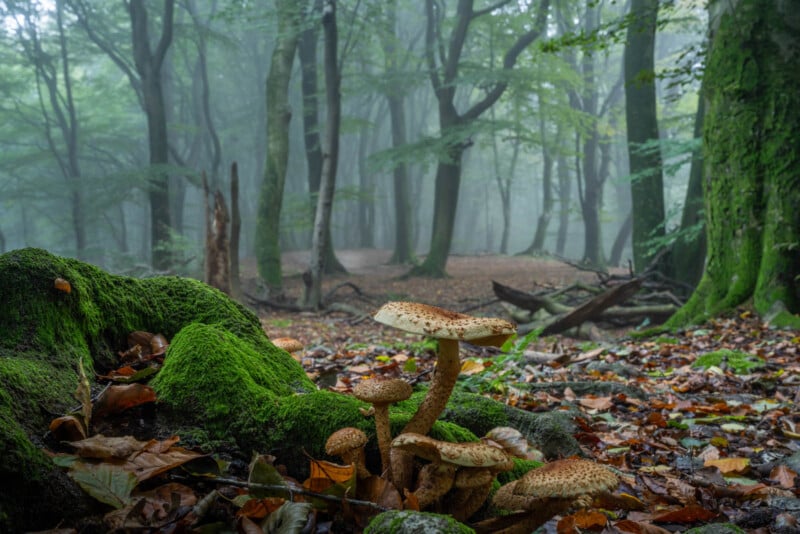
Here’s the rest of the series. All of these were captured during misty mornings in the Netherlands. As you can see, we currently don’t have autumn colors yet. But the forests are full of mushrooms!
Answering Common Questions
As mentioned before: many questions were raised about these shots when I showed them on several social media platforms, so let’s talk about some of these:
Question: Are there always so many mushrooms in the Dutch Forests?
No! You find most mushrooms in autumn around October and November in the Netherlands. This year, there are many of them because of the relatively warm climate and lots of rain. Colleague photographer & friend Jan Vermeer has a whole photo book about the different mushrooms in the Netherlands. Definitely check that out if you want to see all the different ones in a beautiful way!
Question: Are these (partly) generated with AI?
AI is a hot topic these days, and people often think that my photos are generated with AI. This is not the case. I spend a lot of work in the field and I realize that some of these look ‘unreal’. I think it’s the combination of the focus stacking technique with the editing style that makes people have these doubts. But I can assure you they are real photos.
Question: How much editing is involved in these photos?
These photos were shot in RAW format. That means you have to do some editing to bring the colors out. For example: If you shoot photos with your smartphone, your smartphone does a ton of editing to your shots to make them look ‘nice’. Professional cameras that shoot in RAW format don’t do that, so yes there is editing involved. Apart from the ‘focus stacking’ (mentioned above), regular touch-ups were done regarding color and contrast. No elements were added or removed.
To give you an example of an original RAW file (without any focus stacking) from the first image in this series:
Opinions on editing and style greatly differ, especially online. Everyone likes to say ‘I would have done x and y’ or ‘I like toe RAW much more!’ But this is my editing style and my way of showing these photos to my audience. Some people like it, some don’t, and that’s totally fine. Photography would be boring if we all did the same things.
Note: If you are interested in my editing style: I have a course available that teaches you ‘How to get the most out of your RAW files’. You can find that here.
Question: What settings were used?
I have already described the technique above and put all the settings in every photo. You might question: Why were you mostly shooting at an aperture of f/14 for focus stacking? For my lenses, f/14 is on the edge of losing sharpness because of diffraction. Also, f/14 is still a narrow aperture which gives good overlap in terms of focus stacking. If you use an open aperture like f/4, you would need much more photos to get everything sharp, and the whole process becomes a whole lot more difficult. Shutter speed is simple: I use the shutter speed that is required to get a properly exposed photo. ISO is mostly 200, while the base ISO of my camera is 100. Why use 200 then? To reduce the shutter speed and get sharper leaves. Even though there was mostly no wind in these photos, the leaves of trees often move a little bit. To get them sharp in the photo, I use a little bit higher ISO. The rest of the settings, you can simply find above.
Question: Do you use extra lighting when photographing mushrooms?
While I love to see people get creative with mushroom photography, using things like LED lights to make some really beautiful photos, I don’t do it. I like to show them in their natural world with the natural weather and light. I do this in these series, but I also do it when I photograph them with a macro lens. I simply love using natural light.
Question: Can you name all the mushrooms?
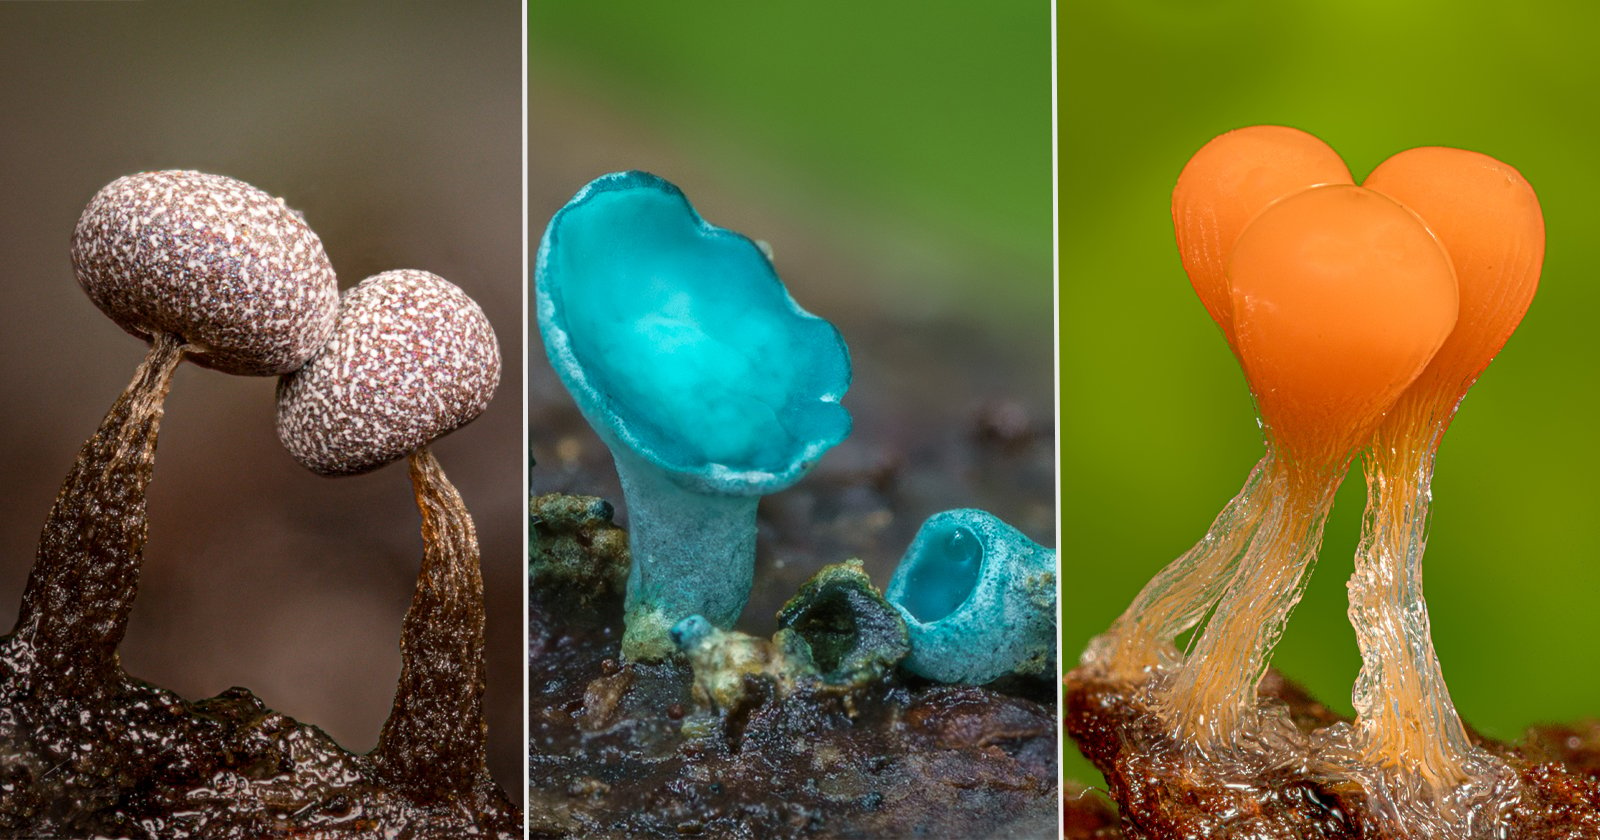
I actually can’t. Of course, I can look them up. I can also recommend the documentary ‘Fantastic Fungi (it’s really incredible)’, but I am certainly not an expert. I do not care that much about which mushrooms I see, as long as they ‘speak’ to me and they look beautiful in their surrounding. But I am sure there are many experts reading this article, and please do comment on the names of these mushrooms and any other interesting info there is about them! I love things like that!
Question: I want to visit the Netherlands and see mushrooms! When and where?
Awesome! As mentioned above: mid-October to mid-November is the best timing I’d say. You can find them in basically any forest. Simply check the woodlands on the map and go. Lots of these shots were taken in the beautiful Speulder Forest in the Netherlands. It’s one of the oldest forests in the country.