How to Develop B&W Film at Home: A Simple Guide for Mere Mortals
The film photography revival is going strong but these pictures don’t just magically appear out of thin air! Eventually you need to develop your film so I put together this step-by-step guide to process black and white negatives at home. It’s easier than you might think!
I went cold turkey on digital and I’m shooting nothing but film for the next year. And I decided to limit myself to one camera, one lens and one film type for the duration of the project so I can stop thinking about gear and focus on the creative side of shooting with film. And so far it’s going great!
But film pictures don’t magically appear out of thin air! At some point you’re going to have to develop your film. You can send it to a lab but that can get really expensive really quickly. Plus I don’t like the idea of strangers touching my film.
So I develop my own film at home and that’s what I want to talk about today. There are a few steps involved but it’s easier than you might think.
Let’s start with the equipment I use.
The Equipment I Use to Develop Film

I’m no stranger to the darkroom but I haven’t touched film in nearly a decade. And a recent brush with minimalism convinced me to get rid of anything I wasn’t using. So I had to start from scratch and buy everything all over again.
Stupid minimalism.
Fortunately, there’s the Paterson Film Processing Starter Kit that has “just about” everything you need for under $100 bucks. It comes with:
- 3 600ml graduated cylinders
- Developing tank with two reels
- Some Ilford chemicals that I’m probably not going to use. But whatever.
- 2 Sets of film drying clips
- 9” Thermometer
- Chemical stir stick
- 35mm cassette opener (It’s like a bottle opener for your film.)
The kit sells for $99.95 at retailers like B&H and Adorama and if you bought all of the pieces individually you’d pay over $150 bucks. So that’s definitely a good deal. And it’s the kit I got.
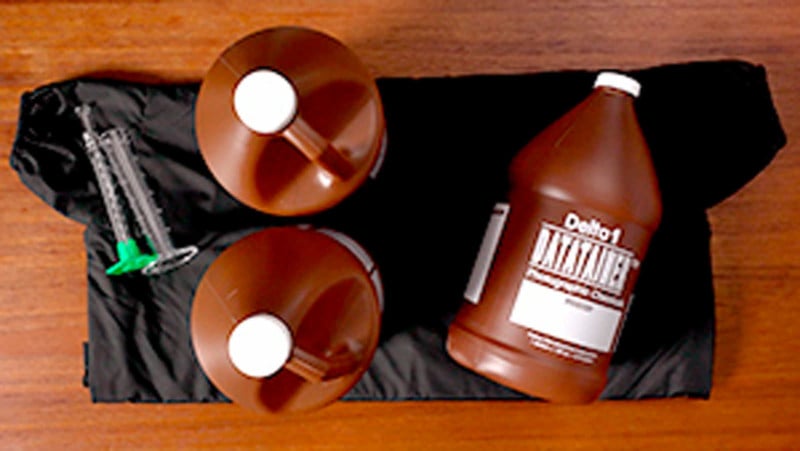
But I still needed a few more things to be running at full speed so I also grabbed:
A changing bag so I can load film with the lights on. A couple of smaller graduated cylinders for precision measuring. And finally, some one-gallon jugs to store your mixed chemicals.
And speaking of chemicals… Let’s talk about those chemicals!
Let’s Talk About Those Chemicals
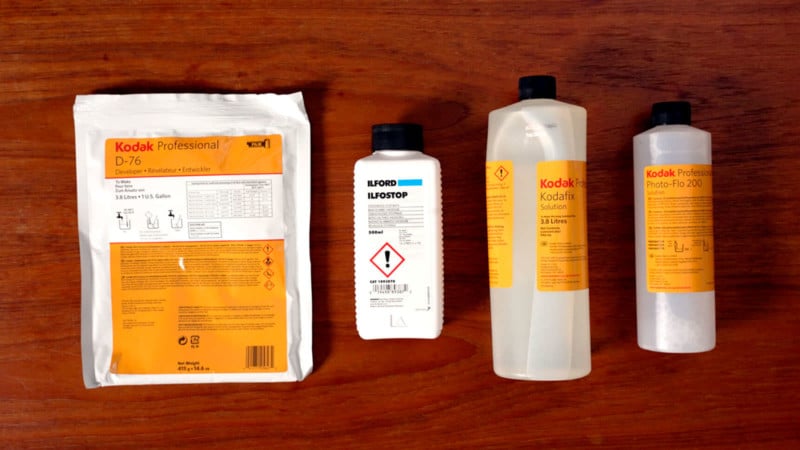
Film processing is basically a 3-step process with developer, stop bath, and fixer.
For the developer, I’m using D-76 DILUTED 1:1.
There are tons of developer choices and everyone has their favorite but D-76 is reasonably priced and predictable so it’s a great place to start.
You have to mix it from powder but just follow the directions on the package and it’s super easy.
Stop bath and fixer are less critical but I happen to be using IlfoStop and Kodafix.
Throw in a wetting agent like Photoflo to prevent water spots on your negs as they’re drying and you’ve got everything you need to develop film at home!
But before we do any of that, we need to talk about those plastic reels.
The Mystery of the Plastic Reels
This Paterson tank uses plastic reels that break apart and can be reassembled for 120 film if needed. But we’re doing 35mm so we’re gonna keep them all small and nice.
Loading your film onto the reels is pretty easy once you know how they work…
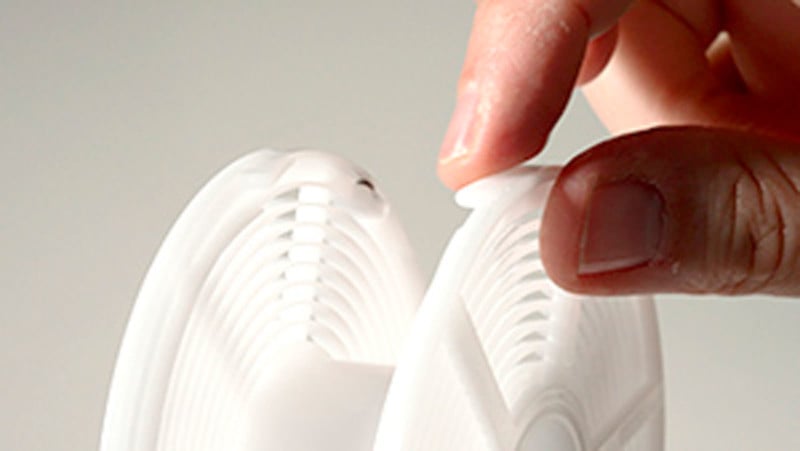
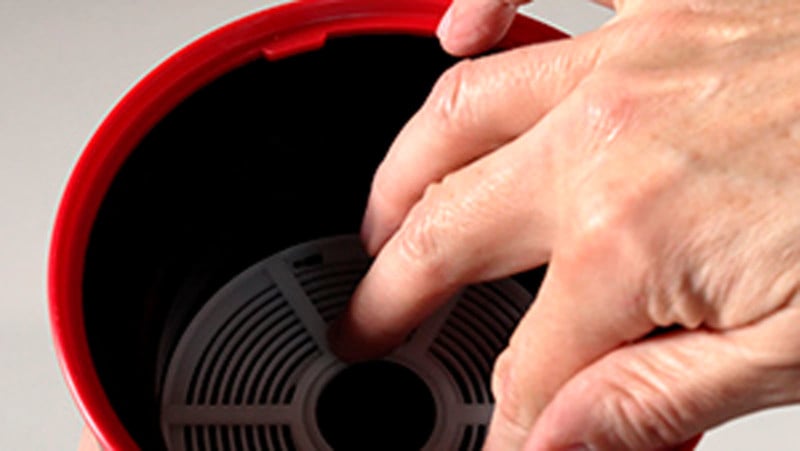
If you look along the outer edge of the reel you’ll see the entrance gate surrounded by these sort of larger teeth. The teeth make the entrance point easy to find by feel in the dark.
There are ball bearings just past the gate on both sides of the reel. These little guys sit in the sprocket holes and advance the film forward when you twist the reel back and forth.
And the rest of the reel is just a spiral for the film to wind onto.
So that’s how they work. Let’s get some film on there.
How To Load Film Onto Reels

Just remember any time you’re dealing with film outside the cartridge you need to be in complete darkness. I keep the lights on during the video so you can see what I’m doing. But don’t do that with your own film.
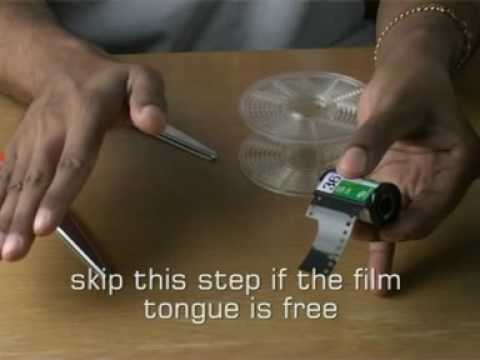
Once you’re in the dark you can open your film cassette using your handy dandy film cassette opener that comes in the kit and gently remove the film.
Grab your scissors and trim off the film leader. This creates a straight line on the leading edge, making it easier to get your film started on the reel.
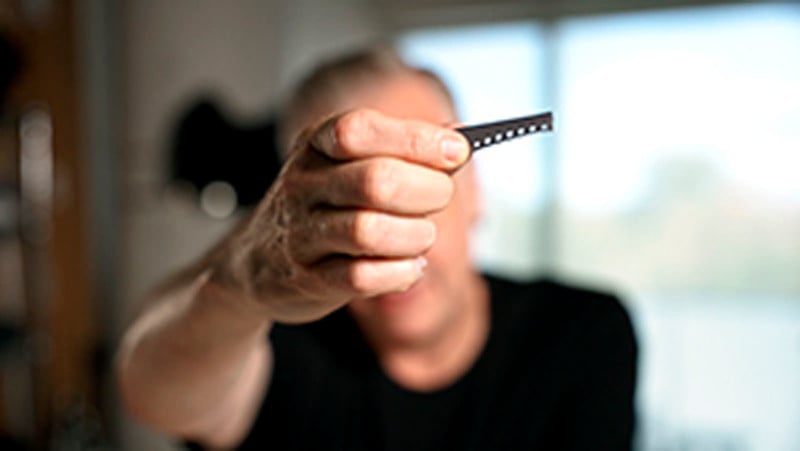
Give your film a little squeeze along the edges and it will snap to attention and make it much easier to get it where it needs to go. Locate the gate by feeling for the teeth then guide your film onto the reel. Once the film is through the gate (just the tip), you can gently pull it forward until it’s about halfway around the reel.
Then just twist the two halves of the reel back and forth and the ball bearings will grip the sprocket holes and draw the film onto the reel.
It’s like magic.
When you reach the end of the reel you can snip off the little plastic roller and give the reel a couple more twists to get the last little bit of film onto the reel.
When both reels are done, slide them on the stem and put them back in the tank. Replace the funnel and click it closed to make the tank light tight. And the film is ready for the developer.
But we still need to know how long to process our film.
So this is a good time to talk about the Massive Dev Chart by digitaltruth.com.
The Massive Dev Chart

The Massive Dev Chart is a free website that contains recipes for pretty much every film and developer combination. And it’s a must-have if you’re going to develop film at home!
But they also have an app version that includes the full Massive Dev Chart database PLUS a fantastic darkroom timer that automatically sets the times based on your recipe.
Just tell the app your film, developer, and ISO and it will tell you everything you need to know.
So if we select Ilford HP5+, D-76 1:1, and ISO 400 we can see the development time is 13 minutes at 20°C/68°F.
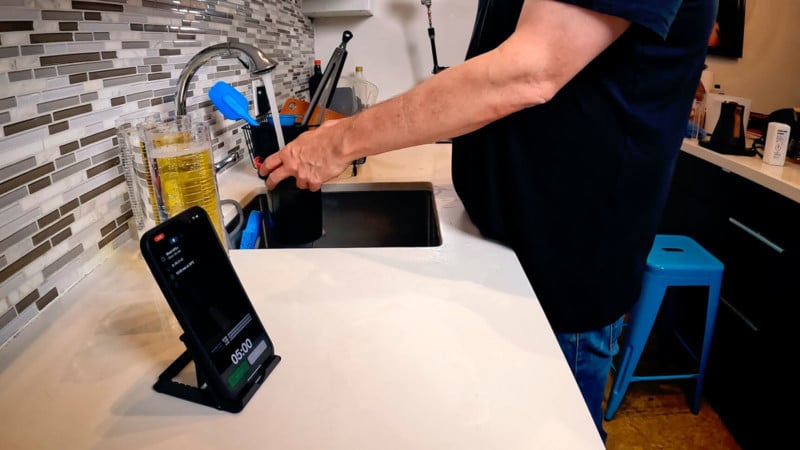
And this page in the app is actually a timer that’s preset with the correct times for every step of the process
The timer is actually super well-designed and stops between each development stage to let you empty and refill the chemicals in your tank. It has a 3-second warning to let you know when it’s time to agitate the developer and it even has a metronome during agitation so you can keep the beat and do everything the same way every time.
The app costs $8.99 in the app store and it’s worth every penny.
We’ve got our developing time and the timer is ready to go. Let’s get the chemicals ready.
Get The Chemicals Ready

I’m going to assume that you’ve mixed all your chemicals at this point. If you haven’t then you’ll need to do that before you do anything else.
If you’re processing 2 rolls of 35mm film the Paterson tank needs 600 ml of solution. I mix 300 ml of stock D-76 1:1 with distilled water to get 600 ml of working solution. Might as well measure out 600 ml of the stop bath and fixer while you’re at it.
Quick tip here. The developer and fixer look almost identical once they’re in the graduated cylinders, so I slip a rubber band around my developer so I always know what’s what.
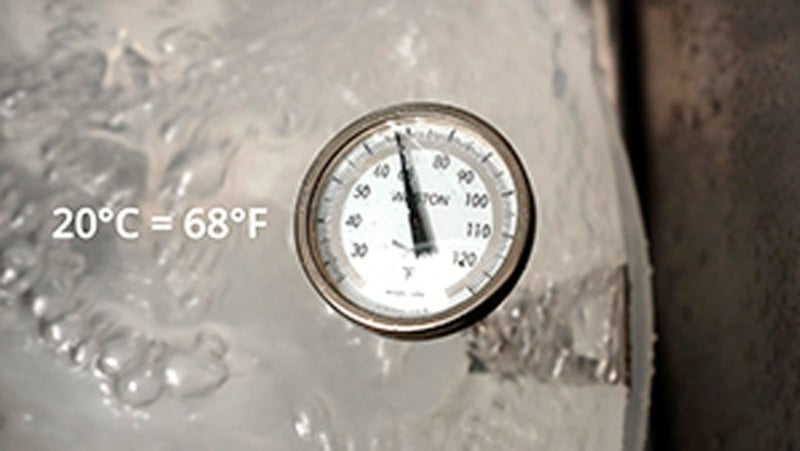
According to my recipe, the developer needs to be at 20°C/68°F, and depending on your room temperature you may need to raise or lower that temperature. I usually run a 20°C/68°F water bath and set the graduate holding the developer in that bath. Eventually it will equalize to 20°C/68°F and everyone will be happy.
It’s also important to KEEP the developer at 20°C/68°F while you’re developing so any time I’m not handling the tank for agitation or adding chemicals I keep the tank in that same water bath. This keeps the temperature pretty stable over the 13-minute development time.
Without the water bath, I’ve seen the temperature rise by a couple of degrees C which would definitely affect contrast. And I don’t want that.
I don’t really worry if the stop bath and fixer are a couple of degrees warmer or cooler. The developer is the one that matters so when that’s at 20°C/68°F we’re finally ready to develop some film!
We’re Finally Ready To Develop Film!
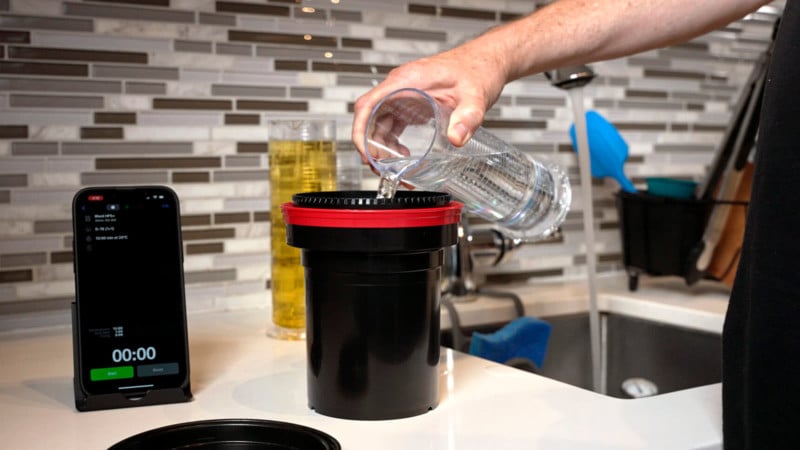
Line up all three graduated cylinders in order of developer, stop bath, and fixer and launch the Massive Dev App timer so everything is ready to go.
Quickly pour the developer into the tank. Replace the outer lid, give it a burp to seal it then start the timer and begin your first round of agitation.
It’s a bit of a juggling act to get things started so having everything lined up and organized before you start is a good idea.
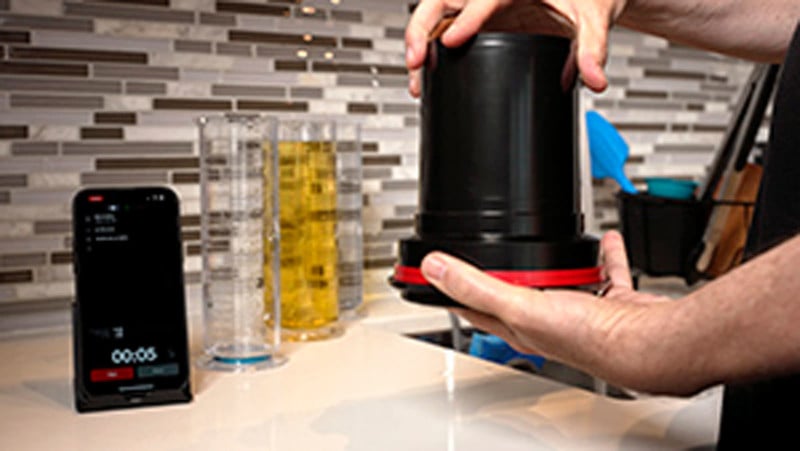
For agitation, I’m currently doing one inversion every 2 seconds for 4 total inversions. I gently twist the tank a quarter turn each time I turn it over. After the last inversion, I give the tank a little tap to release any air bubbles that might be sticking to the film then put it back in the 20°C/68°F water bath.
You may need to experiment to find the best agitation amount for your film and developer. Keep an eye on the contrast of your negs and tweak as necessary.
Agitation happens once a minute for the duration of your development time. That’s 13 minutes for me. 13 minutes of standing there.
Shaking that thing.
Eventually you’ll get to the last minute. I usually start to empty out the developer when there are 15 seconds left in the development cycle. That’s about how long it takes me to pour it in at the beginning so everything evens out.
Immediately add the stop bath agitate then let it sit for 1 minute. When that’s done empty out the stop bath and add the fixer.
Fixing typically takes about 5 minutes. Just follow the times in the app and you’ll be fine.
When the fixing is done pour out the chemicals and you’re ready to wash the film!!
Wash The Film
I use the Ilford method of Fill, Agitate, Dump, and repeat.
The idea is you fill the tank with fresh water, add the lid and agitate 5 full inversions. Empty, refill, and agitate 10 inversions. Repeat one more time with 20 inversions. And the film should be clean as a whistle.
Dump out the last bit of wash water then fill the tank with 600 ml of distilled water and add 3 ml of Photo-Flo. This is a rinsing agent that prevents water spots from forming while the film is drying.
Let that sit for a second and we’re ready to dry the film.
Dry The Film

You need a clean dust free place to dry your film. You can get specialized film dryers but I just use my bathroom.
Run the hot water full blast for a few minutes to create some humidity in the bathroom. This helps any dust in the air to settle before you hang the film to dry.
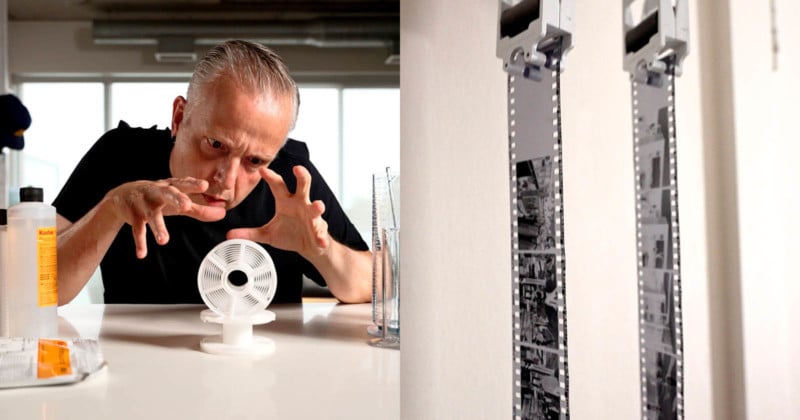
Remove the film from the reel and attach the clips with the black weighted one on the bottom. Then all you have to do is hang the film and close the bathroom door on your way out.
Wait a few hours for everything to dry then you can cut and sleeve the negatives and you’re done.
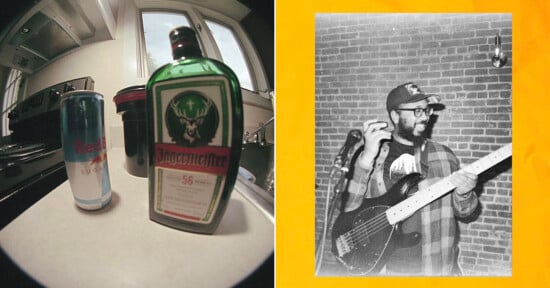
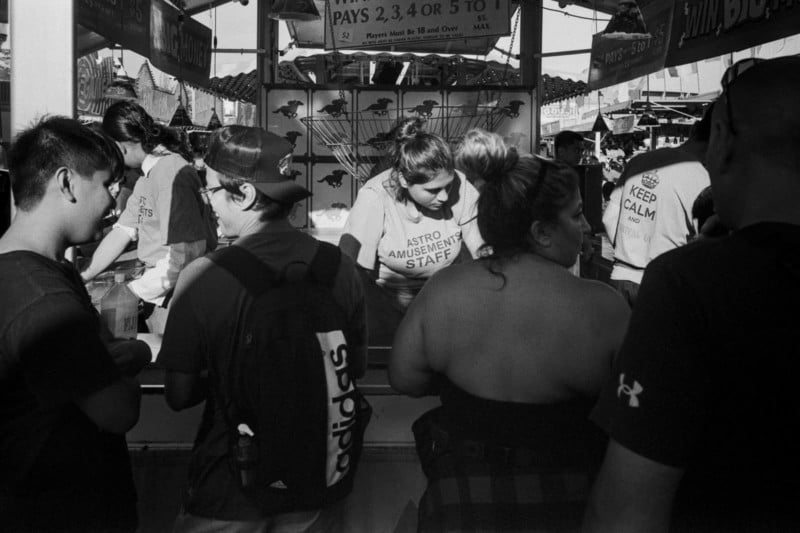
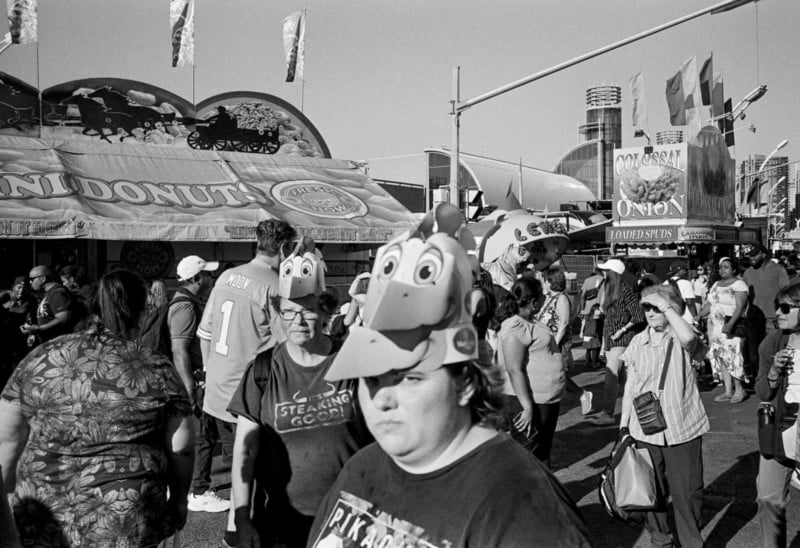
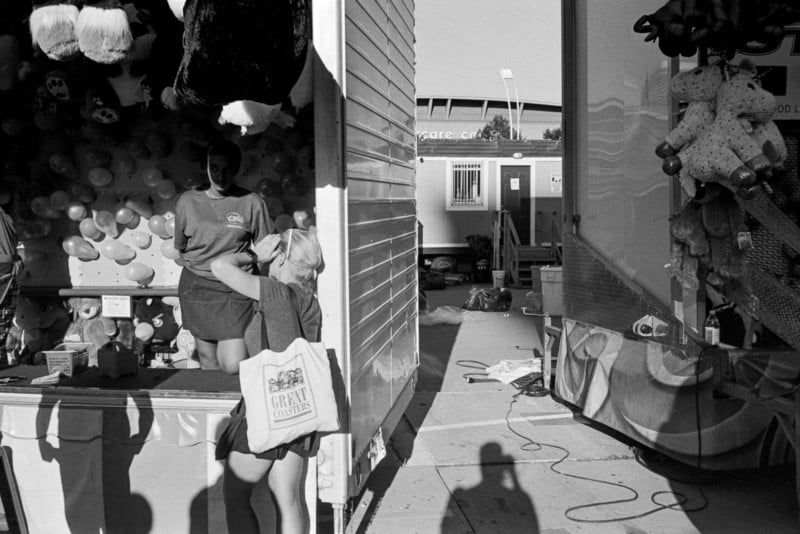
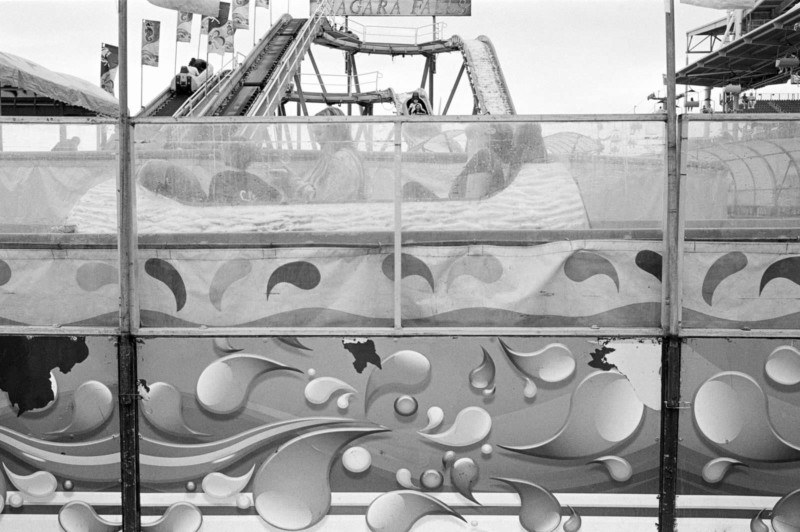
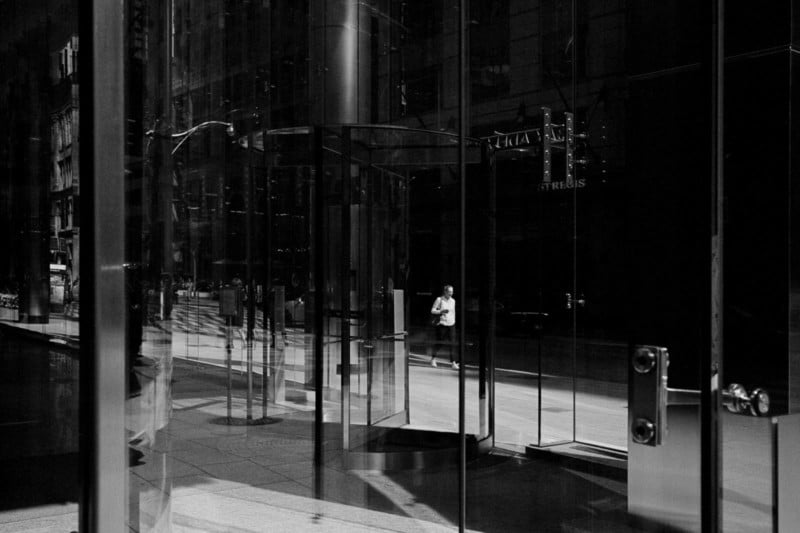
HP5+ Photo Gallery
Here are a few HP5+ images that I have developed at home!

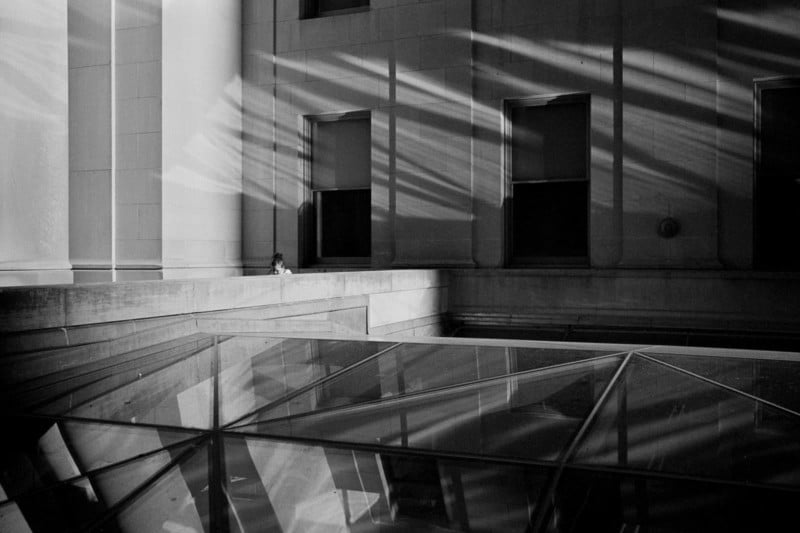
Shooting film doesn’t make you a better photographer and you have to jump through a few hoops before you can see any pictures. But with a little patience, you’ll be up and running in no time and the image quality alone is worth the price of admission!