Unique Techniques for Capturing Better Waterfall Photos
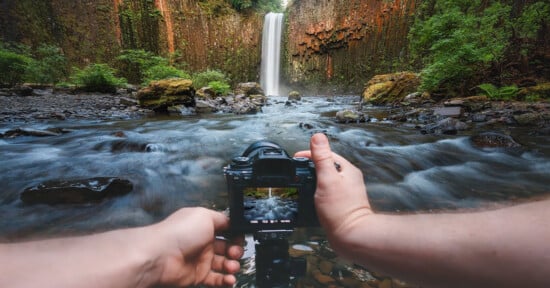
Timelapse and landscape photographer Michael Shainblum has shared a tip-filled guide showing how he uses long exposures to capture some of his more creative waterfall images in the Pacific Northwest.
In the above fifteen-minute video, Shainblum breaks down the techniques he uses and even the mistakes he has made along the way to capturing his breathtaking long-exposure photographs of waterfalls. The tutorial even includes what he calls his absolute favorite method that he now uses often.
Out of the gate with this video, Shainblum admits to the first (and likely the biggest) mistake photographers can make when capturing images of this type: starting too late in the day. At his first location, he admits to not starting until the sun was already setting, leaving him little time to compose the right shot.
Finding the Right Composition
Struggling with the composition and losing light fast, Shainblum says his first tip for capturing better waterfall images is to simply pop the camera off of the tripod and move around. If you can’t find the right framing with the particular focal length, it might be time to swap lenses and try something different.
In this case, he changes from a 16-35mm wide angle, to his trusty 100-400mm telephoto so that he can zero in on a smaller, more detailed section of the waterfall to just simplify things. Leveraging the telephoto enabled Shainblum to pick smaller portions of the waterfall, bringing out more of the sunset glow on the rocks and accenting on the small details and diagonal patterns, making for a much more appealing long-exposure photograph.
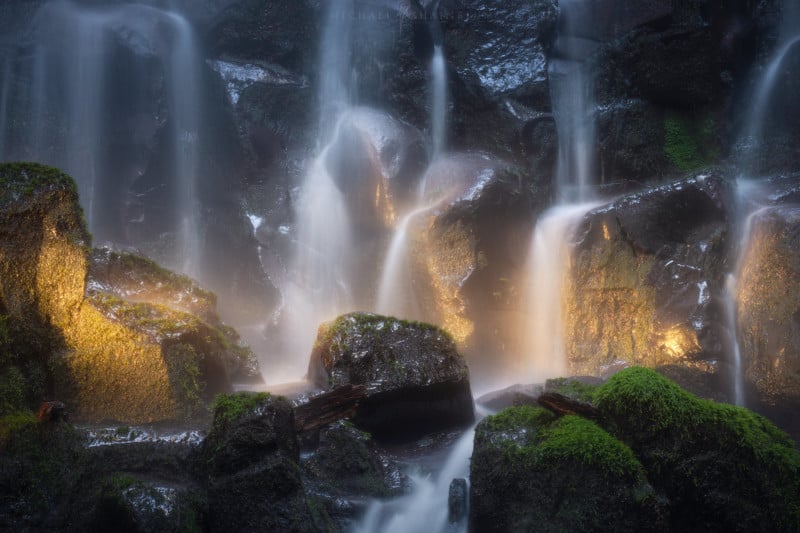
After the initial late-start, Shainblum went on the next leg of the journey with fellow photographer Andrew Studer to find more locations to capture. This time leaving much earlier in the day to allow for more light, and starting with his 100-400mm lens he starts picking out smaller portions of the 100-foot tall waterfall with lots of little different “mini-waterfall” sections to pick and choose from for composition.
Long Exposure Camera Settings
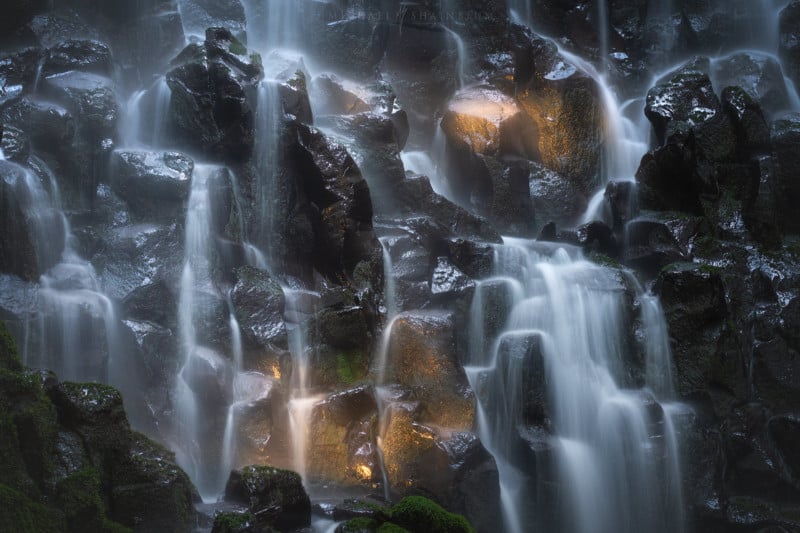
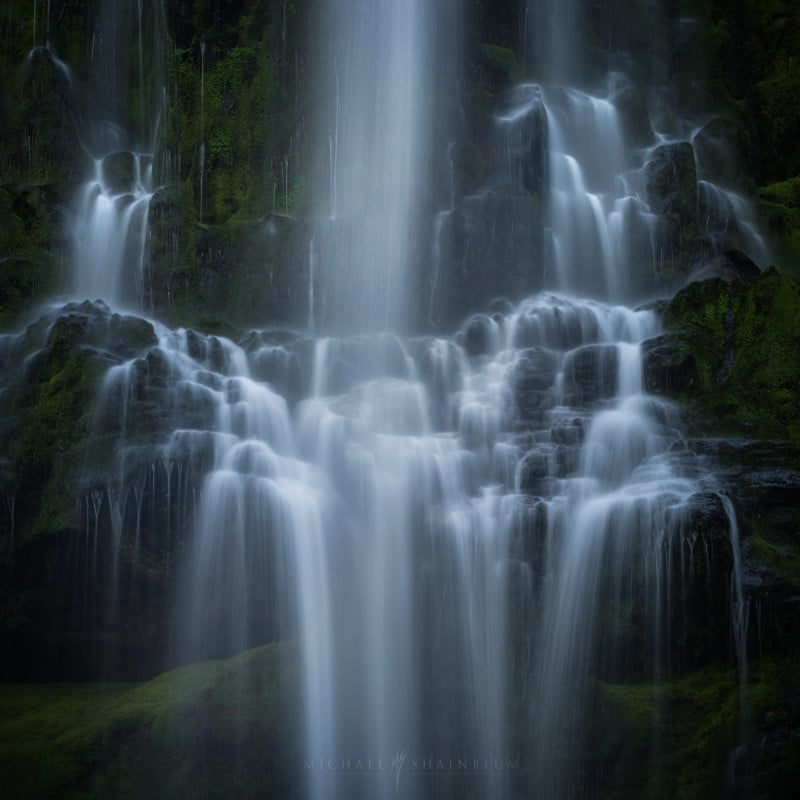
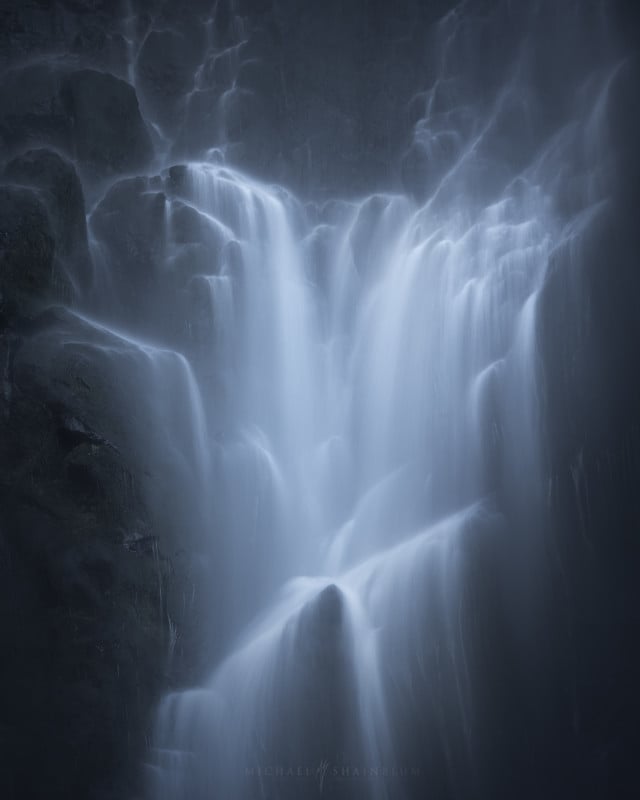
Shainblum says when looking for compositions on larger waterfalls like this, it’s key to seek out symmetrical compositions that provide natural leading lines (or triangles) for the eyes to follow. He captured many of the initial shots between 400 to 800 ISO with the f-stop pulled down as much as possible and an exposure time of 20 to 30 seconds.

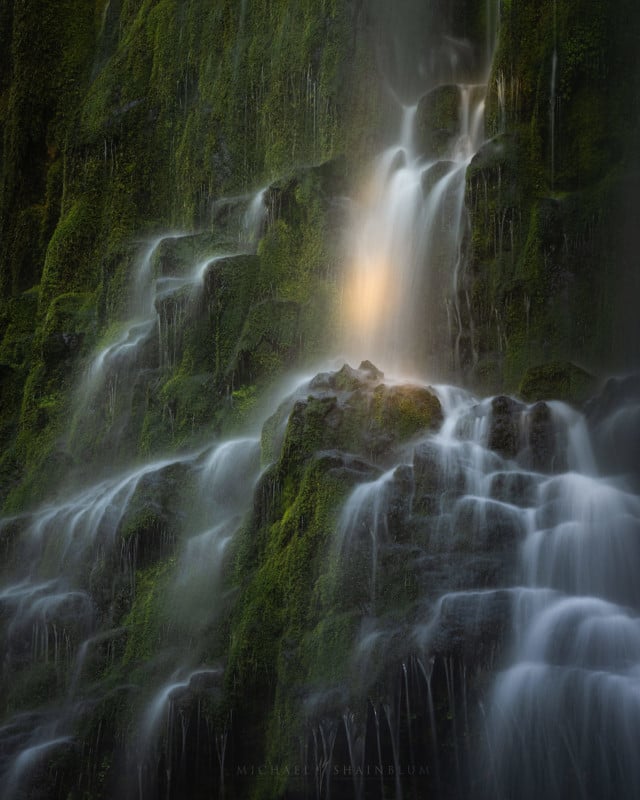
Shainblum says in the video that those capture times may be a bit longer than they should have to maintain the rock and foreground texture, but they allowed for some breathtaking motion blur from the water, making the entire scene almost ethereal dreamlike quality.
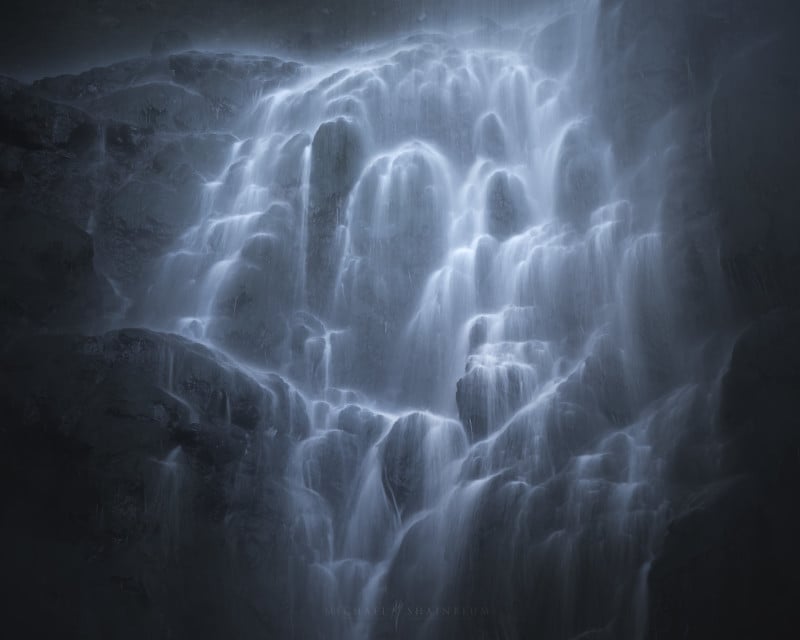
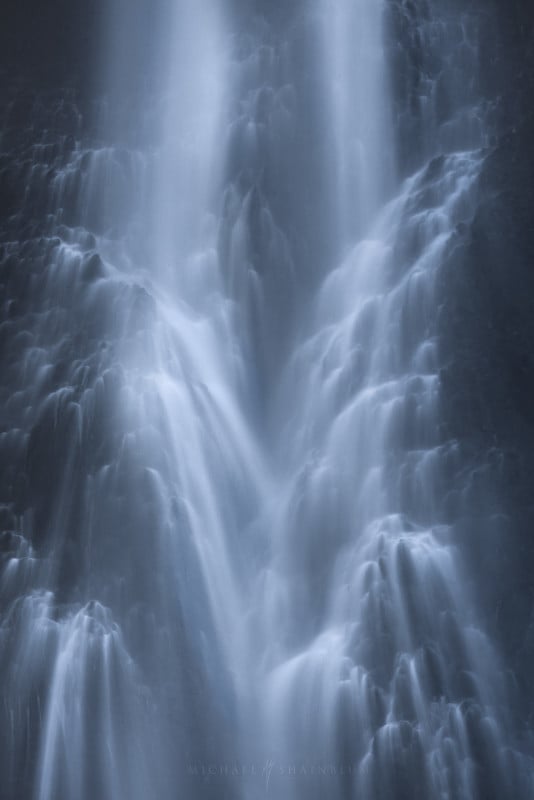
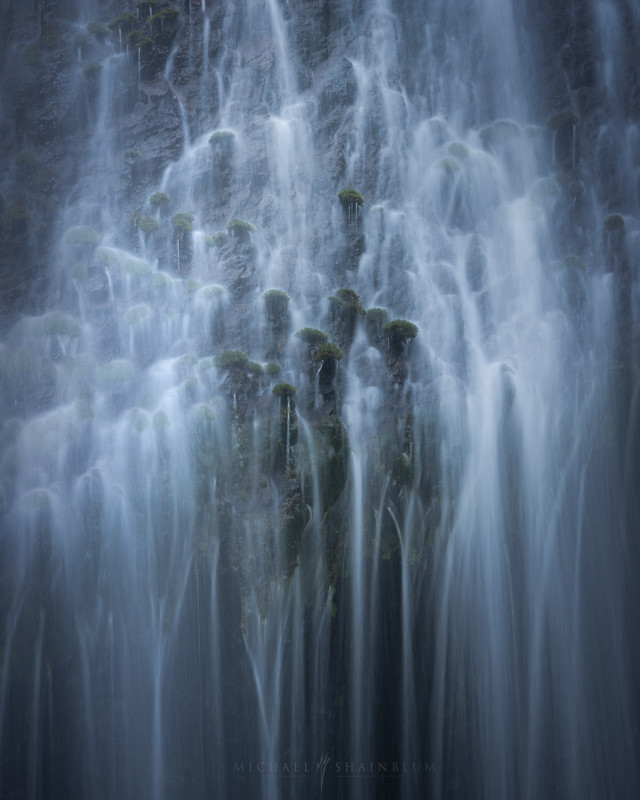
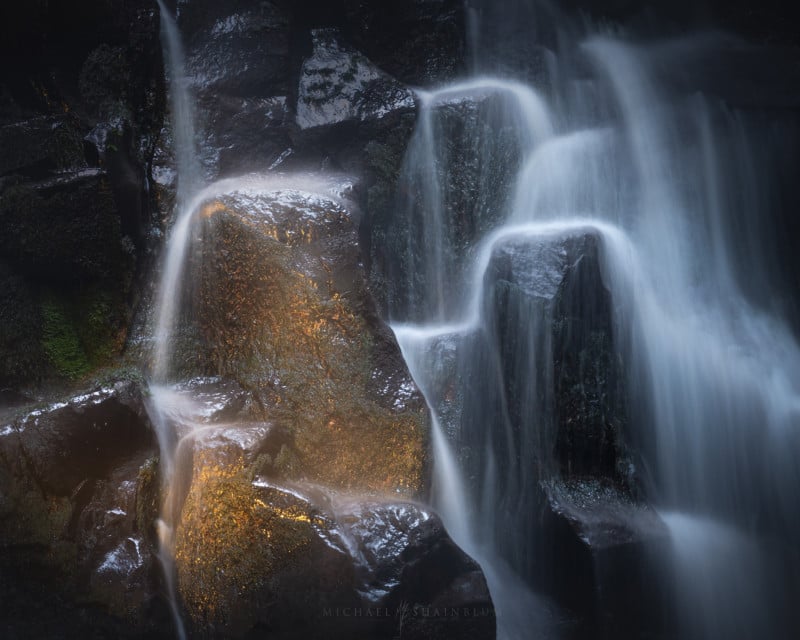
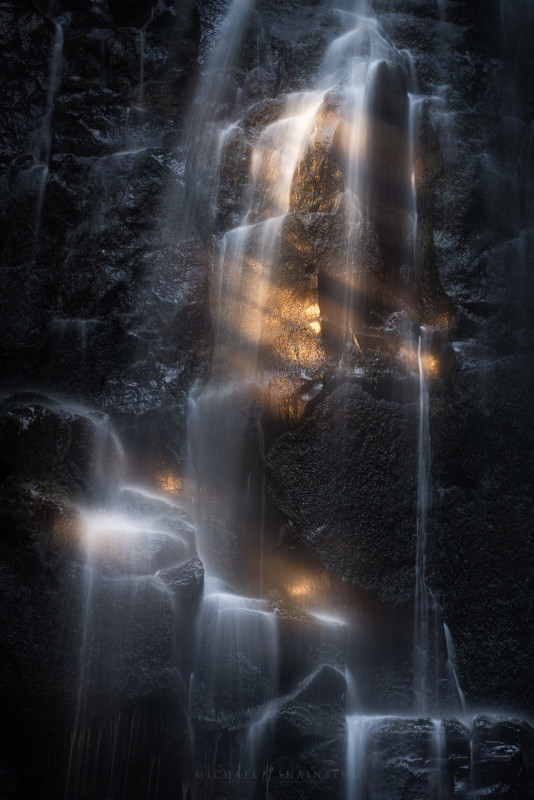
With the heavier flow of water, came the extra mist in the air, providing some intense diffusion, and creating a ghost-like quality to the photographs. But with the added beauty, came the challenge of nailing the focus through the mist. This is when he began zeroing in on silhouettes of different shapes and “figures” in the waterfall and incorporating shorter exposure times to just add a little variety to the shots.
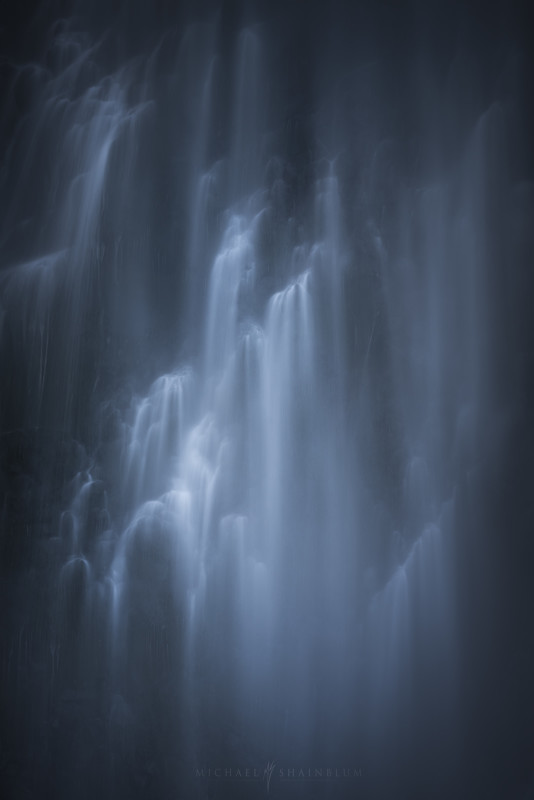
“The main takeaway here is to be creative,” Shainblum says. “Creativity is the key to any style of photography, especially waterfalls. Do not just take the most obvious composition of the waterfall that presents itself. If you are using a wide-angle lens, try moving around the falls. Look for interesting foregrounds that can lead you into the composition and tell a story about the location. Also, look for different framing elements. If you do decide to use a telephoto lens, really study the scene to find those interesting patterns, shapes, and textures. Use the lens to transform the waterfall into something different than it actually is.”
More of Shainblum’s work can be found on his website, Instagram, and YouTube Channel.
Image credits: Photos by Michael Shainblum.