What Makes a Photo Cinematic? How I Forced Myself to See Differently
I’m sure over the last few years all of us photographers have heard the word cinematic so much that in the end, it may have lost all meaning. Is every photo with crushed backs and a cyan-orange color grade “cinematic?” I’d say, no. So today I’ll try to explore what are the factors that add up for an image to be cinematic and what can make or break the cinematic vibe of a shot.
It all started while I was watching a video from Grainydays on YouTube where Jason was using a panoramic camera, the Fujifilm TX-1. It is a vintage camera that creates panoramic images by exposing two shots on film at the same time to get an image that has an aspect ratio of 65 by 25.
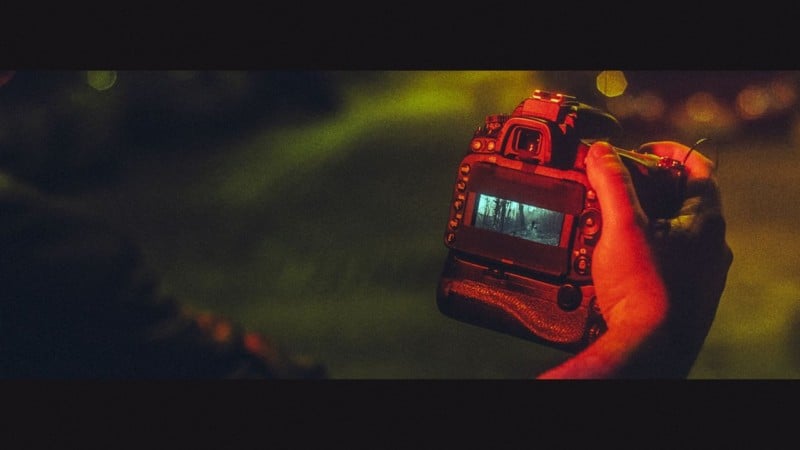
The entire concept caught my interest, but since I don’t have about $6,000 lying around to spend on a vintage camera and I don’t shoot film either, I went the DIY route and taped two strips of gaffer’s tape to the LCD of my camera and took it out for a test.
At first, it felt very awkward and restrictive. My brain was struggling a bit but the wide aspect ratio inspired me. It was similar to what I’ve seen in movies and was forced to include more context with my subjects into every frame. After I got home, I went ahead and cropped all those photos to 65 by 25 and was surprised by some of the captures.
They were very different, and my usual post-processing method was not working that well on them, so instead I opted to go for a more film-like color grade and put more intention into picking the color and the mood of every shot.
So that begged the question: What makes a photo cinematic?
Aspect Ratio
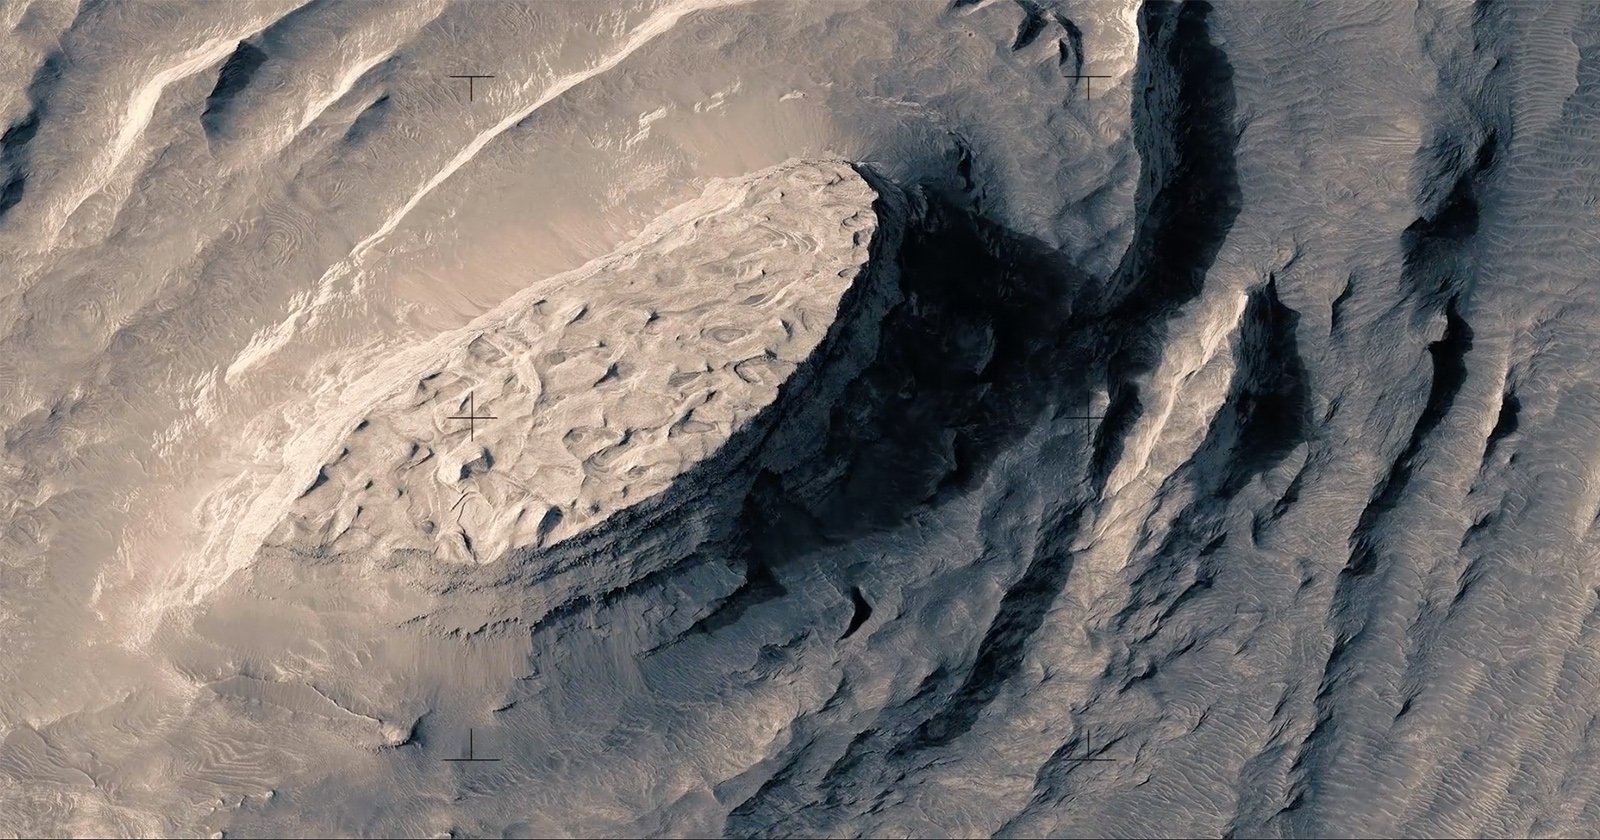
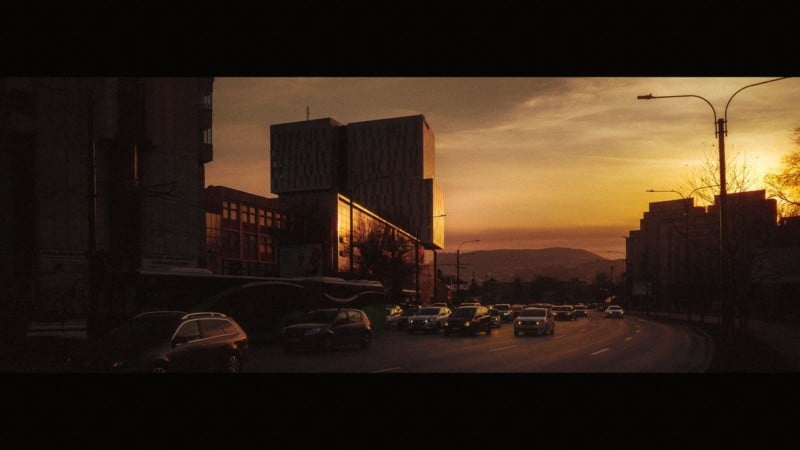
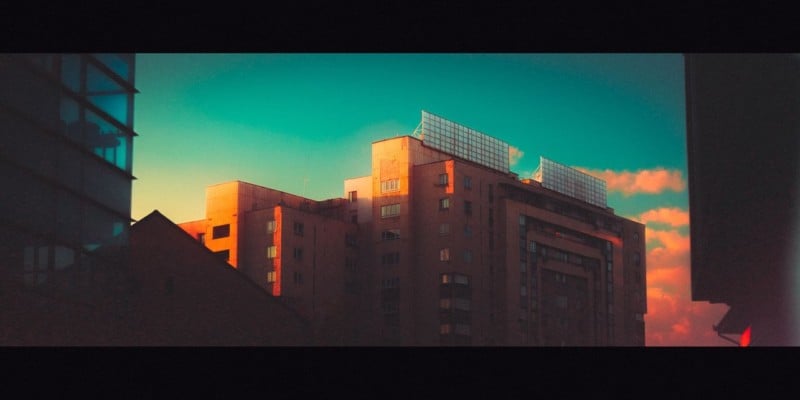
For me, this is where this entire quest for the cinematic look began, and there is no doubt that a wide aspect ratio like 16:9, 2.35:1, or even 64:25 will give the viewer a more cinema-like experience. I strongly believe that we photographers don’t experiment enough with aspect ratios and that some of them are a lot more useful when it comes to telling a story than others and we humans are prone to associating them with stuff we have seen before like the cinema for wide aspect ratios, medium format film with a more square-ish 4:5 look, and so on.
On the other hand, you will find it challenging to show panoramic shots on social media. People consume more and more content on their phones, and it is a well-known fact that portrait images do better just because they just take more screen space. Wide shots might look great on a big screen but are terrible when miniaturized on a phone.
Exposure
Light is always the most important thing, we can’t have photography without it. In the last few years, I noticed a trend of brightening all the shadows to have as many details in the shot as possible while the cinema world went in a different direction.
A lot of movies are heading towards a darker moodier look with deep shadows, and that is intentional! In my case, I found that if there are details in every corner of these shots there is just too much information, and it is easy to confuse the viewer. Since I was using the LiveView instead of the optical viewfinder I could see my exposure in real-time and a lot of time I was shooting at around -0.7 to -1.3EV. Shadows do play a very significant role. Your eyes don’t see in the dark, so why would we produce images that have that kind of dynamic range?
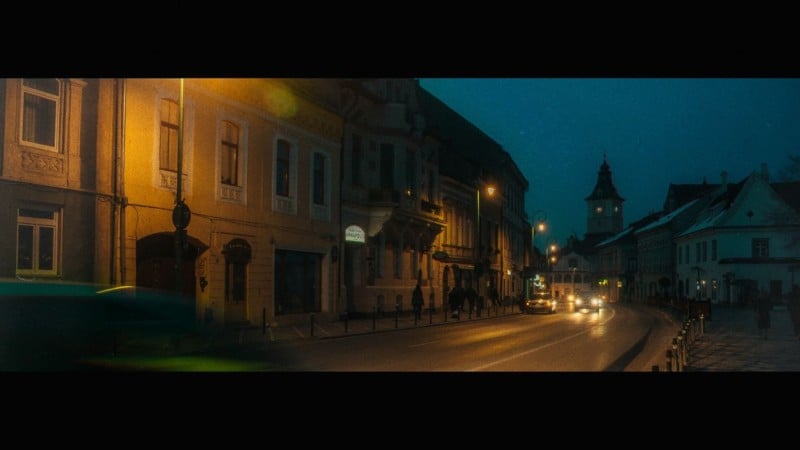
Color
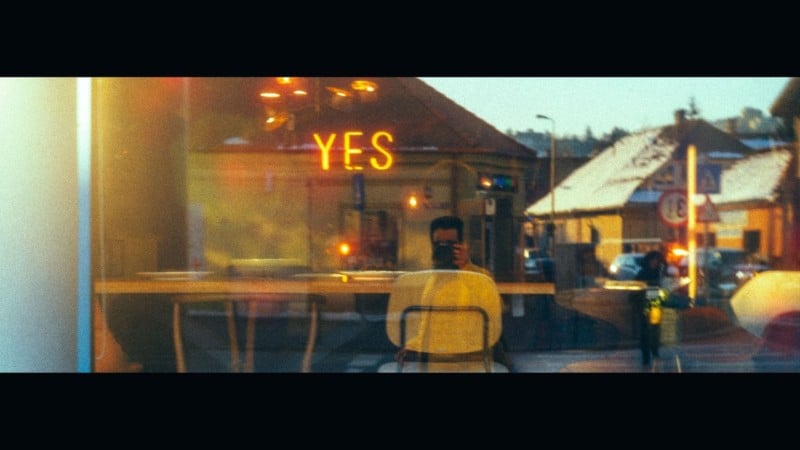
The color palette you chose for an image, be it in post-production or while shooting, will influence the entire mood of the scene. We associate certain colors with feelings and emotions. For example, a scene where everything is blue might feel cold, lonely, or calm, depending on the shade, and a scene where red is the dominant color might give the viewer the sensation of power/anger the same way something pink might suggest that the subject is cute.
Here again, we can notice different trends in photography and cinematography. While some photographers might be tempted to go for a cyan-orange preset and call it a day, a more cinematic approach would be to try and understand the mood you are trying to create with your shot and develop a color pallet based on it. The easiest approach is to start with two complementary colors that are already in your shot and build an entire pallet on that solid base whit tools like the adobe color. The most common and sometimes boring starting point is cyan-orange because the human skin can be approximated to orange while the sky can go cyan rather easily, but I would challenge you to try green-red and purple-orange shots.
One other very useful trick is to try to color match elements that have similar tones in your shot. For example, if you have a deep blue car near a tuques building and the sky is also light blue you can try and bring all those cool tones closer together and make them all tones of the same hue. Limiting The number of colors you have in your final image will make it easier to understand that’s why you see most of the orange-cyan color grades turning the greens and the magentas into grey tones.
Light
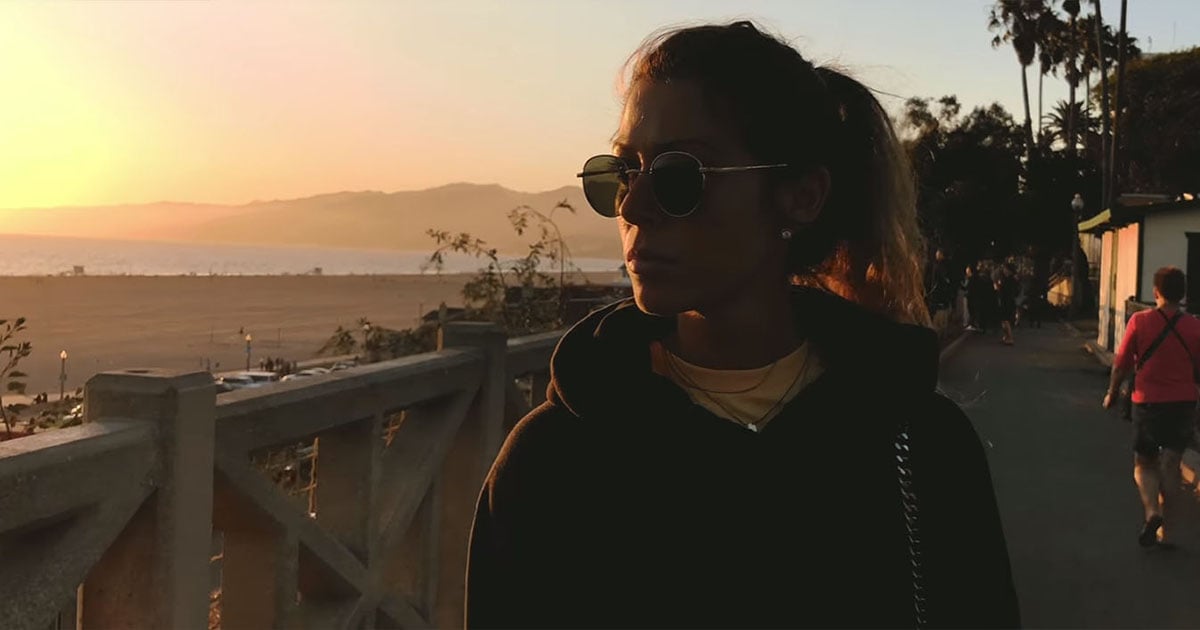
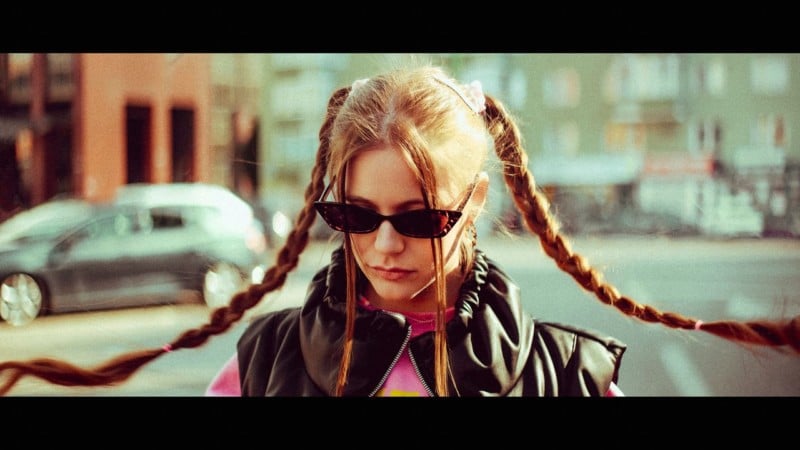
This section is more for portrait photographers. In cinema, most of the time, the main goal when setting up lights is to copy reality. So, if you plan to shoot cinematic photos, adding a reason for a light to have a certain direction will be beneficial.
For example, if you have an orange light coming from the right side of a model, it might be an interesting idea to also have a lamp or a window in the shot that justifies the direction of the light. One other thing you will see in movies over and over again is Rembrandt light with the darker side of the face being closer to the camera, it’s a very basic way to illuminate a person while being extremely flattering. Also illuminating from behind and shooting against the sun are techniques worth experimenting with. Not having your biggest and brightest light source on your subject’s face might add a layer of mystery and depth to the shoot.
Location
Often we are tempted to say that our cities are not that cinematic, just because we see them every single day, and they may look very different from the iconic stuff we’ve seen over and over again. In cinema, there are so many stereotypes when it comes to cities and how they look. They have used some of them so much that for example if you see a beach with palm trees and blue skies with warm tones and little to no shadows you will think it is in LA. The same way you would think it’s New York if you see tall buildings with lots of greys and a lot of grime.
Personally I both understand and despise this. It makes it a lot easier to recognize a certain place, but I do think you can create a certain look for your city without going by the looks that were already established for it. Use your creativity and create the mood you are aiming for with your story.
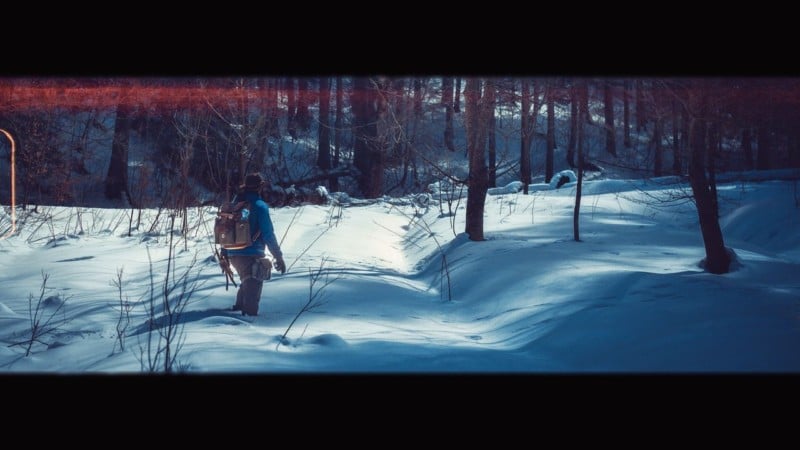
Layering
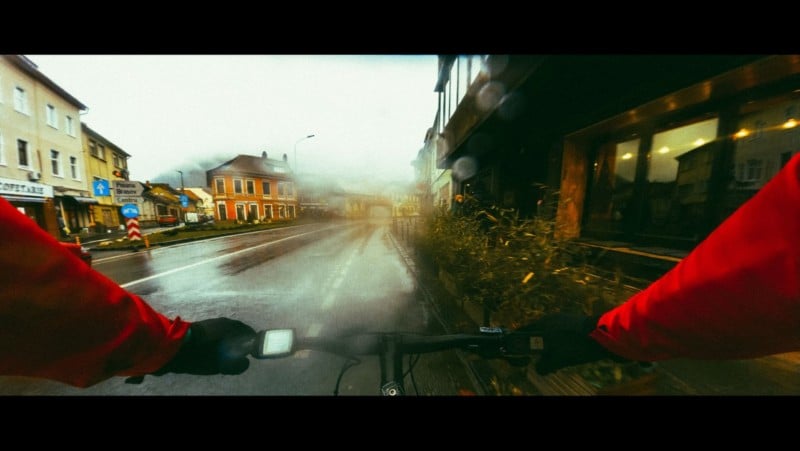
With this kind of wide aspect ratio, you have a lot of space surrounding your subject that you have to fill with something. Everything in the shoot is part of the story that you’re trying to tell so adding layers to the image will enrich the experience for the viewer. Use it to add details that matter to the story. Having something in the foreground, even something as small as a few drops of water on the lens or a mist filter will affect the final shot.
In the same way, everything that is in the background will help you set the mood and creates a context for your subject. Even the quality of the air. A lot of times if you shoot inside a room adding a bit of haze or smoke will create a lot of depth to your images while giving an awesome glow to the lights you have in the frame. The more layers you have the more complex your image will be, so don’t be afraid to simulate lens imperfections or film grain as well. If you are trying to emulate a vintage film look, the quality of the final image should match the era where you are trying to place your story.
It’s About Emotion
The most important thing in cinematography, I would say, is the ability of a certain shot to add details to the story, to imprint emotions onto the viewer, or to enhance the actions depicted. And we as photographers have a lot of tools at our disposal to achieve just that.
I don’t think a certain aspect ratio or a color grade will make every shot look cinematic — not in the long run. What makes something look cinematic is putting intent behind every single element of your photo. Everything in a shot contributes to the story that you are trying to tell and if you place intent behind all the elements it will be a richer experience for everyone looking at your work.
As for the gaffer’s tape experiment, I do encourage all of you to try it out, but make sure to use some tape that won’t leave any residue on your screens.