How to Make Food Photos Pop in a Bright and Clean Set
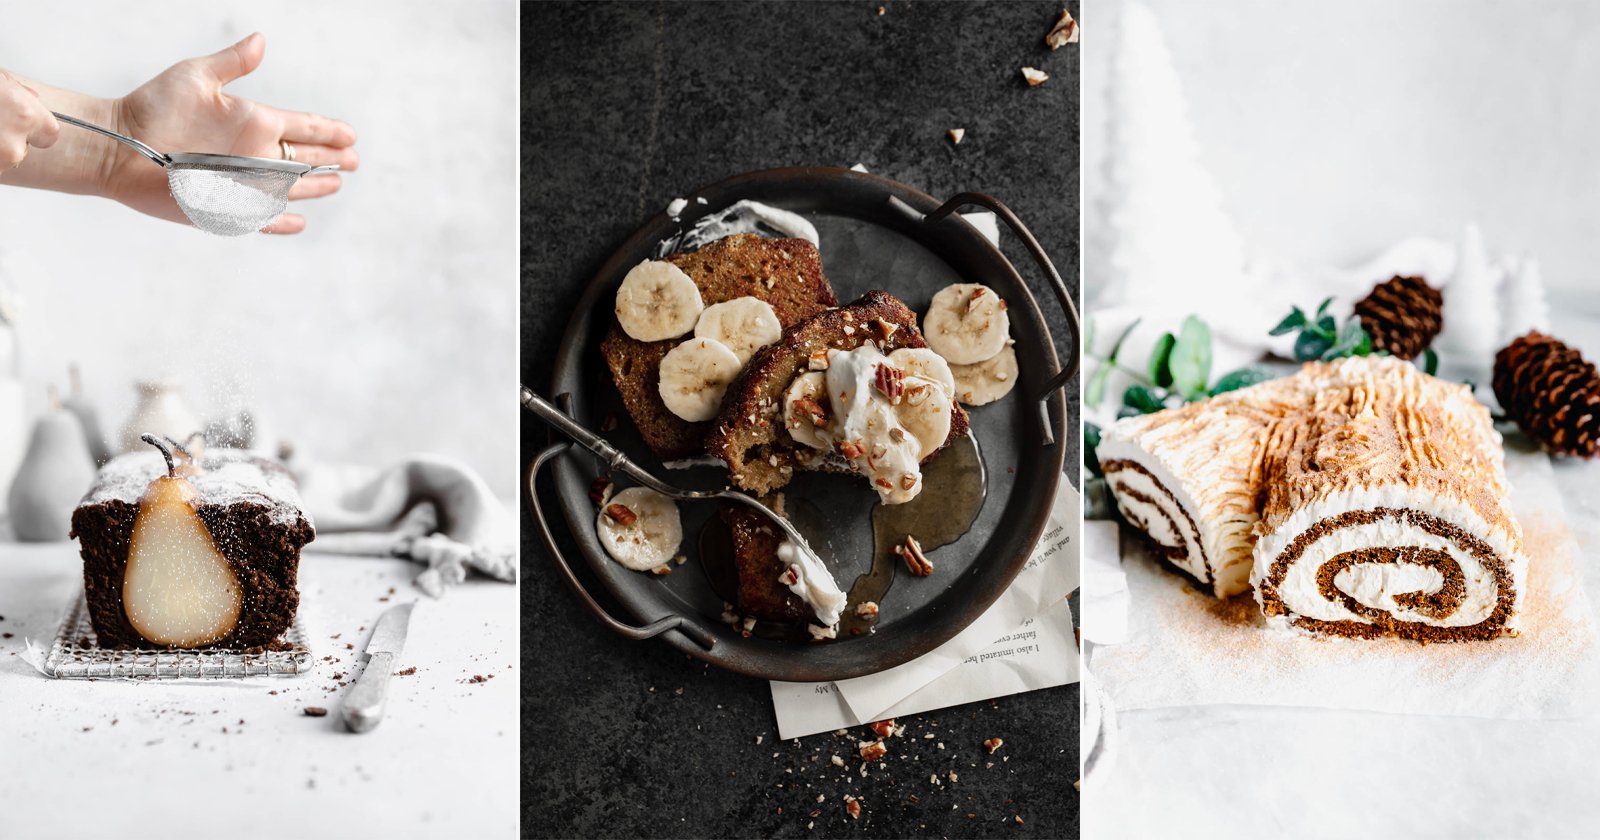
If you follow food photographers on Instagram, I am sure you have seen some of the light or what I would describe as “airy” food photos that are popular at the moment.
This dreamy, bright way of photographing food is a great way to make the food itself really pop and stand out, while still looking extremely tasty and not stark or sterile. If you want to have a go at trying this style, I have put together a few tips you can try.
Like I say with most of my tips, these are tips and not hard and fast rules that absolutely need to be followed to the tee.
Pick a Proper Background
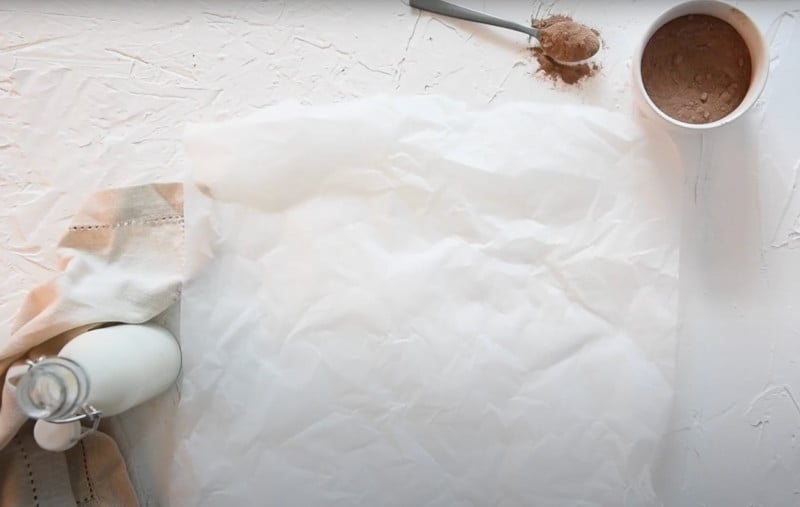
This first tip is an important one: pick a proper background. It is important to choose a white or very light background for this style of image because even if you go ahead and do everything else right below but you use an incompatible background, there is no way that photo is going to have that dreamy aesthetic that makes these photos desirable.
A white or light background also acts as a large reflector in your scene and will bounce any light around in a way that hel[s soften shadows which contributes to that lightness we are aiming for in this style.
Select the Right Props
Similar to the previous tip, make sure to select props that continue the aesthetic. Using lighter-colored props is important because darker props are going to either darken the overall feel of the photo or just stand out like a sore thumb and become distracting. It’s important to remember with food photography of any type that props are always supposed to add to an image, never distract from the main subject.
Aim for Soft Light
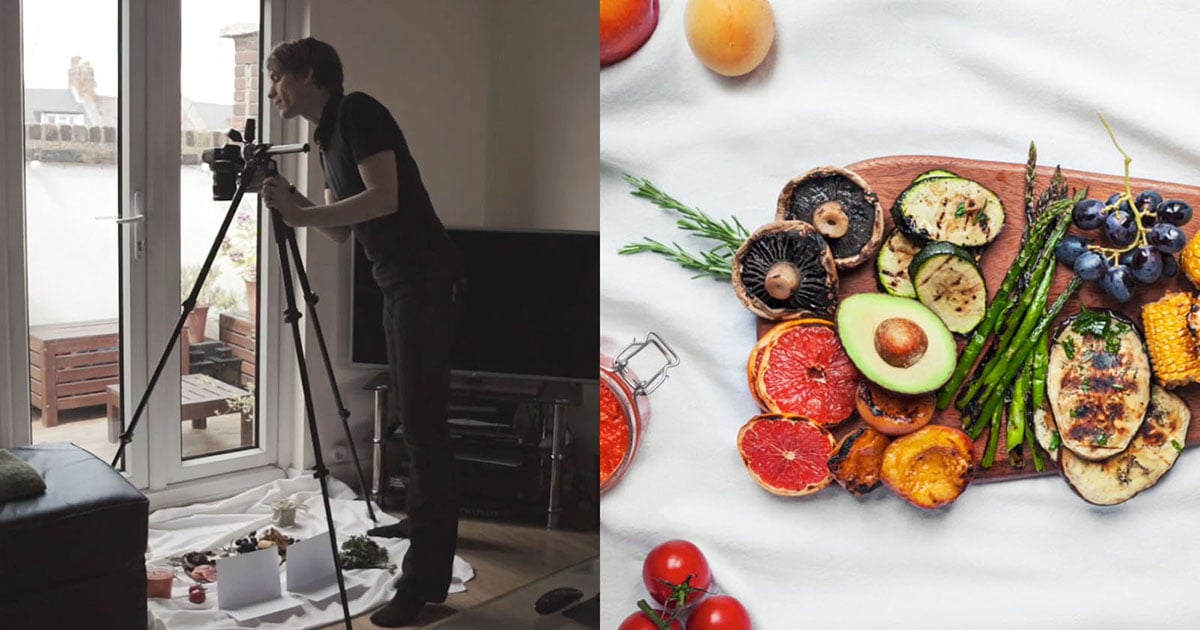
For this type of photo, we’re going to want to aim for soft light. This is going to reduce any harsh shadows in the image, which creates darker areas in the image that we want to avoid. If you are using natural light, you will want a window with some indirect light or a really cloudy day. If these aren’t possible, placing a large sheet in front of your window will help diffuse the light and therefore make it softer.
In my work, I mainly use studio strobes and my modifier for soft light is a softbox — I mean, it’s in the name! Using one will create some lovely soft light and there is also an extra layer of diffusion material in the middle (called a baffle) to help soften the light even further. If you are using artificial or natural light you can also use a reflector to help bounce some of your light back into the scene to help soften any shadows in the image. Just place your reflector opposite the light to bounce the light back into your scene. Just make use we don’t reduce the shadows too much, some shadow is needed to stop the image from looking too flat and two-dimensional. If you think your image is looking a little flat, move the reflector further away from the light.

Nail Perfect White Balance
Make sure you have the white balance spot on. Although this is a very important part of all photography, it can be very noticeable when taking these kinds of photos if it is even just slightly out because we usually have a lot of white in the image, and as it suggests in the name, white balance can change the whites in an image a lot. The white areas in an image can start to look very blue or orange when you have the incorrect white balance which is very obvious, even if it is only very slightly off.
To get this spot on, I usually use a grey card but you can also manually set this in your camera. I try to make sure this is always correct in camera, but if you aren’t 100% it can be corrected in either Lightroom or Capture One.
Keep the Set Simple
Keep it simple. Although you may have a few different prop ideas for your shoot, you don’t need to go straight in with them all. It’s very easy to cross that line from light and airy, to just a bright photo that’s a bit busy. Having too much going on in an image is going to take away that dreamy, airy feeling we aim for here. A few ways to keep a scene simple is to only use a few props, making sure all of them are relevant to the shoot, and keeping the color pallet neutral. You can also keep it simple and not too busy by adding in some negative space. Negative space is going to give your photo room to breathe.
Expose for the Highlights
Expose for the highlights! Because this style of image is so white and highlight-dependent, you want to make sure that you do not blow out any of the highlights in the image. For most cameras, it is a lot easier to lighten up shadows than bring back the detail in a blown-out highlight.
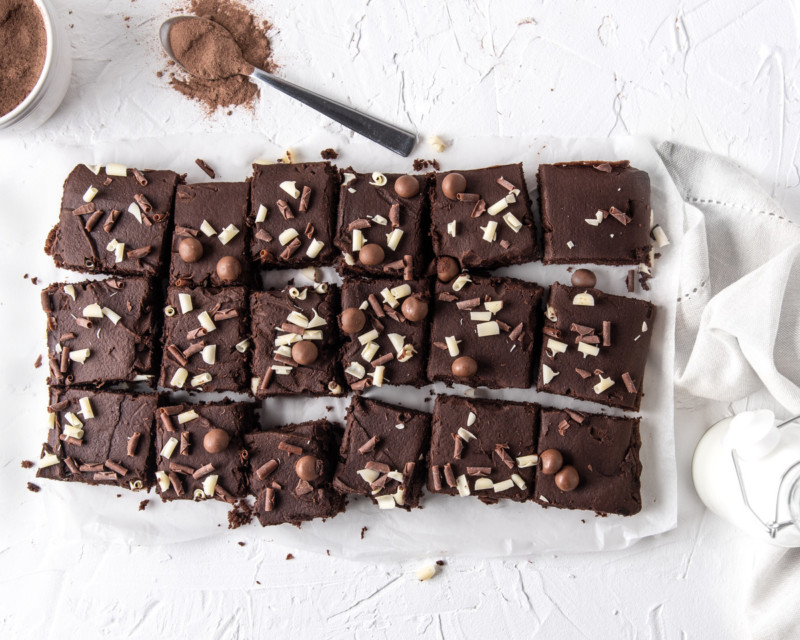
Check out the video to see me put these tips into action with a chocolate cake shoot, or watch other videos on my channel for more food and drink photography-related videos.