How to Find Your Photographic Style
Finding your photographic style takes time. It’s a process. You may even think you found it only to discover that your preferences have changed. That’s okay. That’s good. It means that you are growing and evolving on your journey.
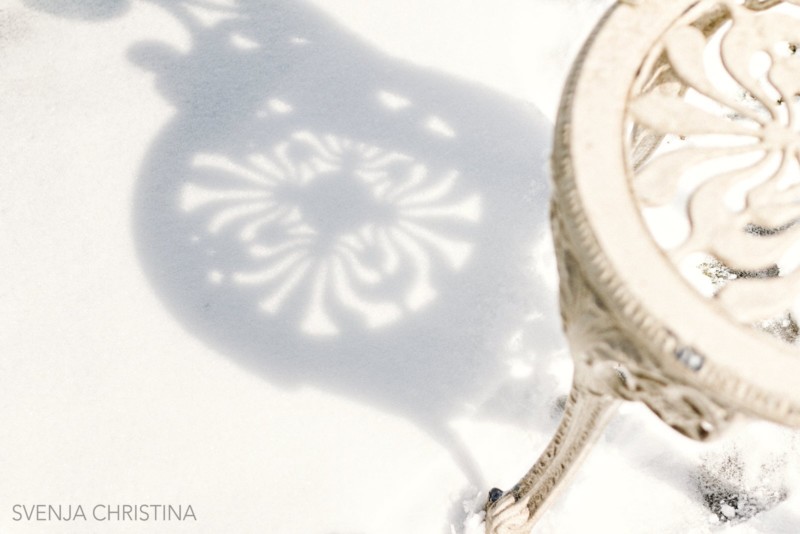

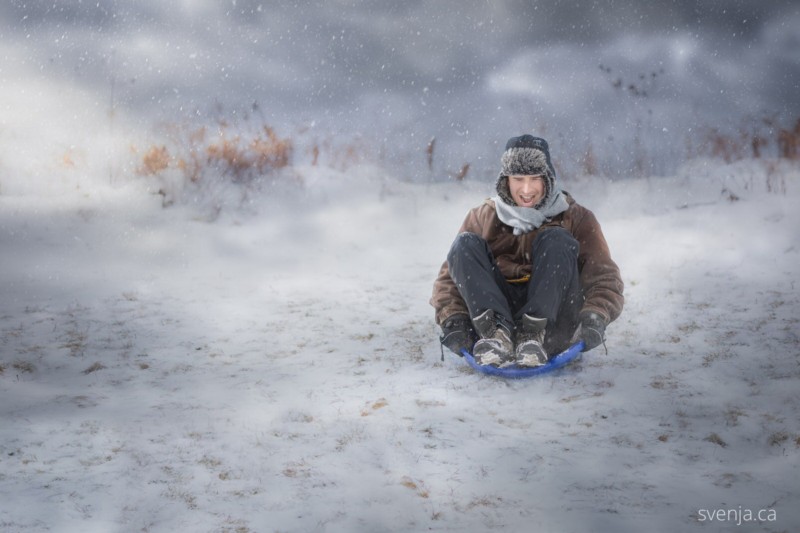
I went with this style for a while until — surprise, surprise — it didn’t feel so right for me anymore.
I felt lost and confused.
So what do you do when you are totally lost and confused and feel pressured to label/define your photography? If that’s you, take a deep breath (or two, or three) and then rid yourself of that feeling of pressure. You don’t want to box your style in. You want to hone in on it. Now, how do you do that? Read on!
Inspiring Images
Whenever you come across an image by someone else that stands out to you in a special way, take note. Maybe even check out the photographer. Chances are they have more images like that. Analyze the types of images that you are drawn to. If you don’t know which ones, don’t worry. Sooner or later you will stumble upon one that will make you stop scrolling. When that happens, analyze the image — more on that in a second.

But before you look elsewhere for inspiration, I want to encourage you to look at your own work, at images that you have taken and that you love. The images that get you all giddy and excited, that inspire you, that move you. Look at those favorites. Then analyze them. Here’s how!
Questions to Help You Analyze Your Images
Once you have a little collection of inspirational images, study them carefully:
- What is the light like in these images? Is it soft (e.g., backlit with golden hour light, overcast and foggy, etc.) or harsh (direct sunlight, very contrasty, harsh shadows)? Where does the light come from? (e.g. from behind (backlit), from the side, no direct sunlight)
- What’s the setting like (indoors/ outdoors)?
- What are the colors like? Are they cool? Warm?
- Are they vibrant and full of color or are they muted, and desaturated?
- What are the tones like? Are they bright and airy or dark and moody?
- Are the images crisp and clear (have a lot of depth of field with everything in focus) or do they have a shallow depth of field and creamy backgrounds?
- Are there people in it? What are they wearing? What are they doing? Are they posed?
- Are there animals in it? Where are they positioned?
- What mood does this image evoke in you?
- Do you notice a common theme between these images?
What to Do With the Results
As you see themes emerge, use them as a guide and then try and emulate those parts that you are drawn to. This starts in the way the photo is taken, and then continues through the editing process. For example, when you see a photo with that golden hour glow, don’t expect to achieve a similar look when you shoot in the midday sun, which is known for its harsh light.
Ask questions if you don’t know how to achieve a certain effect. I know this takes guts, but just do it! What do you have to lose? It will help you grow and move forward on your journey.

Changes
Don’t be alarmed when your photographic style changes. You might like one style for a while and then find yourself being ready to move on to something a little different. But be sure that your client work is consistent! By that I mean, when you showcase bright and airy images in your gallery, clients expect bright and airy images from you. Don’t suddenly switch to dark and moody. Do it gradually, so it is always clear what images clients can expect to get from you.
Let me illustrate this in a practical way: during a photo shoot in the transitional period, shoot 75% to 90% of your images in the style the client is expecting from you and 10-25% for the new style. As your portfolio for the new style grows, gradually up that percentage. This ensures that your clients get what they expect and that you can transition to your new style while keeping them happy.
Looking back at my own journey, my process through all these stages remained the same:
- Study images (my own, and those from photographers with the style that I admired)
- YouTube the concept, ask questions, ask for constructive criticism on my images
- Practice, practice, practice (by way of taking pictures and editing)
- Feeling stuck? Buy a course from a photographer who has that style!
- Practice, practice, practice some more, this is the step where you make this style your own.
A Word of Caution
Don’t try to be someone else and let your work be nothing more than an imitation of someone else. I promise you, it will always leave you feeling disappointed.
Don’t cage yourself. Believe in yourself. Learn from others, and then make “it” your own. By “making it your own,” I mean this: when you notice that certain processes or steps that someone else swears by don’t feel right for you, listen to that voice. It’s your signal that there’s a chance to make something your own. Unique to you. Celebrate that opportunity and run with it.
About the author: Svenja Christina is a natural light, lifestyle, and portrait photographer based in London, Ontario. The opinions expressed in this article are solely those of the author. You can find more of Christina’s work on her website, Facebook, and Instagram. This article was also published here.