Image Quality vs. Low Fi
My story is an interesting one. I worked behind the scenes in the motion picture industry for 15 years. I got my big break at a place called Clairmont Camera repairing cinema lenses.
The work was precise and methodical. I would tear down a lens, make small adjustments, re-assemble the lens, and evaluate the image. Rinse-repeat if necessary. To do this I would look at the image on a device that projected a precise resolution target through the lens and onto a wall. I would examine the image quality in the center and all edges. When you do this you are looking for things like uniformity, chromatic aberration, coma, flatness of field, and on zoom lenses, you would also look for issues with tracking, focus, and weave.
I was trained to be extremely discriminating, fussy even. In a world of 0.0005” shims and M1.4×0.4 set screws, you had to be.
One day I came across an Angenieux 23-460 lens. It was awful…In projection. On film this lens got a lot of work done. It was used extensively for television and carried its own weight.
That day was a paradigm shift in my thinking. That day I started to really wonder what made an image good or bad, in terms of the gear that was used to capture it.
It turns out that a lot of what we did was to instill confidence in the people using the gear. Some issues that show in testing would never be noted on the screen, others of course were critical, but it all got me thinking.
Later in my time at Clairmont Camera, I started playing with devices that threw sharpness out the window. Single element lenses, tilt/shift lenses, warped plastic filters, and other “in camera” effects. I even invented a couple of cool effects devices and picked up an Academy and Emmy award for some of them. If you have seen X-Men, Minority Report, Saving Private Ryan, Star Trek Voyager, Star Trek Discovery, or Star Trek Picard then you have seen my devices in action.
I left Clairmont Camera after 7 years to work at a place called Panavision. Panavision designed their own lenses, from the prescription up. They would design an optical prescription, order the lens elements, design the mechanics, build, test, and rent. One lens I worked on had 41 separate lens elements, if memory serves me correctly. At Panavision, I designed test fixtures, motion control devices, and meta-data stuff, and I was even more concerned with image quality, but low fidelity was still in there, in the back of my head, gnawing away.
My photography hobby was on hold. My extra monies went toward supporting my family for the most part, and buying cameras was not at the top of my list, so everything I did in the world of image creation was for others.
After another 7 years I moved on to an R&D place called Applied Minds. At Applied Minds I worked on ultra-precise military optics. I also developed color night vision systems, 20-gigapixel imaging systems, and miniature optics for handheld devices. I played with camera and lens systems from all the manufacturers as well, Canon, Nikon, Sony, Fuji, Sigma, Olympus, Hasselblad, and others. This work required even more rigor than cinema. In cinema, budgets are at stake, in the work, I was doing, lives could depend on it.
And low fidelity was still in my heart.
A lot of people talk about lenses these days.
Micro contrast.
Bokeh, so much talk about bokeh.
Not as much talk about AR coatings these days.
Chromatic aberration… fix it in post, it’s easy with Photoshop some contend.
Lens stuff is a 3D issue. A lens is the physical embodiment of a transfer function. The light of a discreet, luminous point in front of the lens is transferred through the different surface figures, glass types, and spacing of each air to glass, glass to air, and glass to glass interface and is projected out the rear of the lens. A lens represents the best capability of its design and construction to produce that point. The mismatch between a perfect transfer function and what is realized is an aberration, whether a design flaw or a manufacturing flaw.
That point’s projected light goes in through the entrance pupil, out the exit pupil. Points closer to the entrance pupil are rendered farther from the exit pupil, macro extension being an extreme example, and points that enter from infinity are rendered closer to the exit pupil, A.K.A. infinity focus.
In effect, you have a miniature representation of the scene in front of the lens, reproduced behind the lens, as seen from the lens’ point of view.
Mess with the transfer function and interesting things happen. Flip your Helios’ front element, i.e., make a new transfer function and bam! a more bokehalicious lens.
But an image isn’t a 2D image until you intersect it with 2D object like a sensor. And this interface is where I am more concerned in this article, though some of what I will show here has 3D aspects, it isn’t the focus, however.
Noise
Noise. We avoid it like the plague…for the most part.
I actually like noise, more accurately I like grain. I enjoy gritty images. I call it noise here because grain is a random or pseudo-random effect on the appearance of the image. Noise is not grain but grain is a form of noise.
Many of us love film stocks with ridiculous ISO numbers like Ilford Delta Pro 3200 and Kodak TMAX P3200. Today, until I decide otherwise, I am a digital guy. I have left my film behind and sold most of my film cameras. I have a few cameras stowed away, some 30 rolls of film, (mostly Fuji Acros) in the deep freezer in the garage, and a bottle of Rodinal, but the entirety of my daily workflow is digital from stem to stern these days.
Like I said, digital noise is not grain. It is its own beast, it is generally garish to me at best, at least in color images. It rears its ugly head in the dark parts of the image where there is very little signal and pulls you away from the subject. It is reticulated on a pixel by pixel basis and reminds you of the resolution limit of your sensor. It is like a brick wall. You can’t ram through it and you can’t climb over it. You have to recognize it is there and work around it.
My first digital camera, a Nikon D40 was a disappointment in even slightly dark conditions, but with little exception (cameras meant to be destroyed) every camera purchase I have made since has had an advance in ISO performance. For the record, ISO performance is at the top of my list alone for assessing a camera purchase.
And sometimes noise is there no matter what I do, so I have tried to make it a feature.
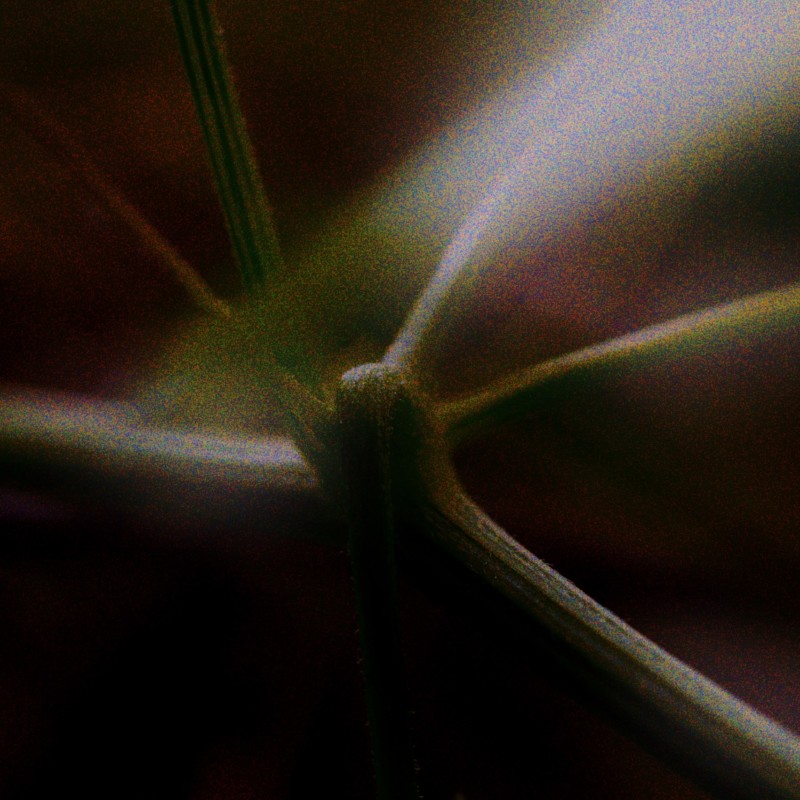
I am not much of a fan of pinhole photography, the even defocus/focus and long exposures are off-putting. I decided to make some zone plates for a project and even though they were 2-3 stops faster than the pinholes I was making, they were slow at about f/40.
I took some experimental zone plate shots at the Koi pond at my office at ISO 12800 and found that even though the shots were noisy, there was something interesting there:
It took me a lot of processing to get to this point. Lots of pulling sliders to the max and iterating in-camera RAW. It also revealed all the dirt on my sensor. And this was a problem because the methods I normally use for cleaning up dirt were destroying the noise.
I resorted to a trick I play with when I want to address the luminance and the chrominance of an image separately, I converted the images to LAB color space. LAB is neat to work in, and it allowed me to muck about with the images more easily. By addressing the luminance separately, I can adjust local hot spots or darkening, like dirt on the sensor, without inducing changes in the chrominance.
Smaller brushes for things like dodging and burning also help and hard edges work better, especially for cloning.
This zone plate work wasn’t my first foray into playing with grit, grain, and noise, but it was my first work using the camera’s noise as a feature.
Synthetic Noise
I also played with making noise masks, generating noise and applying it to images to simulate grain. This artificial grain is something I use to solve a noisy image sometimes. Conquer something else’ noise with my own, like turning up your music to drown out your neighbor’s music…
This led me to make my own procedural noise generators to create my own grain effects.
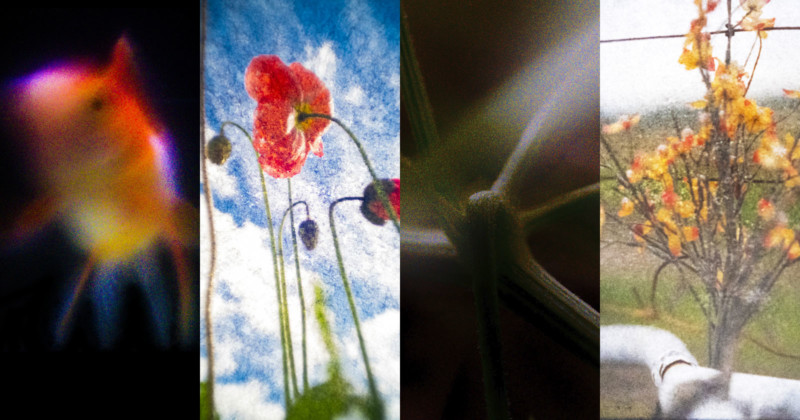
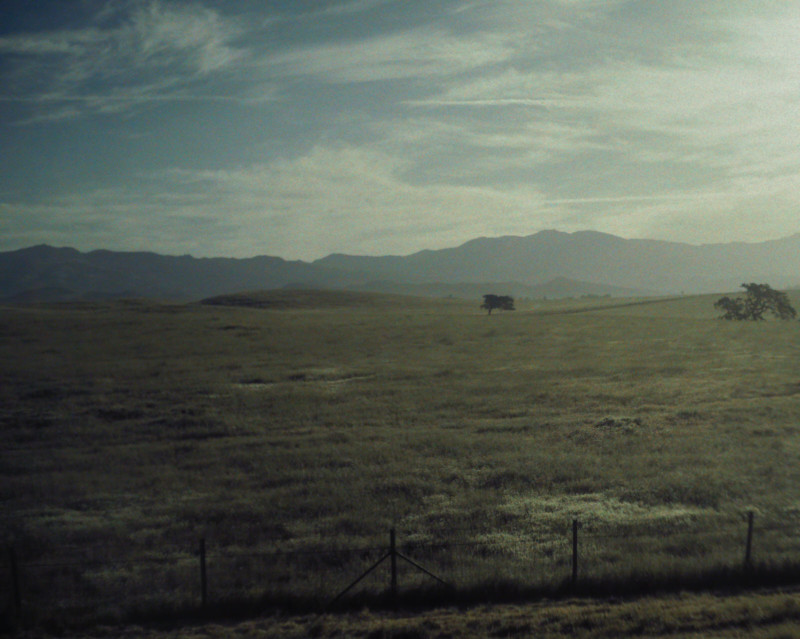
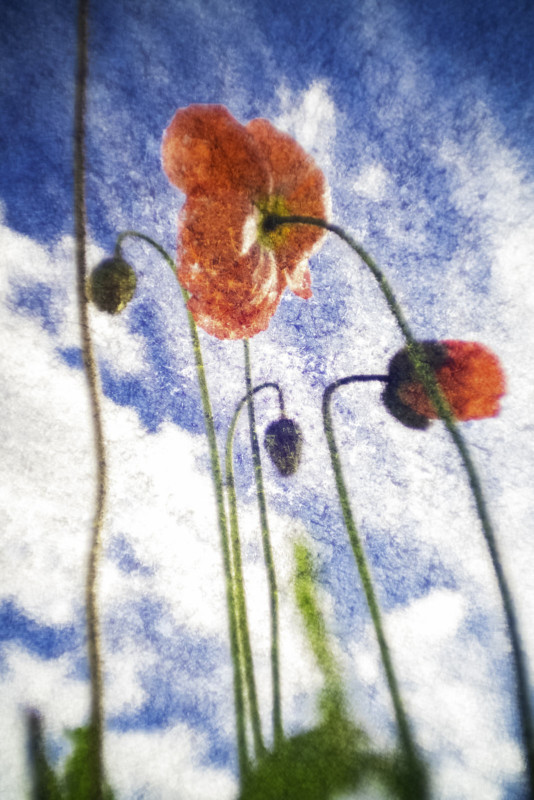
Eventually, this led me to try to re-create the look of autochrome without the massive undertaking of making my own autochrome plates.
Autochrome is interesting. The original process used dyed grains of potato starch to act as a stochastic array of colored filters, much the same way a modern sensor uses a Bayer pattern. The emulsion is exposed through the filters, then is processed as a positive, not a negative, and when backlit, the varied emulsion density behind each individual colored starch grain preserves the brightness information and the colored grain re-encodes the color.
After 15 minutes of reading on the process I was determined not to make my own autochrome plates, and instead attempt to emulate the process.
I started with the color mask. I looked at dozens of scans of autochromes and decided I needed a clumping noise mask. I attempted this several times in Photoshop and finally decided to write some procedural noise generation code to make my own masks.

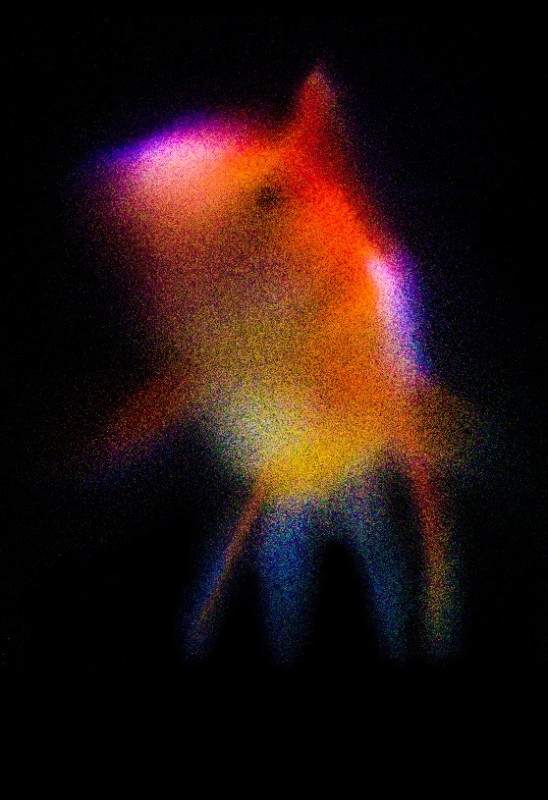
Autochrome isn’t just about the stochastic look at the granular level, it is also about the color filtering. The sample here is RGB, but the original autochromes were more reddish, greenish, and blueish. I made my software able to generate masks in a variety of colors.
Here is an early result after applying the digital mask to an image in Photoshop.
One infuriating thing I discovered is that Photoshop (or some mysterious agent between Photoshop and my eyes,) renders my images differently at different magnifications. Photoshop also didn’t have all the image tools I wanted so I eventually wrote some code to allow me to process images in a way that rendered them more accurately on-screen.
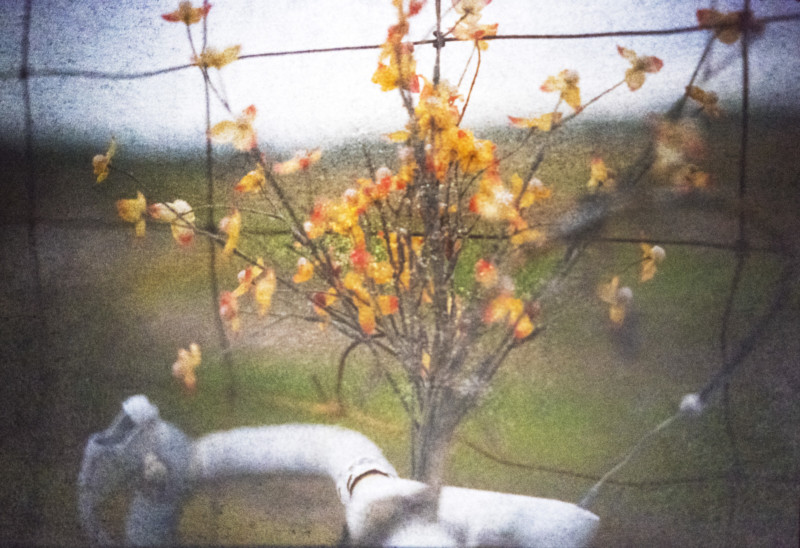
I like the results; I just really don’t like coding. (As a note, I shot this image with an Industar 69 for more low fi goodness.)
COVID-19
I wrote my Autochrome generation code during the first months of COVID-19 isolation. I had the time, isolating at home, so why not. This COVID thing has accentuated a few of my character traits to a major degree. I am an early riser. I typically wake up at 4:00 am, =/- 3 minutes, no alarm necessary. But I started waking up at 3:00 or even 2:30 in the morning.
I wanted to take walks, but out in the deep suburbs, it is really dark at night. As I mentioned, I have experience with night vision systems, so I got myself a night vision monocle for walking about and some junk off eBay to make a rig for shooting night vision images.
Night vision intensifier tubes are a modern miracle. Photons come in, are converted to electrons, and then amplified 10,000x by a wafer-thin device called a microchannel plate (along with a lot of circuitry.) These amplified electrons are then converted back to photons by a phosphor screen, all in a space thinner than a millimeter. This amplified image is then conveyed to the eye through a viewer to an image sensor through relay optics or through a direct bond to an image sensor.
There are some interesting characteristics of night vision systems and how they relate to human and electronic vision systems. In extremely low light you need to integrate the resultant photons generated into images, there simply aren’t enough photons, even with magnification, to achieve proper exposure in a handheld camera time frame. In less dark conditions, you can achieve exposures handheld. Without going into it too deeply, you end up with odd characteristics in exposure. Compounding this is the fact that image intensifier tubes generally do not have exposure controls on them and only have auto-gain, which is part of this weirdness. Some have screen brightness controls, but that isn’t of much use to me.
The cityscape at night is dominated by shadow, and night vision images can really amplify that.
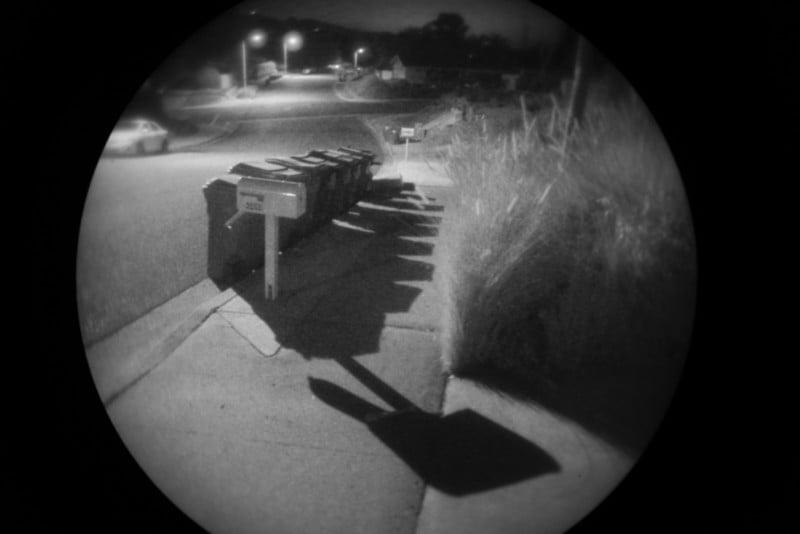
This scene is pretty dim to my eyes at night, but with the night vision monocle I have all kinds of dynamic range to play with and the shadows feel more pronounced.
FYI, the portholing effect is from the fact that the image relay produces an image that is smaller than my sensor. The softness at the edges is caused both by the taking lens and by the image relay.
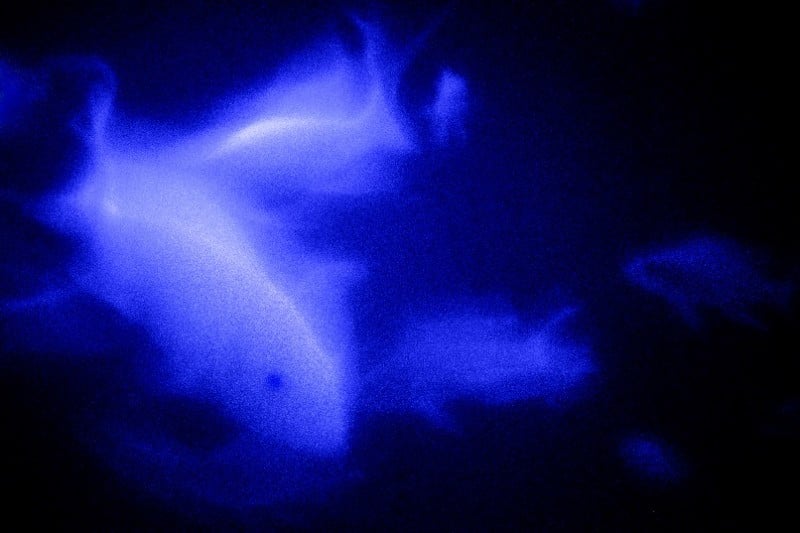
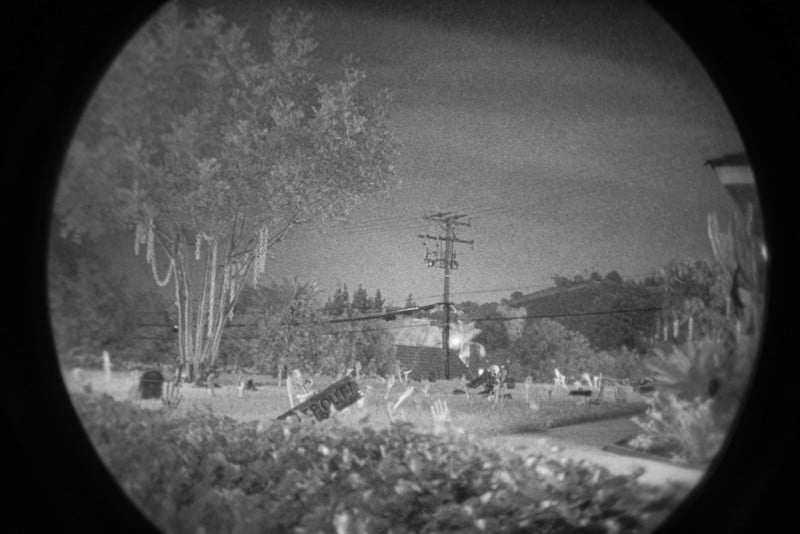
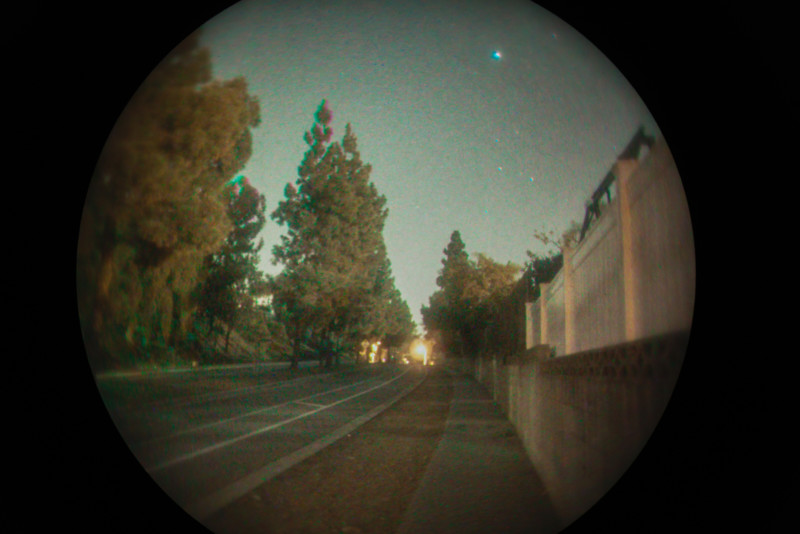
Night vision devices leverage infrared radiation and most of the visible spectra (they tend towards insensitivity in the blue region,) so you do get that infrared effect off of foliage, depending on the wavelength of the illuminating light source.
This scene was dominated by natural illumination, so it has more “infrareddiness” to it.
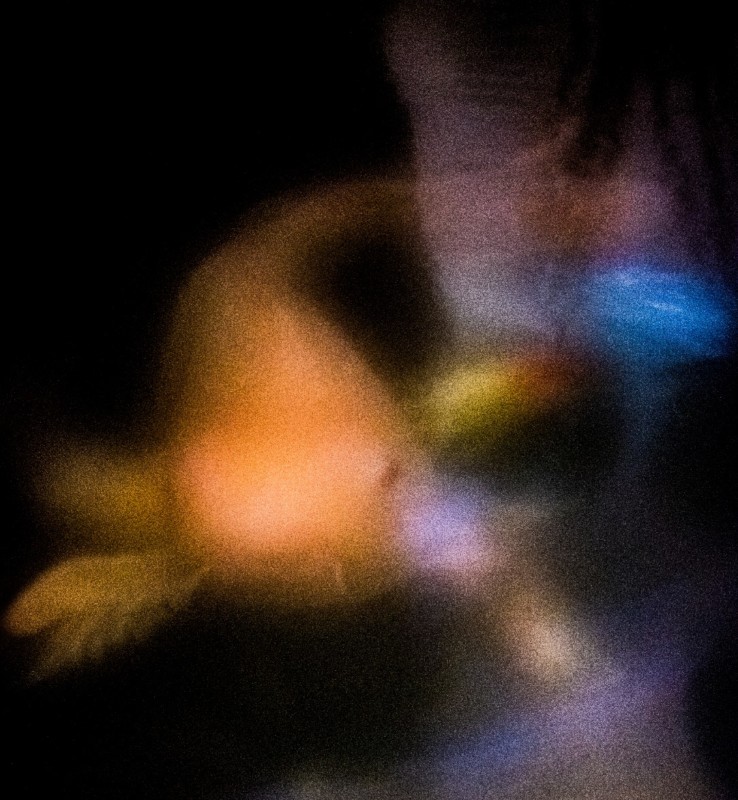
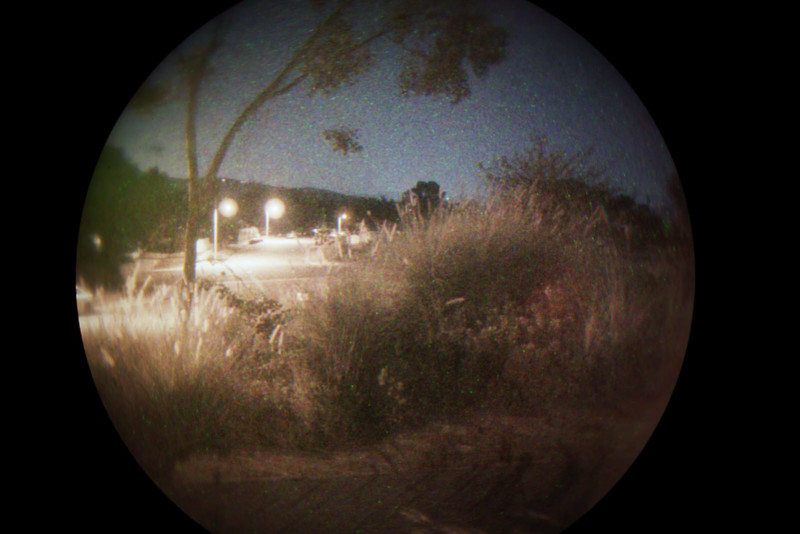
I like this one a lot, the fast night vision optic with its shallow depth of field yield a miniature shadowbox feel. It is also “noisier” as there was a lot less illumination. (it isn’t actually noise, it is just not enough photons to render the image at the shutter speeds I was working with)
One of my favorites is this image of a fire hydrant. The “grain” is splotchy and has a grit I really like.
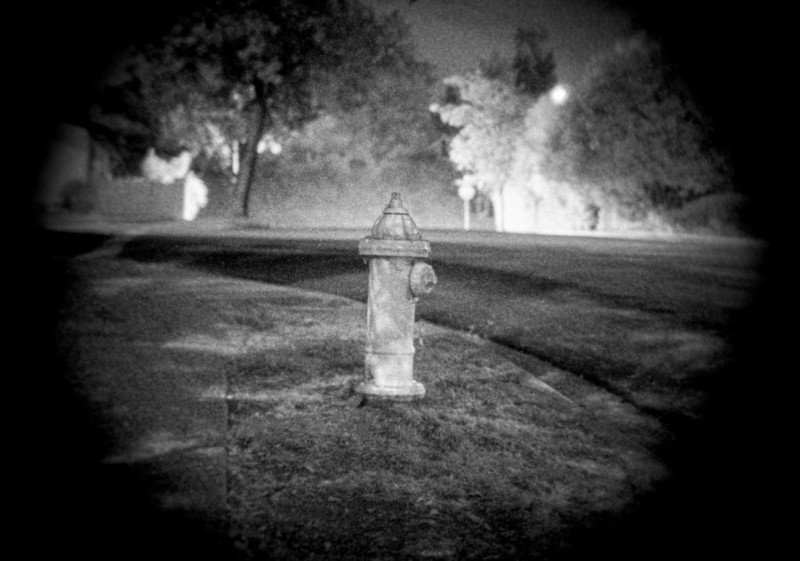
One interesting and unfavorable artifact is this hexagonal array that you can really see in the light areas near the hydrant. This is caused by the nature of the fiber optic components in the intensifier tube. In order to make bundles of millions of collated fiber optics, you first make hexagonal bundles of fused fibers then stack those bundles into multi bundles, with a lot of careful melting, stretching, and twisting in there.
I may try to shoot some masks that I can use to remove them one day.
I also played around with making color night vision images again. Even with a very inefficient filtering scheme, and an inefficient relay optic, I was able to produce some interesting color night vision images. Overall, I am not a fan, but I feel they deserved to be here.
Intermediate Image Camera
My most cumbersome method of adding grain was to capture images on intermediate image planes made of different diffusing media and capturing that with an additional lens and imager. This is akin to taking a picture of your ground glass, but it allows you to use non-planer, nontraditional materials at the image plane.
This yielded some fun results.
Here is the camera I used to create the images.
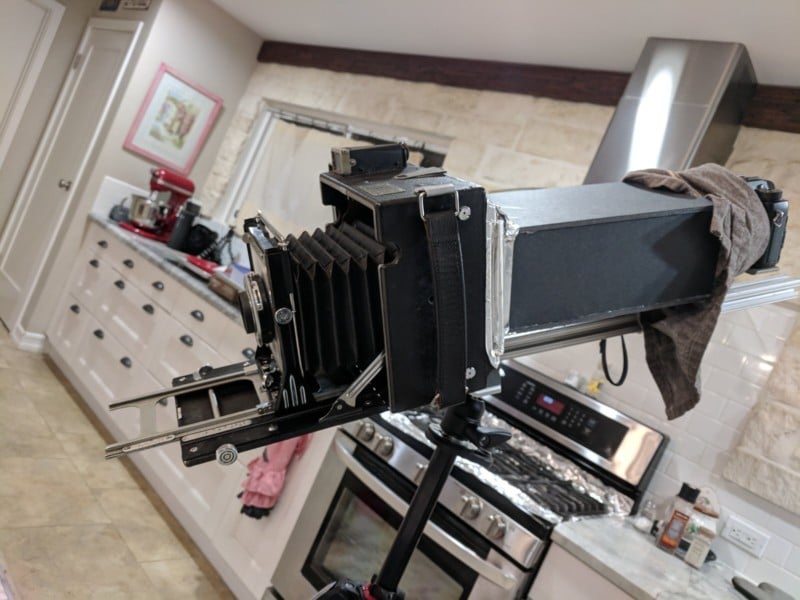
I basically made a rig that holds an old Graflex and my Fuji MILC camera. I also built a custom “film holder” that holds the intermediate medium to capture the image, usually some kind of paper. I made a smaller version for 35mm lenses but the results were not to my liking.
Winter is my photographic doldrum period, and 35-degree mornings are no fun, but I suspect that when the weather warms up I will be out at night shooting snails, or something equally obscure.
P.S.Here’s a Flickr gallery in which you can find full-res versions of the gritty photos above.