12 Tips for Autumn Photography
It’s autumn again, and I thought I’d share some tips (and possibly inspiration) for your autumn photography.
But enough about the yellow leaves, here are some tips to photograph them.
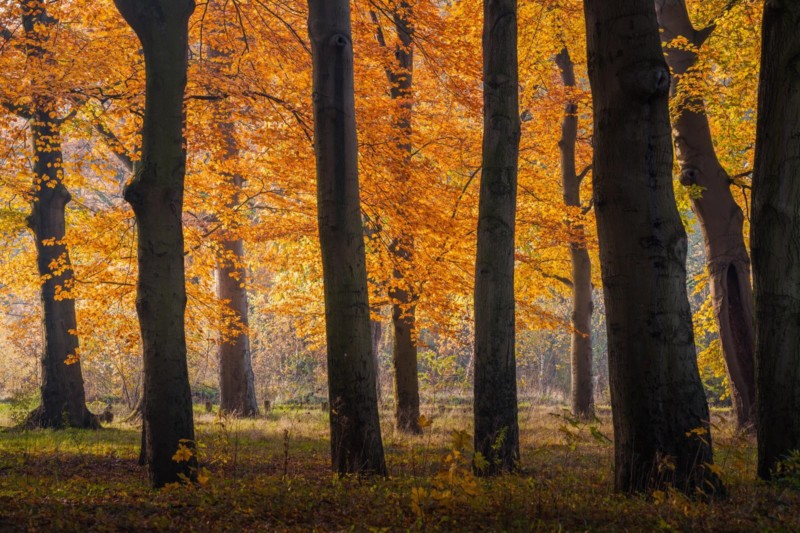
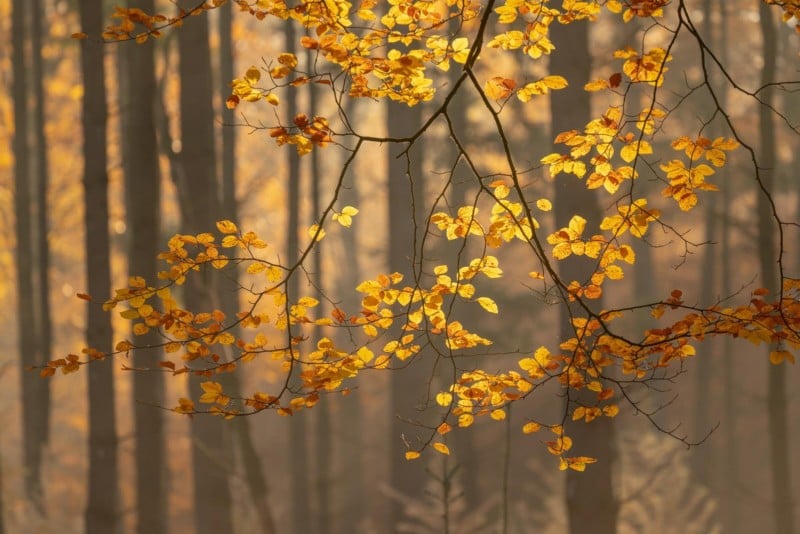
1. Use a Longer Lens
Photographing trees and forests can be chaotic. Use a longer lens and focus on smaller parts to avoid a messy photo. It takes practice photographing the forest. Look for the ‘clean’ pieces in a forest and just casually and slowly move around looking through the viewfinder until you find your ‘little’ scenes.
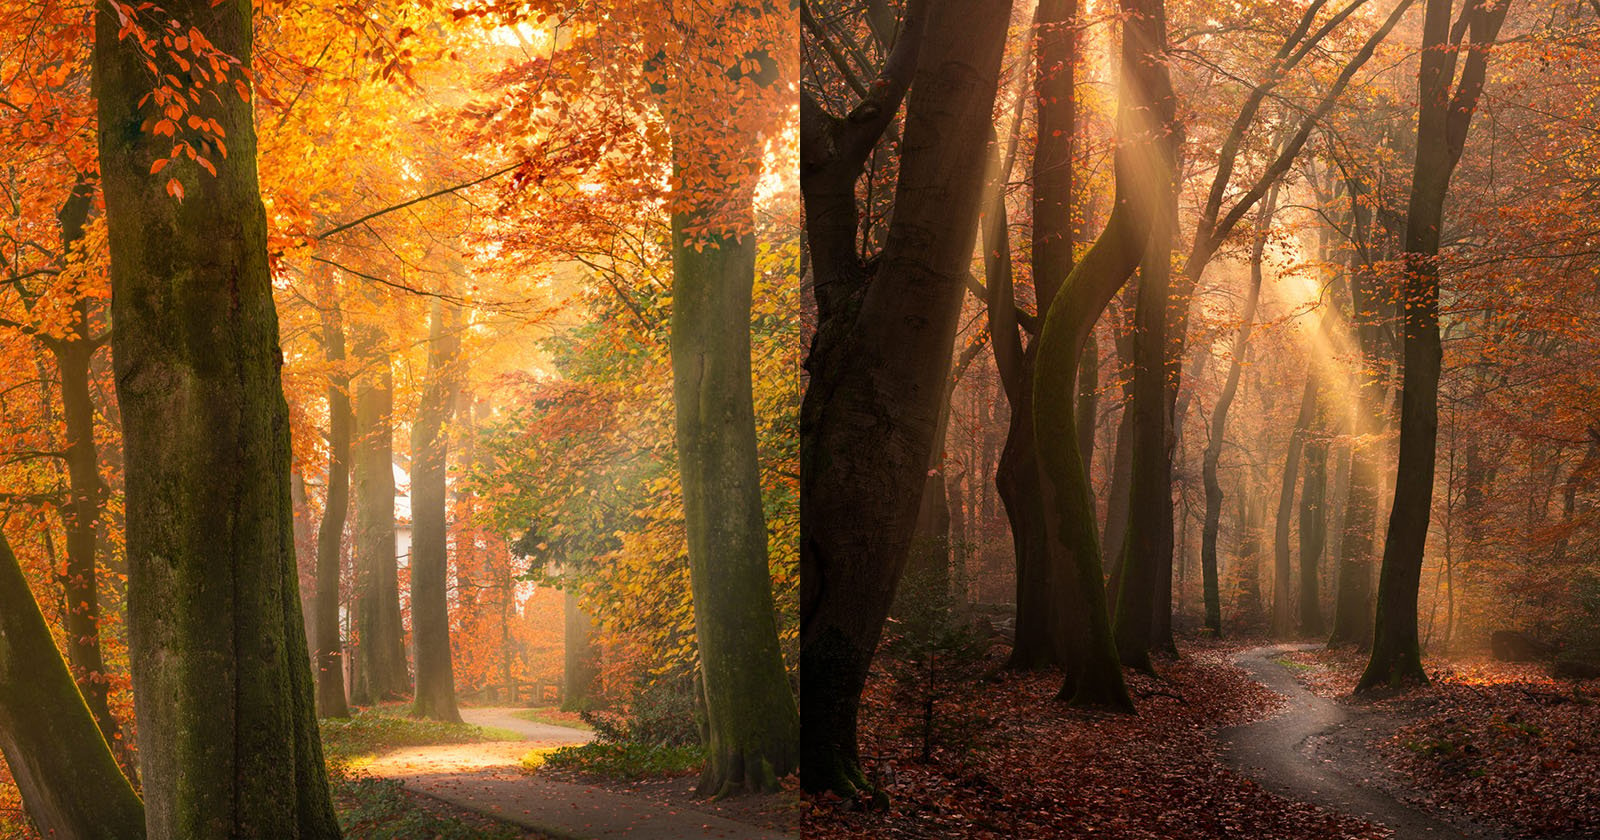
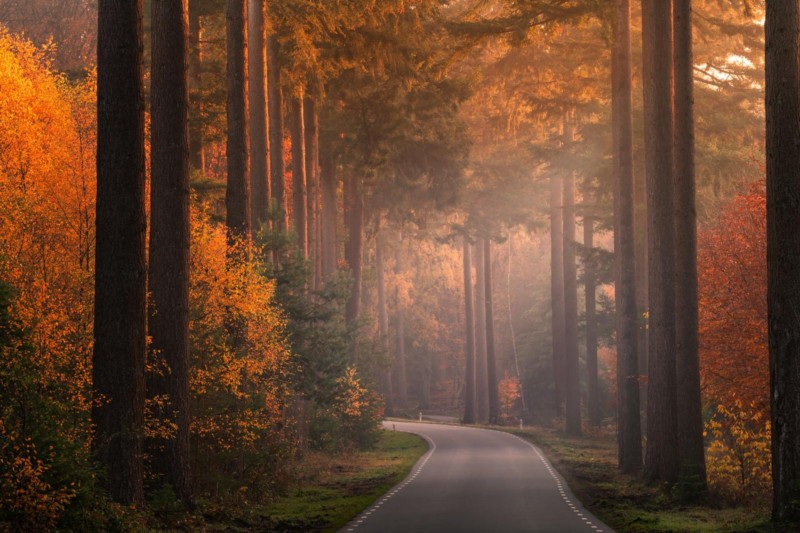
2. Paths and Lanes
Paths and lanes are great for autumn shots. The pavement makes an automatic leading line through the forest, and also adds great contrast between the monotone road and the very colorful trees on the sides.
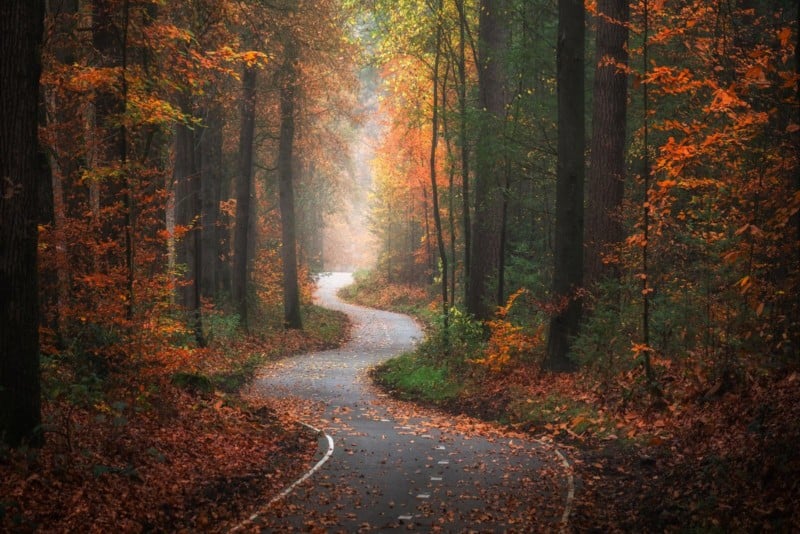
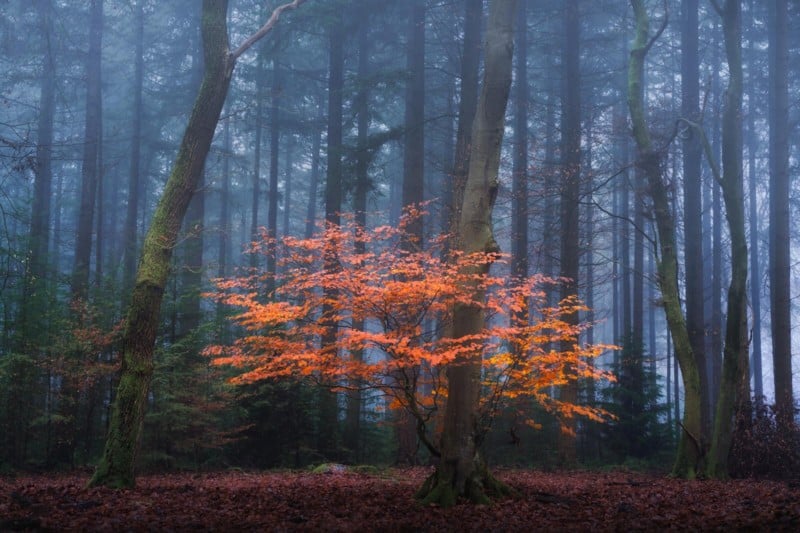
3. Fog
Fog! I love photographing forests with fog. Shooting the autumn forests with a bit of a misty atmosphere can be surreal. As I said: forests can be chaotic and there is just so much going on in terms of composition. But fog separates all the different layers of trees and makes your life much easier. And it adds a mysterious dimension to your photo. For me, there are 2 kinds of fog in the forest: thick fog, and:
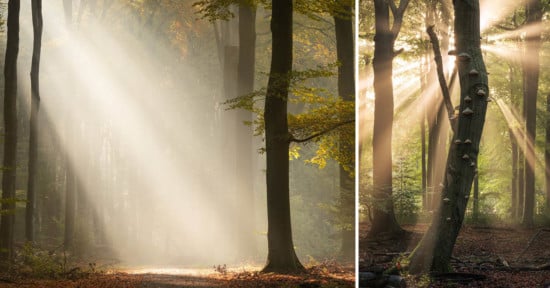
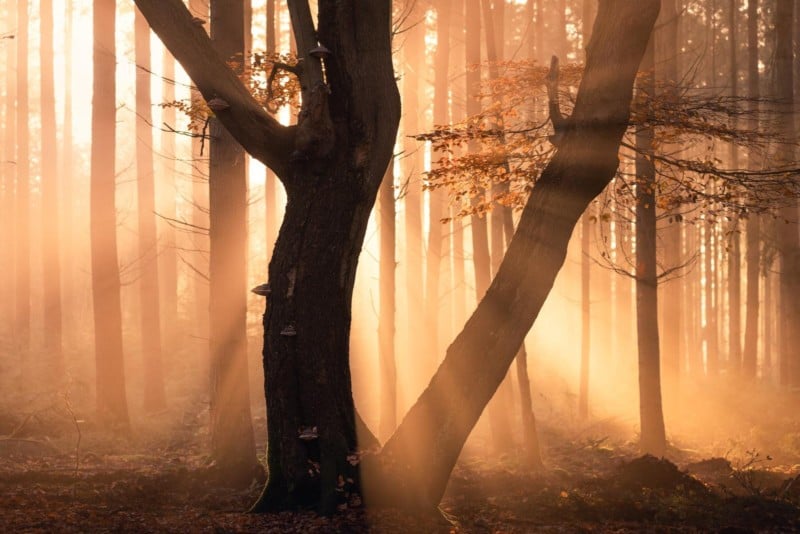
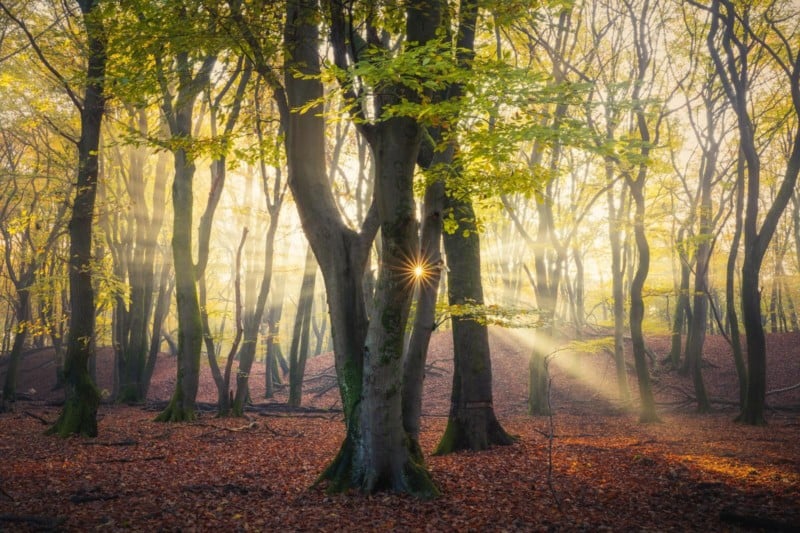
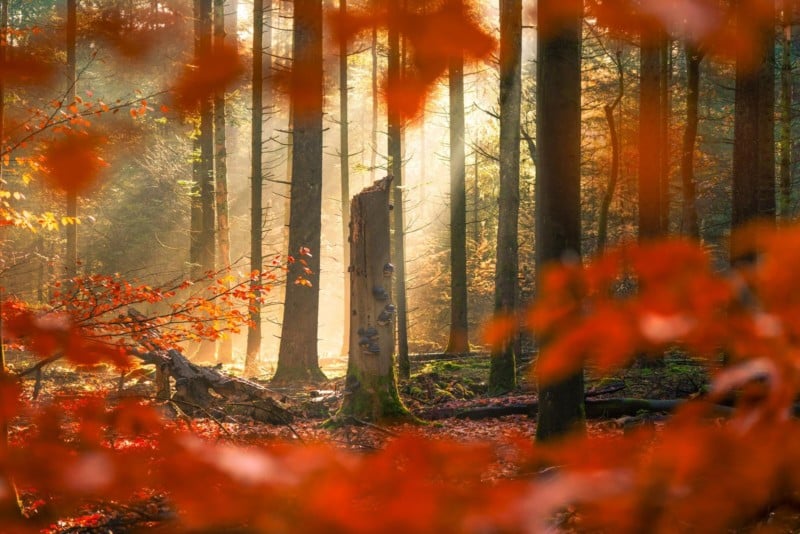
4. Light Rays
Light rays occur with clear skies and high humidity. So if you get these predictions during autumn, it’s party time. It usually happens in the early mornings but it can happen anytime. Keep a good eye on the weather. In my opinion, they’re most beautiful about 1-2 hours after sunrise, when the sun is still low on the horizon and the beams of light blast their way through the trees
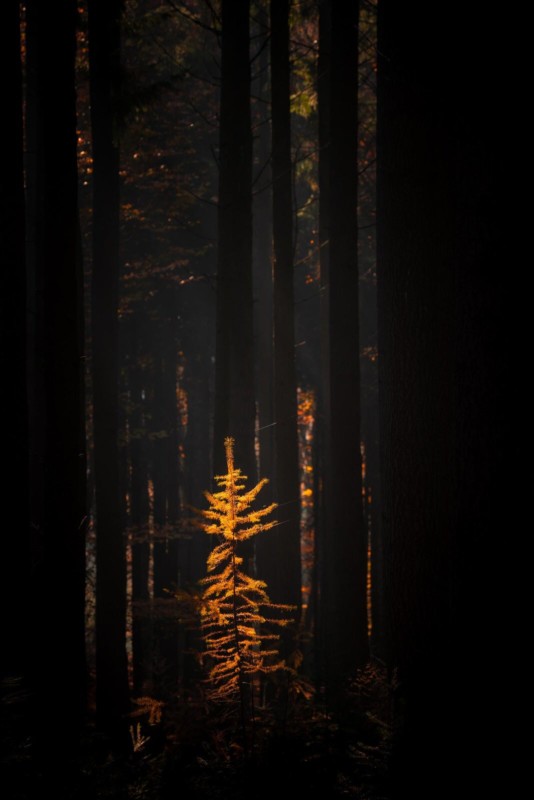
5. Look at Smaller Scenes
Look at smaller scenes. This can be macro, or just a small scene very far away that can be captured with a 400mm lens for example. Think of a dark forest where just 1 beam of light is hitting 1 tree.
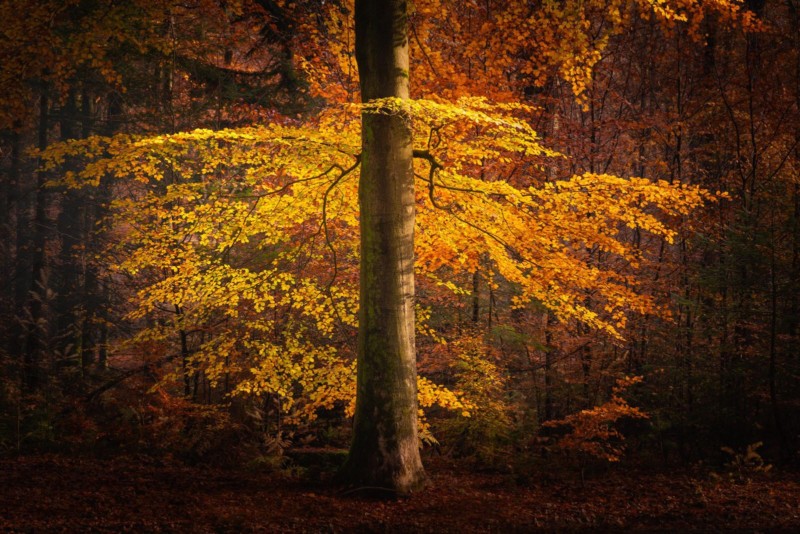
6. Follow the Light
Autumn forests are incredible with their golden trees and golden light peaking through it. But the sun moves, so the light constantly changes. Every time new compositions pop up because of the changing of light, you have to act fast to get the shot, or it might be gone. Sometimes its almost like ‘dancing with the light.’ You come into a rhythm and move with the light through the forest. Forest photography is quite difficult that way, but extremely rewarding! On a beautiful morning in the forest, you can sometimes ‘harvest’ so many good portfolio shots.
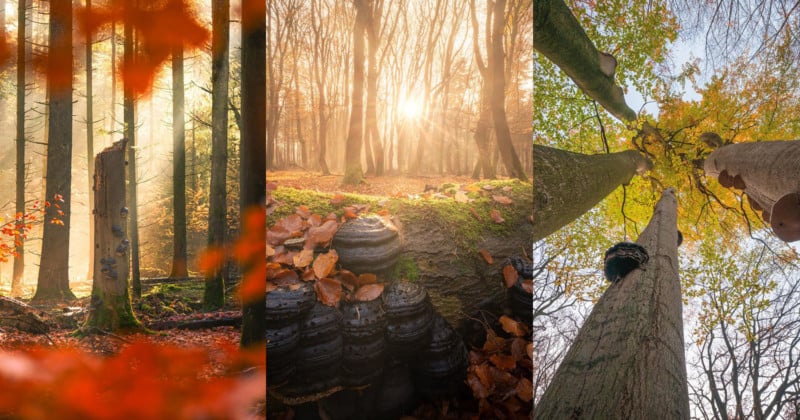
7. Get Creative with Sunstars
If you like sunstars, you can do some very cool stuff in the forest. By positioning the sun right next to a branch or a tree, you get these beautiful little stars by using a closed down aperture (f/14-f/22). You can get very creative with it. Note that the shape of your sunstar greatly depends on the lens. Kit lenses often don’t have ‘pretty’ sunstars, but other lenses really have beautiful sunstars. The shot above was taken with the Tamron 28-75 f/2.8 lens for Sony E-mount.
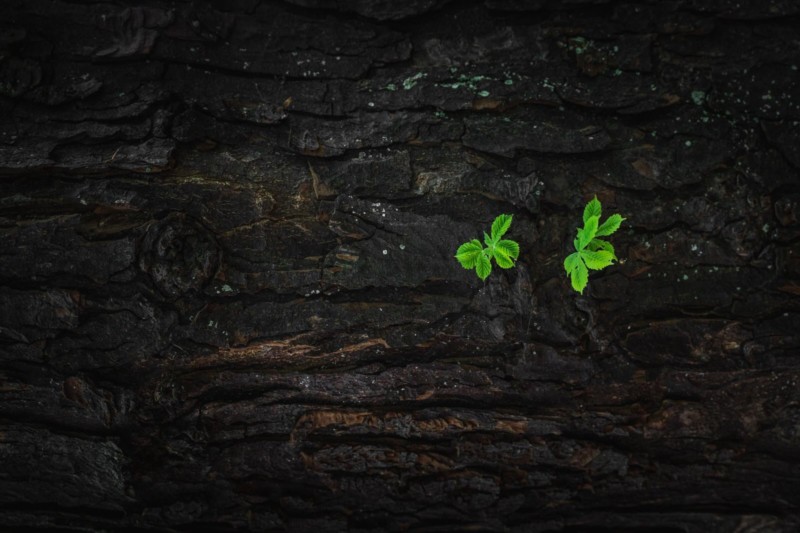
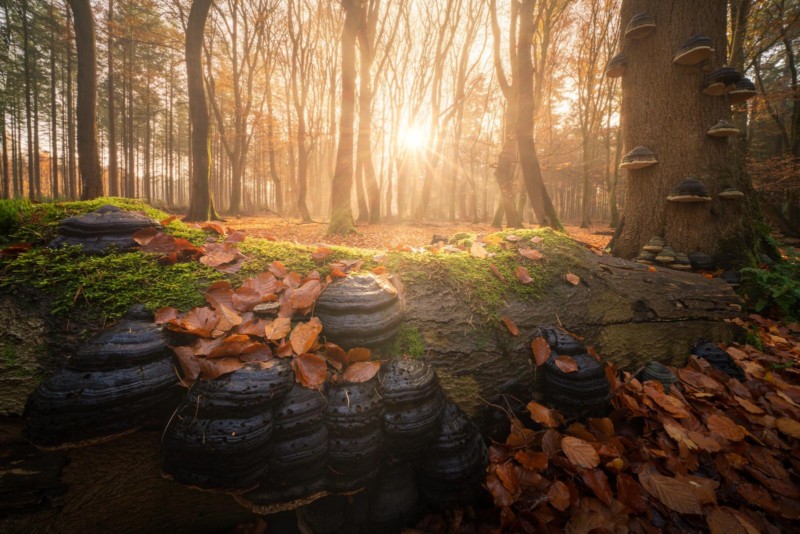
8. Experiment with Wide Angle
While I love using mostly the telephoto in the forest, I sometimes experiment with extreme wide angles. By using a branch very close to the foreground, or even a mushroom, you can create a very creative effect.
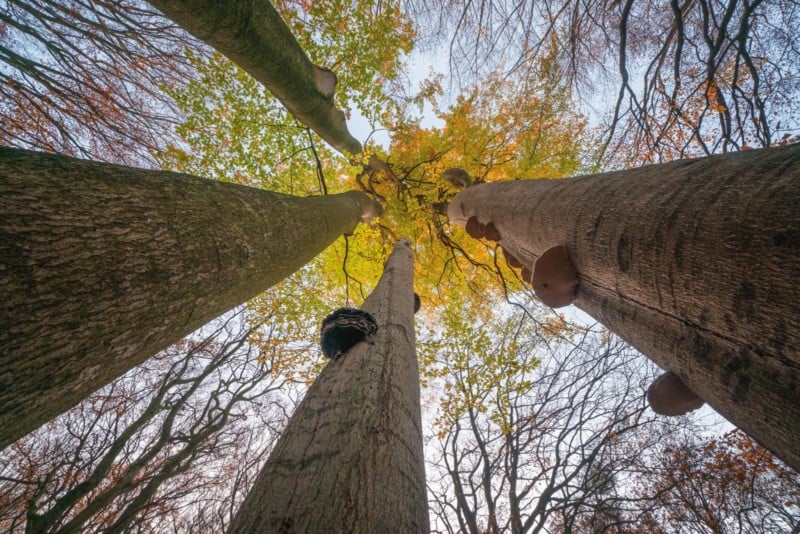
9. Try Looking Up
Sometimes shooting with a wide-angle lens and looking up to the sky and seeing the orange leaves making a frame with all of their interestingly shaped branches can create really creative results.
10. Create a Frame
By photographing through frames of leaves in the foreground, you can create very creative images with depth in them. Simply put your lens close to orange leaves in the foreground and focus on the backdrop. Experiment with it
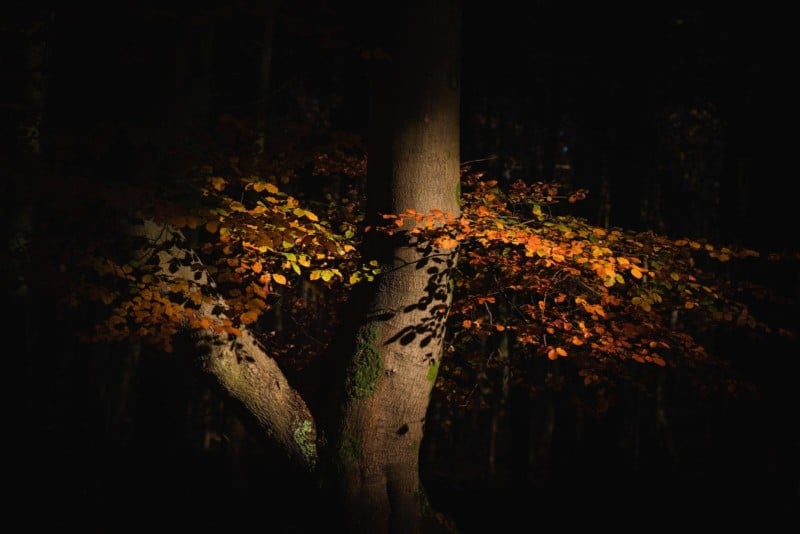
11. Try Underexposing
When you get strong light in the forest, it’s often difficult to photograph. Try underexposing and focusing on interesting leaves or trees in the forest with a long lens. This way it almost looks like you’re using a flash. Most of your frame will be dark, but only the light hitting the part of the photo will be properly exposed.
12. Enjoy the Moment
Last but not least: Enjoy the moment. A beautiful moment in the forest can be overwhelming as a photographer. There are so many opportunities to completely lose yourself in. Take a moment of rest, breathe in the fresh air, and realize the beautiful moment you’re in!
Bonus Tip
In post-processing, I always add quite some local glow in parts of the picture. This creates the dreamy atmosphere I am often looking for in forest images.
I hope you enjoyed these tips. Feel free to check out more of my work and if you have any questions, don’t hesitate to ask!
If you are interested in how Albert post-processes his photos, check out the new course he just released.
About the author: Albert Dros is an award-winning Dutch photographer. The opinions expressed in this article are solely those of the author. His work has been published by some of the world’s biggest media channels, including TIME, The Huffington Post, The Daily Mail, and National Geographic. You can find more of his work on his website, or by following him on Facebook and Instagram.