Photographing Birds in the Water from a Custom Floating Hide
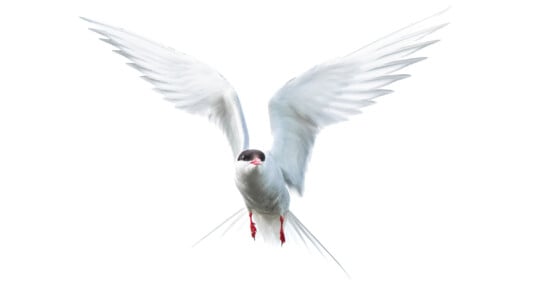
I’ve been enjoying bird photography from my custom-made floating hide for 3 years now. Being in the water with a variety of birds from waterfowl to wading birds and even Black Skimmers flying by my head has been an amazing experience. It becomes a much more connecting experience both to the natural areas I am in as well as my subject.

My floating hide is based on 2 full-sized boogie boards, folding table legs, and a tripod column with the legs removed. I cut and bent and connected everything with random scraps of metal that I found in my father’s workshop. I’m often asked for the plans I used and unfortunately I don’t have any plans to share other than showing a photo of what I managed to make.
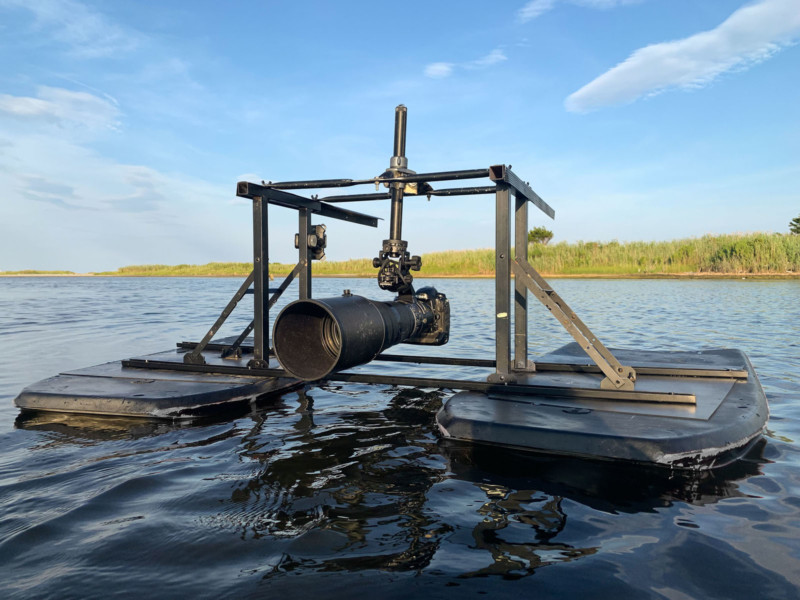
The requirements for myself were that it supports my 500mm f/4 and camera as well as supporting my weight as I sometimes swim behind the float when it gets too deep. The other major requirement was it had to disassemble entirely without any tools and fold up to fit in my car’s trunk. I don’t have a truck or SUV to store this in so it all had to pack down pretty small.
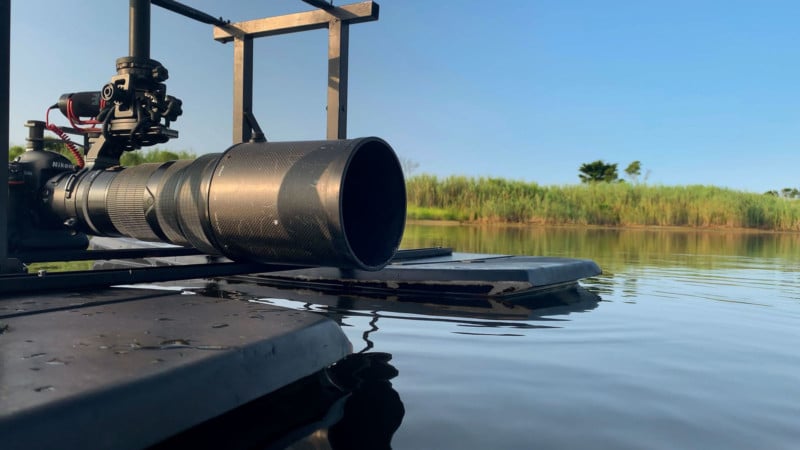
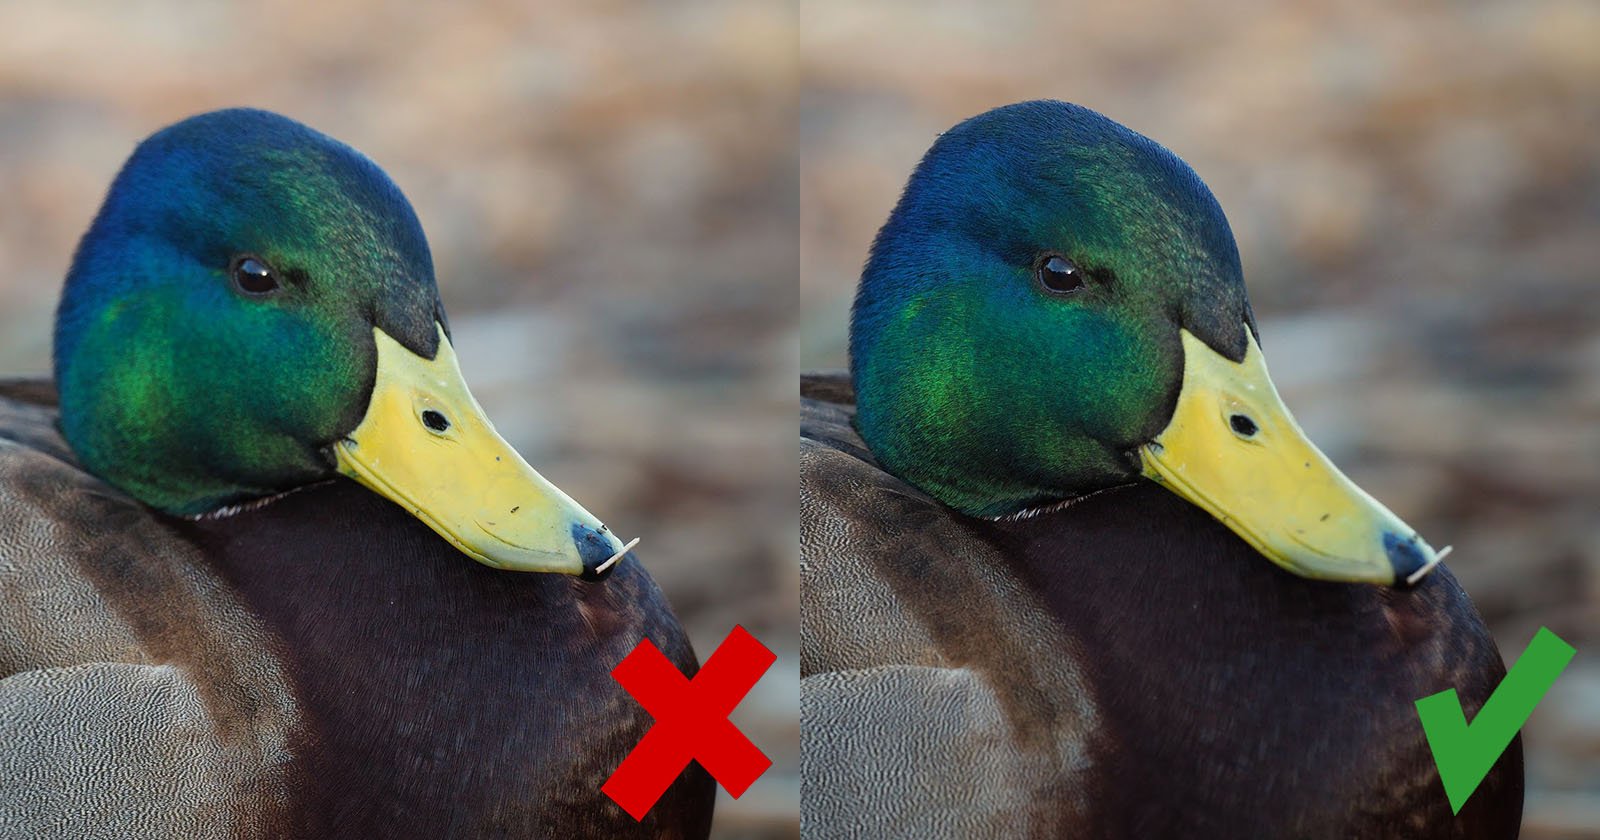
I thankfully have had zero incidents or close calls with getting my camera or lens wet using this floating hide design. It allows me to position my lens roughly 2–3 inches from the surface of the water to achieve an ideal water level perspective, and then when it’s time for me to move I can raise the camera and lens to about 12 inches above the water to prevent splashing or small waves from hitting my setup.
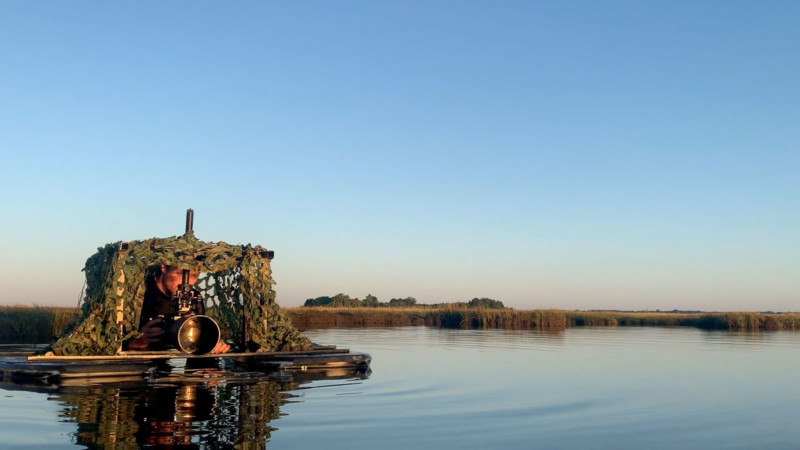
Recently I documented a behind the scenes video (at the top of this article) showing exactly how I set up, use, and photograph from this floating hide. I also recently acquired a dry suit and this was my first time using that. Until having this dry suit I would only go in the water during the summer months. I’ve tried my winter weather chest waders but found it very difficult to maneuver with them and stay dry. The drysuit has changed the game for me and will allow me to use my floating hide easily all winter long.
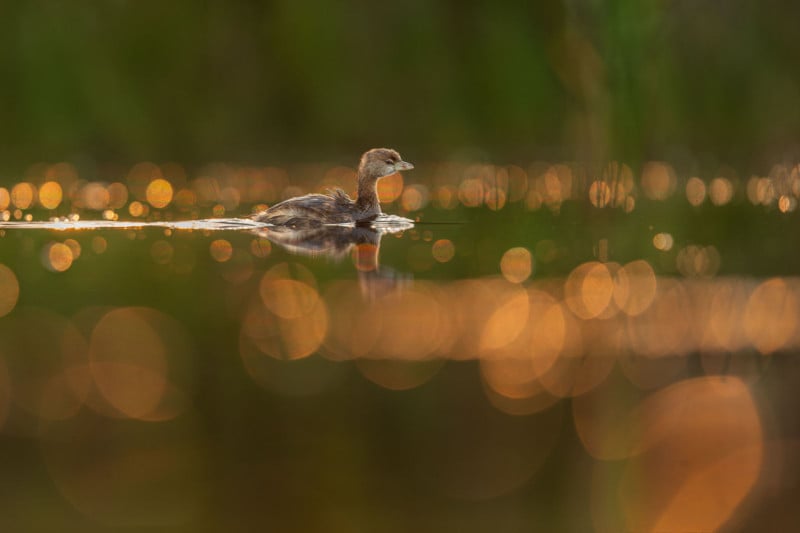
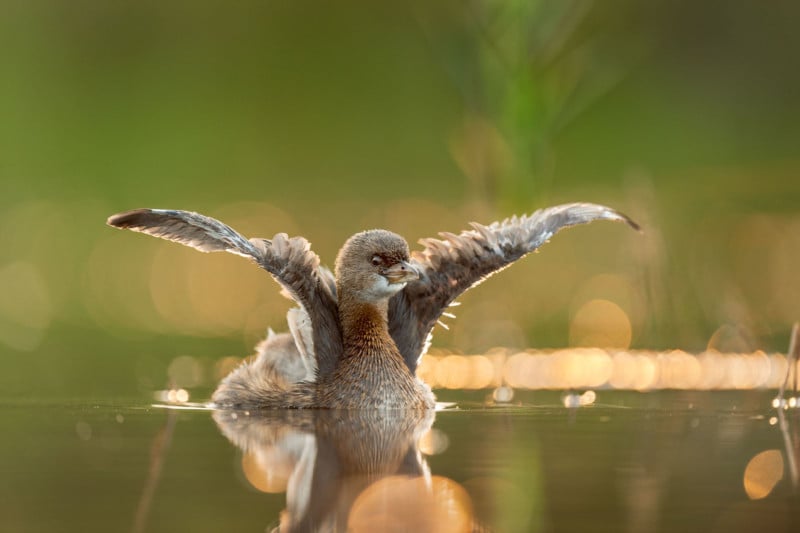
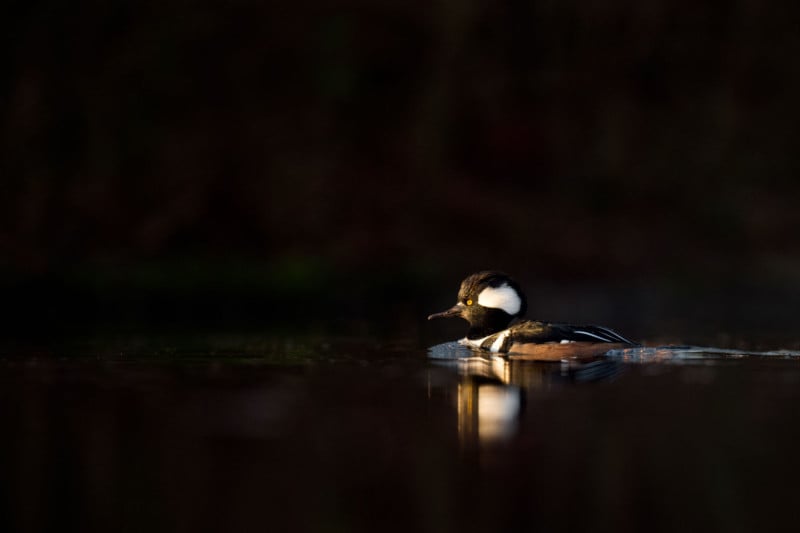
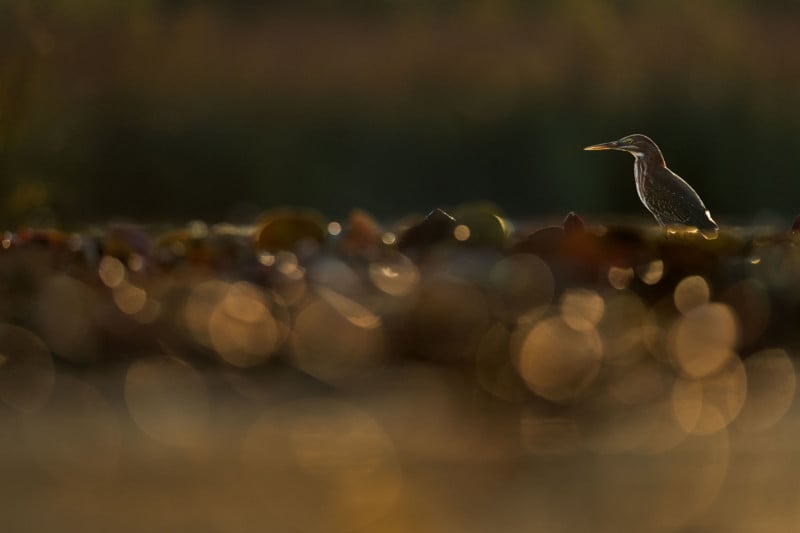
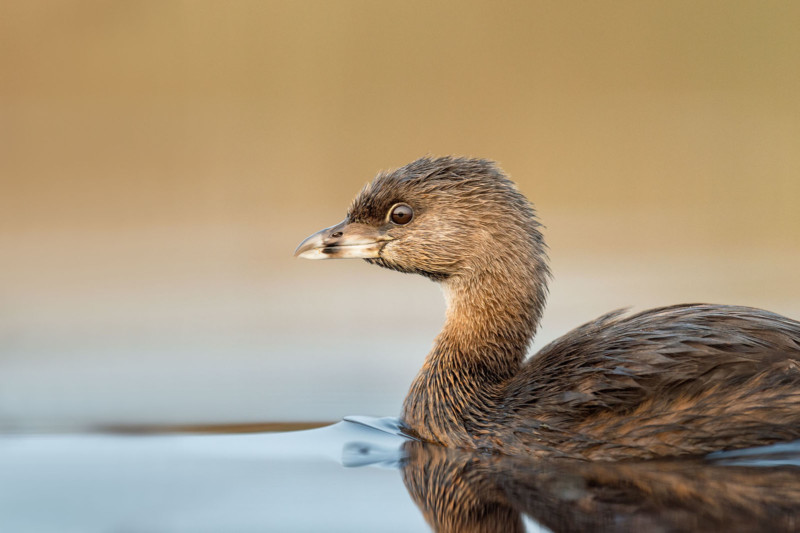
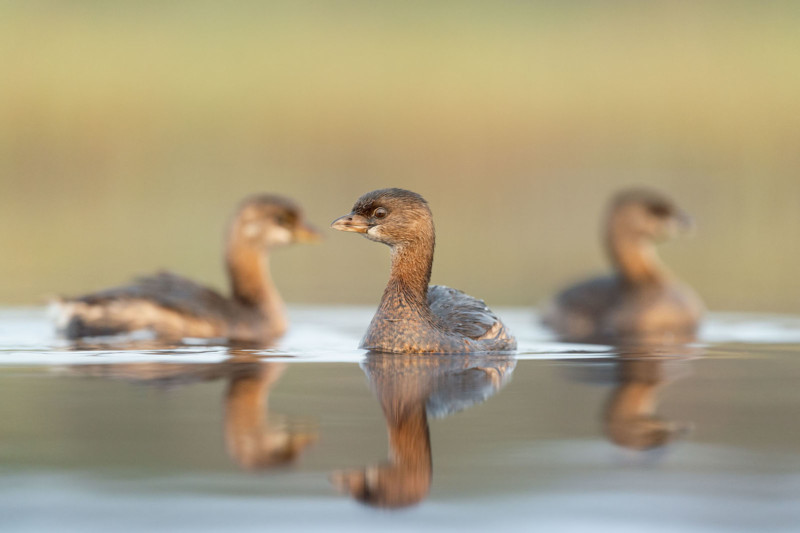
For this outing I had photographed this group of 5–6 Pied-billed Grebes for a couple of days from the shoreline, only managing to capture some mediocre photos. I figured getting in the water with them would provide me both with a unique perspective as well as the ability to get much closer. It worked out perfectly and I was able to capture them near the minimum focus of my lens and in a variety of lighting.

The one point I’d like to share with anyone interested in using a floating hide, either home-made or purchased, is that it is a lot of work to use. You don’t just go for a quick outing with these floating hides. It requires a decent time commitment to set up, use, then break down and clean. Thankfully I always find it worth the extra work to get the experience of being up and close with the birds I’m photographing. Plus being in the water, swimming around with my 500mm is so much fun!