Refracted Rose: A Fun Valentine’s Day Macro Photography Idea
It’s Valentine’s Day and a good opportunity to grab some flowers and celebrate our love for photography with another creative project. I didn’t want to miss my chance, so I grabbed some red roses and in today’s post I will share my set-up for a Valentine’s Day ‘Refracted Rose’ photo.
The required ingredients shouldn’t be too hard to gather:
- A red rose
- A dandelion seed (or seeds of a similar structure, such as salsify e.g.)
- A mister filled with water…
- …and if you don’t mind causing a bit of a mess, you can add some glycerin to the water for more surface tension.
Well, maybe dandelion seeds are hard to find at this time a year, but than again, it’s up to your creativity to find something suitable. There’s always something that works… either way, this shall be fun!


The set-up itself is very straight forward: using a pair of tweezers, take the seed of your choice—very careful not to break it—and stick it right into the center of the rose petals. Make sure it’s stuck in there as well as you can manage, without breaking the fragile seed of course.
It’s important that the seed is not “floating” around in the flower, as we are going to mist it next.
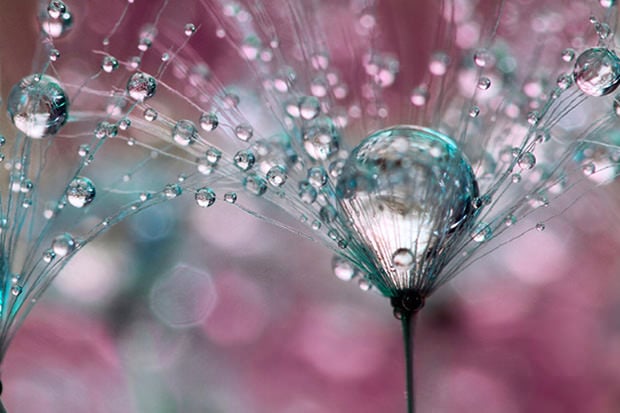
Before you start spraying make sure your camera is set and ready to shoot, and not directly exposed to the mist. Spray a good amount of fine mist until you see water beads forming and gaining size. Don’t stop until you have some nice round drops that are large enough to refract the background.

That’s it! Get your camera, flash, and diffuser and start shooting. Depending on the room temperature, the seed will lose tension over the next few minutes and the beads will evaporate, so don’t wait too long to shoot.
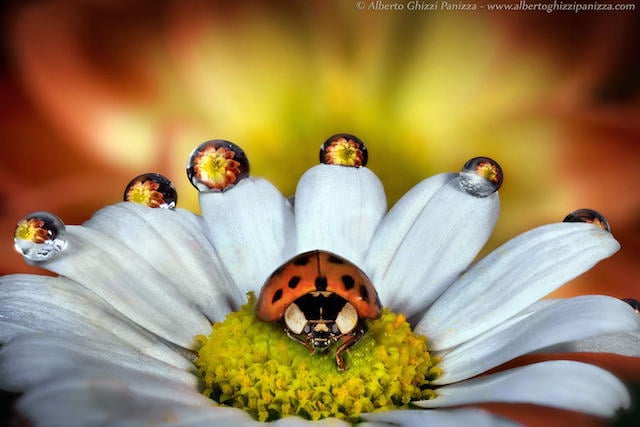
Different compositions are possible of course, but the one that sparked this project is the flat view of the seed with the rose underneath it.

These pictures are sure going to make for a great Valentine’s Day card next year…
To get up close and fill the frame with the composition, I used a reversed Canon 28mm FD lens on a 36mm extension tube. You can learn more about reverse-mounting lenses here.
The light was supplied by a Yongnuo YN560EX III and softened by my DIY modifier:

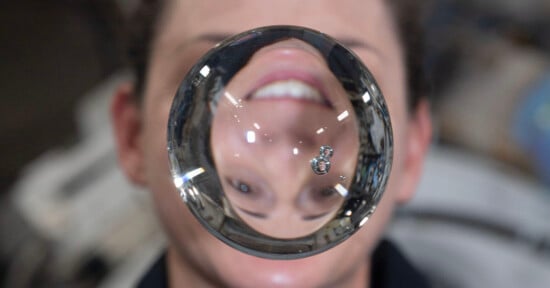
A diffuser helps avoid harsh shadows or, like in this case, specular highlights that distract from your composition. Without it, the perfectly spherical water beads would reflect a direct light source very harshly.
Besides that, the light diffuser enables me to use an on-camera speedlight in the first place, as it not only softens, but also redirects the light to the front of the lens. Otherwise the lens would inevitably cast a shadow onto our subject and make the flash pointless.
I also made a more detailed step-by-step YouTube video of this project, for those of you who prefer watching to reading:
As always, thanks for your interest, and if you have any questions or if there’s a specific topic you would like to see covered, feel free to leave a comment below or request an article here.
About the author: Maximilian Simson is a photographer and artist based in London, Ontario. The opinoins expressed in this article are solely those of the author. You can find more of Simson’s work on his website and Facebook. This article was also published here.