How to Adapt Industrial Lenses for Extreme Macro Photography
If you ever visited some industrial surplus shops, very often you would see some cameras and lenses used in industrial automation. What you probably do not know is that these lenses can have very high optical performance and features we want: high resolving power, large image circle, low distortion, and often very long working distance compared to some of other lenses we use.
There are other lenses, but the best lenses are the so called line scan lenses. These line scan lenses often have very high resolving power that can match or beat a microscope objective.
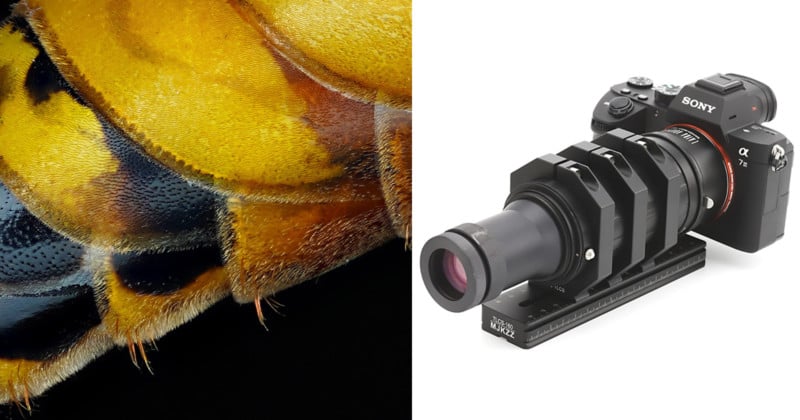
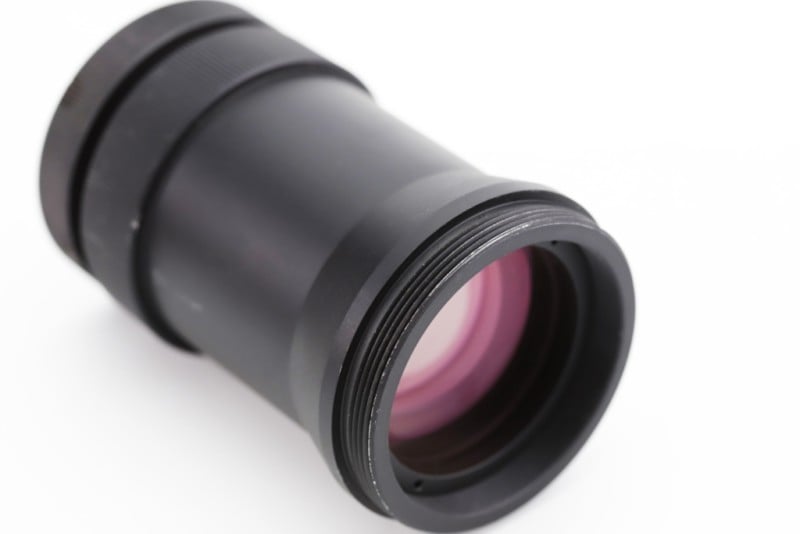
Here is a lens that I ran into and bought it after checking scratches, molds, etc. I was told that it is a 12K line scan lens. After some googling, I found its specs here. So, it looks like it has 7um resolving power, over 118mm working distance, and image circle of 86mm.
With spec sheet like that, though at around 1.25x, it can beat some of the best objectives like this Mitutoyo 1x objective (though Mitutoyo 1x is APO) that boasts a resolving power of 11um, working distance of 11mm, etc.
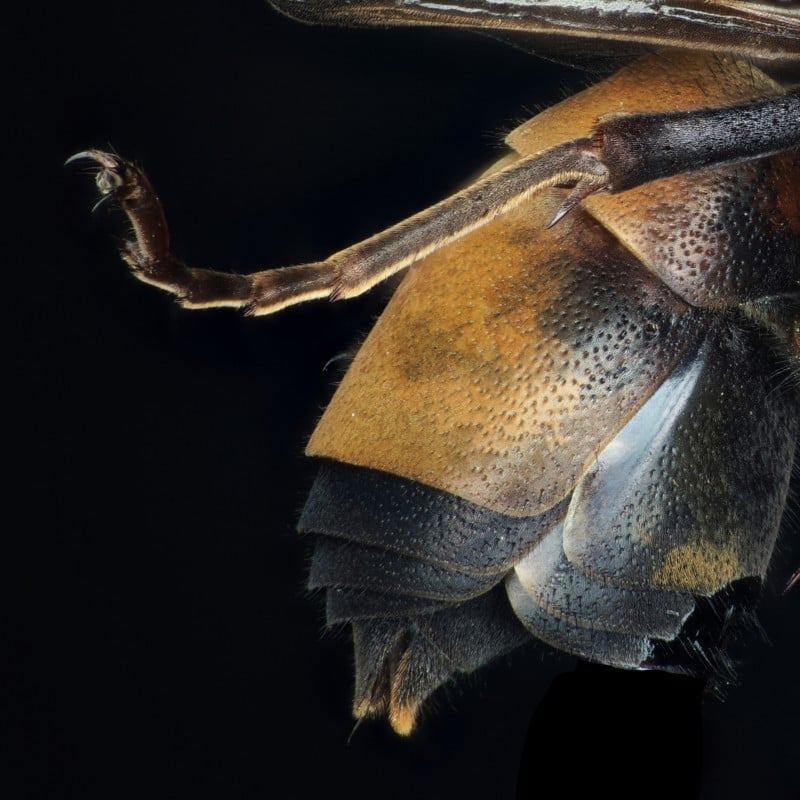
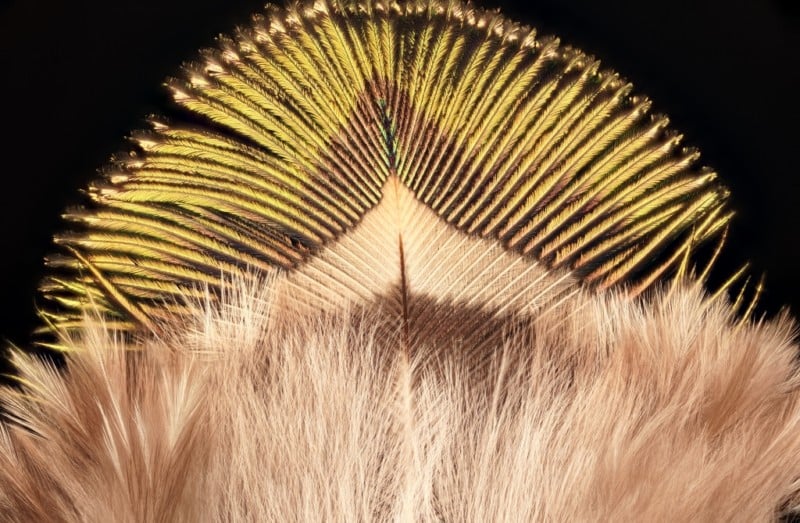
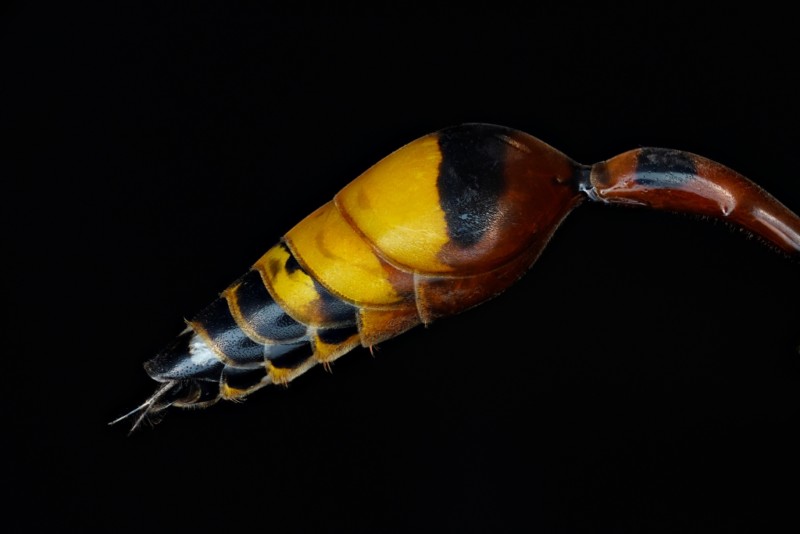
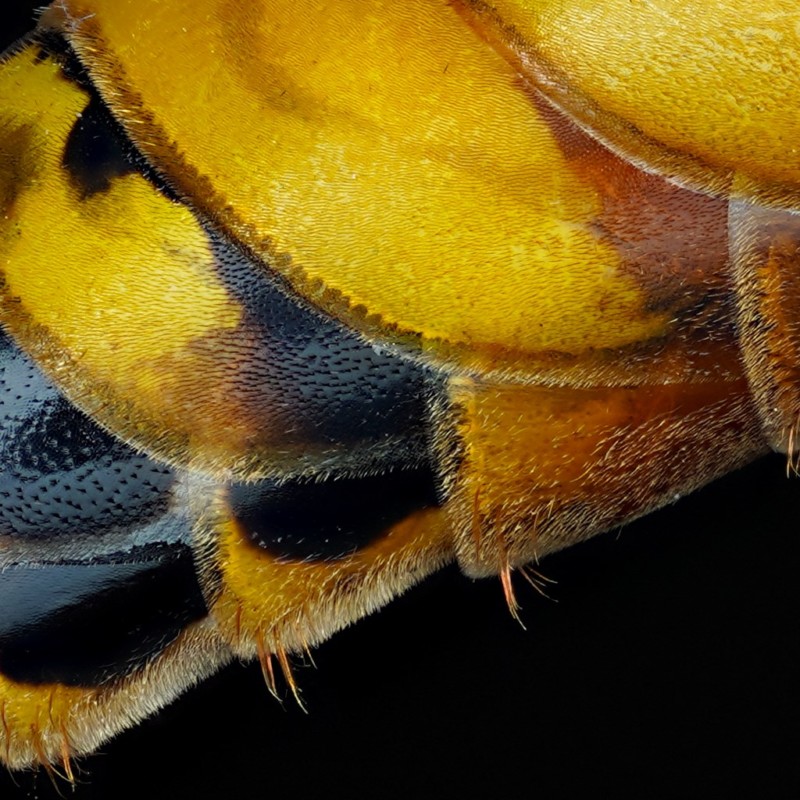
Here are some of images taken with this lens.

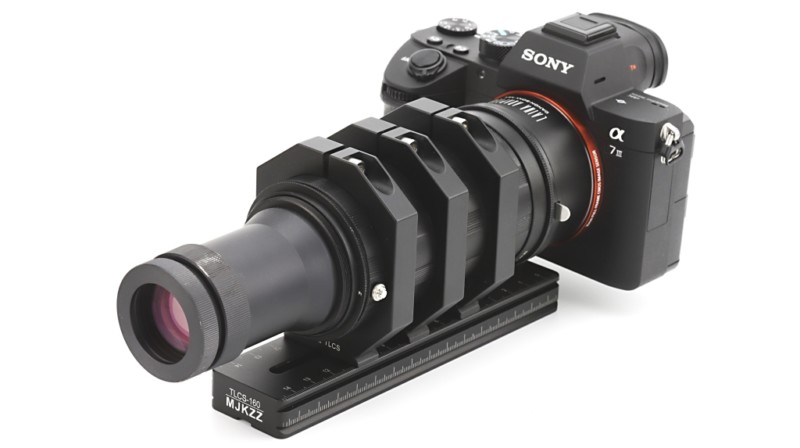
The Setup
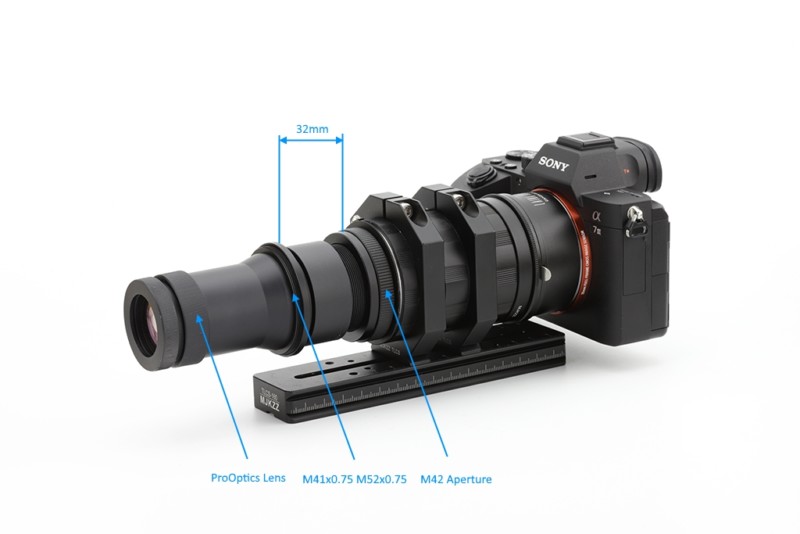
The setup shown above consists of a subject platform with 3 degrees of freedom (roll, pitch, yaw) and a platform with one degree of freedom (forward and backward). All of these 4 degrees of freedom are required to allow for fine alignments before taking an image.
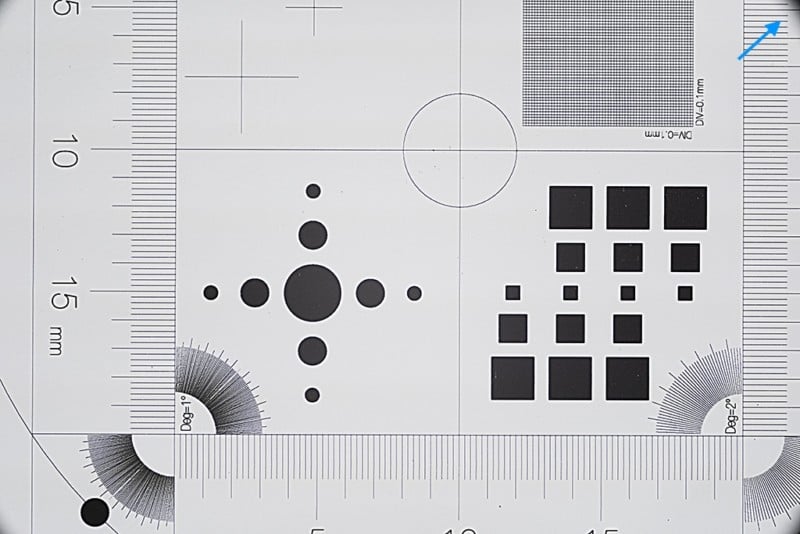
The image above looks very sharp (though I wish the printing on it can be sharper). If you look at the large square grid, there is very little distortion. The 1 deg and 2 deg pattern at the left and right corner are sharp, too, indicating good corner to corner coverage.
Making It Telecentric
One of my goals for this setup was to make it telecentric and, after playing with it for a bit, I finally got it very close to telecentric by adding a spacer and an aperture assembly. The spacer is about 32mm long, and sits between the back of the ProOptics lens and the aperture assembly.
Important note: depending on your aperture assembly and how you adapted your lens, this distance might be different.
Final result is very encouraging, yielding about 0.026% scaling factor between each image. The best part of this configuration is that you can remove or add additional extension tubes behind the aperture assembly without affecting telecentricity!
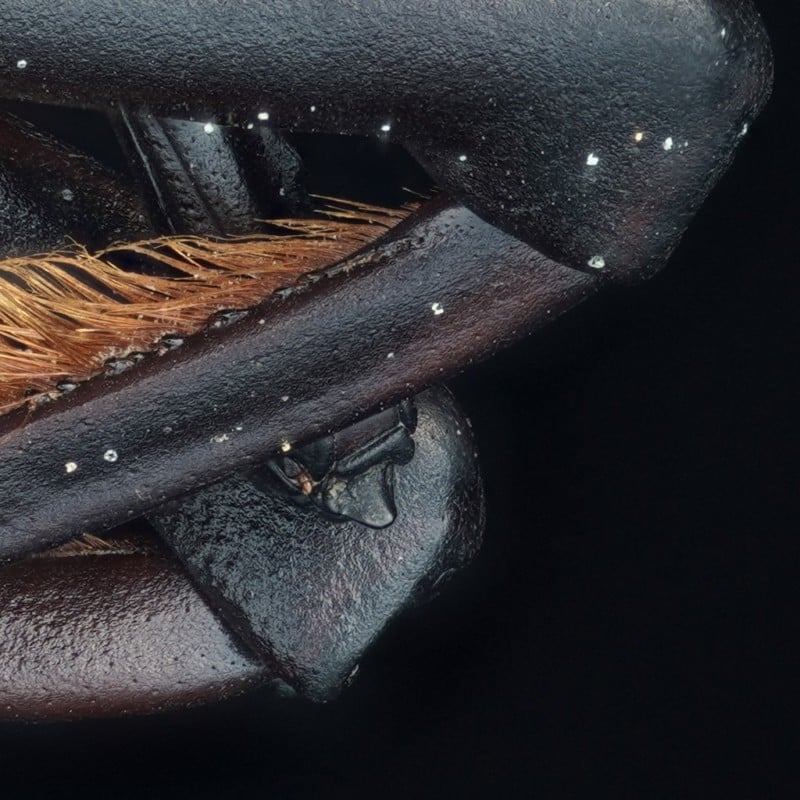
After making it telecentric, this is one of the resulting images. This was stacked from 151 images for a 12mm deep stack.
Scale from first to the last is about 1.045, so the scaling factor for between adjacent images is about 0.03%—a bit more than 0.02% for ideal measurement, but good enough. Without this telecentric modification, it is 0.052%.
Image Gallery
Conclusion
Next time you visit an industrial surplus shop, if you see this kind of lens—particularly a “cheap” line scan lens—grab it!
About the author: Peter Y Lin is an extreme macro photographer and electronics enthusiast who often merges these twin passions to create beautiful imagery. You can find out more about Peter and see more of his work on his website. This article was also published here.