How to Get Better at Street Photography
![]()
It goes without saying that if you want to get better at something you have to practice. Simple, right? The thing is, that unlike more structured pursuits such as sports or music, the idea of practicing street photography seems a bit hard to wrap one’s head around.
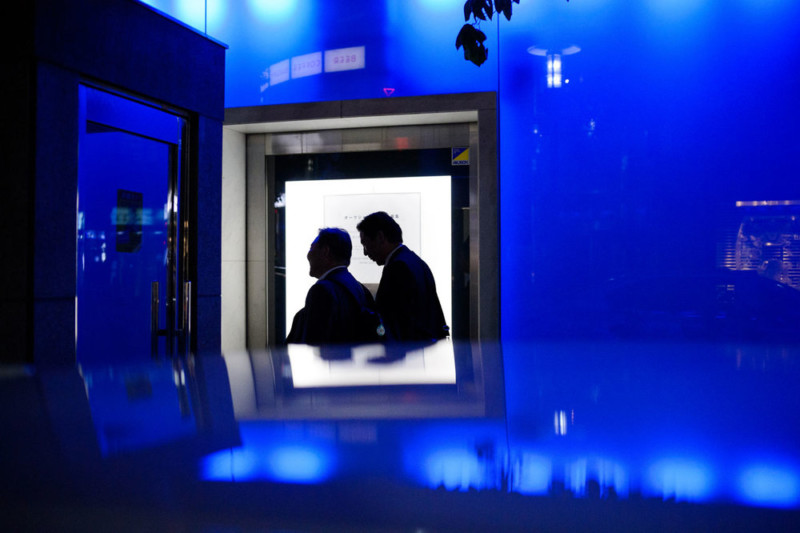
Regular Practice vs Deliberate Practice
Regular practice happens any time you do almost anything. If you think about it, that’s how we learn most things in life: from using a fork, to talking to tying our shoes. If you just do it, you’ll gradually get better at it. It applies to more specific skills as well. If you sit down to jam on guitar for 30 minutes, you just practiced a bit. Shoots hoops after school? Practice. The same goes for street photography—shoot for an hour: that’s practice.
You can certainly have revelations and make improvements with regular practice. And it’s a lot of fun! But there is a more refined approach, commonly called “Deliberate Practice.”
Deliberate practice is when you make a conscious effort to practice very specific skills in a targeted manner. It also includes feedback and consistent rules or a set of constraints. Let’s break all that down.
To use analogies in sports and music again, it would be like running drills of very specific actions or movements, and in particular targeting ones where you think you have a weakness. In basketball it might be shooting from the free throw line, or perhaps it might be playing a particular part of a song again and again on guitar until that one part is perfect.
Deliberate practice is about breaking skills down and targeting weaknesses. But how can we apply that to photography?
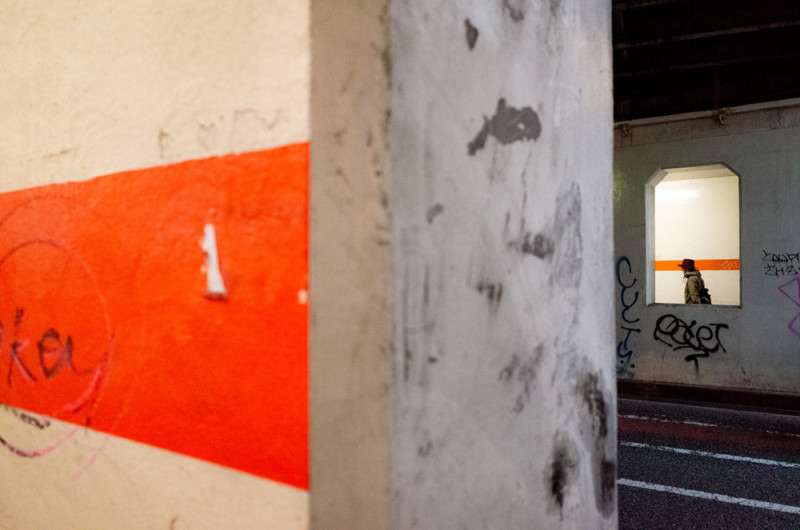
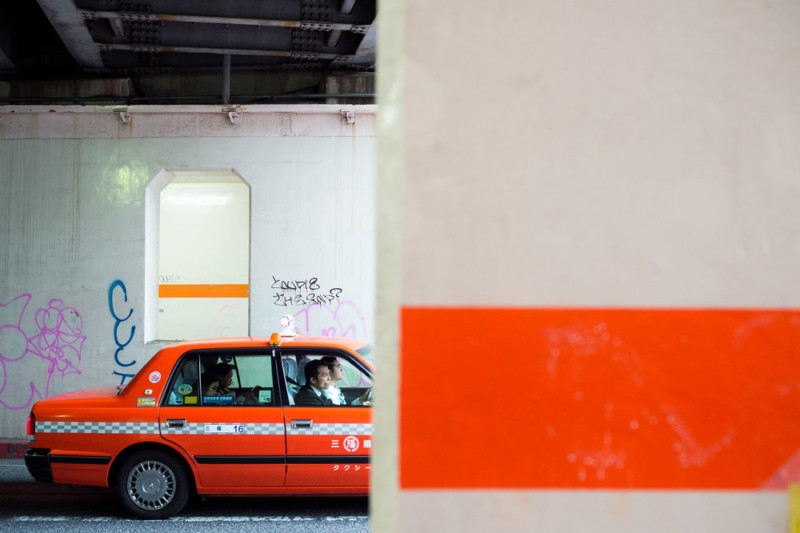
Constraints are the Key: Prime Lenses
In photography, especially street photography, it’s hard to break down skills into sub-skills and drill them. What are you going to do, run around with the camera like a soldier in boot camp? It sounds silly. When practicing photography, it’s most useful to focus on the last part of deliberate practice: constraints.
We can put constraints on many aspects of our photography, the most obvious being focal length. I believe this is why prime lenses are traditionally so highly praised by street photographers. The common wisdom is that prime lenses spur creativity, but I believe that underlying this commonly held notion is the fact that by constraining the field of view, the photographer must learn how to compose the frame by moving their body (the cliché of “zoom with your feet”) which, over time, results in a better spatial awareness and understanding of the effects of that particular focal length.
However, as mentioned above in regard to deliberate practice, it’s good to tailor this advice by focusing on weak points. If you’ve been shooting with a 35mm prime lens for years, perhaps trying a 28mm or a 50mm for a few weeks will help you improve your skill with those focal lengths as well.
Eventually, using a zoom lens will become a more mindful and deliberate shooting experience where your own positioning (and therefore, your perspective) become less influenced by the lens. You will more easily be able to choose either a perspective and then match the focal length, or a focal length (effectively, a field of view) and then adjust your perspective to make it work.
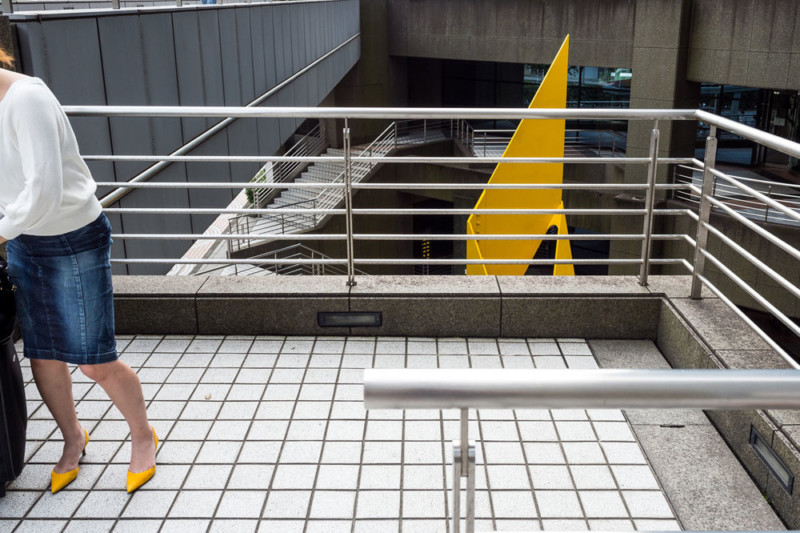
Of course, you could learn all of this with a zoom lens, but it’s more efficient to apply the deliberate practice method by giving yourself this focal length constraint. And if you don’t have many (or any) prime lenses, that’s okay! Just tape your lens to a particular focal length and go out and shoot that way for a day or two. Bam! Instant prime lens!
After this kind of practice, I now think of a zoom lens more as a series of prime lenses than a single continuously zoomable lens. That’s not to say that I look at the markings on the lens and set it to exactly 35mm or 50mm or whatever before I take each photo. It’s just that in my mind, I think to myself “I need about 35mm for this shot,” or “around 50mm would suit my idea for this composition.” And I got to that point by shooting on primes for a few years almost exclusively.
I somehow instinctively knew that the simplicity of primes would force me think in a different way with them. It wasn’t until years later that I learned about deliberate practice (mostly when I read the book The Talent Code by Daniel Coyle) that it clicked for me: prime lenses create constraints, and that’s why they are a great tool to help us build an understanding of the relationship between focal length and field of view while developing spatial awareness.
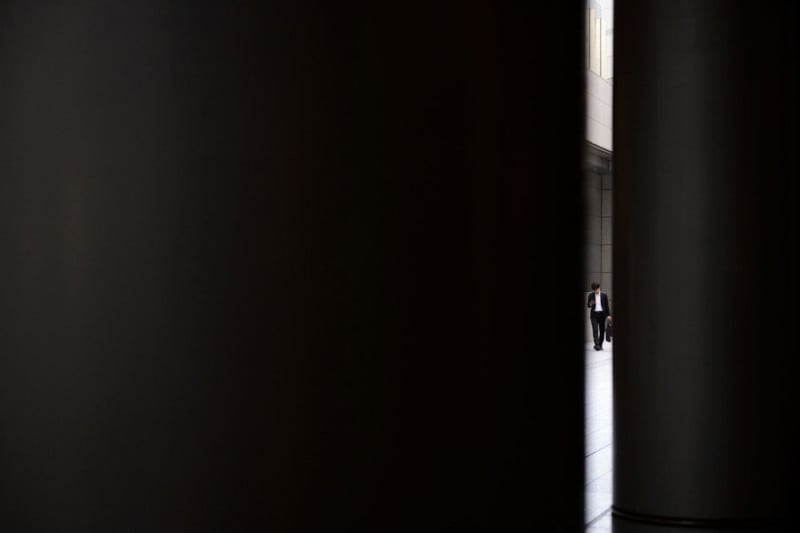
Constraints in Exposure: Manual Mode
By using prime lenses, we can apply a constraint to our field of view. Another way to constrain the way we shoot is to use Manual Mode. Generally, I don’t think Manual Mode is a must for street photography. I feel it can be a hindrance in some cases, although in others it does allow for more precise, accurate and, most importantly, consistent exposure.
For the most part, I use Aperture Priority when walking about town and shooting street photos; however, in the context of this article, I feel that Manual Mode is a must for training one’s understanding of exposure. It applies a constraint in the sense that it forces the photographer to think about the three main settings that are available in almost every camera–shutter speed, aperture and ISO–and understand how they relate.
It’s also possible to take it a step further and “lock” one or two settings for a day. That is, you can choose a particular combination of settings for two of the three, and then only adjust the third one to maintain a correct exposure. For instance, on a sunny day, you can select f/8 for the aperture, and 1/500 shutter speed, and the only adjust the ISO as needed in order to get the correct exposure. Similarly, say at night, you can choose f/2.8, 1600 ISO, and then adjust the shutter speed as needed. The point is to get an inherent understanding of how these settings work together and individually. Once you have this intuition, it becomes much more obvious what’s happening when shooting in semi-auto modes like Aperture Priority with Auto ISO enabled.
The ultimate goal of all this is to move beyond the phase where the camera’s operations are some sort of “black magic” and move into a mindful awareness of what the camera is up to at all times. This will allow for more consistent exposure when you’re out doing street photography, which is very beneficial in a photographic genre where speed is important and there are few second chances.
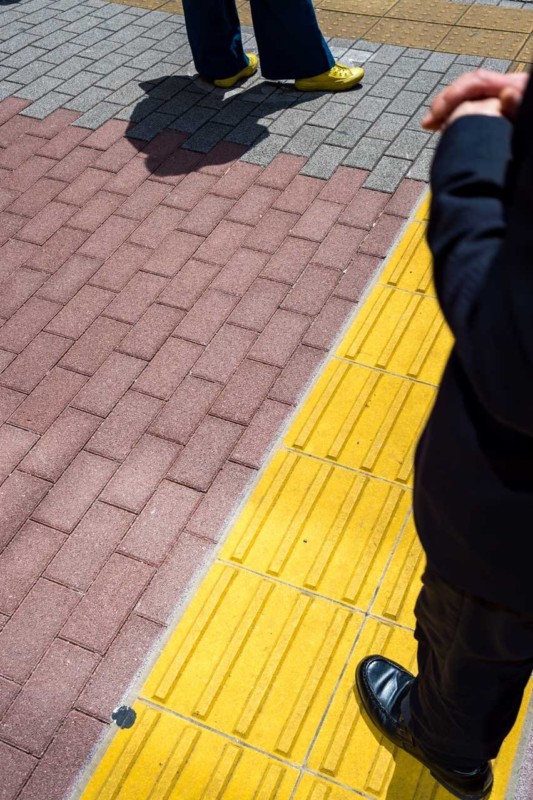
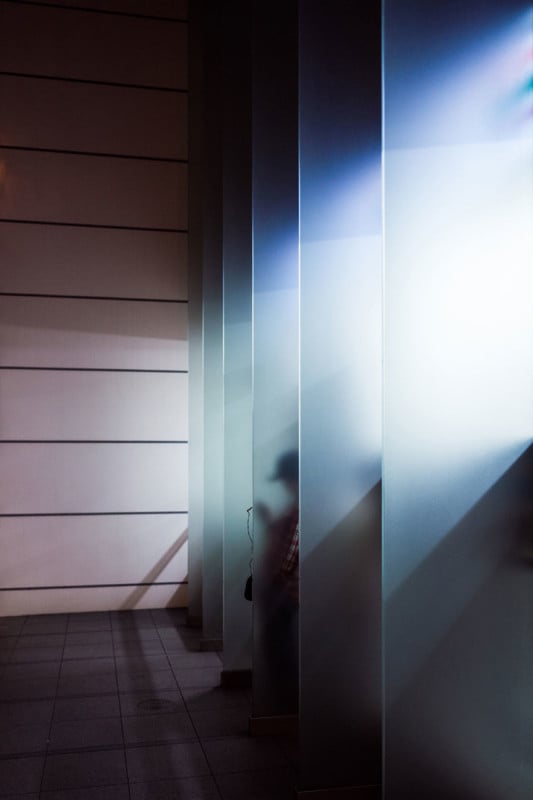
Constraints in Theme: Emulate the Masters
So, we’ve talked about ways to constrain your framing and exposure. The third constraint that can be applied for the sake of deliberate practice is a constraint of style or theme.
An easy and fun way to do this is to “emulate the masters.” What that means is that you can find a photographer whose work you admire, or even simply has certain aspects or qualities that you wish to include in your own work. Once you find such a body of work, identify the consistent themes and choices that the “master” has made in his or her work, then go out and keep these themes in mind: constantly asking yourself “what would _____ do in this case?”
I try to avoid pushing my specific preoccupations when giving “study” advice for photographers, but I think it’s useful to illustrate this idea with a few example masters from whom I’ve drawn influence. The first is Alex Webb, whose work emphasizes multiple layers and subjects, all coming together to a single whole. Basically, he’s a master of having many individual subjects in one frame.
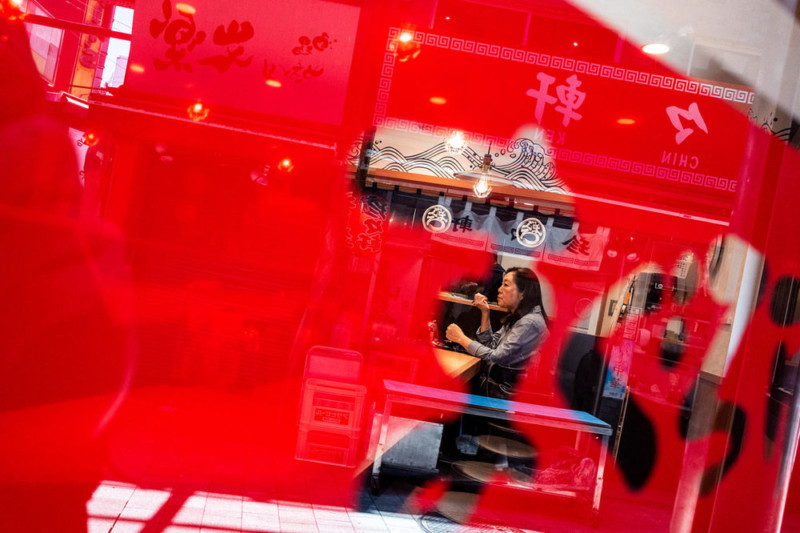
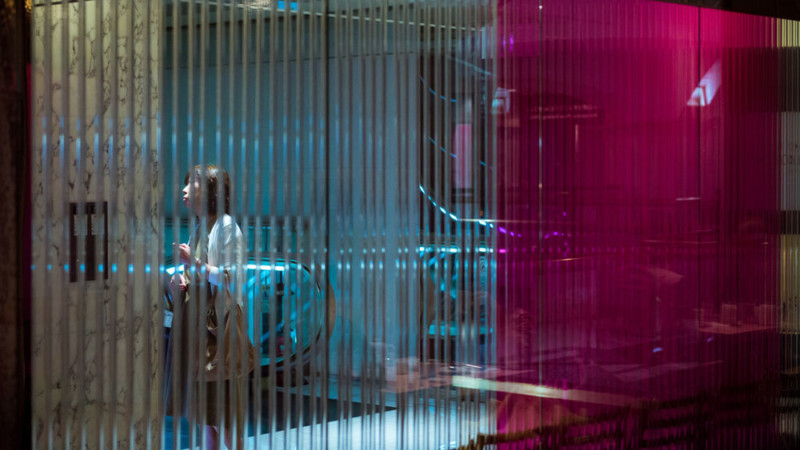
The next is Saul Leiter, in whose work we can see an abstract approach to color and form. He sometimes avoids giving a direct portrayal of his human subjects instead opting for compositions that are more abstract, emphasizing splashes of colors, often blurred in the foreground. To the same end, he regularly employs reflections and glass in his images. Shooting in ‘bad’ weather is also common in his work.
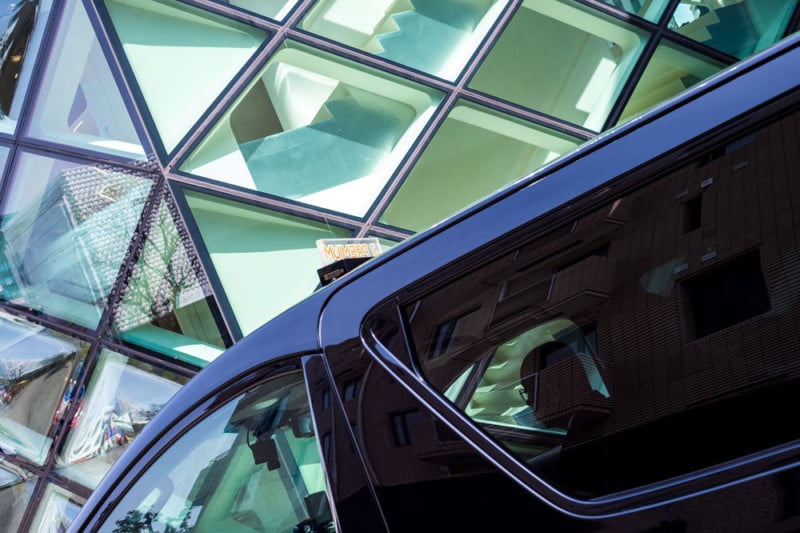
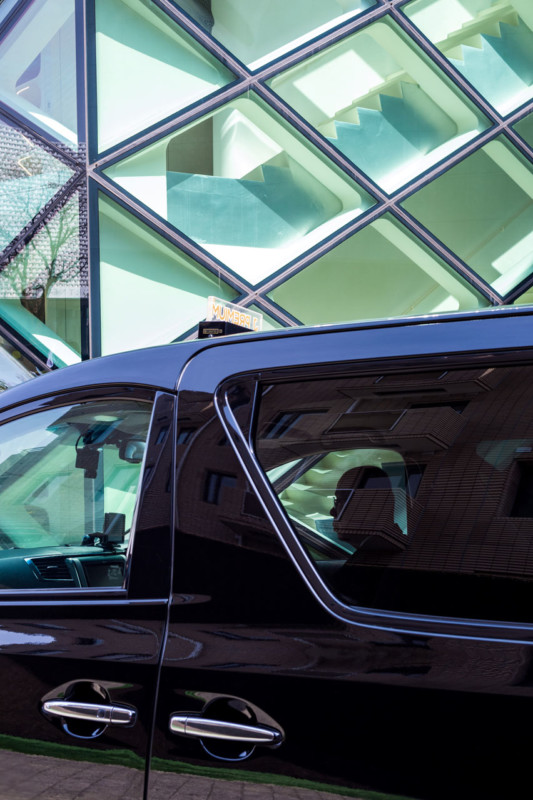
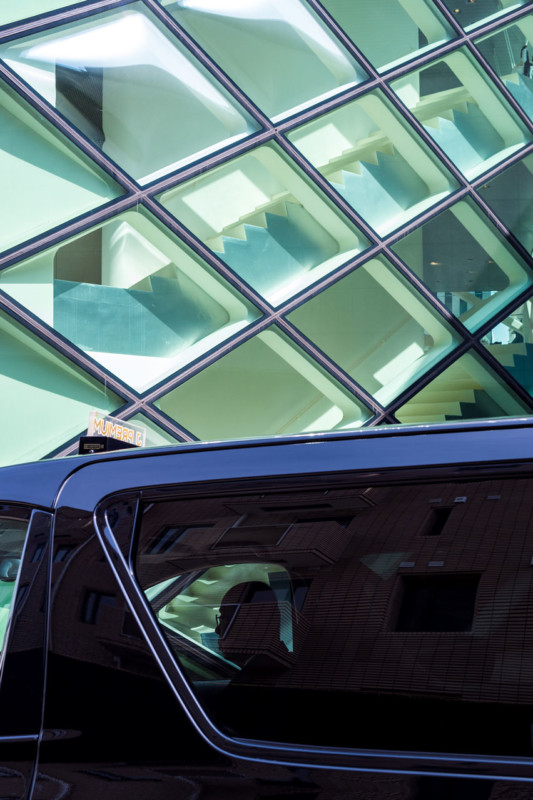
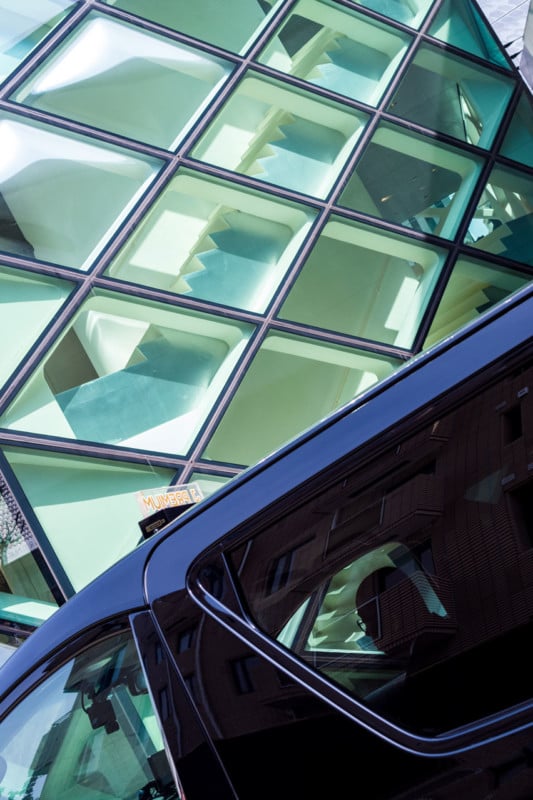
Finally, I enjoy the work of Siegfried Hansen, who is a master of geometry and in particular utilizing lines and shapes in his work. Much of his work does not involve people, which is a bit unusual for most street photographers, yet he makes it work. All three of these photographers employ color to greatest degree, having little to no work in monochrome.
Of course, the work of each of these photographers can be analyzed in much more depth, but these visual elements and ideas are what I took from them and keep in mind when I am out shooting and practicing. Find the masters that inspire you and do the same!
Self-Feedback and Mentors
The last piece of this “deliberate practice” puzzle is feedback. This is arguably the most important part, and in general it is not unique to the deliberate practice model. Everyone can agree that critiques and feedback are crucial for artistic growth. The problem arises when we can’t find a mentor to give us feedback… so… how can we get around this?
What I’ve learned is that being your own mentor is possible by channeling the masters. Just as I mentioned above, when you’re out shooting you can think to yourself “how would ‘so and so’ compose this scene?” Or even more concretely, you can focus on specific aspects of your composition: “what would ‘so and so’ say about this framing, or this element in the shot, or my timing?”
From this idea you can create for yourself a mental checklist of dos and don’ts. For example, here are some that I often keep in mind:
- What (if anything) can I remove from this frame to make the story stronger?
- What (if anything) is in the immediate vicinity that I can add to the frame to make the story stronger?
- Can I improve any leading lines in the scene, by moving them into the corners, etc.
- Is my timing as good as it can be? Did I catch the action in the perfect moment?
- Can I imagine a better subject here, that is, a more suitable passerby that would enhance my composition?
And so on… The mental checklist can be anything that you think you need to work on. You can, and should, think of specific weaknesses or aspects you would like to improve, and then keep those in mind. It’s totally fine to write these things down to help you remember them.
Focusing (Your Mind) and Doing More ‘Reps’
As a final note, I want to mention a few concrete and specific things that I do when I’m out shooting street photography.
The first is to make sure I give myself every opportunity to focus. This means I put my phone on airplane mode, or put in my bag. Another thing is that I typically bring only one camera and one lens. This can be a drawback at times, but it also makes for less indecisiveness. I don’t stand there wondering if I should switch lenses. I just focus on the gear I have and make do. This goes right back to the idea of constraints to spur creativity. To further enhance my focus, I tend do as much shooting as I can on an empty stomach. I find that having lunch first is the death of creativity, but when I’m hungry my senses seem heightened and my awareness and perception are increased. Also, getting some nice food after a few hours of shooting is a great reward!
Finally, in the words of Muhammad Ali, “I don’t count my sit-ups; I only start counting when it starts hurting because they’re the only ones that count.” In photography, when you are presented with a scene worth shooting, the first few shots “don’t count” when it comes to practicing and stretching your “perception muscles.” Even if you’re satisfied with that first shot, take more anyway. Give yourself a specific goal, like “shoot each subject from 10 different perspectives” (or any number you like). This is commonly boiled down into the phrase “work the scene.” In any case, the point is to force yourself to think harder about how to frame the shot. Do it until it hurts!
As always, I hope I’ve inspired some new ways of thinking about your own photography. And if you have anything specific you want to practice, please let me know in the comments and I’ll be happy to give any advice I can to help you come up with a training regimen.
About the author: Lukasz Palka is a freelancing Tokyo photographer who is the co-founder of EYExplore photography workshops. You can find more of his work on his website or by following him on Instagram, YouTube and Facebook. This article was also published here.