The Best Lightroom Tool For Improving Composition in Photos
How many times have you returned from what you felt was a productive photography trip only to find that some of the compositions of your favorite images weren’t exactly what you expected? This happens to me rather frequently, but fortunately for us, we have access to one of the best Lightroom tools for improving composition in our photos: the Crop tool!
For years I only used the crop tool as a means of cleaning up the edges of my images by removing overlooked distractions. But, when the crop tool is used most effectively, it’s as if you’ve accessed a time machine that enables you to go back and recompose your composition to something that’s more pleasing.
In order to access the crop overlays within Lightroom, open the Crop tool and simply press the shortcut key O to cycle through the various crop overlays. There’s a total of 7 available, but I typically only use 5 of them.
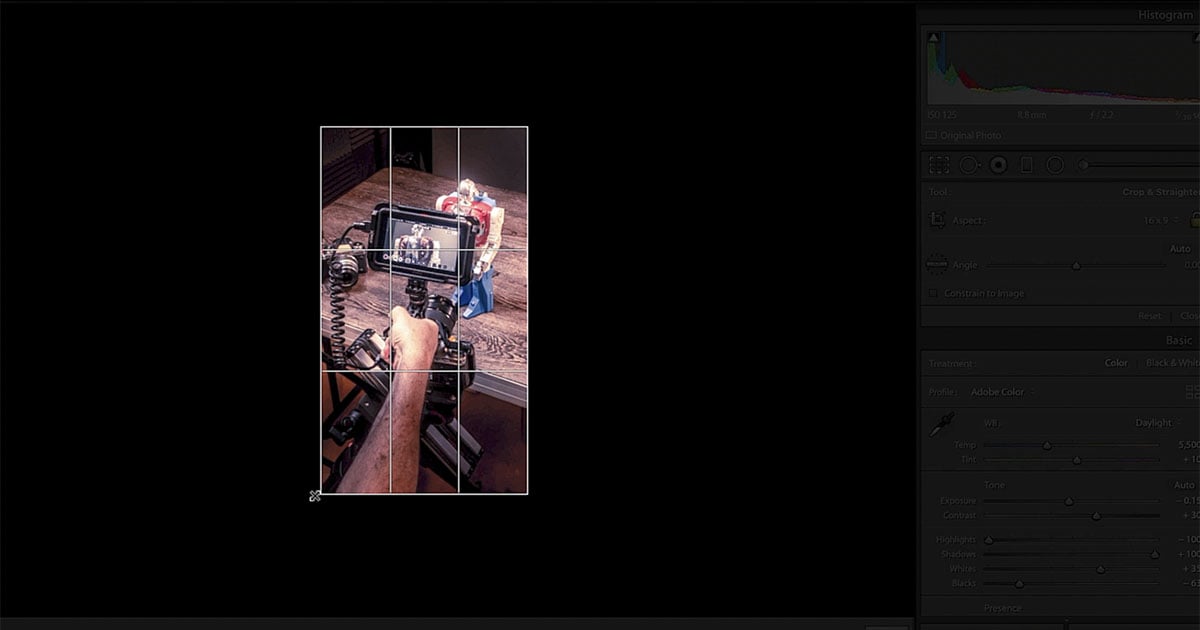
Rule of Thirds
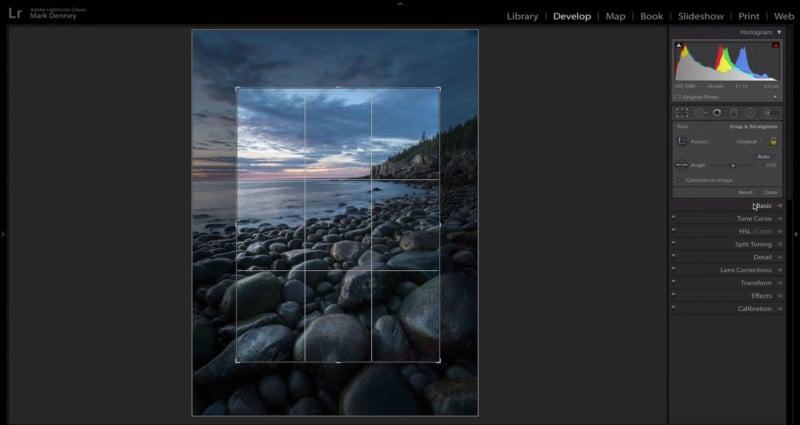
This is perhaps one of the more common compositional techniques used today. The rule of thirds overlay divides your image into equal thirds. It’s great for ensuring that you don’t place your subject in the dead center of the frame and also assists you when it comes to the placement of the horizon. The basic premise here is to place areas of visual interest on the intersecting points of the grid.
Diagonal
This crop overlay is fantastic for images that have diagonal qualities associated with it. This technique will apply multiple 45-degree lines from the corners and is helpful for aligning diagonal subjects within your photograph.
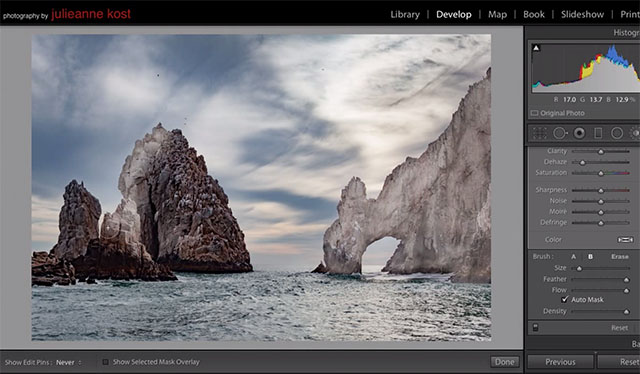
Triangle
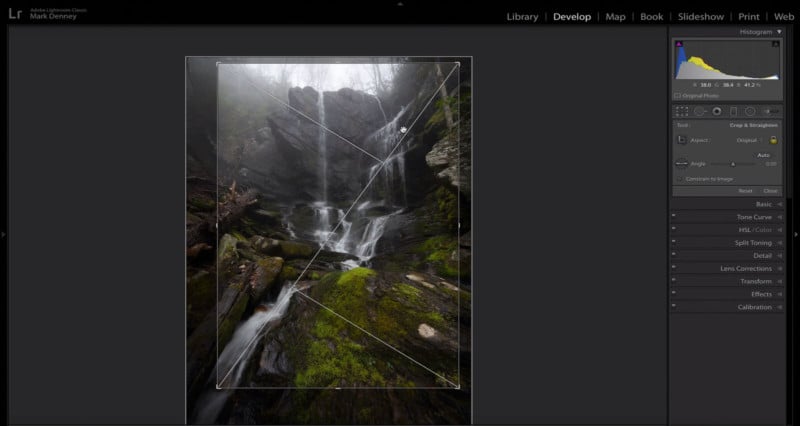
This approach really helped me with one of my favorite images of 2019 (above). This crop overlay resembles a series of triangles flipped in multiple directions. If you press Shift + O, you can flip the entire grid in the opposite orientation. The purpose here is to place points of interest within each of the separate triangles.
Golden Ratio

The golden ratio overlay is considered to be a more advanced version of the rule of thirds, but with additional emphasis placed on the corners. The overall premise, however, remains the same: place areas of interest on or near the intersecting points.
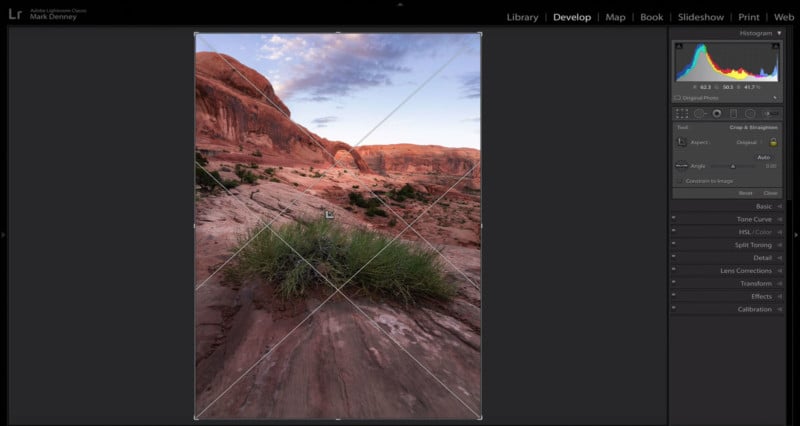
Golden Spiral
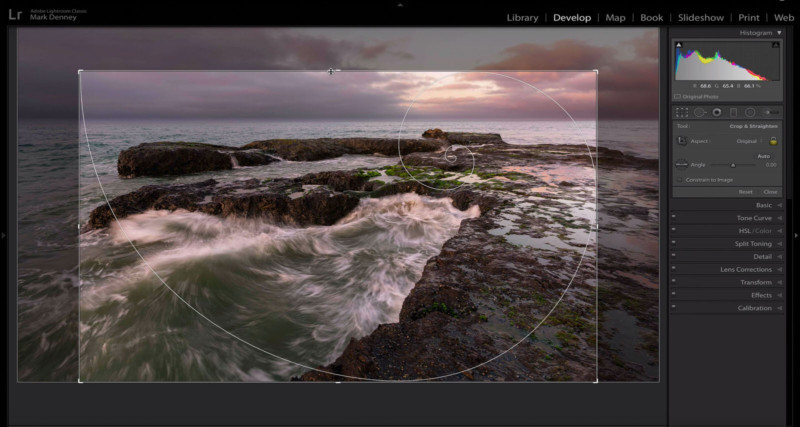
This is perhaps the most interesting one of them all, the golden spiral. This is another overlay that you can flip by pressing Shift + O. This works well for images that have sweeping aspects to the composition with the end result being the main point of emphasis placed towards the area of converging lines.
The two remaining crop overlays are ‘Aspect Ratios’ and another simply called ‘Grid’. It’s also important to note that these overlays are only meant to be applied as guidelines or suggestions and shouldn’t be taken too literally, but once you begin using them I’m sure you’ll find that they’re a great way to gain some additional compositional creativity.
P.S. If you enjoyed this video and article, you can find more by subscribing to my YouTube channel.