7 Tricks for Making Basic Selections in Photoshop
Making selections is one of the most basic things that you do in Photoshop, but there are many handy features and tricks that can help you work with selections. Here’s a 2-minute video by Adobe with 7 helpful tricks, some of which you may not have known before.
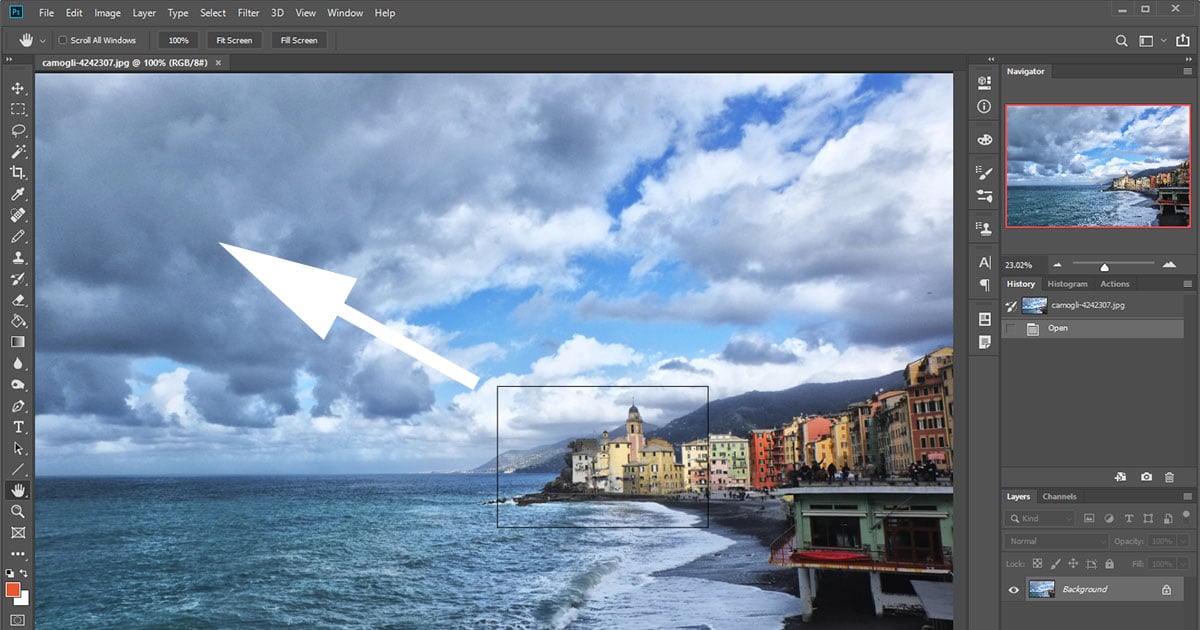
1. To constrain the Rectangular or Elliptical Marquee tools to a perfect square or circle, hold down the Shift key while making your selection. To make your selection from the center, hold down Option/Alt.
2. You can reposition your selection while making it by pressing and holding the Spacebar (while holding your mouse button down). Release the spacebar to resume making your selection.
3. After making a selection, you can add to it with Shift and subtract from it with Option/Alt.
4. Click and drag within a selection to move it. Use the Arrow Keys to nudge it. Hold the Shift key while nudging to move in larger increments.
5. Use Command/Control+D to deselect your selection. If you ever accidentally deselect, you can reselect the same selection by going to Select→Reselect.
6. If you’d like to use the same selection in the future, you can go to Select→Save Selection, which saves the selection as a channel that can be saved with a TIFF or PSD file. To load it, go to Select→Load Selection.
7. To transform your selection rather than the contents, go to Select→Transform Selection. Control-Click/Right-Click within the selection to select your desired transformation.
There you have it, 7 easy tricks you can use while making basic selections in your photos. Even if you’ve been making selections for years, hopefully you were able to glean a thing or two from the video to add to your routine.