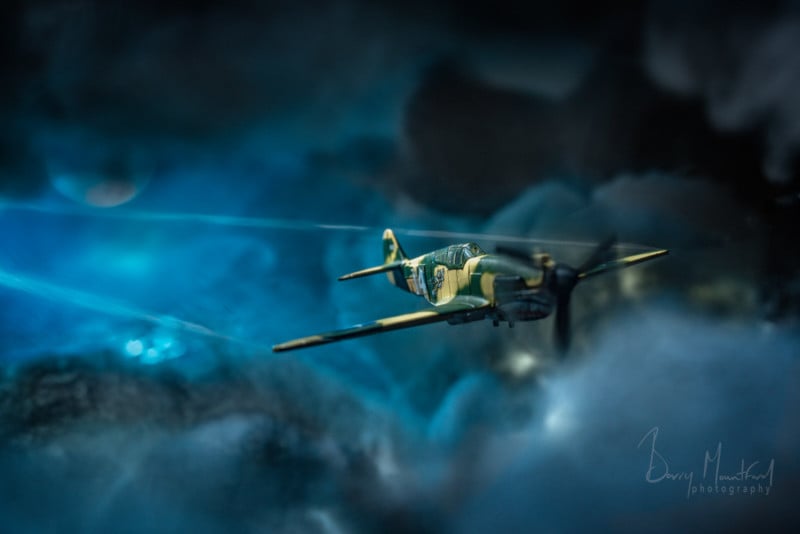
Shooting an Action Photo of a Toy Fighter Plane
Have you ever found yourself looking at your children’s toys and thought to yourself, “Man that would look great in an image?” Well I have, I do, and I love creating images this way, trying to create a realistic/surreal image which tells a story from using nothing more than a piece of plastic.
A portrait of a figure reveals the character you see in this inanimate object and brings it to life, the more I delve deeper into this genre of photography I am finding it very similar portrait photography, capturing a side of a person you see as you get to know them. You want to bring that out in the photo, but that side you see may actually not be the real person in front of the camera, but rather your impression of them.
This is the case in my portrait work: as soon as I see a model, I have a vision of how I want a portrait of them to look. That similarity is found in the toy photography genre — I photograph the side of the character as I see it.
Lighting the subjects is also very similar to working with different skin tones. Oily or dry skin on people can require a different light modifier to control the specularity on the skin, and the same can be said with the materials a toy is made of. Also, creating dramatic lighting or whatever mood you want to bring to the image is very much the same, so implementing the same lighting setups I use in my portrait photography produces the same results in my toy portraits.
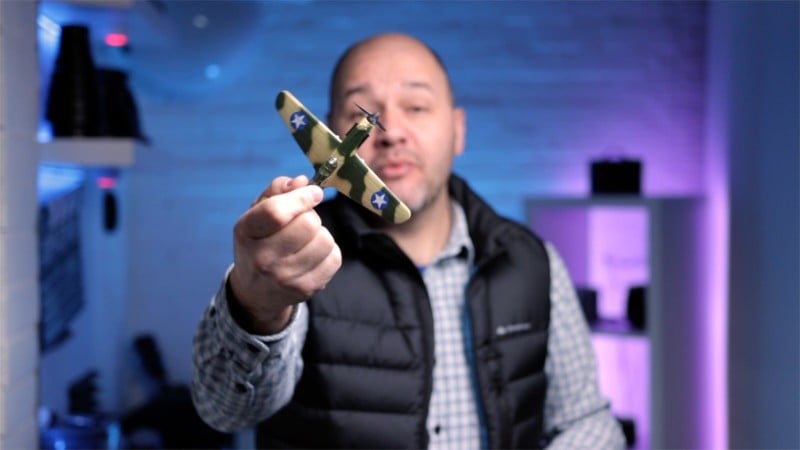
This article is not about portraits of people or toy figures, but rather creating images using model planes, using all the lighting principles I use in my portrait work to help create some epic images.
Here’s a full behind-the-scenes of what I did:
So this small project came about with a little obsession with clouds and wanting to create them to use in an image. I have failed a few times now trying to make them look realistic in an image but finally settled on using stuffing out of a pillow as this looked so much better than cotton wool.
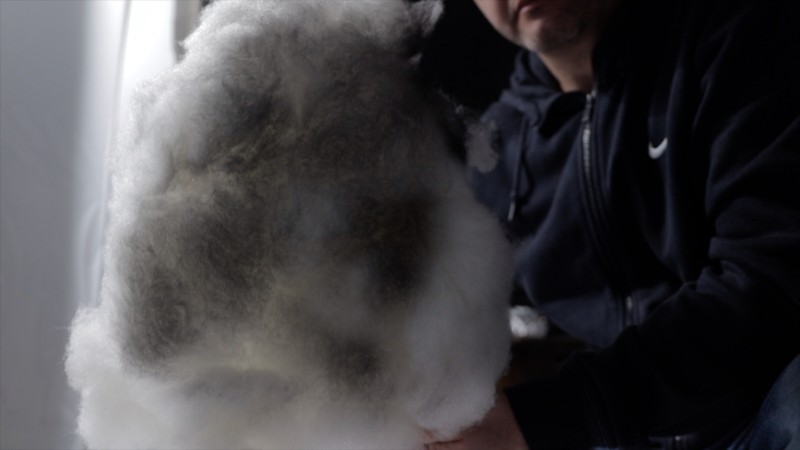
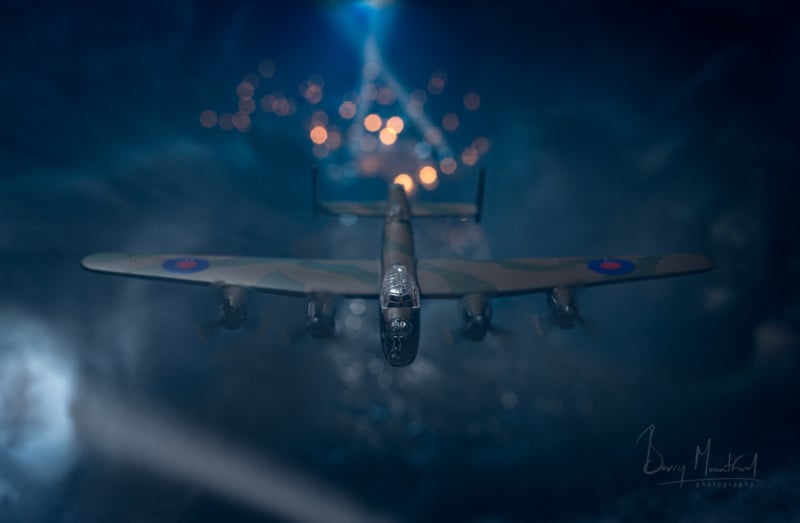
I wanted to be able to light the clouds from inside so I used a couple of Tupperware containers and glued lumps of the stuffing randomly all around them. I then spray-painted parts with black paint for a more dramatic look, and when lit from inside with my strobes it gave a nice depth to the clouds. Adding gels allowed me to play with the colors.
I initially wanted to create a big scene with a vast expanse of water and clouds behind the aircraft, but I soon realized that my small studio space just wasn’t big enough. I settled on the perspective from my 35mm Sigma Art lens on my Nikon D750 full-frame camera, which allowed me to use the full width of my studio floor in the frame.
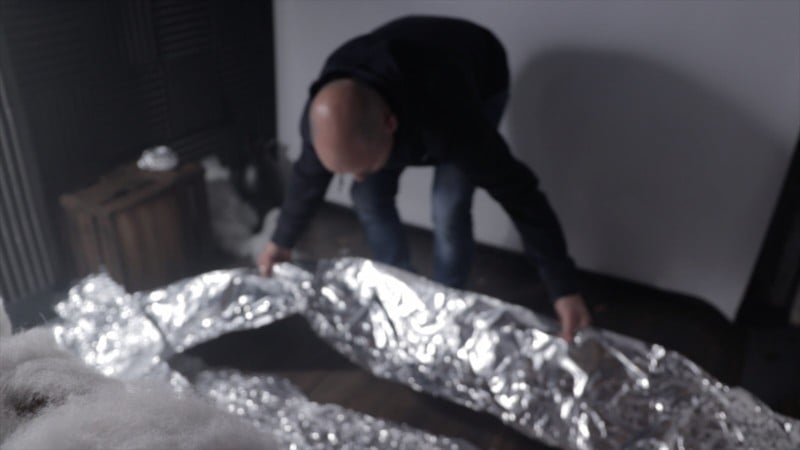
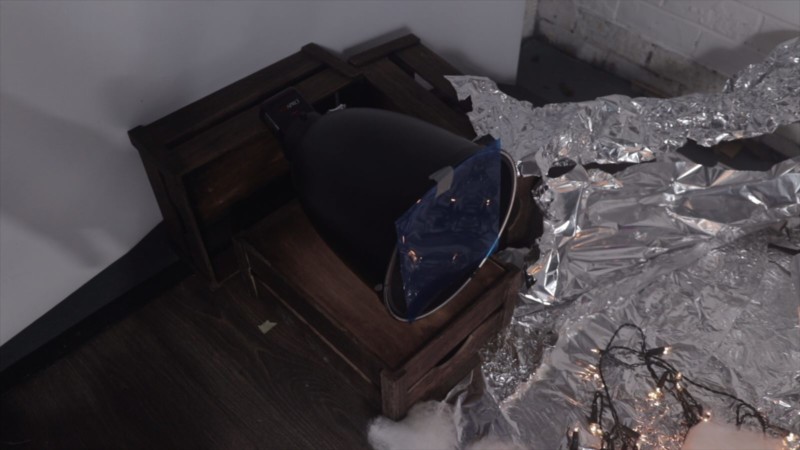
I used tin foil up on the floor to create the effect of water. Using a long focus reflector fitted with a grid and blue gel with a Pixapro Pika 200 created a moonlit backlit scene that gave nice reflections in the water and also a little back-lighting for the clouds and aircraft.
I suspended the model planes from around 3 to 4 feet above the floor, sitting them on threads inside a cardboard frame. I would later remove the thread in Photoshop. The aircraft was lit using the Pixapro Citi 600 fitted with a standard reflector and 60-degree grid for a small spot of light on the model.
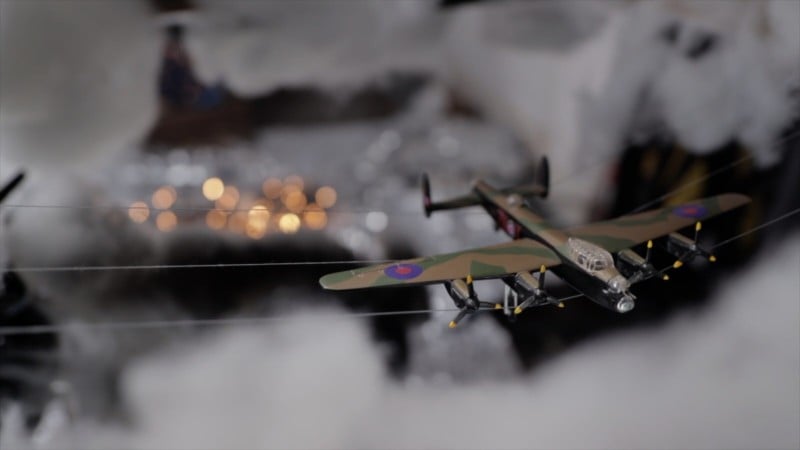
To add a little more depth to the image, I also added some of the pillow stuffing around the frame to give the effect of clouds above and below the model. I wanted to create town lights below and on the edge of the water again to give more depth to the image, so I added some fairy lights on top of the tin foil.
The final element to add was smoke to the scene using a smoke machine just to add a little more atmosphere.
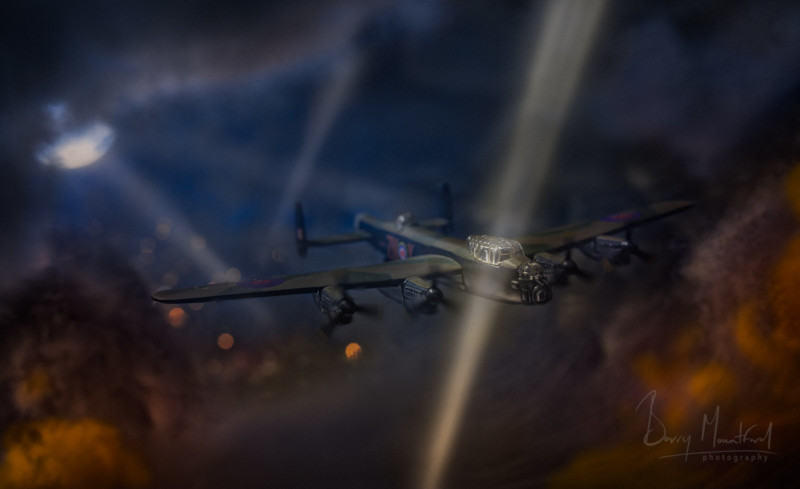
I finished the photo in Photoshop by removing the thread and by doing some dodging and burning, prop blurring, vignetting, and adding searchlights (in a couple of the shots).
I wanted to keep this post short, but I go into way more detail in the video above.