How I Shoot Dancers: 4 Simple Tips
I spent close to a decade of my life as a sports photographer and during this time it never crossed my mind to shoot dance. My dance photography all began when I was asked by a friend who was auditioning for a dance program to help with her audition photos.
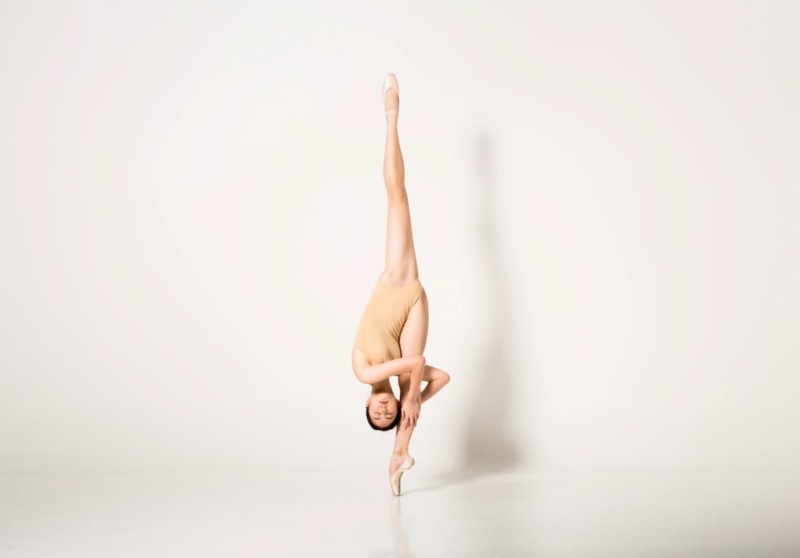
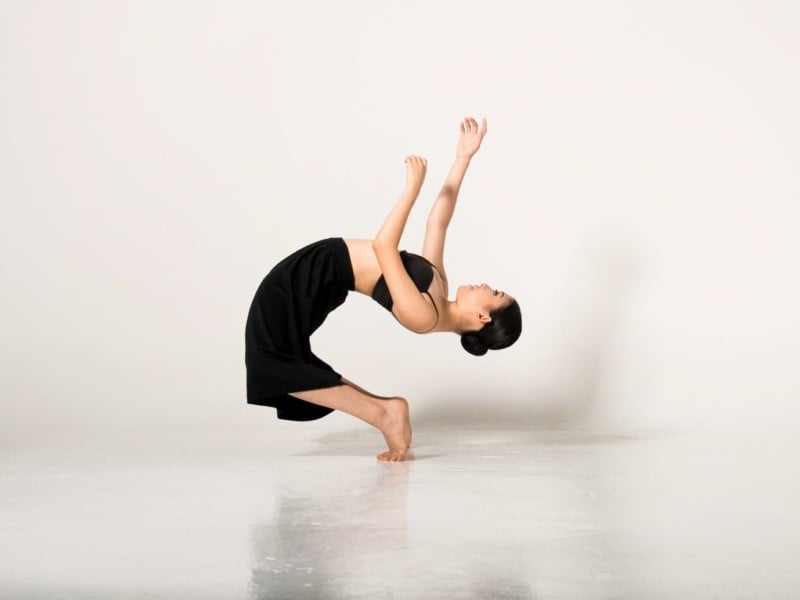
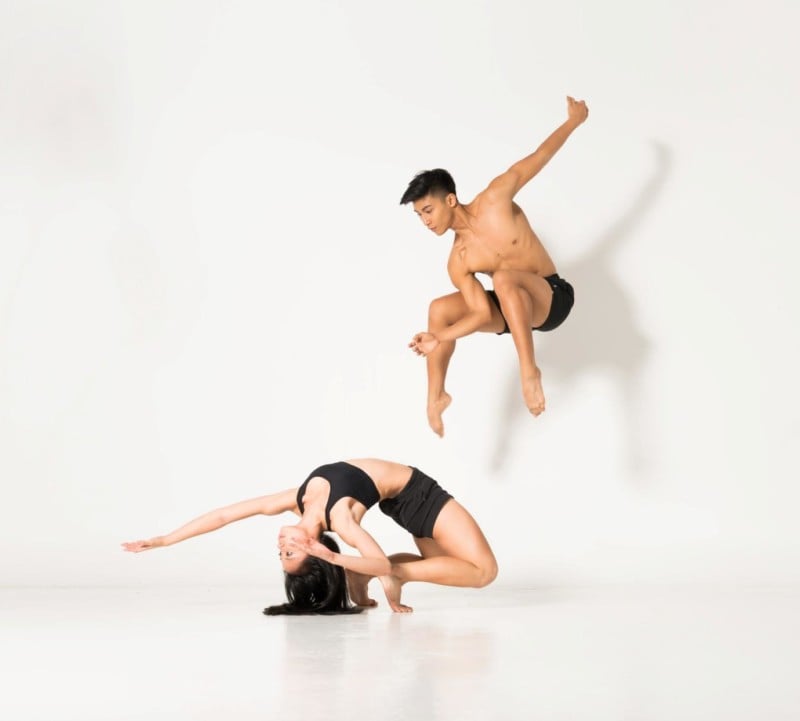
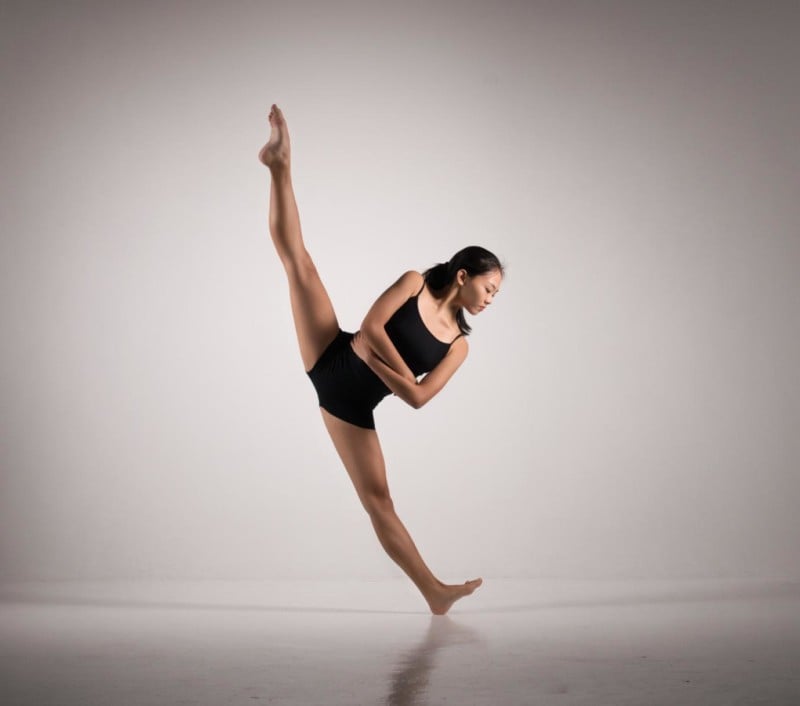
My style is heavily influenced by my foundation in sports photography. To me, two distinct elements that make a good dance photograph is its ability to showcase a person’s physical attributes while conveying a sense of feeling and emotion.
I’ve realized that there isn’t a lot of literature on the Web with regards to dance photography, so here are four simple pointers that I thought I’d share to help any photographer get started on this journey.
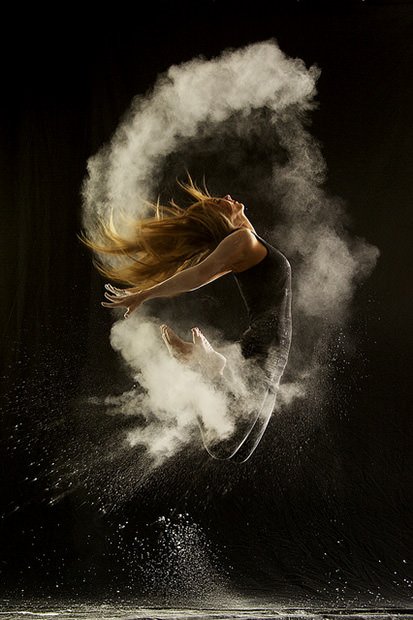
Pointer #1. Set your camera and lights to freeze the action
A blur image is the thin line between a good photo and a great one. Motion blur can be a dance photographer’s enemy and freezing action outdoors and in a studio requires two completely different sets of considerations.
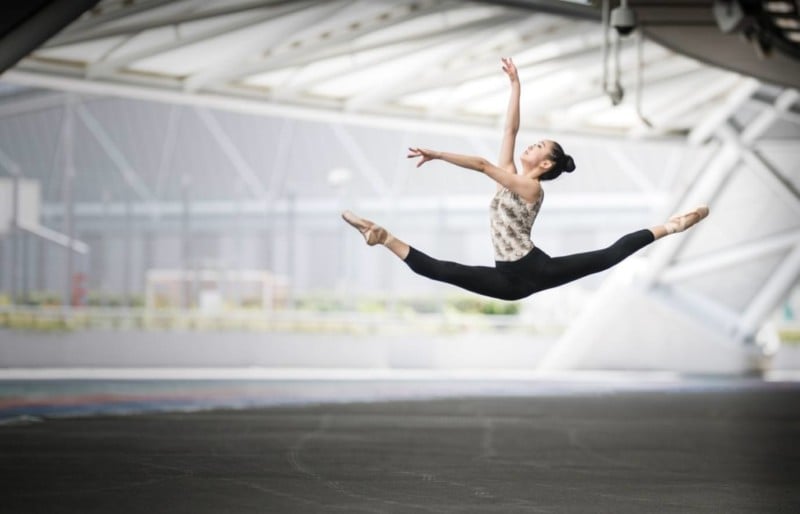
In sunlight freezing the action is more straightforward. The sun is a continuous source and all one would need would be a fast shutter speed. I find 1/400s to be sufficient to freeze movement. I supplement any fill-in requirements with neutral reflectors to keep the temperature on the subject consistent.
In the studio, things are different. Shutter speeds have no impact on freezing the action when using strobes. Flash duration — in particular, the t0.1 rating of a strobe — determines how well one would be able to freeze action. Without getting into the technical details, all you essentially need to take note of is that the shorter the t0.1 time, the better for freezing the action. From my experience, a t0.1 rating of 1/2000s is sufficient to stop any action associated with human motion.
Do not be concerned if you can’t locate the t0.1 rating in your strobe’s manual. Just get your assistant to wave his or her hands while you take a shot at full power. Then drop the power on the strobe until the motion blur stops. This works because flash durations reduce when strobe powers are dropped. This method might take a little experimenting but it works every time.
Pointer #2. Use back button focus
One significant feature I adopted from my background as a sports photographer is to set the autofocus mode on your camera to continuous and to use of the autofocus button on the back to focus. This takes a while to get used to, but decoupling the shutter release from the autofocus allows you to release the shutter as you see the action with next to no lag.
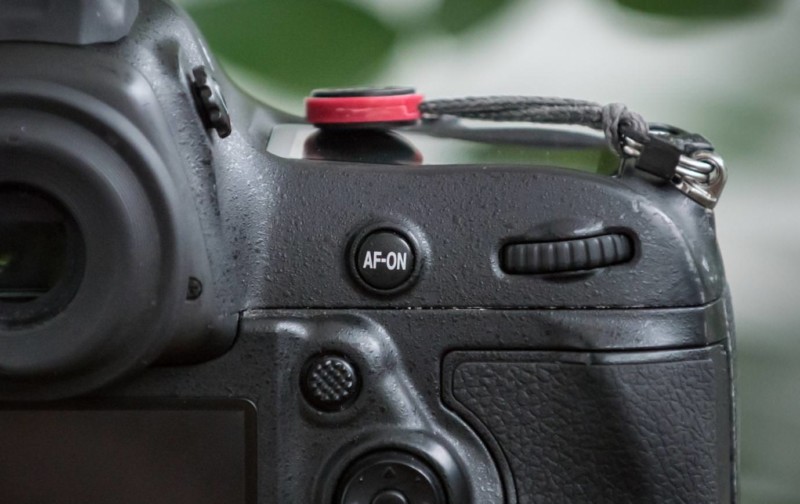
Another plus point of using the back button focus is the ability to pre-focus when needed. This is exceptionally useful for situations where the subject turns or jumps on the spot. You just pre-focus on the person and release the shutter when the time is right.
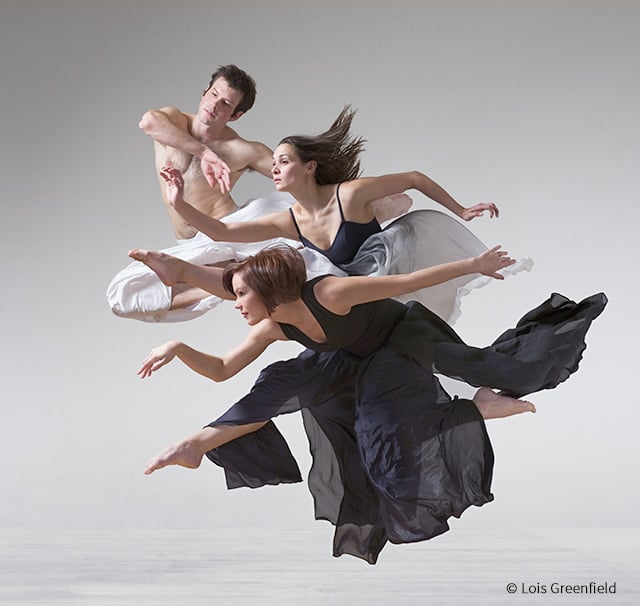
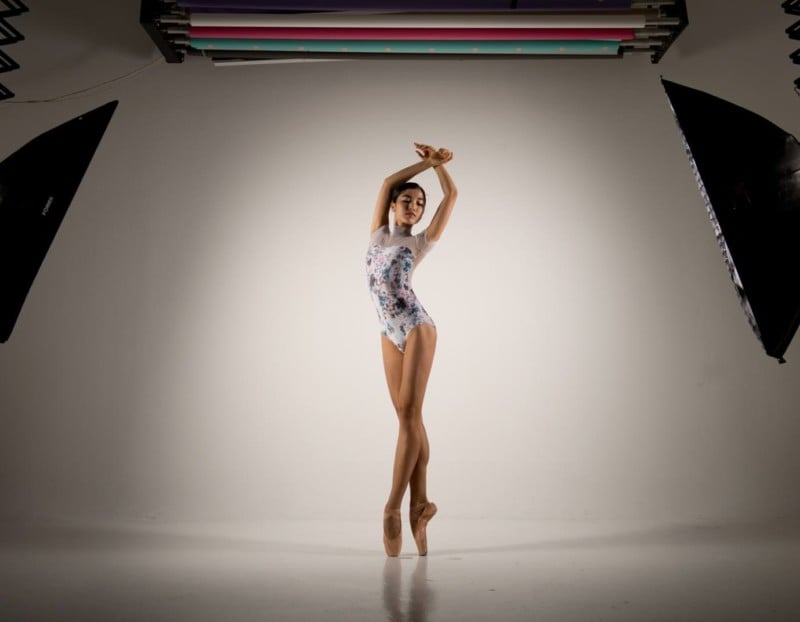
Pointer #3. Keep the set up simple
The first couple of times I shot dance saw me set up five lights just to shoot one person. Given the complexity of my set up, I spent more time directing my assistant in adjusting the lights than actually communicating with the dancer. This lack of two way communication with the dancer led me to capture numerous wasted images that the dancer did not use afterward.
I have since evolved towards simpler set-ups with no more than two lights at any one time. I also make it a point now to ask the dancer before every shot what he or she hopes for me to capture. This has helped me to create more usable images with a lot less effort.
Pointer #4. Take the dancer’s perspective
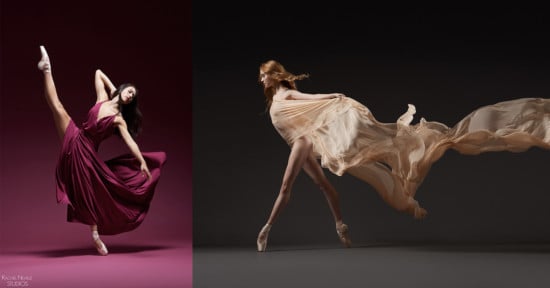
Understanding the technical elements of what you are shooting always pays off. Renowned dance photographers Rachel Neville, Vikki Slovitor, and Deborah Ory all have backgrounds in dance and I believe this knowledge has contributed towards their ability to create amazing images.
For those among us who aren’t able to turn back the clock and enroll into ballet class at the age of 4, it’s not the end. As an alternative, bring a friend who is familiar with dance along as an assistant to help you spot poses and movements. Observe what you can, learn the terminology, and over time you too will know what’s good and what’s not.
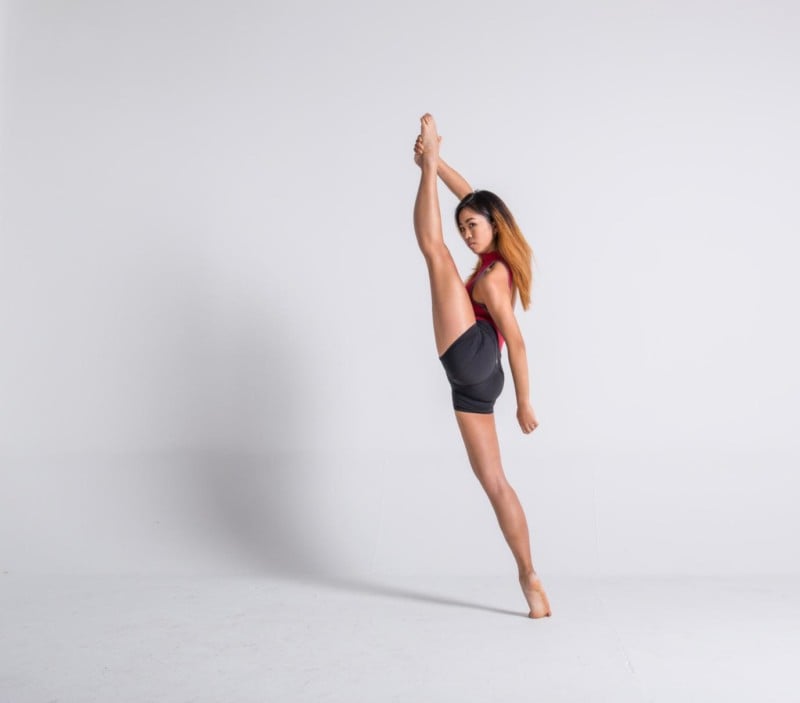
As a photographer, speaking the dancer’s language goes a long way. Once you know an attitude from an arabesque and are able to appreciate the aesthetics behind limbs and lines, you’ll not just take better photos, but will also see more work coming your way.
I hope these pointers will prove useful for those considering a start in dance photography. While things are unlikely to be perfect in your first few shoots, as with all things, practice makes perfect.
About the author: Shaun Ho is a Asian dance and sports photographer based in Singapore. You can find more of his work on his website and Instagram.
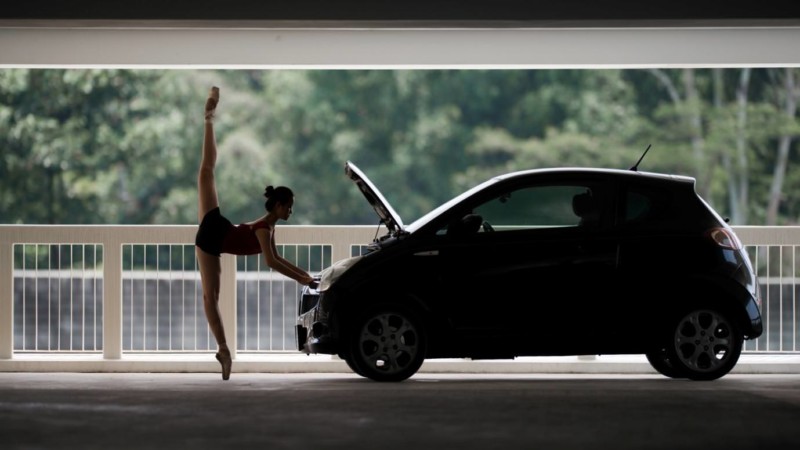
Credits: Header photo is of dancer Megan Lau.