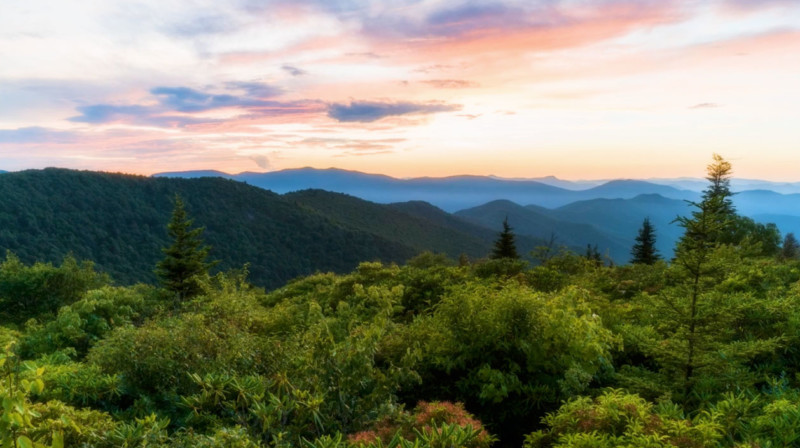
Create Dreamy Landscape Photos with the Orton Effect
In this 6-minute video, photographer Mark Denney talks through the Orton Effect and how it can be used to make dreamy landscape photos in an instant.
But now this can easily be done in Photoshop with a lot less effort required. It’s simple really. First, just duplicate your photo onto a new layer and apply a Gaussian Blur.
With the Gaussian Blur, set your radius relative to your camera’s sensor. Shot with a 45-megapixel camera, Denney uses at least 45 on the radius slider to achieve the right effect.
Then add some brightness and contrast adjustments. Ramping up the contrast to around 70/80 on the slider, and 25 on the brightness slider, you have your Orton layer ready for merging.
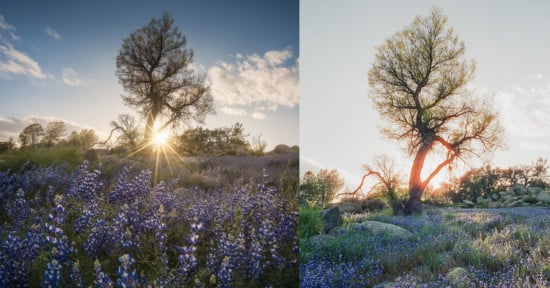
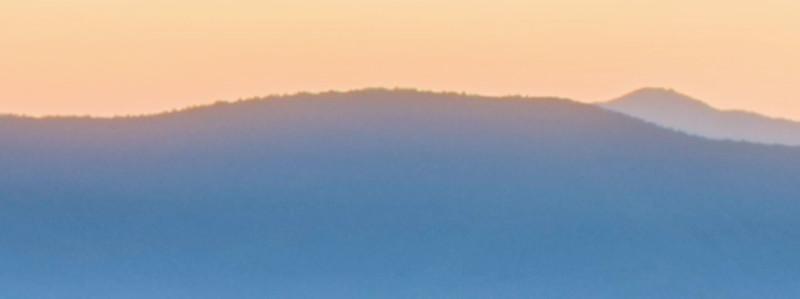
This you do by eye – just adjust the opacity of the top layer until the effect looks exactly how you want it. Make sure not to overdo it, though! Things are really obvious when you look at ridgelines of this sunset scene, as you can see the warm tones bleed off into the shadows.
This is a great technique for taking the “punch” out of a landscape shot, particularly where there might be quite a lot of contrast and strong details.
Check out the full video above for more discussion of the Orton Effect, including tips on how to increase sharpness in the image. You can also find more of Denney’s videos by subscribing to his YouTube channel.