Camera-Specific Outdoor Packs Suck, Here’s What I Use Instead
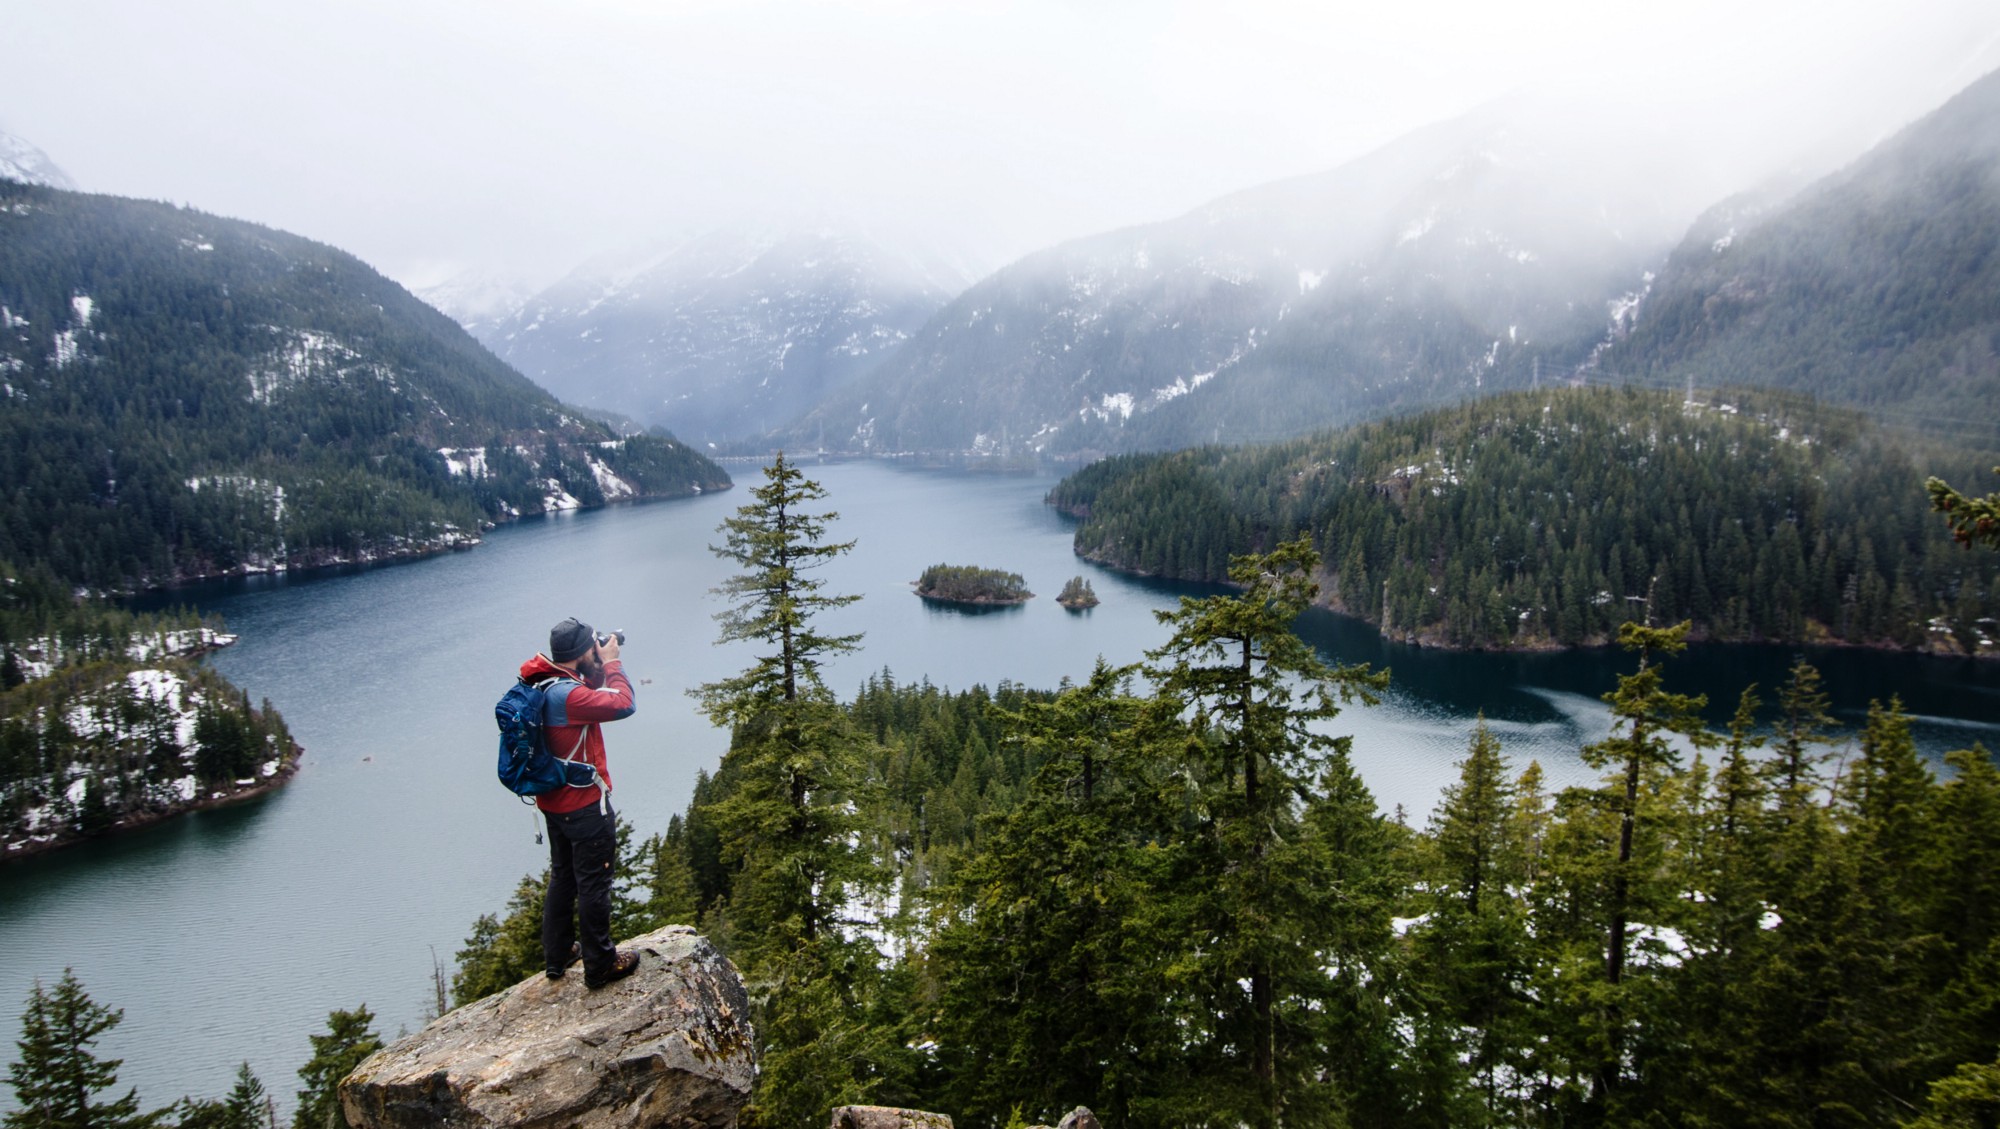
If you’ve ever loaded up a large camera backpack (like something from Think Tank Photo or LowePro) and hiked a mountain, you’ll be able to fully appreciate how terrible the experience is… well, except for the views.
The narrow shoulder straps dig deeply into your shoulders and neck. The pack bounces all over, sliding from side to side. The “waist belt”—a piece of bare 2-inch nylon webbing with a buckle—does more harm than good, and executes exactly zero of the functions that a waist belt is supposed to offer. You curse the thing under your breath and mutter that there must be a better way.
And there is!
The solution I found and have been very happy with is to ditch the camera bag and go with a pack that has been developed over decades with engineering designed to handle heavy loads comfortably in all kinds of conditions and terrains: a hiking pack.
The Problem
The problem with camera bags is their primary priority seems to be to protect and hold a camera, lenses, and accessories, but strangely, it always feels like nobody stopped to consider that it was going to be filled with 20-30 pounds of metal and glass and carried on human shoulders for extended periods of time. They’re also typically not very good at carrying things other than cameras.
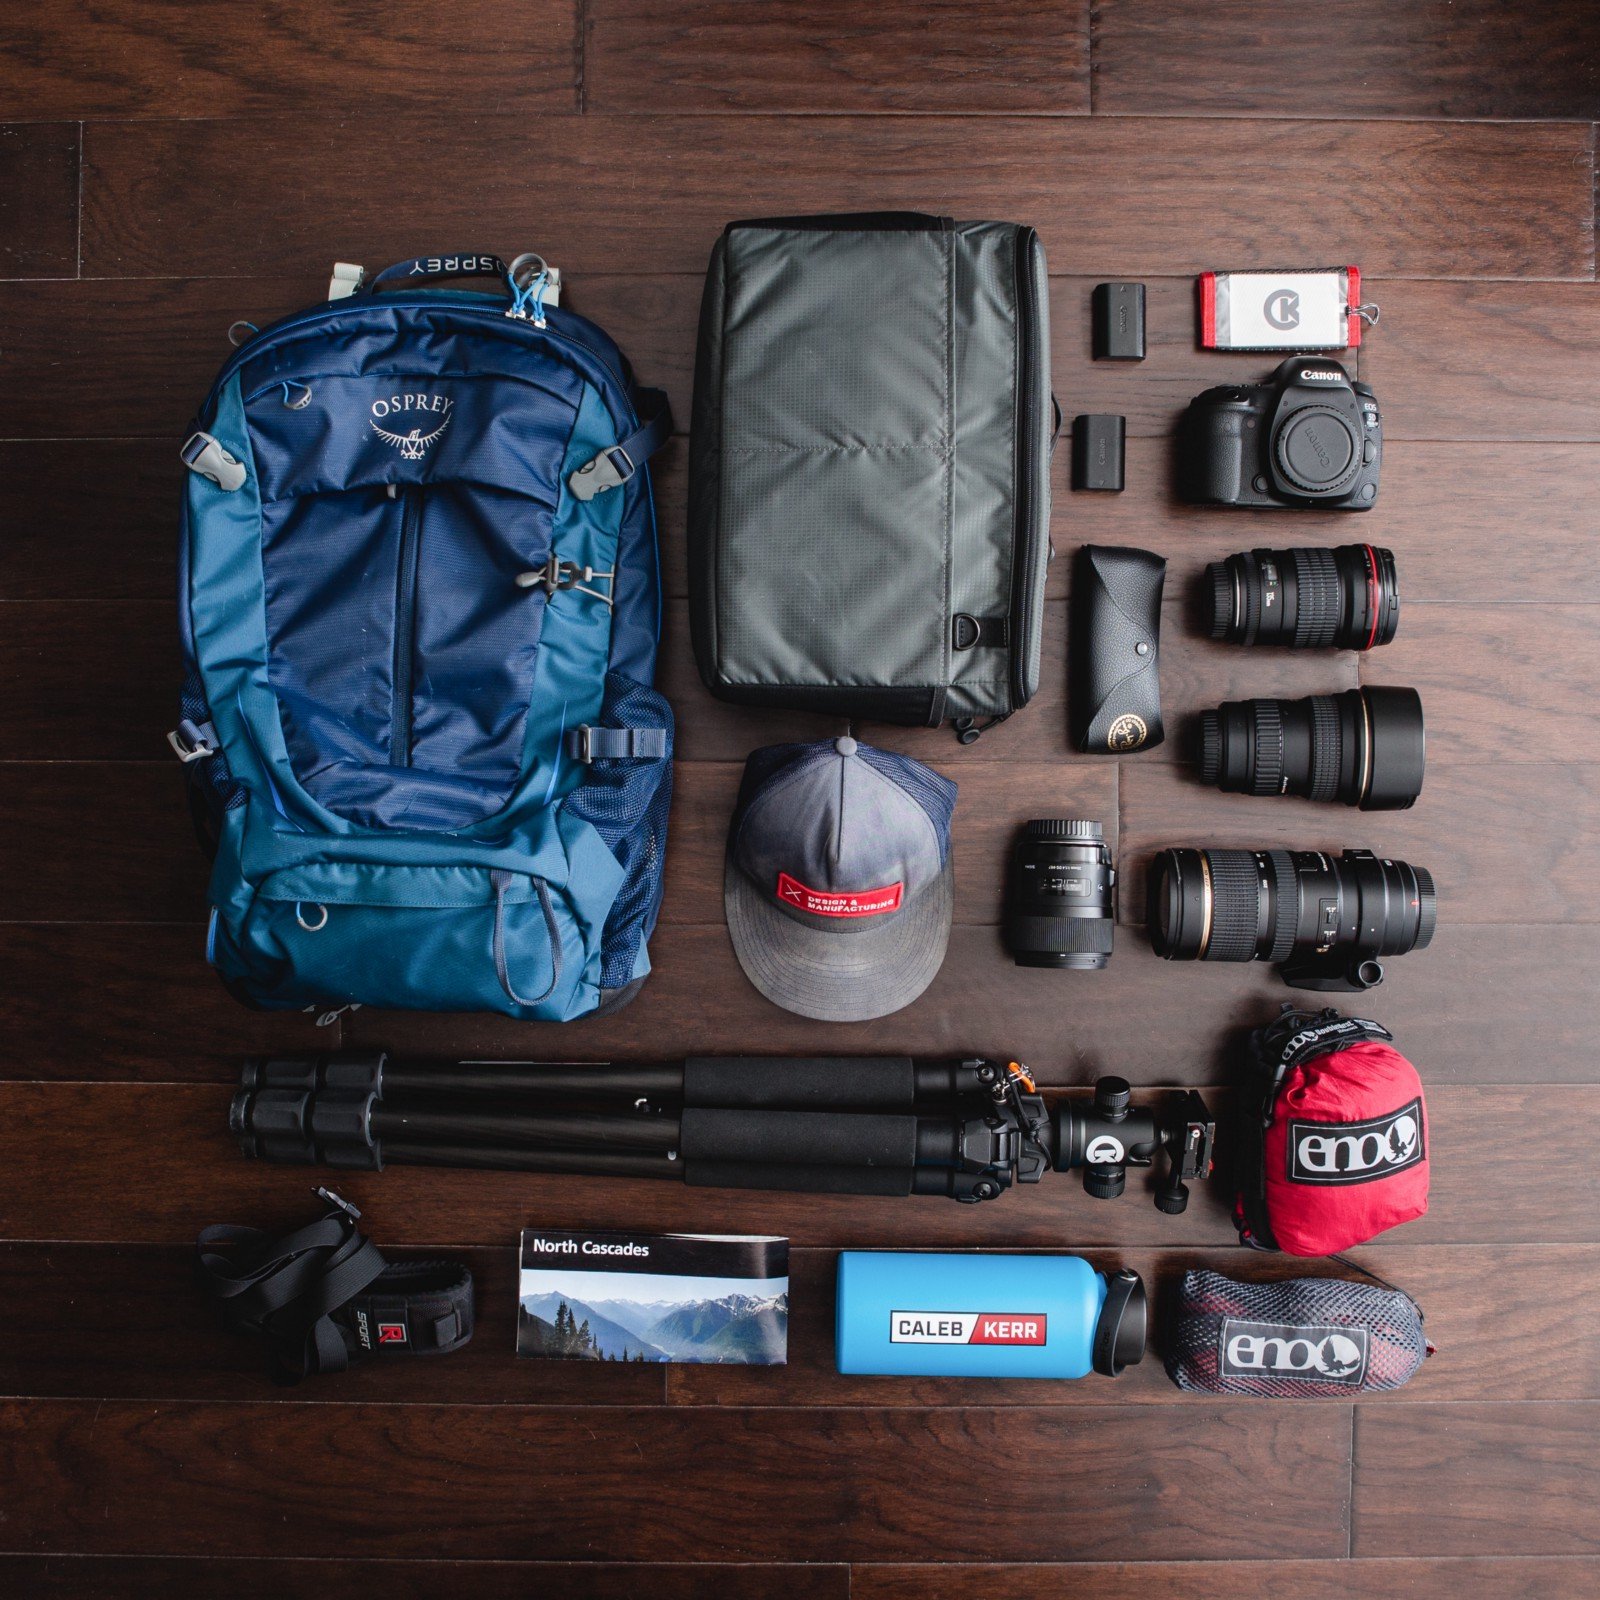
I have lots of bags, backpacks, and cases for my camera gear, each of which offers certain benefits for certain situations. For an outdoor/hiking/adventuring camera pack solution, I had a few requirements. It had to:
- Be comfortable when fully loaded down.
- Not be too big.
- Have space for other stuff like water and a jacket.
- Hold a tripod.
- Hold a 15″ laptop (I don’t hike with one, but sometimes it needs to come along for part of a trip).
- Be versatile.
The Solution
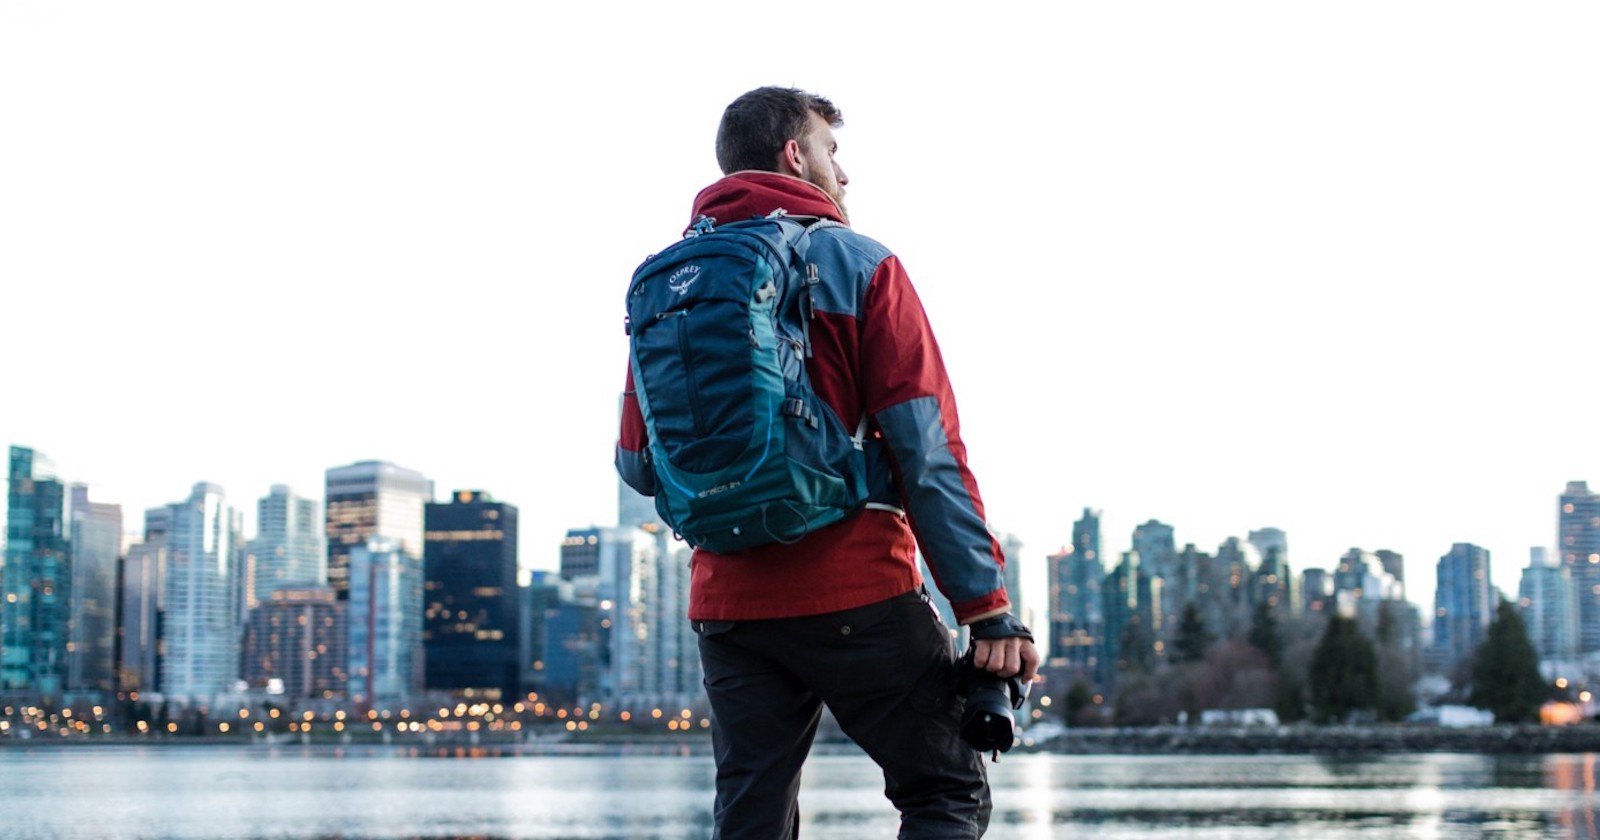
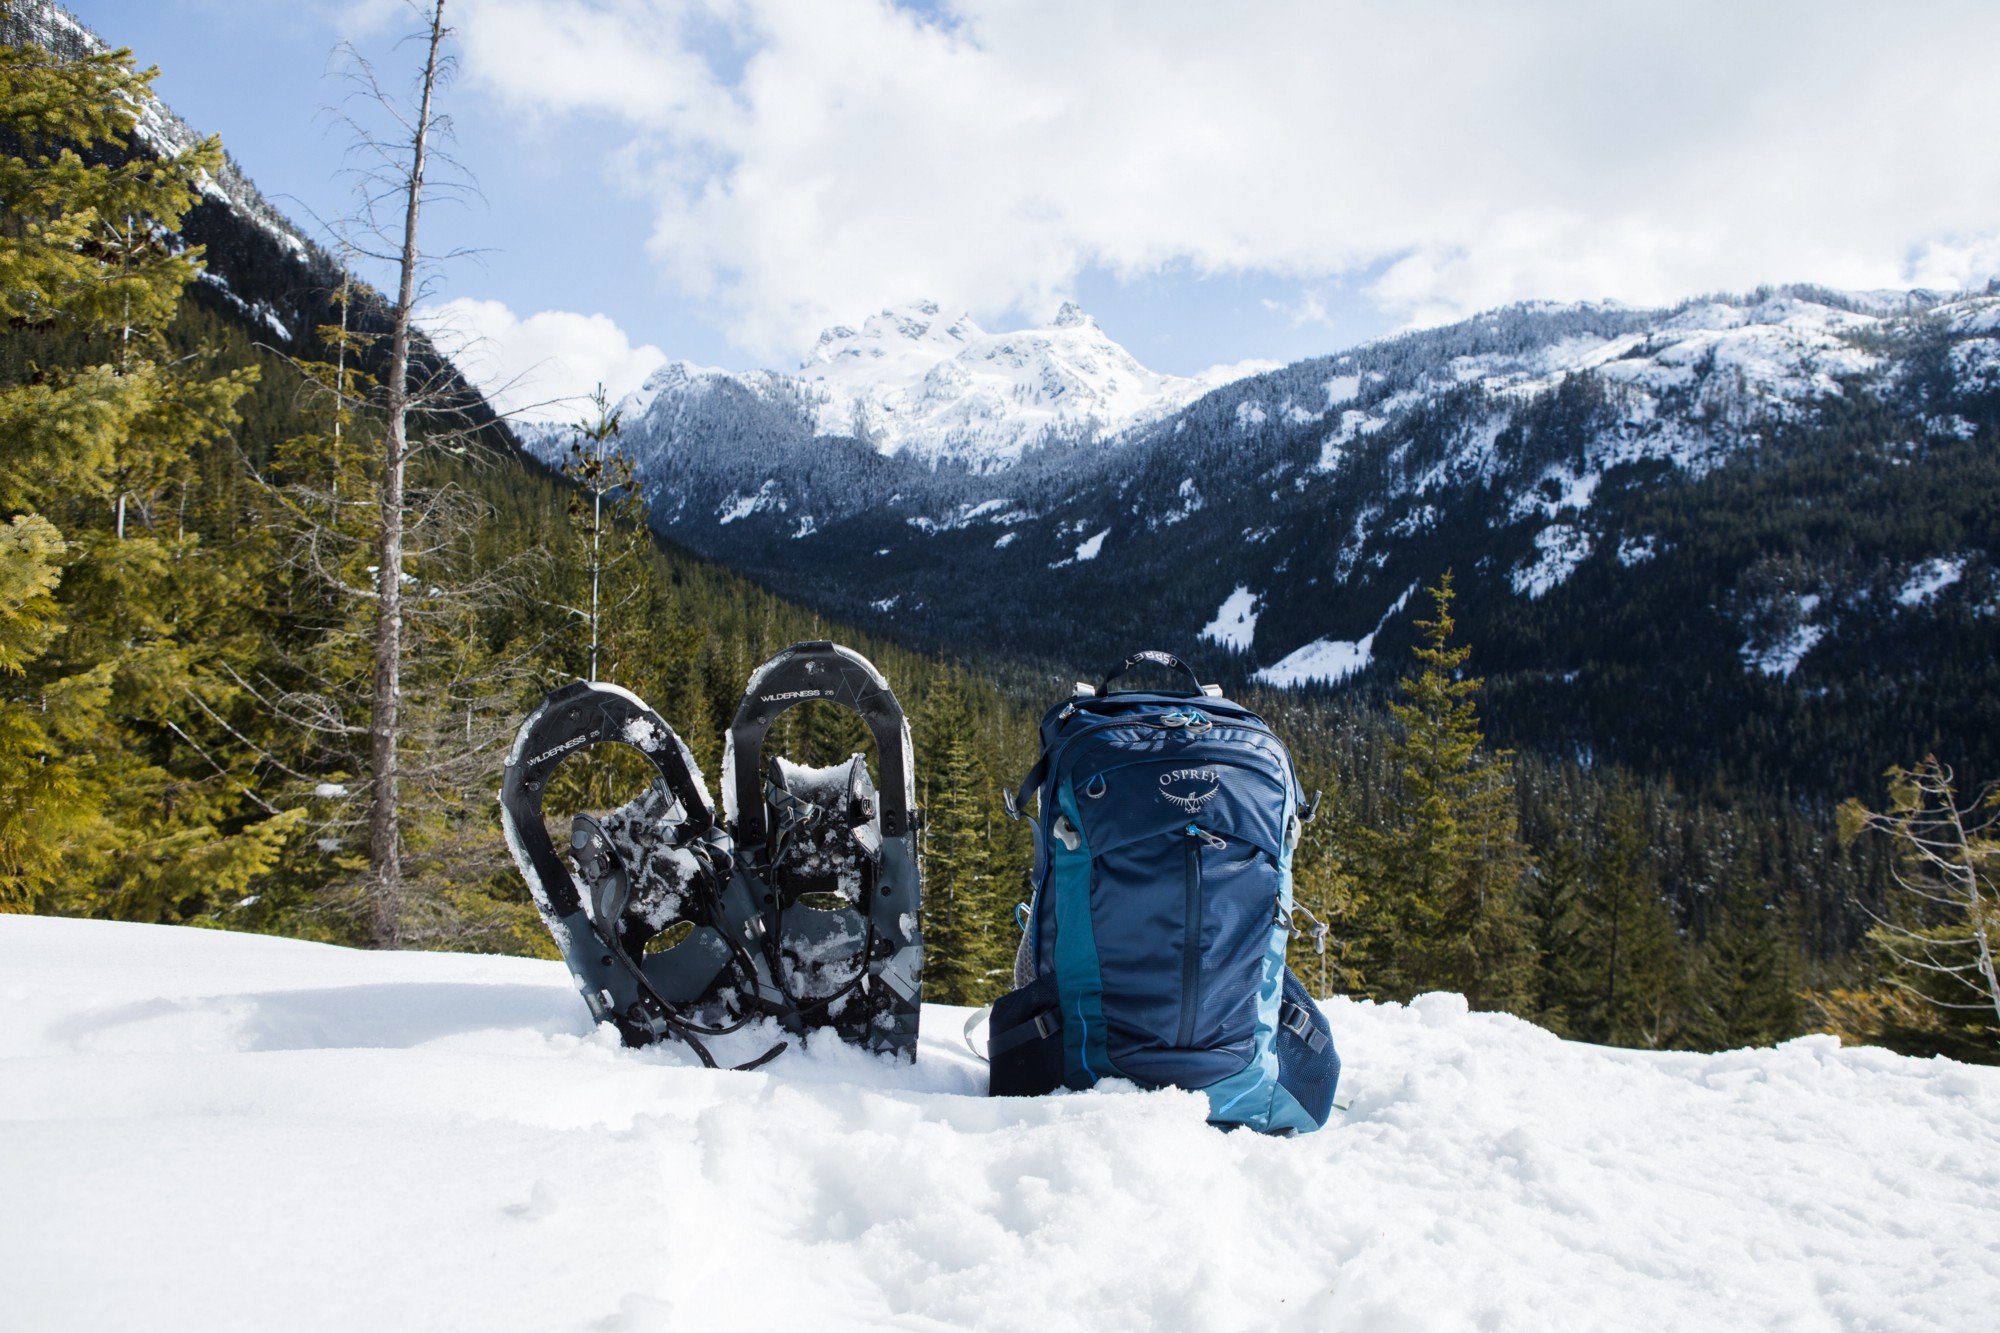
With all these in mind, I did some comparisons at my local REI and chose the Stratos 24L from Osprey Packs.
It won out because it’s lightweight, relatively small (can fit under airplane seat) but still has the very robust waist belt and rigid metal frame that you’ll generally only find on full-size backpacking packs.
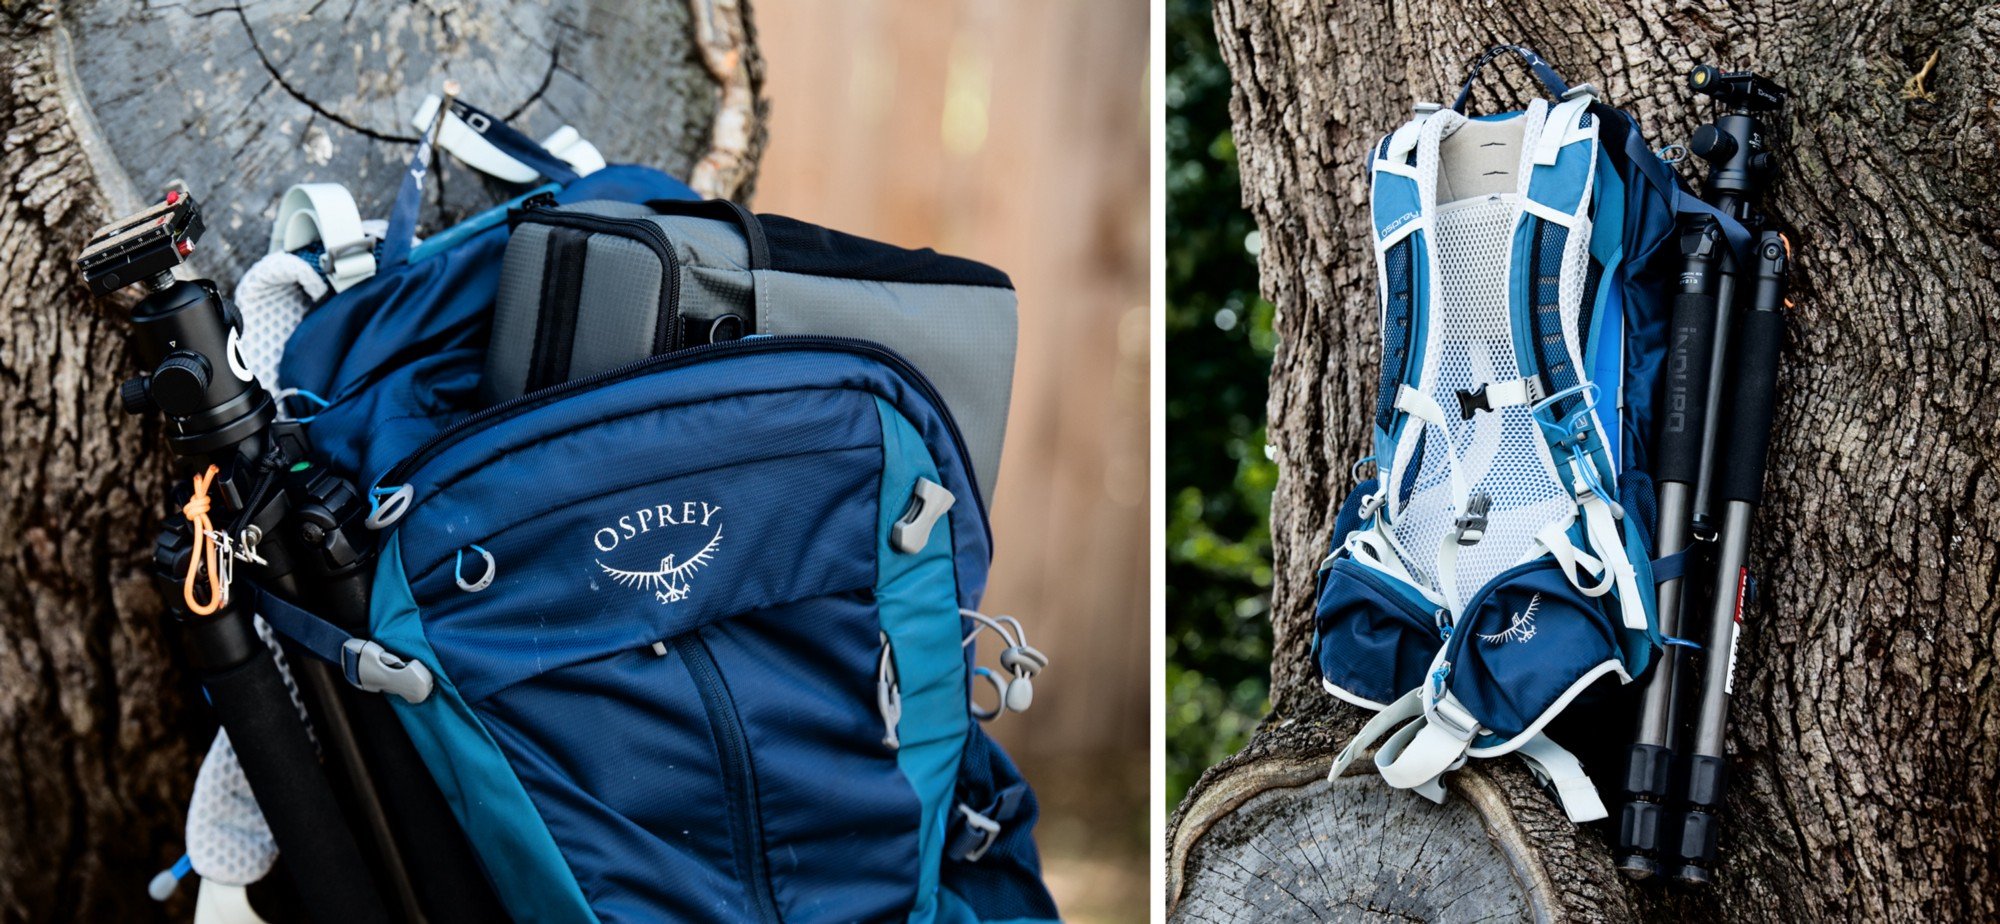
The key is the waist belt
The waist belt really is totally, radically amazing. It’s thick and ventilated and part of the pack’s core architecture, not an afterthought stuck on with spit and chewing gum. The belt is probably the biggest reason I chose it over anything else and I’ve never seen a comparable one on a bag at a camera store.
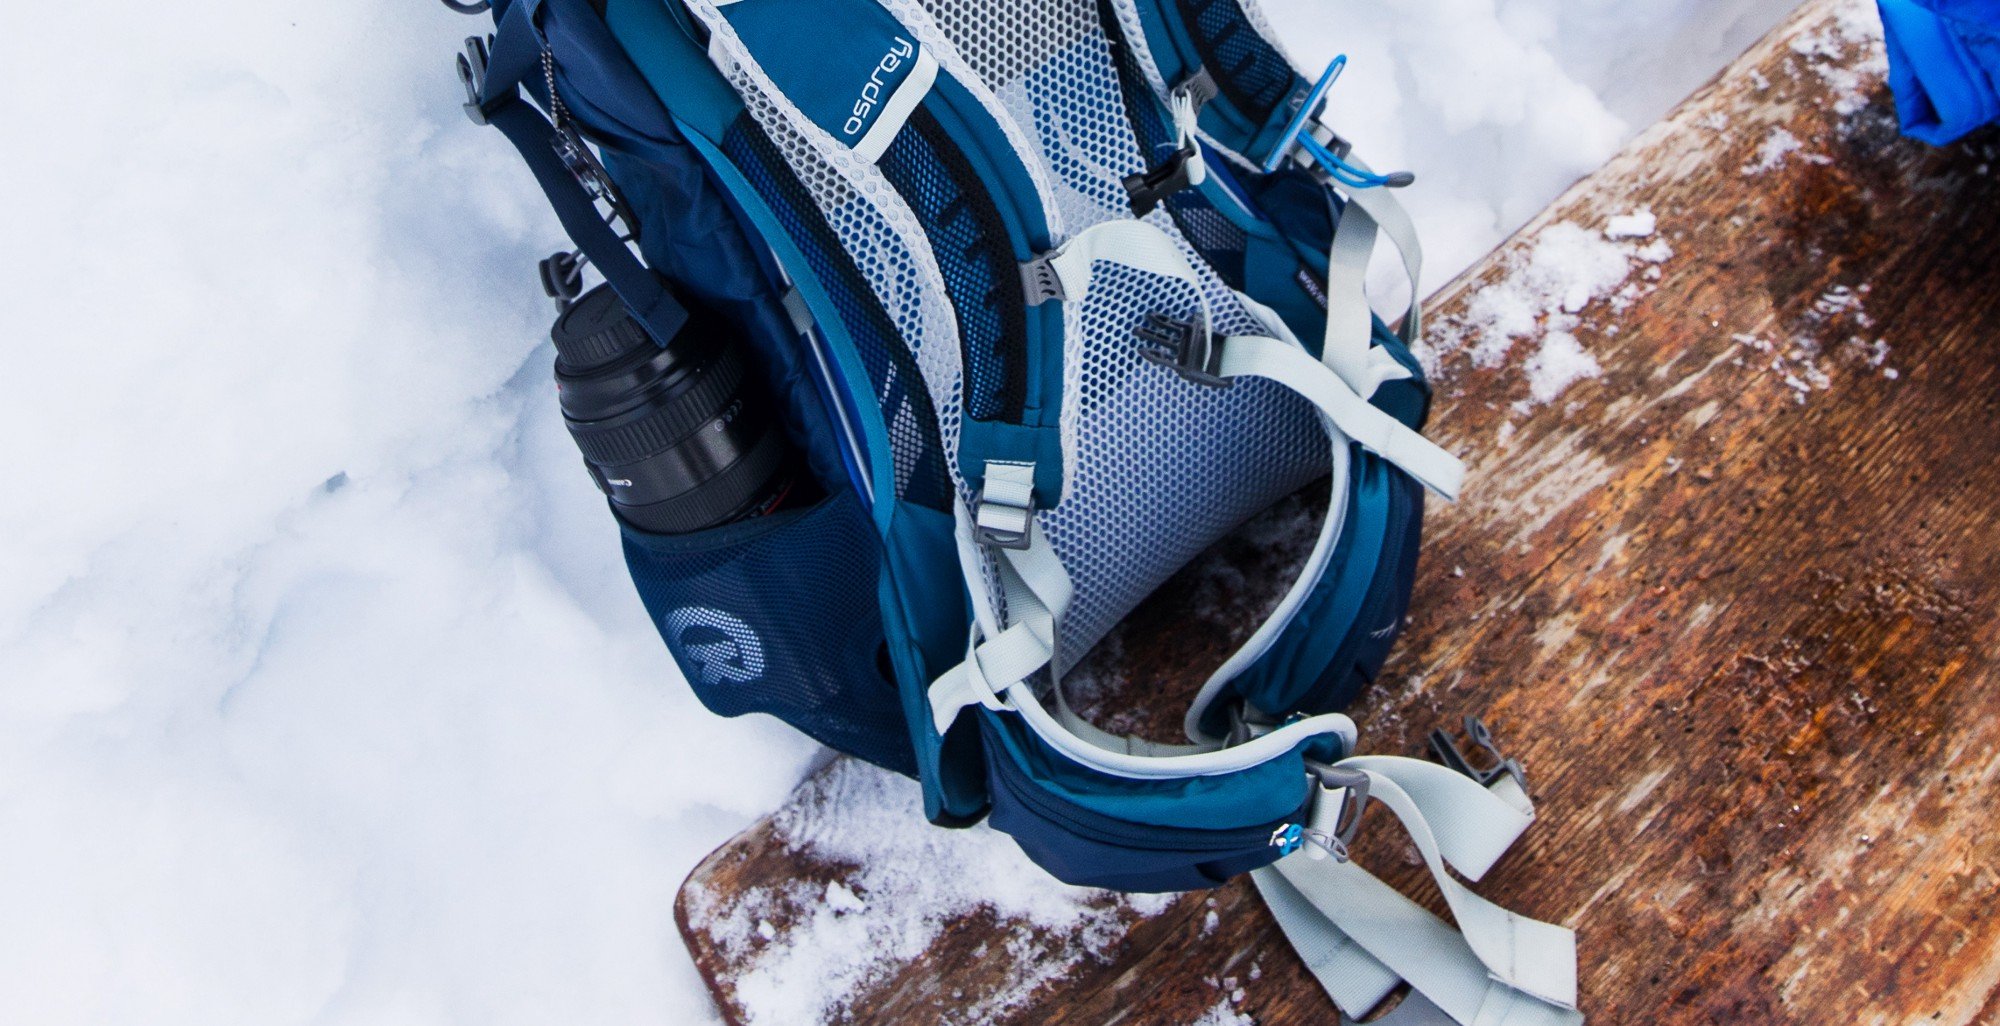
I’m not a scientist (surprise), but I can tell you that the rigid metal frame makes a massive difference when it comes to load dispersion and holding the weight on your hips not you shoulders. There is also a big meshy gap between your back and the pack for air to move. Like I said, these people know how to build a comfortable, functional pack.
Just add a standalone divider
For the most part, hiking packs are one big, open compartment with absolutely no padding, and dumping a bunch of loose camera gear inside to let it bounce around like it’s inside a rock tumbler won’t work. So I got a camera insert/organizer, the Tenba BYOB 13, which slides inside.
They say it fits a DSLR with 2–3 lenses, I managed to fit my 1Dx, 5DmkIV, 24–70mm, 35mm, 135mm, 70–200mm.
That goes into the bag, and there’s still room for another lens inside the main compartment (if you need it), space for a jacket, hammock, snacks, whatever. I don’t typically carry all of that when hiking, but it fits if you need it.
When fully loaded with gear, fitting the laptop in is a tight squeeze, but it does work. The inside back of the pack is curved, so the fit is admittedly a little funky, but it’s good enough.

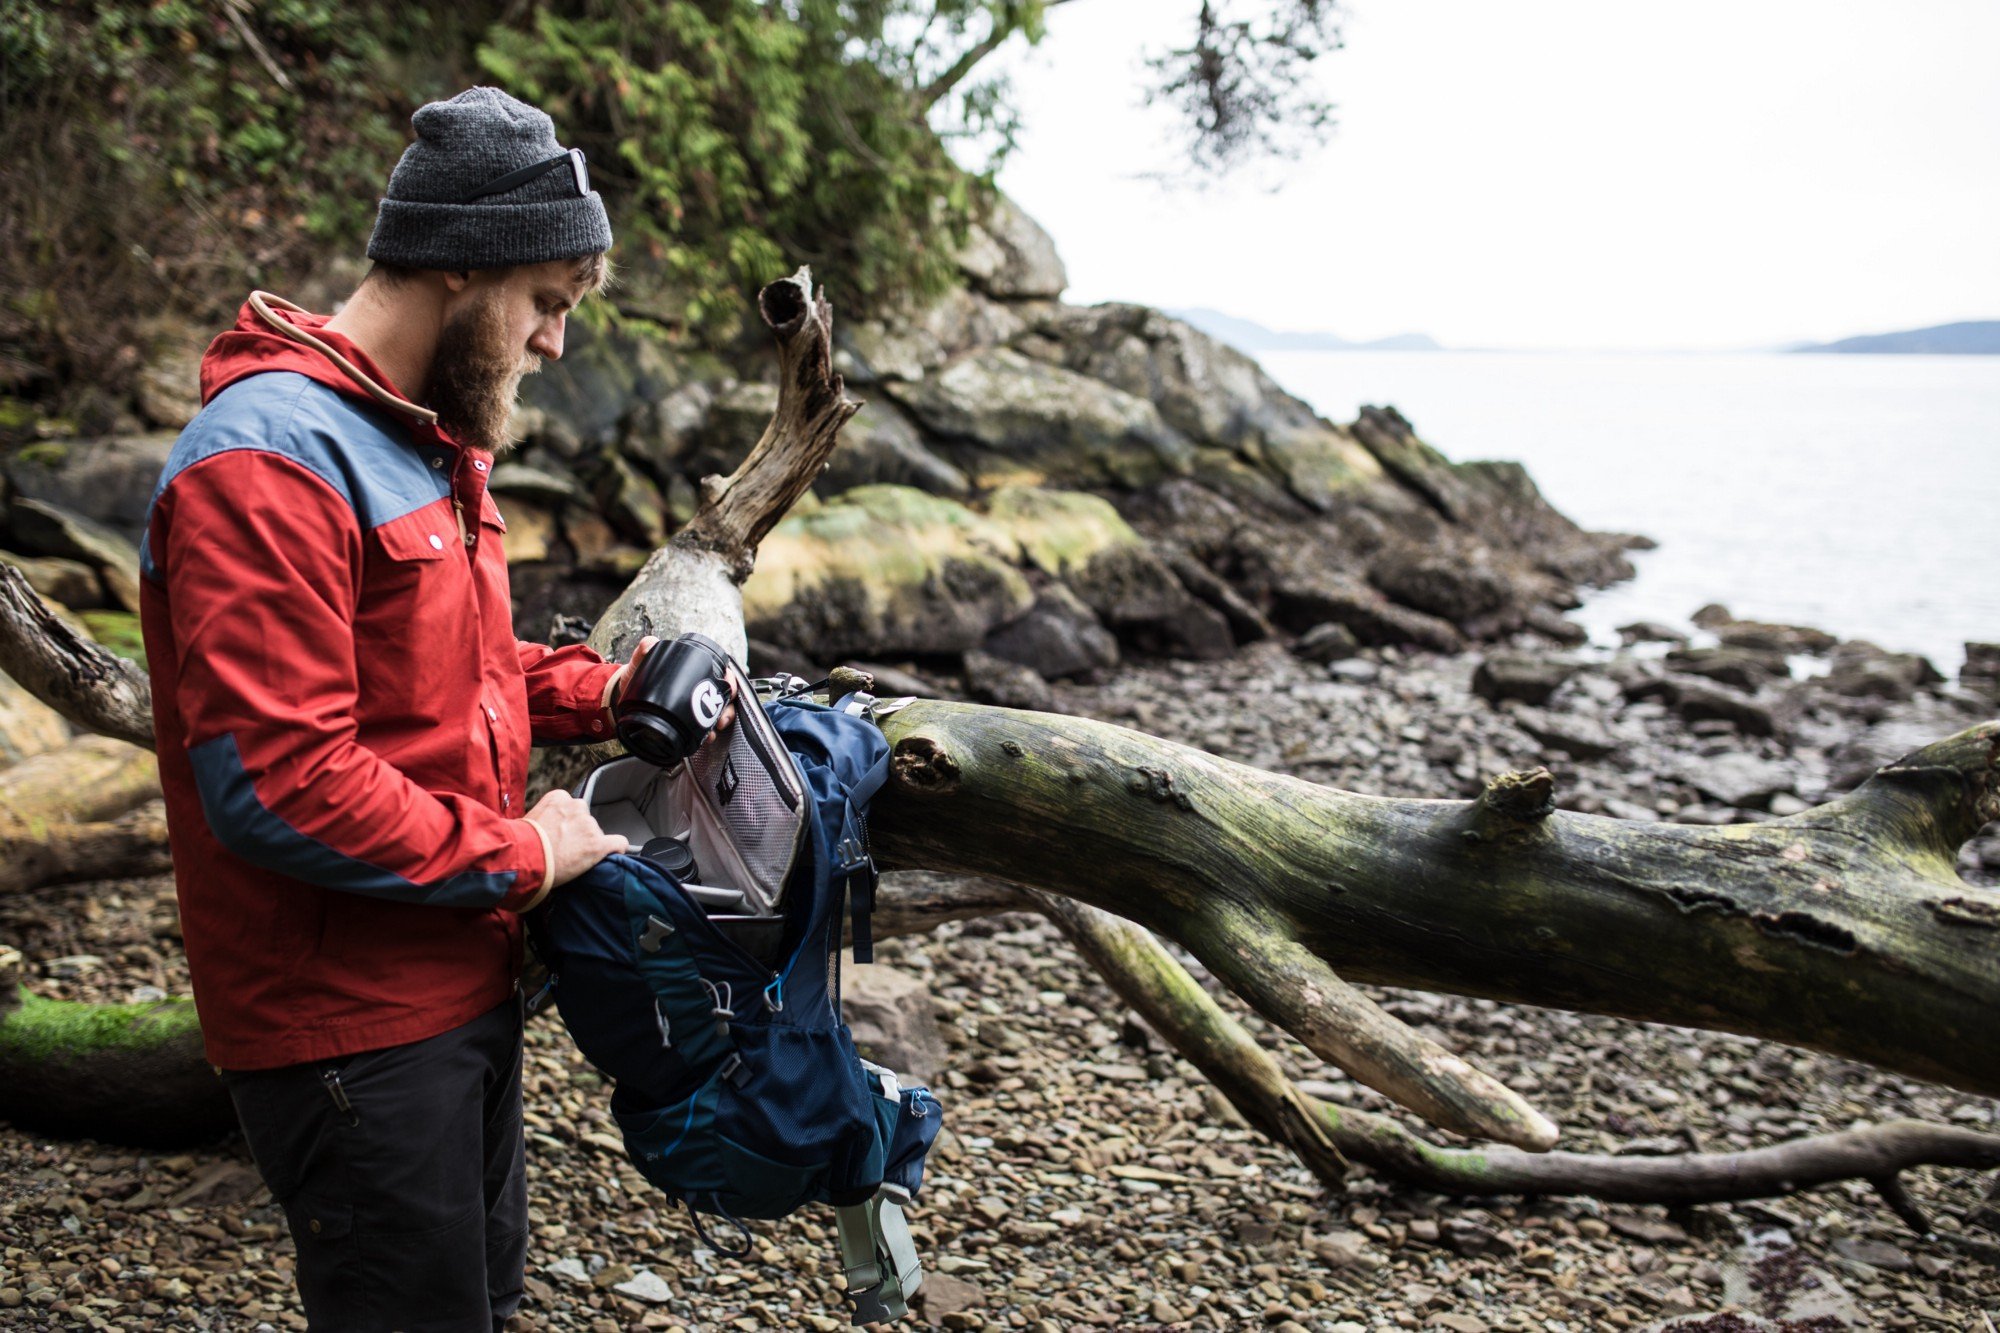
I have the Tenba BYOB size 13 (pictured), and to get access inside of it, I have to take it out of the backpack. My friend has the BYOB size 10 and it does fit with its zipper top facing up (because it’s not as wide, so it fits upright), so getting access to it without removing it is possible. That size fits a camera body and 2 lenses easily.
I thought having to remove the insert was going to be a pain but in reality, it worked fine as I either have the camera away and am focused on hiking, or it’s on a strap at my side and the rest of the gear is stowed away.
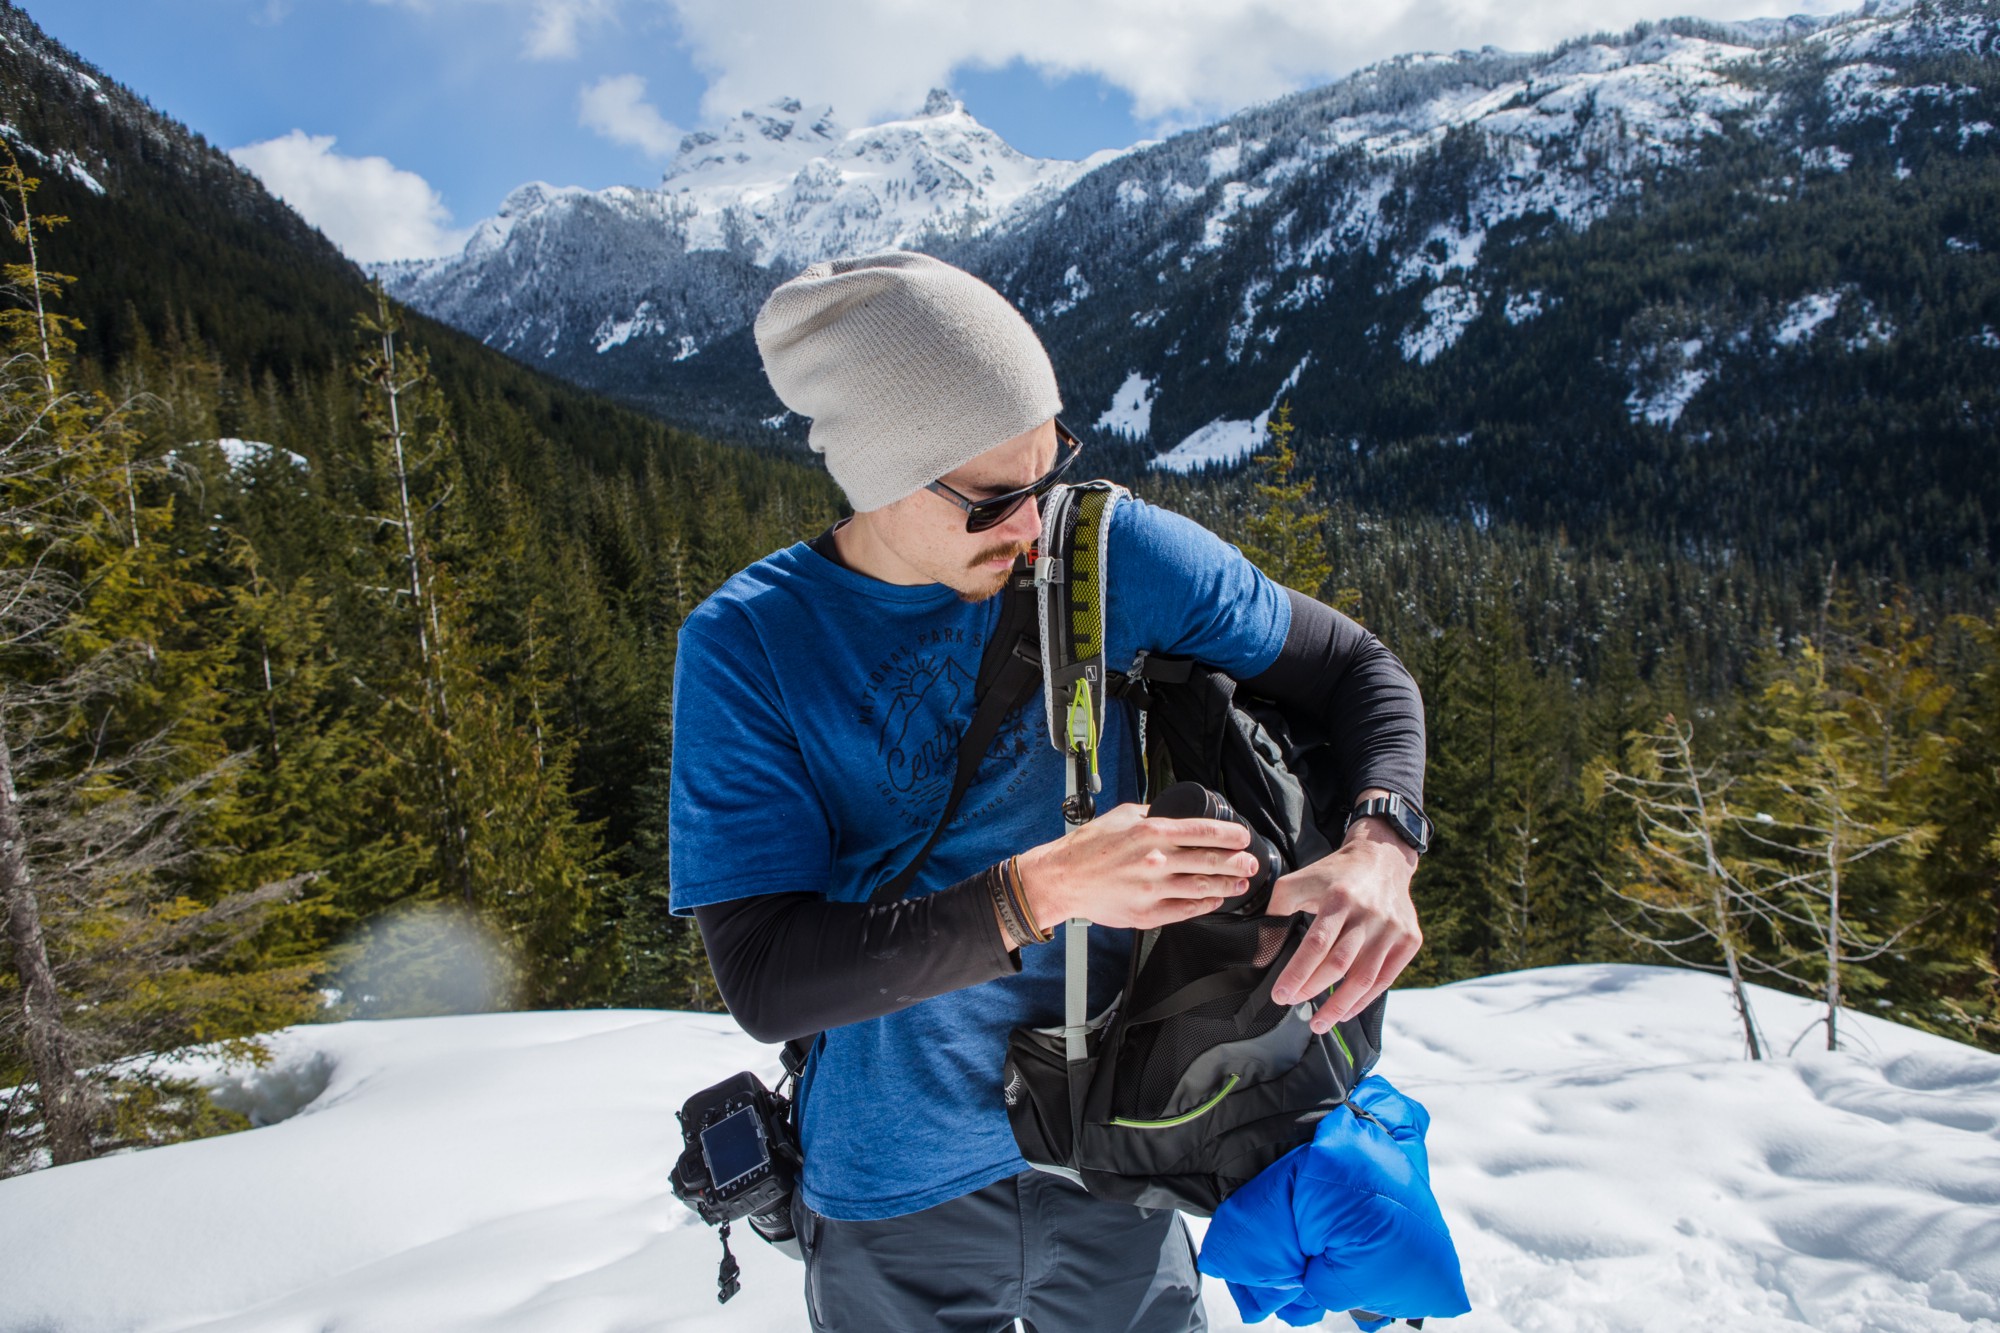
Side mesh pockets
Another benefit of using a hiking pack is they almost always have very stretchy side pockets designed for water bottles, and these hold lenses beautifully. Having one lens in an exterior mesh pocket makes lens changes really easy—even easier than with a normal camera bag.
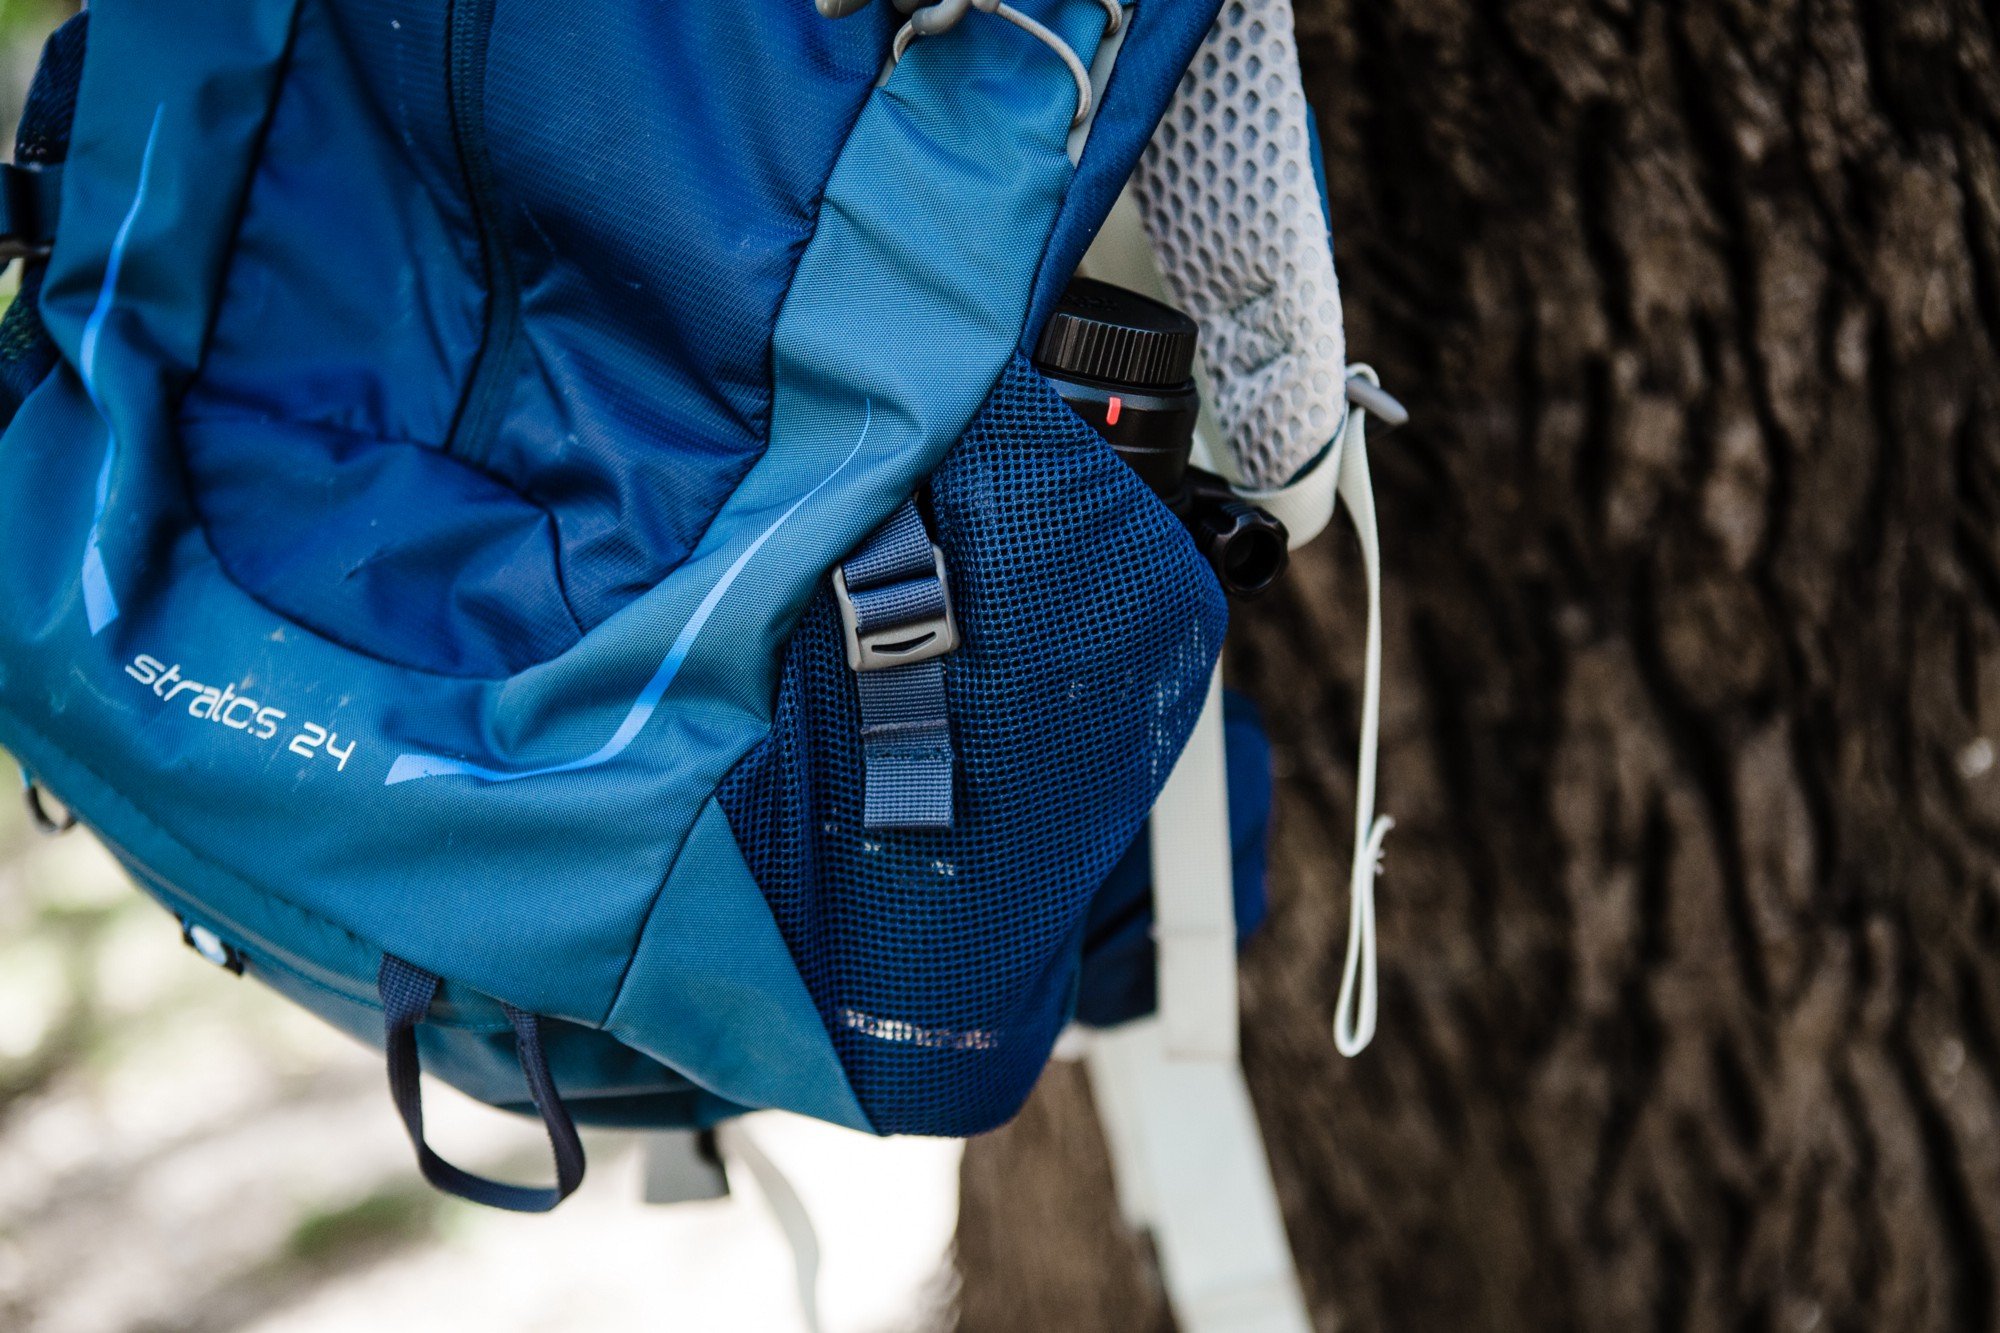
There are several small zippered pockets at the top, which is great for small items like batteries, memory cards, video mic, lens cloth, etc. There are tension straps at the top and bottom on both sides, and it’s pretty simple to strap a tripod into these, as you can see below.
Size options based on preference
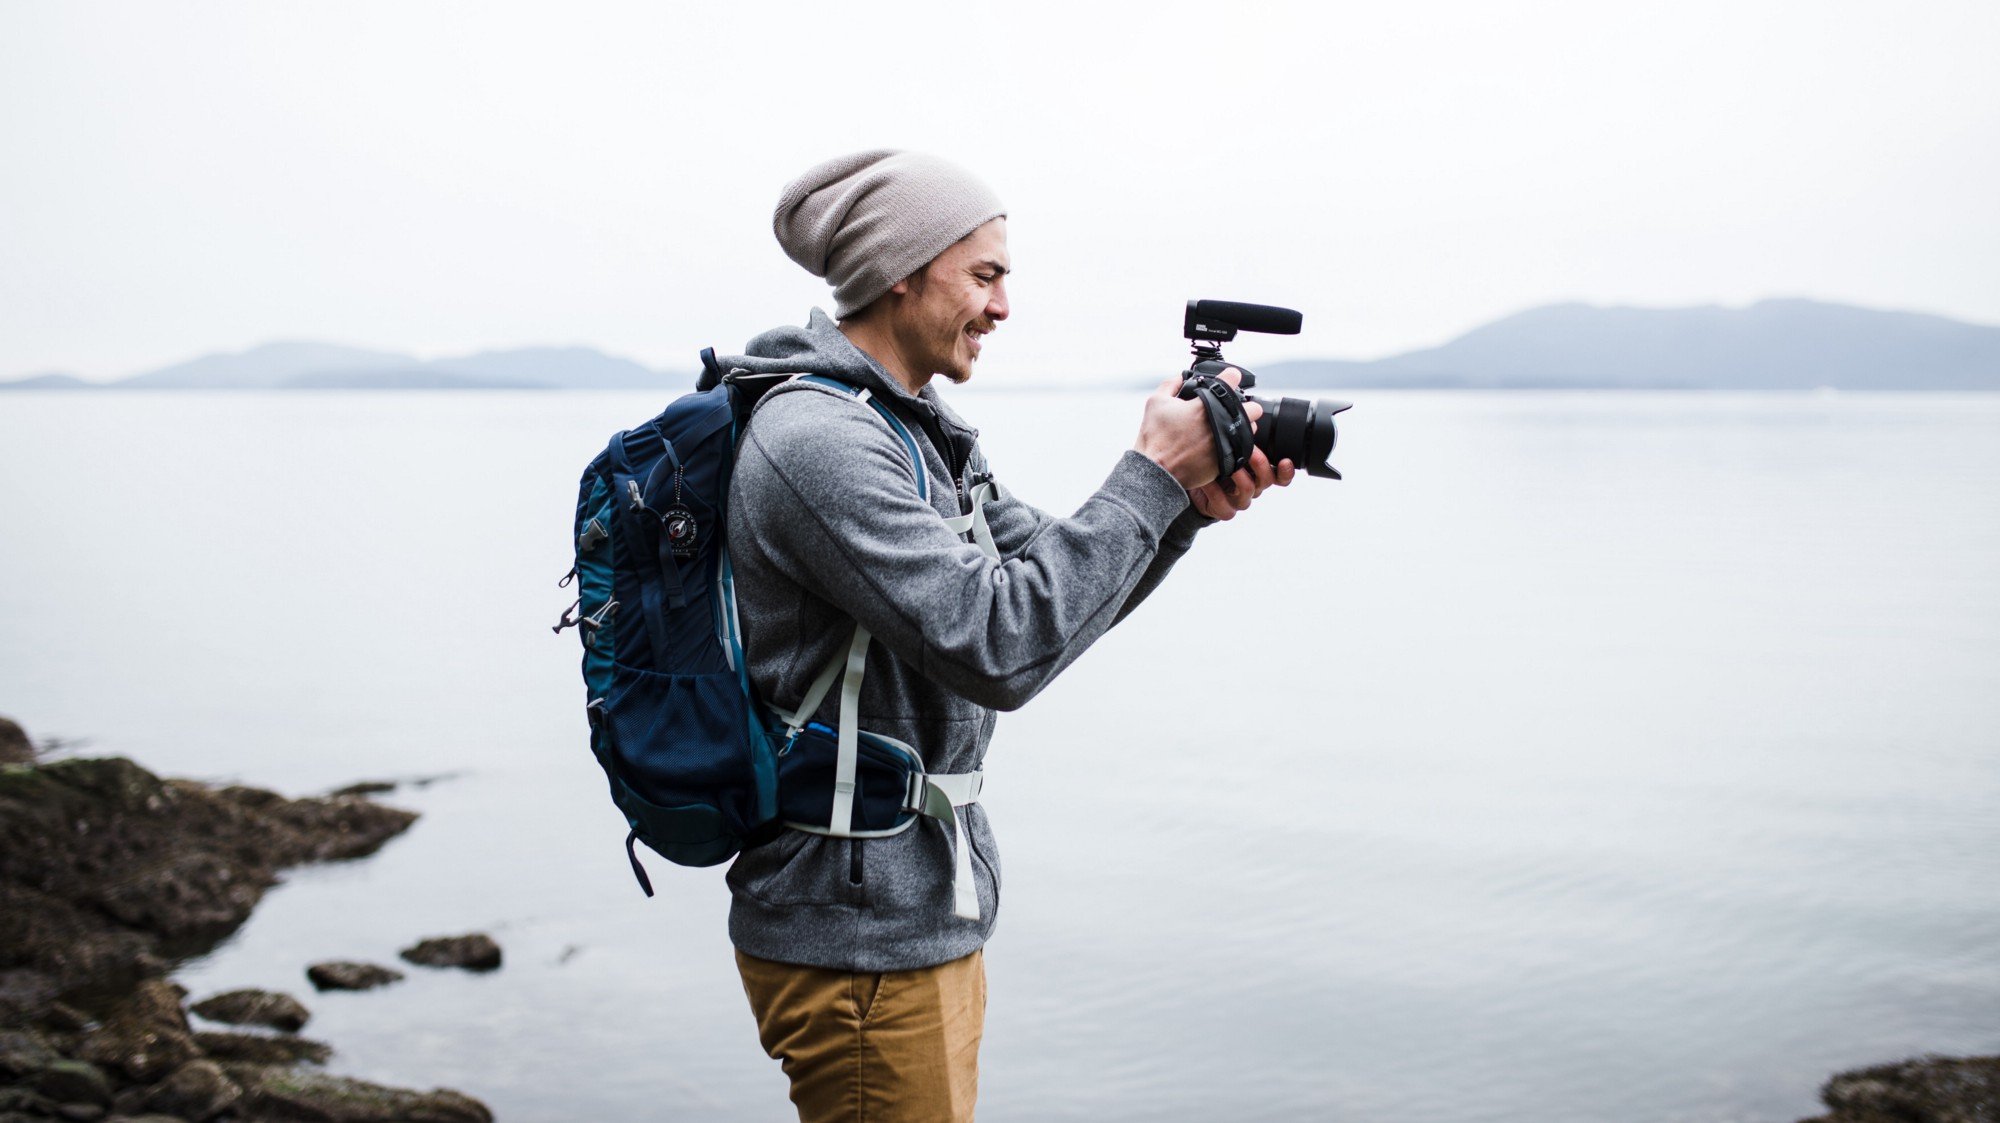
This is the 24 liter size, but there is also a 34 liter size of the same pack that is a little taller, has another pocket at the bottom, and could be a good option if you have more gear to carry like a mirrorless camera for vlogging, a Mavic drone, etc.
If you’ve looked into a pack outdoor use, you’ve likely come across a company called F-Stop Gear which makes hiking-style packs that have interchangeable gear inserts. While their produces are a perfectly good option too, they seem to have challenges with production because their products are perennially out of stock.
At the end of the day, Osprey is simply another brand of pack that I’ve had good experiences with and has a long history of making quality gear. Also, they’re readily available, and are cheaper. I’m not being paid by Osprey to this, but I’ve had great experiences backpacking with their large Atmos AG 50L so I stuck with what I know.
If you’re outdoorsy and like to carry a camera, consider this, even if you’re not hauling tons of gear. Feel free to reach out if you have any questions about this setup, or anything else!
About the author: Caleb Kerr is a lifestyle, athletic, and commercial photographer based in Austin, Texas. The opinions expressed in this article are solely those of the author. Follow his work on Instagram, or view his portfolio on his website. This post was also published here.