Gear to Geek Out Over: LensRentals’ New Lens Adjustment Rig is Awesome
First and foremost, if you aren’t at least a little Geeky, this post is not for you. Unless you’re one of those people who thinks ‘just take some pictures, dammit’ when I write some article about resolution testing. In that case, you might like this article because we’re taking pictures to test lenses. Sort of.
For the last 18 months or so I’ve been on a Holy Quest, trying to find better ways to optically analyze and adjust bad lenses. Why? Partly because we need to. Factory service just can’t seem to return some lenses to proper optical adjustment. Partly because some smug people told me I could never learn how to do that, which, of course, made me really, really want to.
I can use any of several tools we have to generate MTF charts that tell me the lens is decentered. But those don’t tell me in what way the lens is decentered. More importantly, when we optically adjust a lens, those MTF charts tell me it’s better or worse, but not exactly how it’s better or worse.
We discussed things with some very high-power optical consultants who said exactly what many photographers have been saying all along. The numbers don’t tell you everything; you need a picture. That led to some meetings with the fine engineers at Optikos, who manufactured a machine to do what we wanted.
Assembly
If you don’t geek out on some fun assembly photos, then you can just skip on down to the next section to see what this thing does.
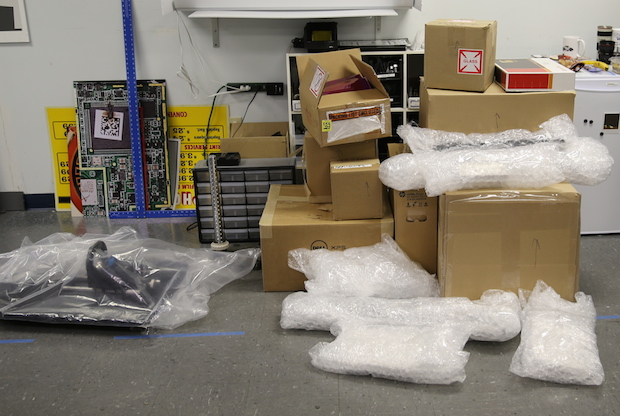
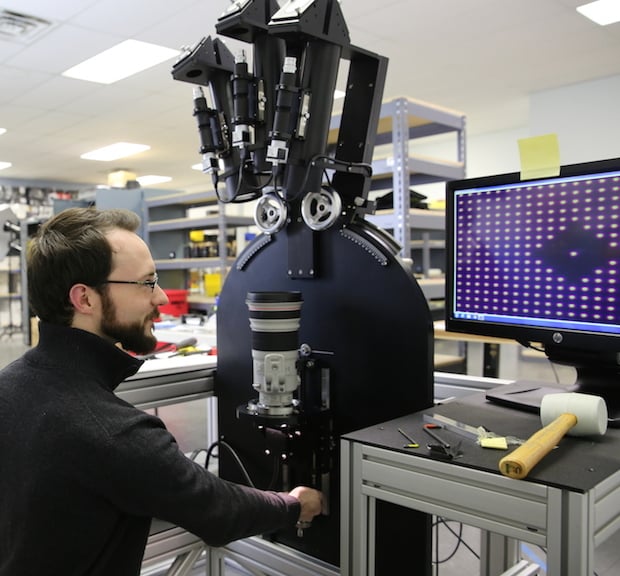
The Optikos crate arrived on Monday. We were allowed to open it, but not allowed to touch anything, so all we really had was a pile of boxes. This is the Geek version of Christmas Eve – all those packages under the ISO 12233 chart.
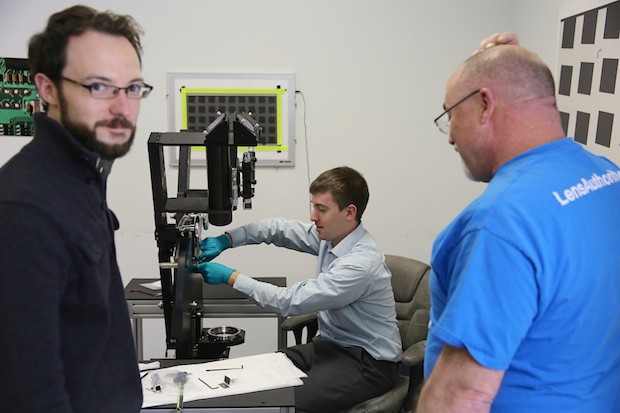
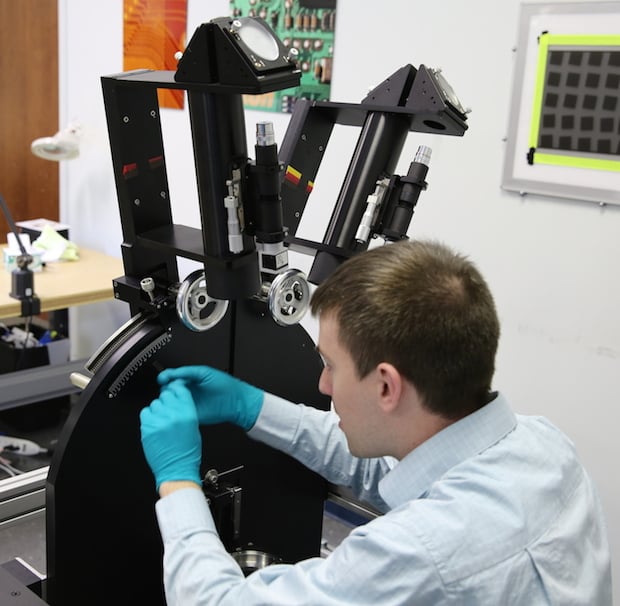
On Tuesday morning, bright and early, Brian, our assembly engineer from Optikos arrived. He spoke not a word, but went straight to his work. Actually, he talked pretty much nonstop.
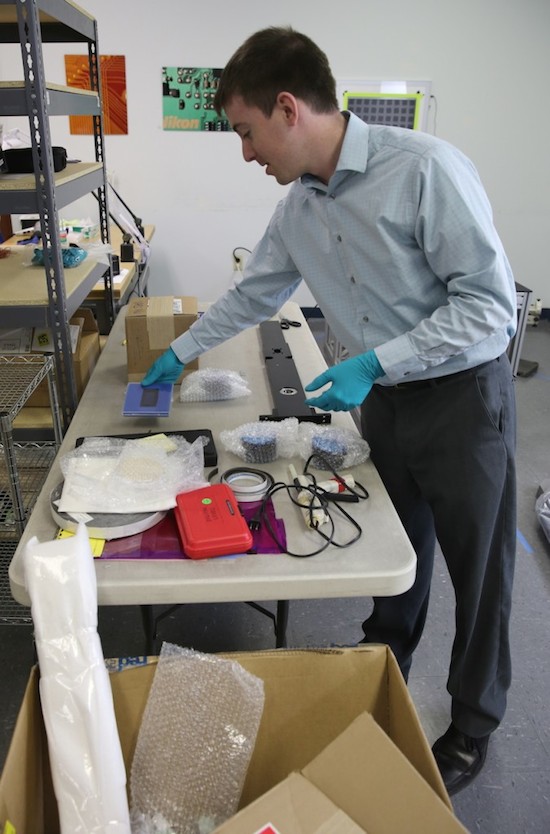
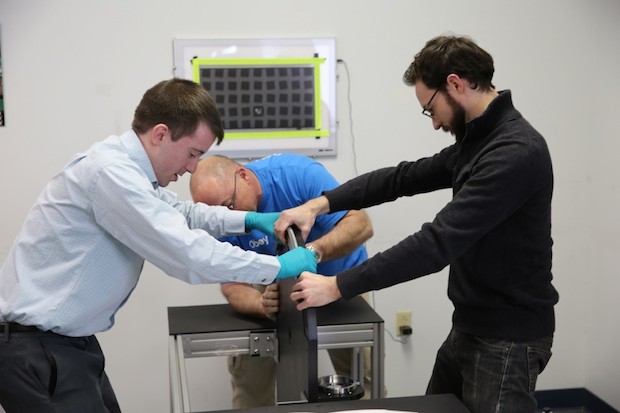
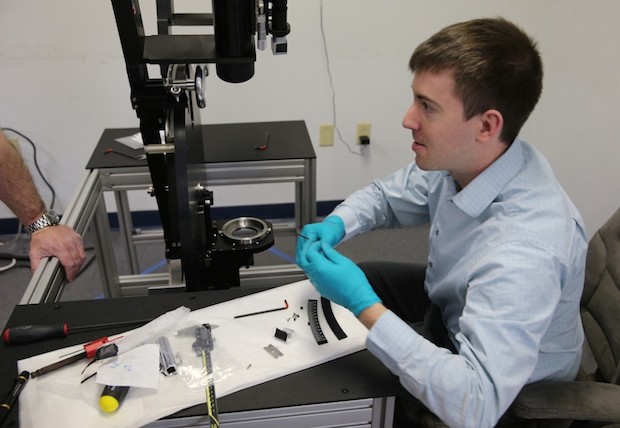
Aaron and I were pretty excited when he said we could help. Then we found out he meant we could help lift the heavy stuff into place and hold it while he bolted it in.
These little collimator-lens-camera assemblies each cost about what a 500mm f/4 lens costs. We weren’t allowed to touch those either.
I felt just like the people online who say “For that much money it should come out of the box perfect”, when Brian set up his focus collimator to calibrate each of those assemblies. Actually I didn’t. I was more like a toddler on a car trip repeating, “How long until we get there?” every 5 minutes.
I also learned if you put your hands anywhere near an engineer’s tools you get ‘that look’.
And discovered if you ask them what they are doing, they respond in what I believe is Vulcan or Martian. Even Aaron didn’t understand him.
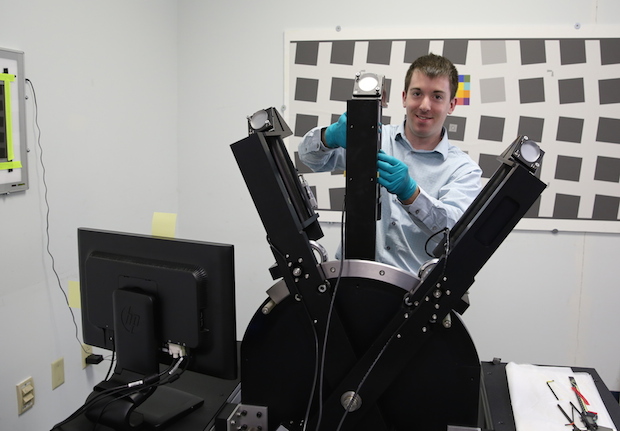
At this point about the only thing we were sure of was our machine had some cool wheels on it. They looked like they came off the bulkhead doors of a miniature submarine.
And we did get tool revenge. See all Brian’s hex keys? Guess what? There was one size he didn’t have so had to borrow it from us. Of course we made him grovel. Just a bit, though, we wanted this thing working.
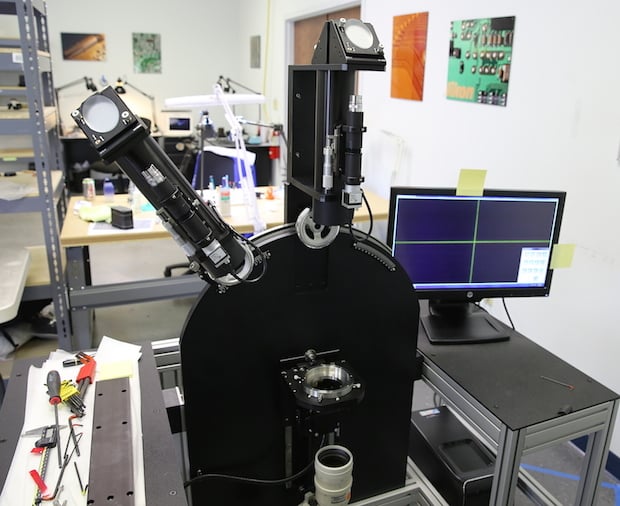
Sometime, after what seemed like several days, the third collimator was installed and everything wired up.
Joey came by during the instruction phase and had a pertinent question that Aaron and I hadn’t thought to ask. With all that precision-laser-collimation-measure-to-the-arc-second stuff, what, exactly was the purpose of that big mallet?
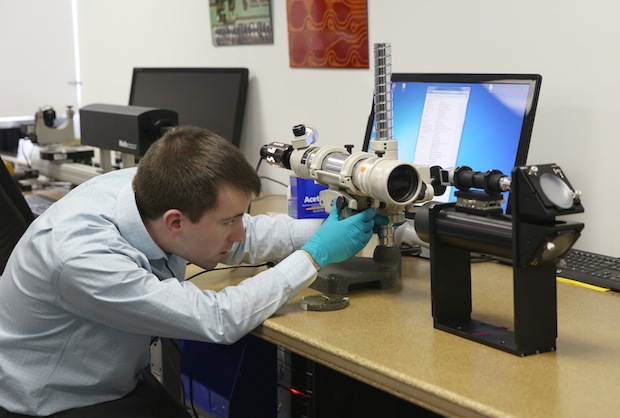
And we should have known. Brian brought his personal 24-105 f/4 to use as the first lens tested. It wasn’t quite as sharp as he had hoped.
We had to optically adjust his lens before we could shove him aside to confirm that our new toy could handle big lenses with aplomb. Then we were off to the races.
So What Does This Thing Do, Anyways?
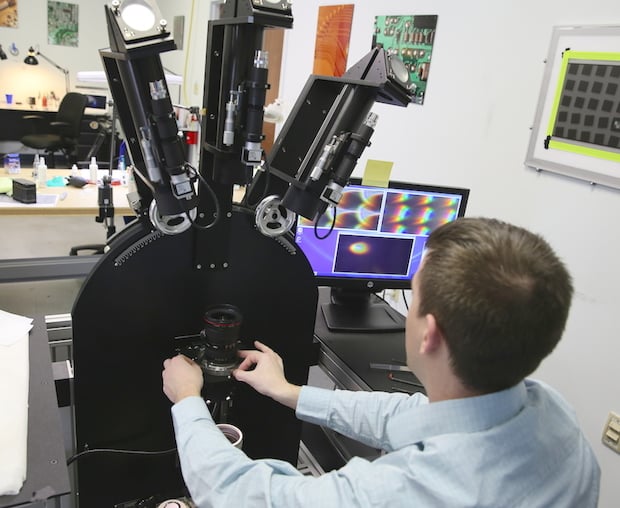
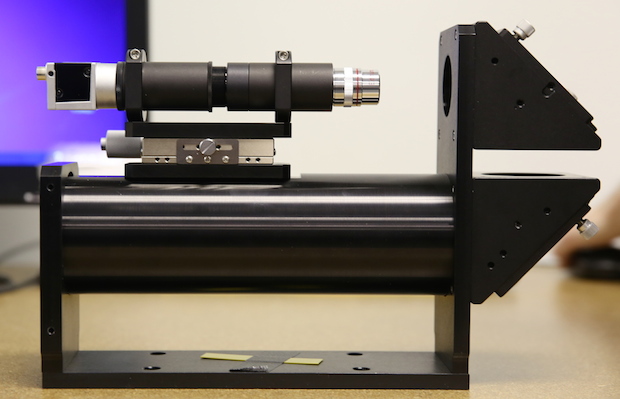
Basically, we are shining collimated (infinity) light through 5-micron pinhole reticles so we can see how the lens renders tiny points of light. Nothing shows aberrations like a pinhole light. The three collimators let us look at three positions, one in the center and two off-axis. The angle of the outer two collimators can be adjusted so we can see different distances away from the center. The lens mount can be rotated so we can look at the lens through a full 360 degrees.
Want to see some pictures? Of course you do! (Well, if you read this far you do.) But I’ll warn you first: this type of testing shows way more flaws, even in the best of lenses, than you probably want to know exist. It’s far more sensitive than any other form of testing we’ve tried. So if you enjoy the fantasy that lenses are perfect, you don’t want to see this.
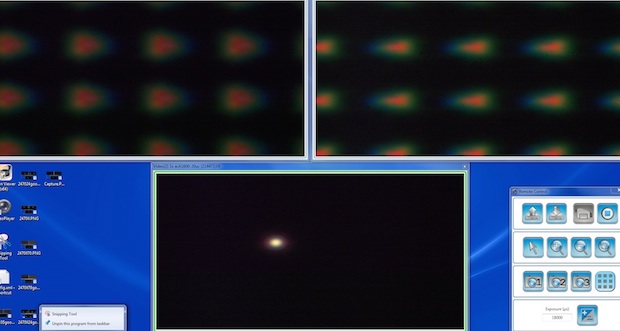
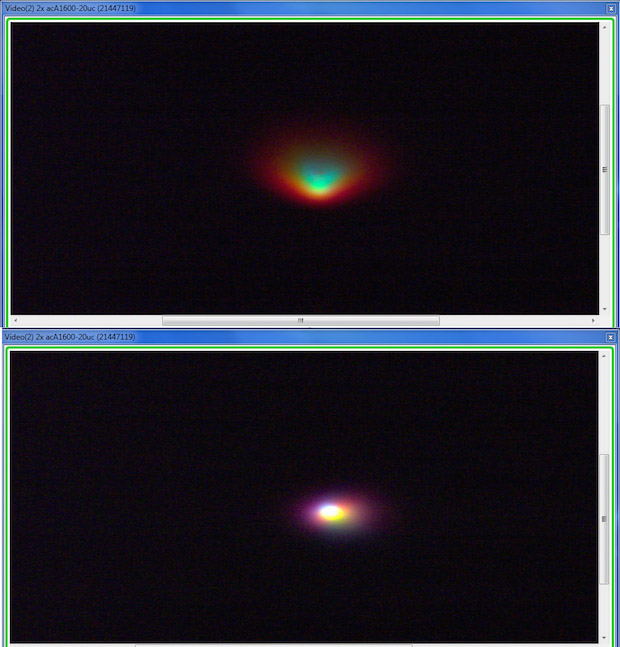
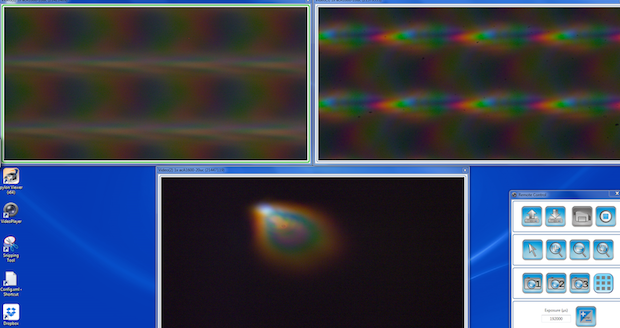
Let’s start with a screen capture of a nearly as-good-as-it-gets lens, a good copy of the Zeiss 50mm f/2 macro. The bottom screen shows the center point, the left upper screen the left edge, and the right upper screen the right middle 1/3 of the lens. Obviously the outer points don’t look nearly as good as the center, but in a photograph they’re still very good. Remember, that pinhole is 5 microns wide; for most cameras that’s smaller than a pixel.
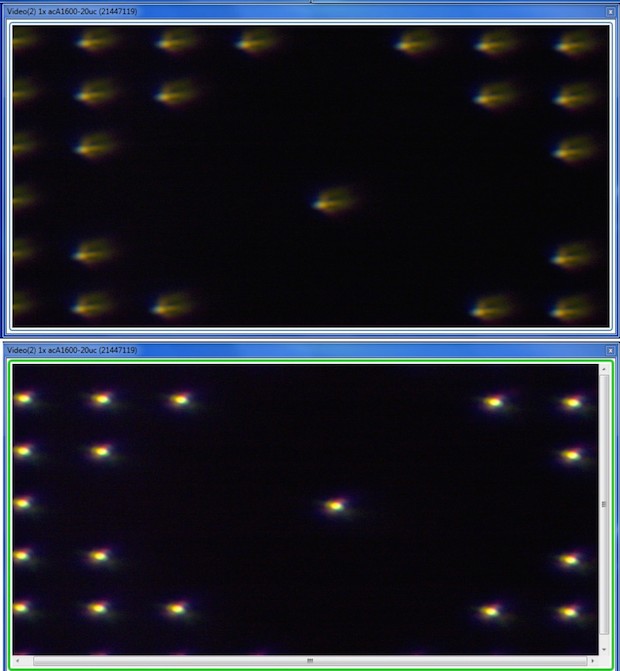
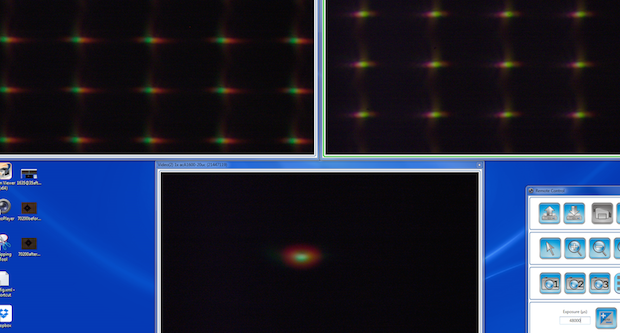
For something a little more fun, the next images are the center captures of Brian’s 24-105 at 105mm, which he thought was a little softer than it should be. On top is his lens when we first tested it on the machine. We adjusted it optically and the bottom screen shows how it looked after adjustment.
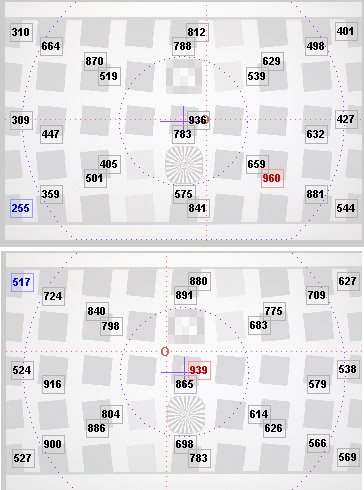
We like numbers, of course, so we tested his lens on our Imatest lab before and after the adjustment. Below you can see the MTF 50 of the lens before (on top) and after (bottom) adjustment.
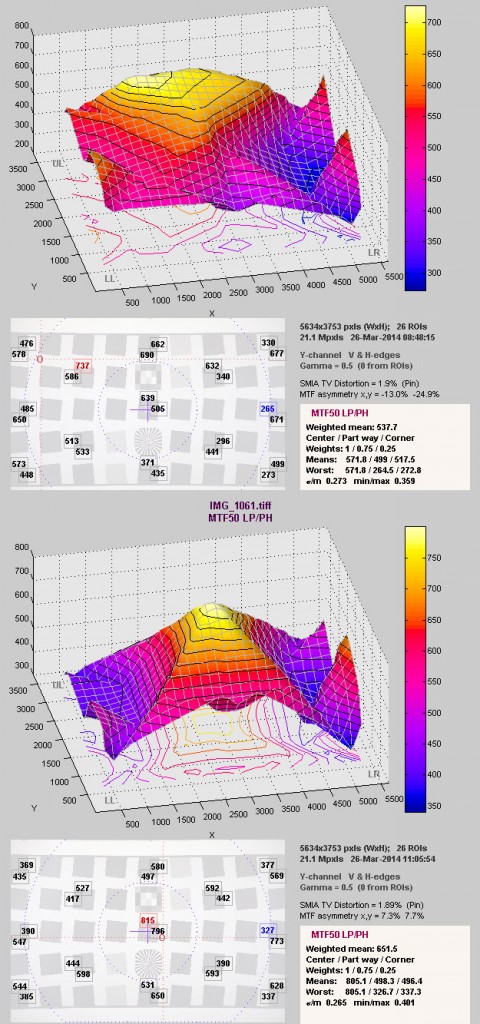
Is that difference something you could see in images? Absolutely — he immediately noticed the difference. By our standards, the original Imatest results would have failed — we wouldn’t have considered the lens rentable. The results on the bottom are better than average. Most importantly for us, we did the adjustment in real time. Adjusting our old way involved taking a picture, making an adjustment, then taking another picture. And repeating that 20 to 40 times. Now we could actually watch the pinhole images change in real time as we made each adjustment, taking one picture for confirmation when we were done.
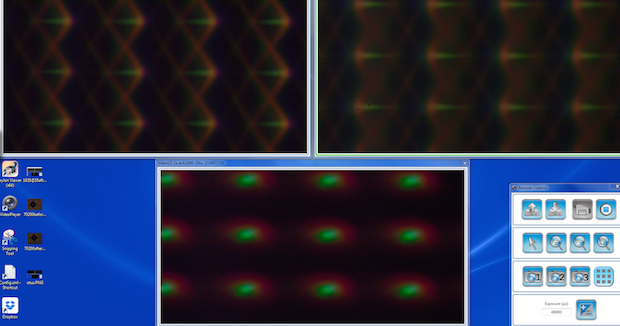
Just for another example, here are the images for a 100mm f/2.8 IS L macro that had failed our standard optical testing, with the original center pinhole above, and the image after adjustment below.
And the Imatest numbers before and after – note the improvement along the left side.
While this isn’t designed to be a screening or testing tool, some comparisons are kind of interesting. For example here is a Zeiss 55mm f/1.4 Otus showing the center point at the bottom and extreme left and right edges above.
Compare it to a 50mm f/1.4 Canon that was optically good (I told you this kind of thing would make you a bit queasy).
Just to show the difference, below is a Canon 50mm f/1.4 that was badly decentered.
So, Is It the Holy Grail of Lens Adjustment?
Nope. There isn’t one of those. And we’ve only begun learning how to best use it.
There are certain lenses that this piece of equipment can’t help us adjust. Other lenses just can’t be adjusted (there are no compensating elements). Of course, there are a lot more that we just haven’t reverse-engineered the adjusting process for.
But it certainly will allow us to do adjustments more accurately and effectively than we’ve been able to do. I suspect we’ll find some other uses. It’s really fun to look at the images as we front and backfocus the lens, for example. That gives great information about longitudinal color aberrations and what bokeh may look like in the foreground and background.
After a few months of collecting data we’ll have a lot better idea of just how capable this method is. Plus, I’ve already got a couple of improvements to the machine in mind.
In the meantime, though, this thing needs a name. Optikos calls it the VARS — I forgot what the acronym was; something like Vertical Alignment Roger Special. But we need a better name than that. So let’s have a contest. Leave a comment (on LensRentals) suggesting a better name, preferably an acronym. The winner gets … how about the lens of his choice tested on Imatest or our MTF bench and this machine? Or we could give you a bunch of scratched lens elements, or something geeky like that.
About the author: Roger Cicala is the founder of LensRentals. This article was originally published here.