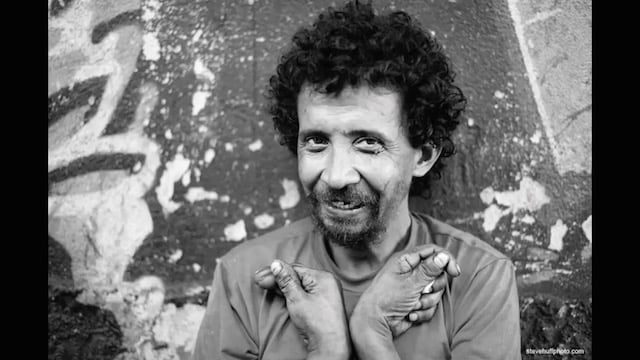
Photography is a Series of Decisions
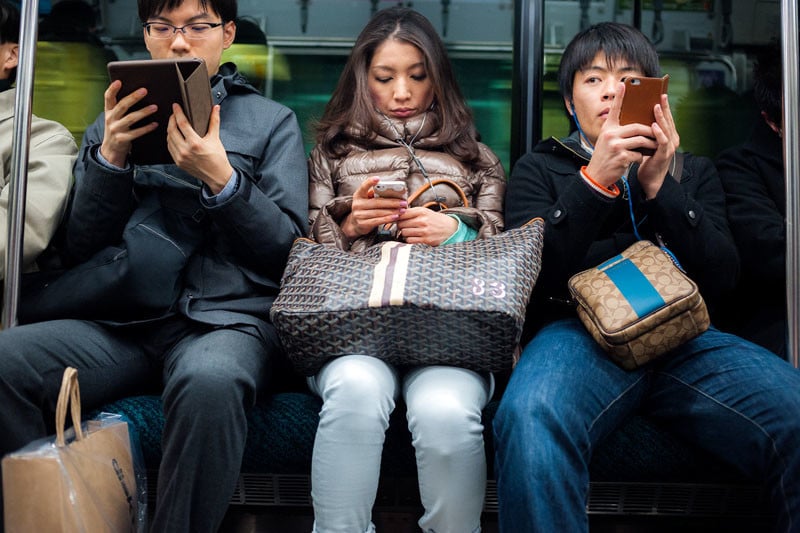
In its methodology, photography can be reduced to a series of decisions that determine the exact characteristics of each photo. When conducting street photography, in particular, the opportunity to make these decisions is limited.
This decision-making process can be broken down in order to minimize the decisions that must be made during the fleeting decisive moment. This, in turn, allows the photographer more time to make the two key decisions that remain in that moment: composition and timing.
Before You Shoot: Gear Selection
The first decision the photographer must make is which camera and lenses to take out of the bag. Gear selection is an often-discussed subject with many dissenting opinions. However, in order to leave the house with the best combination of equipment, an essential principle when selecting gear is anticipating what kind of situations and conditions you will face.
While the camera body and other accessories can matter, by far the most important piece of equipment is the lens. In order to make a wise decision regarding which lens to mount on the camera, it’s necessary to understand the effect focal length has on perspective. There are many diagrams and examples illustrating this relationship, but I find it’s always necessary to put the concepts to practice and learn from experience.
Note: All focal lengths below are discussed in the context of a 35mm (full frame) camera. Consider the appropriate crop sensor equivalent for your camera.
So, first, discover what different focal lengths allow you to achieve. For instance, 20mm lenses allow you to get close and, therefore, distort the perspective. They also allow you to ‘fit more in,’ which can be beneficial in tight quarters. A normal lens, approximately 35mm to 55mm, allows the photographer to shoot from a distance that produces images with perspective similar to that which the human brain is accustomed to. As a result, lenses in this range are a favorite of street photographers (I myself shoot with a 40mm lens).
Longer lenses, such as 85mm, compress the image by allowing the shooter to stand at a distance from the subject. This has the effect of reducing the amount of converging lines in the scene, flattening it out.
Additionally, one must take into account the maximum aperture of the lens and the expected lighting conditions in the target area. Obviously, fast lenses are more suitable for low light. Finally, ergonomics should be taken into account. Large, heavy lenses can be cumbersome and can wear you out on long excursions. Small prime lenses are light and fast, but can offer less versatility than zoom lenses.
As stated above, regarding lens selection, a personal preference has to be forged by trying a lot of different glass in various conditions. Once you know what you like, this decision can be made easily. For instance, when street shooting, I keep the same lens on my camera 99% of the time.
Setting Your Camera
After selecting your gear, it’s time to decide how to set it. Try to predict the shooting conditions and set the camera accordingly before the moment of shooting. We do this because when the action happens, we often have mere seconds (or less) to get the shot. However, when setting your camera there are three aspects which must be balanced: control, speed, and accuracy.
In practice, these three concepts tend to limit each other. For instance, shooting with manual focus maximizes control but might reduce speed and accuracy in most cases without the proper techniques. On the other hand shooting with the camera set completely to auto-exposure with AF maximizes speed but hurts accuracy and reduces control. Finally, putting the camera on a tripod, manually selecting focus through the viewfinder, and using a light meter to select exposure maximizes control and accuracy but, slows down the entire process.
When setting the camera, it’s necessary to balance these three aspects in a way that minimizes reaction time when shooting, and maximizes accuracy and control. Certain settings are better suited to each end.
For instance, using a lens with an aperture ring and shooting in Aperture Priority mode allows for very good control of the aperture, and therefore the DOF, while taking very little time. As another example, using a manual focus lens allows the shooter to utilize zone focusing, which reduces the focusing time to zero and allows for a high level of control (at the expense of some versatility, and possibly accuracy).
In some cases, accuracy and control can be deferred until after the photograph is taken. For instance, in the case of digital photography, if we choose to shoot in RAW instead of JPEG, we can change various settings after the photo was taken. For example, while shooting in RAW we can leave the White Balance set to Auto, which allows for it to be determined in post. This way, you can save time by nailing it in post-processing.
In the end, finding the best settings for yourself is a matter of experience, as well as trial and error. Don’t be afraid to try a variety of different techniques, some maximizing control (go all manual for a day and see how it feels) or maximizing speed (set the camera to Program mode and focus on composition and timing) or somewhere in between (use Aperture Priority and a manual focus prime lens.) The goal is simply to make these decisions before the moment of shooting so that you can focus on the few things the camera cannot do for you.
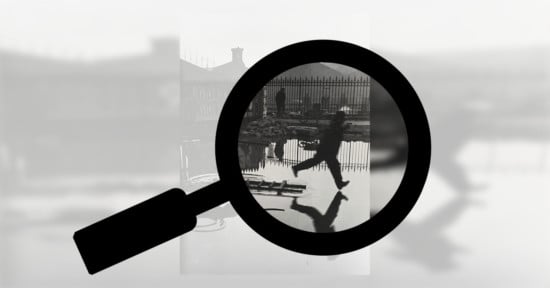
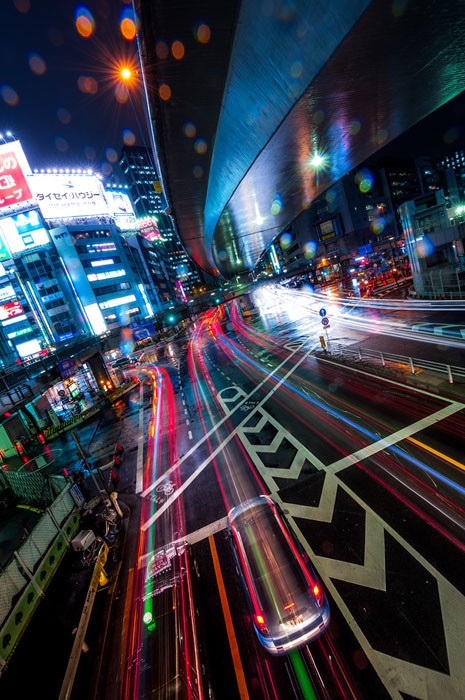
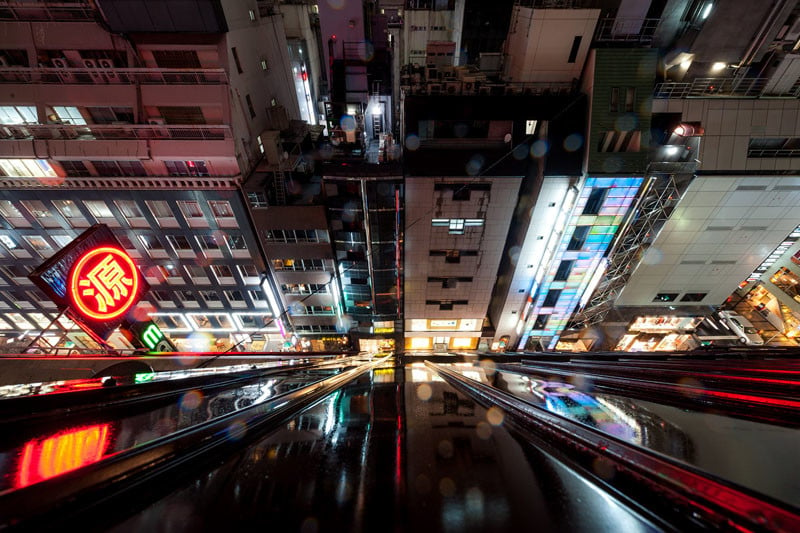
The Decisive Moment
This is the moment you’ve been preparing for. Hopefully at this point you confidently selected the right lens for the job, and the camera is set just the way it needs to be. Now it’s time to press the shutter release and take a perfect photo. Before you can do that, two key decisions remain: how to compose and how to time the photograph.
This is obviously a deep topic on which volumes have been written. I will not go into the details of good composition and timing here. Instead, let’s consider ways in which these decisions can also be streamlined in order to reduce reaction time.
One benefit of consistently shooting on prime lenses is that the photographer gets used to those particular focal lengths. As a result, it’s possible to visualize the framing of a photograph before looking through the viewfinder. This does not necessarily reduce the amount of time it takes to ‘frame’ a photo (the framing takes place in the photographer’s mind rather than in the viewfinder). But it does create a larger window in which the decision process can take place.
Similarly, regarding timing, it’s possible to visualize how a scene will evolve before it actually takes place. By watching the actors (whether living or inanimate) and trying to predict what action they will take can add precious time to the decision-making process. These two techniques combined can increase the amount of time you have in order to compose and time a great photo.
For further reading on the mechanics of these kinds of decision-making processes, see the OODA loop.
After the Shot
The moment has passed and the photo is safely in your camera. You get home, and you find the photo as you look through the day’s catch. The first key decision to make: is this photo worth processing and adding to my portfolio?
Editing (that is, selecting) your photos is an important skill for any photographer. It’s often difficult, and likely impossible, to be truly objective when viewing your own photographs. However, it is possible to select photos based on objective criteria while still leaving room for a subjective, overriding decision.
For instance, you can eliminate photos that fail in various technical aspects, such as sharpness or exposure. It’s also an option to avoid photos that do not meet thematic requirements, such as including an obvious main character. Having criteria can speed up the selection process, but this framework should not be arbitrary. Rather, it should come from personal experience, both by viewing the work of master photographers, as well as reviewing your own.
Once the photo passes the selection process it’s time to decide whether or not post-processing is in order. My personal philosophy is that every good photo deserves at least a bit of adjustment. A good photo can be made great by spending five minutes in your favorite photo editing software.
I will not cover the actual post-processing here. There are loads of options and this is another topic that has been explored elsewhere.
The key driving principle for any post-processing should be your personal taste. To edit photos well and get good results requires good taste developed by exposing yourself to the work of master photographers and attempting to emulate their style. As you do this, you will find your own expressive mode while avoiding the pitfalls of the cliché.
A decision that we made earlier comes in to play at this stage. Was the photo shot in RAW or JPEG? I’m a proponent of RAW simply due to the fact that RAW provides the photographer with a greater set of options after that photo was taken. To free up the decision process during the decisive moment, it’s preferable to implement constraints up to the moment of shutter release. However, after the photo is taken, there are no longer any time constraints, which allows the photographer to make decisions at their leisure.
As a result, having more options is generally more beneficial, and that is what RAW provides. There are, of course, exceptions to this. For instance, in the case of photojournalists in the field, expediency is often crucial and may necessitate a short turnaround time, which JPEG shooting can provide.
After the Editing Process
At this point your photograph is a result of a long series of decisions that began when you opted to get out of the house and take some shots. The photo you have before you is the culmination of all your hard work, but one key decision remains: do I show this photo to the world?
It may be disheartening to get your photo all the way here and then decide to never let it see the light of day. Despite the disappointment, making this final decision as objectively as possible is how you can build an excellent portfolio consisting of only your best photos.
Now get out there, and make some decisions!
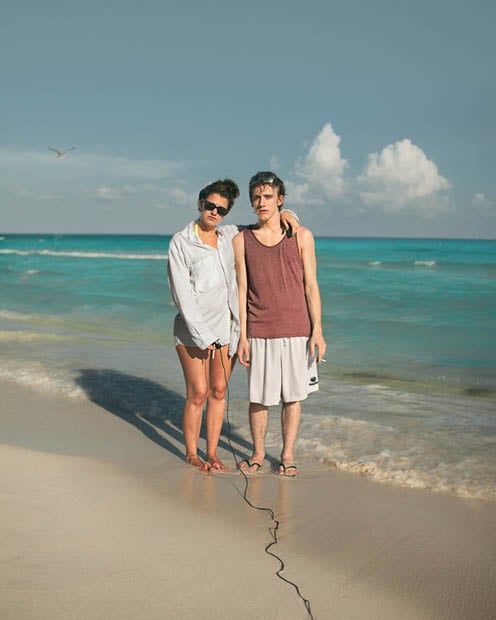
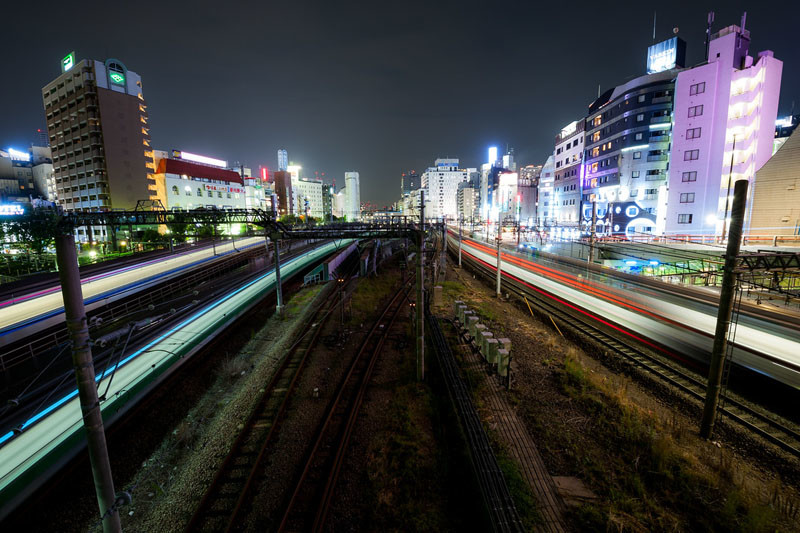
Image creditsAll photographs by Lukasz Palka and used with permission