A Blueprint for Getting Started in Travel Photography
It was a beautiful day in Montreal. I was on a regular afternoon jog listening to a popular photography podcast. The topic of the episode was travel photography. The guests of the show were two professional photographers with the years of experience.
At the end of the podcast during the listeners’ question and answer session, the first question immediately grabbed my attention. Why? Because I’ve been asked the same, or nearly identical, question many times before.
“I want to start traveling more specifically for photography, but I do not know where to start. Do you have any idea where I should go or how to plan my trip? Should I edit photos while I am there or should I wait until I return home? What cameras, lenses and other equipment do I take? Help! I am suffering from analysis paralysis.”
Ok, so perhaps the question has multiple parts but it still rang true to my experience. I was curious to hear the answers because I knew it was a loaded question and definitely not an easy one.
The photographers’ answers surprised me.
Here are some of them:
“South Asia is a good place to go.”
“Do not go to Bangkok.”
“If you do not know, choose a place randomly.”
“Europe, maybe.”
Instead of addressing the complex subject of travel photography, the photographers only concentrated on a single aspect: the location. Their answers disappointed me because I do not consider the location to be the essential part of travel photography. You do not need to travel to a remote and exotic destination to enjoy travel photography.
I decided to put together a blueprint or guide to help people who want to get involved in travel photography but do not know where to start. I used a similar approach when I first started and it has proven successful over the years.
First and foremost, please do not start your travel photography journey with a trip to South Asia. It will be a waste of time and money, not to mention it will be full of disappointments.
Start smaller and grow from there.
The Testing Ground
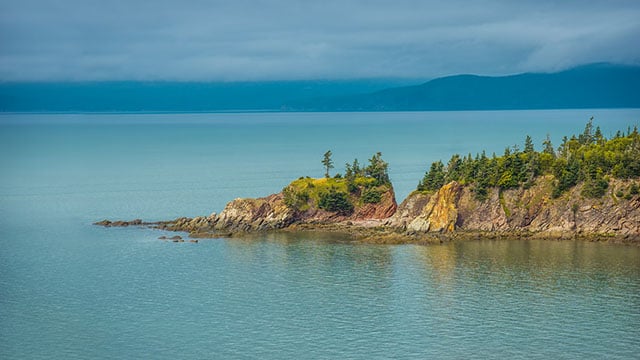
Find a local park in your neighborhood, preferably within walking distance or a short drive. Make this your testing ground for your equipment and photography routines.
Any urban park has all the essential elements of travel photography: landscapes, cityscapes, people, etc….
Plan your visits during different times of the day. Learn how to deal with the harsh midday light, overcast, rain, sunsets and sunrises. In doing so, you will figure out what minimum equipment you need to cover different scenarios of travel photography.
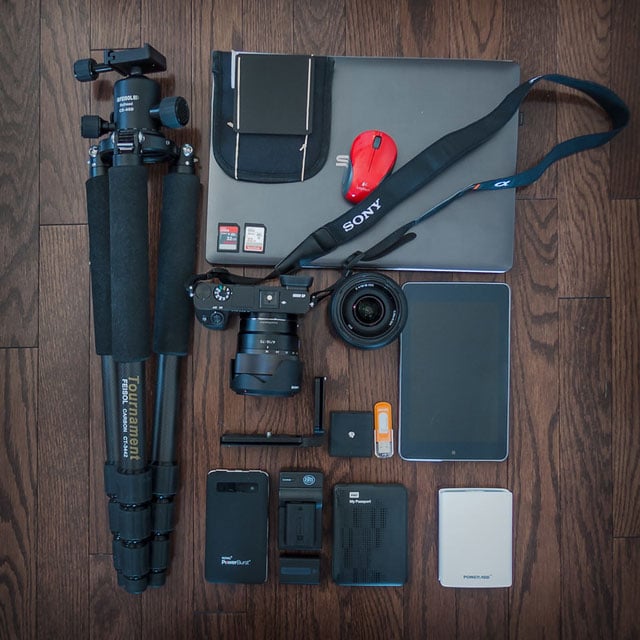
For example, I realized pretty early that a minimalistic approach to photography suits me the best and all I need is a camera with a walk around lens. For years, I used a combination of a Canon 60D and Sigma 17-70mm, and now I have a similar setup of a Sony a6000 and Sony 16-70mm.
Admittedly, I have more equipment in my possession including a wide angle lens (Sony 10-18mm), tripod, filters and remote triggers. But, if necessary, I can go on an extensive trip and only take a camera and one lens with me.
I am lucky enough to have a beautiful park in only short walking distance from where I live. Even now, when I have a new piece of equipment, I always test it there. When I switched from a Canon to a Sony, it was a steep learning curve and the local park was the ideal place for learning and testing my new equipment.
Now that it is winter, I ordered new photo gloves and, when I receive them, I will go to the park for a few hours to see if I like them or not.
A Mini Simulation
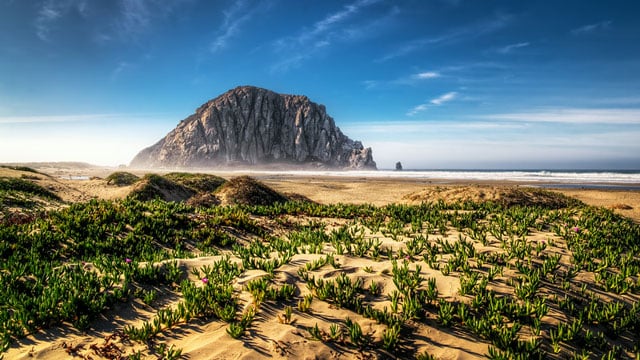
The next step is to go on a day-long trip at a location within a 1-2-hour driving range. In my case, I know all the national and provincial parks around Montreal and most of them make perfect destinations for short photo trips.
This trip will take you away from the comfort of your home for the entire day and will allow you to start micro planning and testing your skills.
Make sure you plan in advance what spot to visit at sunset or sunrise. It is not always easy to do both during a short trip, so choose only one and make sure you visit the best spot. Use Google search, Google maps, and 500px to pinpoint the perfect location for your sunrise or sunset shoot.
Also, you have to decide how many camera batteries to bring with you, if you need spare memory cards, and so on. If your trip involves challenging hiking, it also might be a good idea to leave the tripod at home.
These trips are designed for photographers to make mistakes and to learn from them. With every new trip, you will learn more about planning, your equipment, and your habits.
When you comfortable with the short trips, it is time to graduate to multi-day trips.
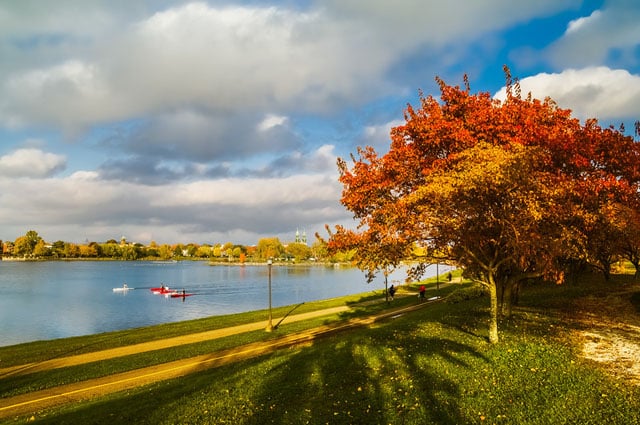
Multi-Day Driving Trips
This is how real travel photography started for me.
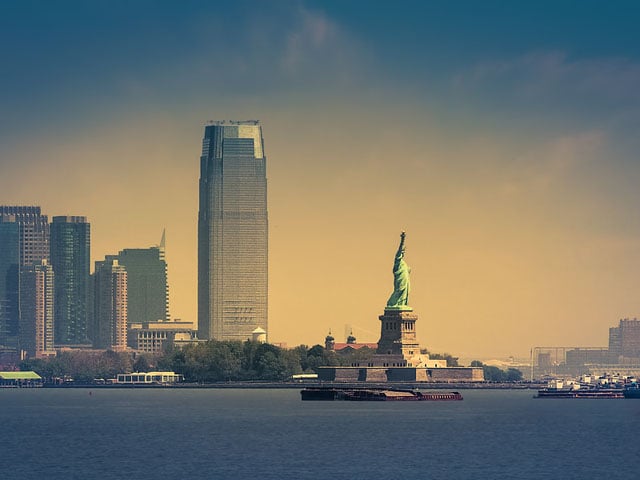
Montreal is located within a 5-7 hour driving distance from New York, Boston and Toronto with Niagara Falls. My trips dedicated exclusively to photography started with 2-3 day driving trips to those destinations.
Multi-days trips require much more planning where you should always do your research first and then plan all your sunrises, sunsets and everything in between.
Another new challenge you have to face on these trips is to figure out how to deal with editing and backups.
I am not giving you a specific scenario to follow because, based on my experience, travel routines are always changing and evolving.
For example, in the beginning, I always did some basic edits of my new photos by the end of every day of the trip. Now, I only concentrate on my shooting and I start the editing process when I am back at home. But, I always have the option to edit photos simply by connecting my tablet to camera using Wi-Fi, grabbing a few photos, editing them with Snapseed and posting them to social media.
At the same time, my backup routine has not changed a lot. By the end of the day, I backup all new photos to two external hard drives and always make sure to keep them in two separate places. I have one with me at all times in my bag and the second I keep in the safe in the hotel or in the trunk of my car.
Also, I do not rush to format my memory cards. I keep photos on the cards until I run out of space on all four of them and only then do I start formatting.
The beauty of driving trips is that you do not have to be too selective about the equipment you bring with you. You can load your trunk with everything you own and later figure out what pieces are essential for your style of photography.
Hacking A Family Vacation
The next step is to hack your family vacation.
You have to be careful with this one so as to ensure you do not agitate your loved ones or ruin the vacation for them.
A family trip can serve as the perfect opportunity for testing your air travel routines. It requires additional research to figure out carry on allowances on every leg of your trip and to decide what equipment to bring.
After I brought all my equipment on one of my first family trips to Cuba and hardly used any of it, I started to pack differently by bringing only the necessities along. Also, after I switched from DSLR to Mirrorless, I can pack everything (almost everything) in my carry on without worrying about lost luggage.
So how do you start planning?
Begin by planning your vacation as you normally would and concentrate on family activities first. When these are done and everybody is happy, you can enhance your trip with photography adventures.
During the vacation, the only time when you can be 100% dedicated to your photography is when everybody is sleeping. On each day of vacation you will have a few hours between sunrise and breakfast to concentrate on your photography. And, not only will your family be in bed at 5 am, about 99.9% of tourists will be in their beds as well. In fact, you would be surprised how beautiful Venice looks at sunrise – it is completely different and calm without the chaos of crowds.
Last year, my wife and I went to Niagara Falls in the middle of summer on a weekend getaway. It was so crowded during the day that I had no chance of using a tripod. It was even difficult to take any pictures without having people in the frame. But, when I went to the Falls the next morning just before sunrise, I had the entire place to myself. The only person I met there was another photographer who had the same idea.
The goal of successfully combining a family vacation with photography and to be able to enjoy them both is to plan every single sunrise in advance. The rest of the days will be dedicated to family activities and are much more difficult to plan. You can enjoy your family while trying to be as opportunistic as possible with your photography.
After you have completed dozens of one-day local trips, half a dozen of short driving trips and at least a couple of family vacations, you will be ready to go on extensive trips dedicated exclusively to photography. You will acquire the necessary skills and establish personal routines that will help you be comfortable, confident and safe during your travels.
In Conclusion
Learning any new complex process requires breaking it down into smaller digestible chunks that you can then start to tackle one at a time. Travel photography is no different. You cannot learn everything in one shot. By starting small, you will gradually accumulate knowledge, experience and establish your unique routines.
I hope my simple blueprint will help you fulfill your dream of becoming a travel photographer and accelerate the learning process.
About the author: Viktor Elizarov is a travel photographer based in Montreal, Canada. He’s also the man behind PhotoTraces, a travel photography blog and community of over 60,000 photographers. You can find more of Elizarov’s work and writing in his portfolio and on that blog. This article was also published here.

