DIY: How to Build a Brute but Bright LED Ring Light
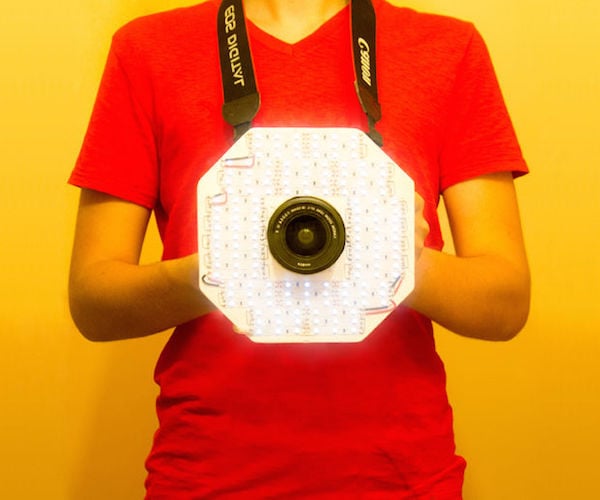
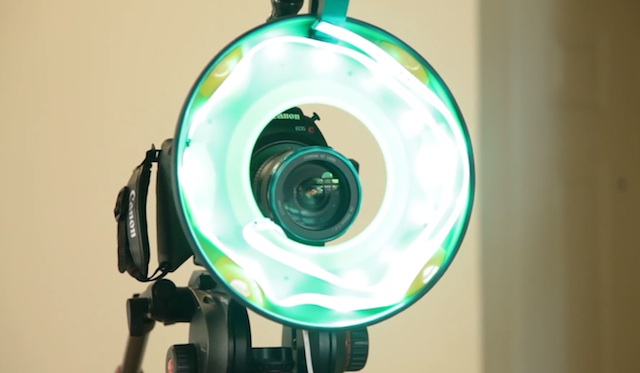
If you’ve been looking to get your hands on an LED ring light but don’t have the cash to burn, this weekend project is just for you. It’s called the Octo-Light, and it’s a DIY LED ring light create by Instructables user comsa42.
This octagonal beast might look a bit brute in form factor, but considering it pumps out roughly 1100 lumens/square meter, it’s hard to argue with the results. This isn’t exactly your average DIY project, but if you’re comfortable with power tools, a bit of wiring, and a smidgen of soldering, you’re good to go.
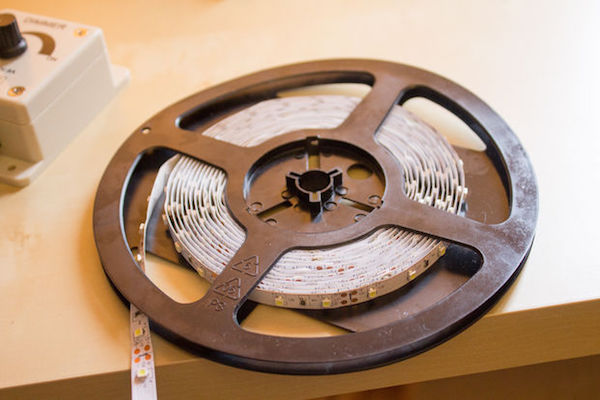
First, the materials. While you can certainly tweak to your needs or style, comsa42 lists 2.5mm plywood, a tripod mount, 12 White LED strips, stranded wire, solid core wire, a 12v dimmer, velcro, white spray paint, and either a 12v DC wall power supply or a 3 cell 11.1 lithium battery with appropriate connector.
The tools required are a soldering iron, hot glue gun and a jigsaw.

Once you’ve got all that, start by figuring out the dimensions you’re going to want for your DIY light ring. You don’t have to follow comsa42’s dimensions exactly, but they’re a nice starting point if you don’t know where to begin.
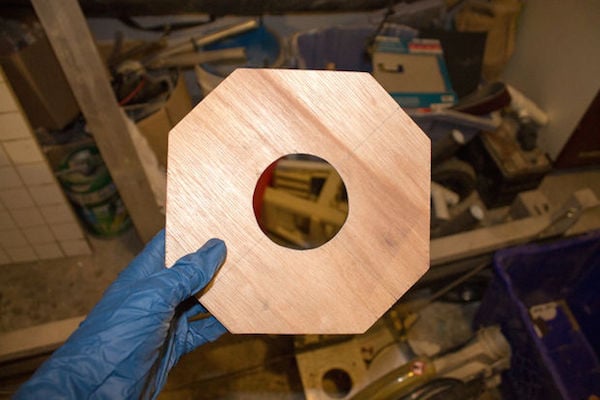
Next, grab the jigsaw and get to cutting your plywood. Keep in mind that this would be the opportune time to also drill the tripod mount holes, so you don’t have to go back to drilling once it’s completely put together.
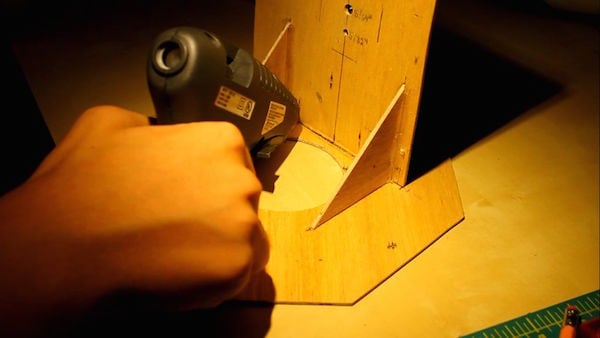
Done? Good. Now it’s time to put the pieces of the puzzle together. Comsa42 used hot glue for his project, but if you’d like to up the ante — and have patience — wood glue will probably hold up better long-term.
And once it’s all put together, spraypaint the light white will help reflect a bit more light.
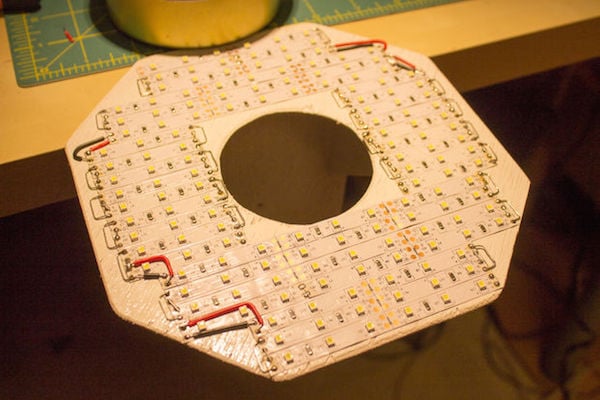
Now onto the LEDs. Pending the shape of your creation, cut the LED strips appropriately and arrange them as effectively as possible. Then connect the strips together so it creates one continuous circuit.
Using basic principles, you connect plus to plus and minus to minus from strip to strip. Just be careful with the soldering iron…
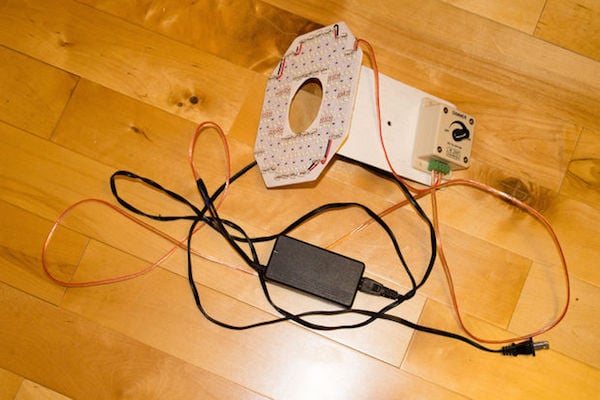
Now comes the final step, piecing together the dimmer and power supply. Whether you opted for the wall plugin or battery supply, the power will get routed through the dimmer, which will then supply the LEDs with the appropriate light. Comsa42 opted for the battery supply in order to keep the creation as small as possible.
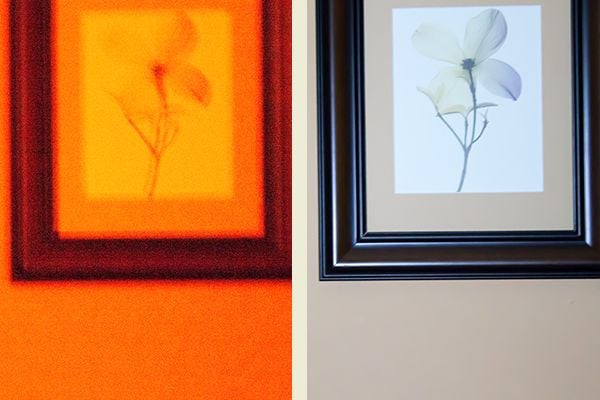
And that’s it, you’re finished! All that’s left is to test out your creation. Naturally, you’ll have to adjust for the color temperature, but that shouldn’t be too much of an issue, whether you’re using it for stills or motion picture.
We’ve tried to be fairly thorough in the instructions above, but if you’d like a more detailed step-by-step run-through process with more images, head over to the Instructables post below.
OctoLight: LED Camera Ring [via Instructables]