Monitor Calibration and Profiling: How Much Is Enough?
Many serious photographers say you must calibrate and profile your monitor, and maybe they’re right. But most camera users in this world enjoy their pictures without getting bogged down by such technicalities.
Table of Contents
What Does Calibration and Profiling Mean?
To avoid any confusion over these terms, calibration and profiling can be summarized thus:
Calibration: When you calibrate a monitor or display, you adjust or return it to a known state. This may involve setting the white point (color temperature), luminance (brightness), and the tonal response curve—aka gamma.
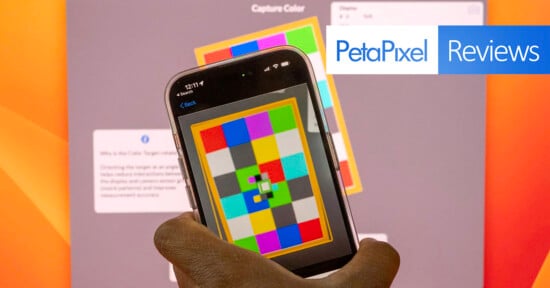
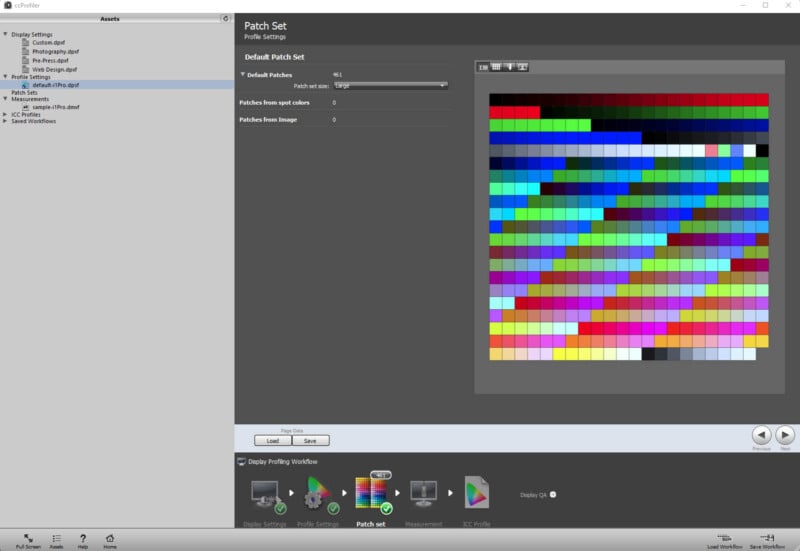
Profiling: When you profile a monitor you create an ICC profile that characterizes the color properties of the display and helps translate them into known standardized colors, or typically the nearest alternatives. This only works within color-managed environments, which include most modern browsers.
It’s easy to write lots on this topic, but the point of this article is to ask whether you need to calibrate and profile, how meticulous you must be, or if you can get away with skipping one or both.
Consider this: many of us are taking and viewing photos on cell phones without losing sleep over color accuracy. We don’t even think about it. But not thinking about it can lead to frustration in other areas of photography.
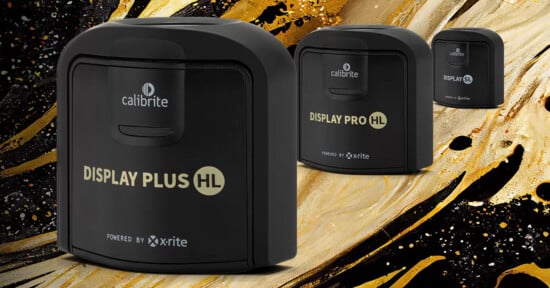
If you’re a tech-minded photographer who can easily afford a calibration device, the best advice is just to buy it and calibrate your monitor. Maybe it’s overkill for what you’re doing, but it will ensure the colors in your photos look more or less the same to you and most other people. The job is done.
Note: Calibration is often used as a generic term for calibrating and profiling your monitor; in reality, these are two distinct processes, albeit related.
Alternatively, we can discuss how much calibration and profiling are needed for specific photographic tasks. Do you need a calibration device? That’s what we’ll look at below.
Calibrating For The Internet
If most of your photographic activity involves sharing and viewing stuff online, could it be that you don’t need a calibrated monitor?
You could indeed get away with doing internet stuff with your pictures and never have to worry about calibration or profiling. If you have a fairly standard monitor and post all of your pictures with a profile embedded, chances are the shared image will look vaguely alike to your audience and you.
Even for casual photographers, there is some scope for disaster here. If your monitor is wildly out of kilter in its calibration, for instance with a green or magenta hue, you could end up editing your photos in a way that’s unfavorable to everyone else.
An excessively bright monitor may cause you to produce photos that are on the dark side, too, aside from burning more electricity and harming longevity. Displays tend to be set too brightly out of the box. Any problem that’s specific to your screen could cause you to edit photos badly: maybe hundreds or thousands of them.
One way to ensure you avoid this pitfall is by viewing your photos on several devices or displays. Is there an acceptable level of consistency for your needs?
It’s possible to calibrate your monitor to some degree without using a device (e.g., colorimeter or spectrophotometer). We’ll get into that later.
Calibration For Photo Labs (Online, Mall, High St)
One thing to know about photo labs is that most of them are not color-managed. In other words, they don’t use a controlled workflow that safeguards the integrity of the original image color. They normally cater to the masses.
Even labs that claim to be color-managed are not always so. Without getting into the details, the clue is usually that they ask for files in an sRGB color space. This is inherently not a printer profile (it’s a standardized CRT monitor profile), so you can’t be sure what you’re going to get back.
Auto corrections applied by labs may level out color or tonal problems in customers’ photos, but for the color-savvy client, this is another lab hazard that can rinse out any semblance of control. The ideal is to be able to convert to a custom printer profile and have it printed unaltered, not mauled by the printing pipeline.
Given the above, there’s no point in adopting a tight regime of calibration and color management if you outsource prints to any old lab. There’s a further opportunity for disconnect if your monitor cannot nearly display the gamut of a printer profile. On many laptops, that’s eminently possible.
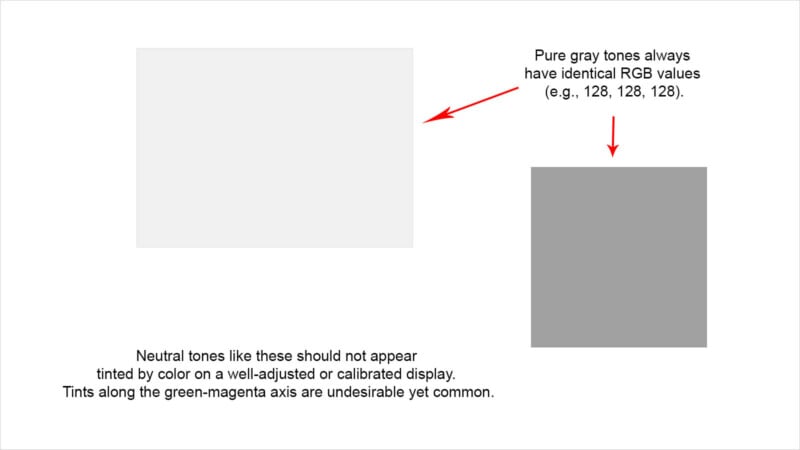
You still don’t want to be working on a monitor that is in dire need of calibration. It’s possible to detect problems if you’re familiar with RGB values and how a certain picture should look. A neutral gray screen, for instance, should never look overly warm, cold, green, or magenta to the naked eye.
Note: A monitor’s typical “daylight white” is a cold white, in fact, but you’re unlikely to perceive it as such unless you put it next to a warm light source.
Bottom line: if you’re happy with your lab prints without calibrating at home, you don’t need to do anything. In the end, the content of photos is often more important than a mild color shift. If your favorite aunt looks decidedly green, there’s a problem.
Calibration For Home Printing
Of all the possible outlets for your photography, none offer the scope for unfettered control that home printing does. You can profile an inkjet printer with specific papers and inks so that all elements of the printing process are in perfect sync. Your software and calibrated display then use this profile to show you how the print will look.
The beauty of this system lies in the ability to achieve what-you-see-is-what-you-get results (aka WYSIWYG). Even if you buy a budget printer and a cheaper display, this has its appeal. No longer are you at the mercy of a lab. Editing programs like Lightroom, Photoshop, and others let you soft proof (i.e., preview) the print colors before printing.
One cause of dispute in this process is always the brightness or luminance of the screen. Some photographers turn the brightness and contrast right down so it looks more like the final reflective print and less like a dazzling transmissive display.
Other respected printers will tell you the above is not strictly necessary. All that matters is that the luminance matches that of a nearby viewing area or booth and that your eyes will adapt to most viewing conditions. This is certainly true to a large extent, so you experiment and fall into your preferred routine.
If you’re using an average consumer-level display, chances are you’ll adversely affect its performance by turning the luminance down very low. More expensive displays like those from Eizo or NEC natively support this and even allow you to flick between different calibration profiles in some cases to reflect different outputs or end uses.
The case for calibration and profiling is never more compelling than when you’re printing at home. That’s the takeaway. Whatever equipment you own, the potential for controlling and fine-tuning the result is greater than it is with most labs. You need custom profiles to do this, so free online calibration tools won’t cut it.
Stock Photography
You don’t need a finely honed system of monitor calibration and profiling to sell stock photos. Again, though, you also don’t want to be editing photos in a way that makes them look poor to everyone else. You run that risk if you ignore calibration.
Some stock libraries will ask for files in a specific color space—typically Adobe RGB. This forces you to think about color management, at least a little bit, but working with files in a specific color space is different from viewing them correctly.
Calibration is useful for stock photography, but it’s not essential. If you browse the vast collection of Alamy, for instance, none of its online previews has a profile embedded. That tells you something about the importance of strict color fidelity to them vs other considerations, like saving 3-5 kb per file x several million.

Free Calibration
There are ways to calibrate your monitor without spending money. Bear in mind that, ironically, some of the more expensive devices and programs allow you the option of doing little or nothing with calibration. They let you pick “native” settings so that any ensuing profile is built around the monitor’s natural color and tonal response.
What the above reveals is that non-calibration is not always terrible. It avoids making artificial adjustments through the GPU that can cause problems such as banding. Gentle calibration is often a good idea, but it’s a better idea when you know you have a custom profile to interpret color and tone correctly in color-managed apps.
Adjustments to luminance do not generally harm the display’s performance when performed through the onscreen brightness control. This is rather like twiddling a dimmer switch. It’s usually a physical tweak rather than a digital one. It’ll also save energy and extend the monitor’s lifespan if you don’t go too bright.
If you can’t afford a calibration device, you still don’t want your monitor to be so far off base that it skews your editing. You can test calibration aspects such as black point, white level, and more on vintage websites such as drycreekphoto and lagom.nl.
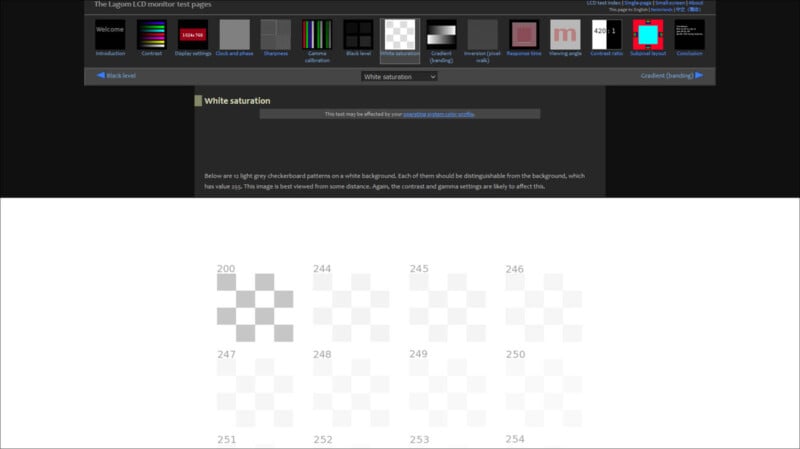
Note: Any alterations that are not brightness adjustments are prone to cause banding. That includes contrast and gamma changes. This isn’t often a huge problem in photos unless they contain fine tonal gradations. It’s worth looking at a grayscale gradient after calibration to see what adverse effects may have arisen.
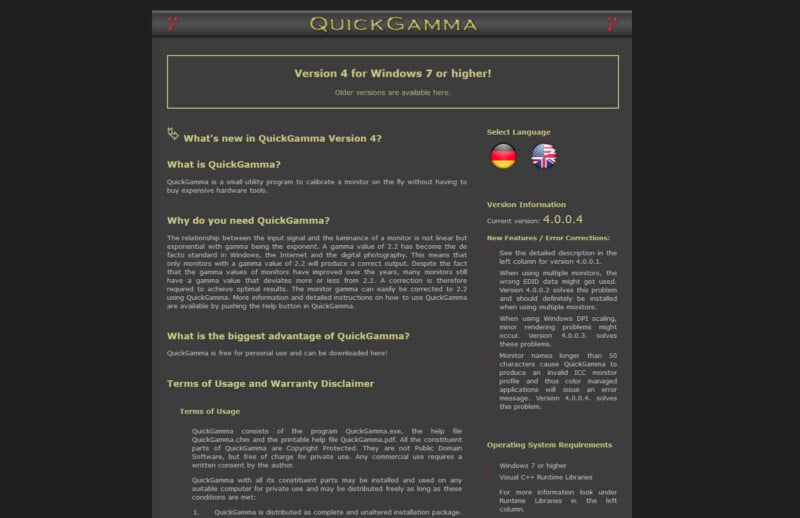
Device-free calibration programs like QuickGamma let you calibrate your monitor for no cost, but they depend on your fallible eyesight rather than being guided by a device. Such programs do not create custom profiles, either—how could they? They create a profile based on the monitor’s EDID data or they use an sRGB profile. Calibration data is then loaded onto your computer via a VCGT tag.
Conclusions
Is monitor calibration necessary for you? “You can’t miss what you never had”, Hunter S. Thompson once wrote. But that doesn’t mean you wouldn’t benefit from it.
As discussed above, you can calibrate your monitor to a degree using free software and respected web tools. The main problem is the reliance of results on human eyesight and the lack of any custom ICC profile for your monitor. It still might help in some instances.
Unfortunately, you always need calibration hardware if you want or need precision. You can’t rely on generic profiles if you want to soft-proof print output or have confidence in critical professional work.
However… if you love your photography but struggle to afford all the gear, think about how much your output demands full calibration. Content is always king. Just know that your display can lead you way off course if you ignore its condition.