You Should Spend Time Understanding Your Camera’s Shutter Speed
Choosing the correct shutter speed is imperative. Here’s how it works and why you should take it into consideration when shooting any photograph.
Hopefully, if you are reading this, you already understand that your camera needs a specific amount of light to achieve a correct exposure. If you don’t, I recommend looking at my recent articles. The first in this series was on exposure, and the other was about aperture. They both explain the information you will need to understand this article.
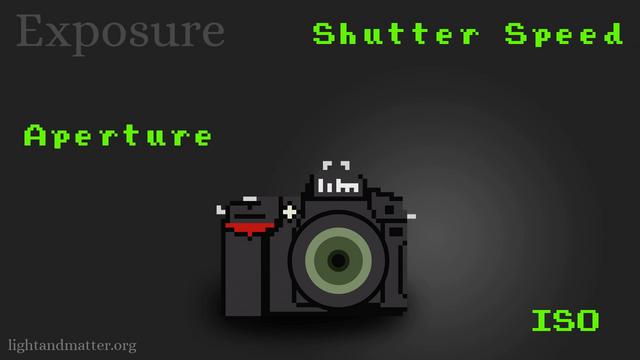
The Four Variables of Exposure
There are four variables that come into play for exposure. Firstly, there is the amount of light, or how bright the scene is that you are shooting. In photography, this is referred to as luminance. Secondly, as I mentioned in my first article about exposure, the higher the ISO setting, the less light is required to capture an image. The third variable, as I discussed last time, is the aperture. A wide aperture allows more light to enter the camera. Finally, comes the shutter speed, or the length of time the shutter is open.
What is Shutter Speed?
Our photographer ancestors were not very good at choosing the terms we use in photography. There’s no consistency. As I mentioned in my article about apertures, we have telephoto and wide-angle lenses. We surely should have either called the former narrow-angle lenses, or perhaps the latter contephoto. (Just as tele is the Greek word for far, conte means near.)
They got it wrong here, too. The term “shutter speed” is a misnomer. It refers to the interval between the shutter opening and closing, rather than the speed at which the shutter travels, which remains constant. Shutter Time would have been better. However, shutter speed is in common usage, so let’s stick with that.

Why do we change the shutter speed?
The shorter the interval between the shutter opening and closing, the more effectively it can stop movement. We refer to this as a fast shutter speed. Equally, if that interval is long enough to blur movement, we refer to it as slow shutter speed. However, those descriptions are arbitrary; there is no technical definition, and no fixed numerical value can be applied to them. A shutter speed fast enough to stop the movement of a person walking would not be fast enough if they were riding a bike.
The decision to stop or show movement is subjective

Mechanical and Electronic shutters
Mechanical shutters usually comprise two curtains. One opens and the other closes behind it. Meanwhile, as their name suggests, electronic shutters capture the image entirely electronically by scanning the pixels on the sensor line by line from top to bottom.
There are advantages and disadvantages to each. Mechanical shutters have moving parts. Consequently, they create an audible click and, like all mechanisms, can also wear out. Electronic shutters, on the other hand, have no moving parts, so they are completely silent and more durable. For the same reasons, electronic shutters don’t introduce unwanted vibrations to the camera that can otherwise show in the photo.
Nevertheless, electronic shutters are more prone to distortion when photographing fast-moving subjects. This phenomenon is known as the rolling shutter effect.
Mechanical shutters usually have a higher sync speed. Flash photography may not be possible with electronic shutters on some cameras. Additionally, electronic shutters can cause banding in the image when used with LED lighting.
Image quality can be affected by the electronic shutter, with a reduction in color and tonal range noticeable on some cameras.

Shutter Priority Mode and Its Big Disadvantage
Shutter priority mode allows you to preset a shutter speed, and it will adjust the aperture and/or the ISO accordingly. It is usually depicted as an S on the mode dial, although, contrarily, Canon uses Tv (standing for time value). As I said earlier, there is no consistency in photography.
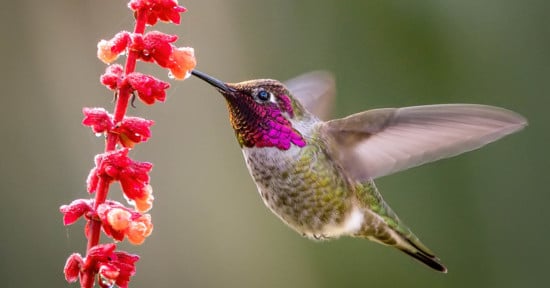
Some wildlife and especially bird photographers use this mode so they can be guaranteed to stop action. There is an issue, though. In aperture priority mode, your exposure settings are limited by the lens’s widest and narrowest apertures. On my everyday lens, the apertures range from f/2.8 to f/22. That’s 6 stops.
Consequently, you are largely protected from excessive under- or overexposure. That would take me from, say, 1/1000 second at f/2.8 to 1/15th at f/22. However, the range of shutter speeds on my camera spans from 60 seconds to 1/8000 second, covering 19 stops. It would be easy to mistakenly and catastrophically over- or underexpose.
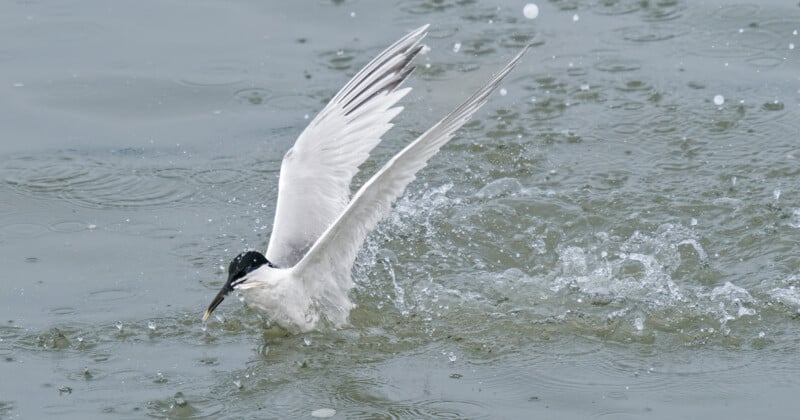
Imagine photographing a rare bird. It is sitting still on a twig in the shade. Your shutter speed is set to 1/250 second, allowing you to achieve the best quality image. Suddenly, it flies into bright sunshine. In shutter priority mode, by the time you have adjusted the shutter speed, you’ve missed the action. In aperture priority mode, the camera does the heavy lifting and immediately sets the correct shutter speed for the conditions.
There is more to that method, but that’s for a future article.

How Fast A Shutter Speed Should I Use?
That is a “how long is a piece of string?” question.
If you ride in a car and look out of the window, the ground near you rushes by, whereas the distant horizon appears to pass by more slowly. That is why you need a much faster shutter speed to stop the movement of subjects closer to the camera than those farther away. Similarly, if you use a telephoto lens, moving subjects will travel across the field of view in less time than if you used a wide-angle lens. Therefore, longer lenses also require faster shutter speeds.
The following is a very rough guideline and not set in stone. As shown above, the actual shutter speeds you use are affected by your camera’s sensor size, the lens focal length, and the subject’s proximity.

Avoiding Camera Shake
That narrow angle of view of a telephoto lens will exaggerate your movement. Therefore, you must increase the shutter speed to avoid blur from the camera’s movement. The old rule of thumb for handholding 35mm cameras was that you needed a shutter speed faster than the reciprocal of the focal length. For example, a 50 mm lens would require shutter speeds greater than 1/50th second.
These days, most photographers use cameras with sensors smaller than 35mm, which reduces the field of view. Consequently, that means increasing the minimum shutter speed to stop unwanted camera shake; usually, doubling it gives a safe margin. On the other hand, many cameras and lenses have image stabilisation. That feature allows you to handhold at much slower speeds; I have handheld a Micro Four Thirds camera with a 45mm lens for two seconds.
Additionally, we are all different, and some individuals find it easier to remain still than others. The only way to discover how slowly you can handhold your camera and lens combination is to go out and try it.
The Weird Shutter Speed Numbering
Just like the aperture setting, each stop in shutter speed halves or doubles the amount of light hitting the sensor. But there is something strange in the sequence:
Starting at 1 second, it follows on ½ second, ¼ second, 1/8 second, which makes sense. You would expect the next number in the sequence to be 1/16th second, but it’s 1/15th. It then continues 1/30, 1/60, 1/125! (not 1/120), 1/250, 1/500, 1/1000.
The reason for those two anomalies is purely to simplify the mathematics. It makes it easier for you.

An Exercise
With your everyday lens fitted to your camera, stand indoors in low light. Set your camera to aperture priority (A or Av on the mode dial) and the ISO to 100, or 200 if you own a Micro Four Thirds camera. Zoom the lens out to its widest angle.
Use the command/adjustment dial to select the widest aperture (the lowest number). Point the camera at a subject, perhaps an ornament, and note the corresponding shutter speed. Annoyingly, with some cameras, you may need to briefly half-press the shutter release button to make the shutter speed appear in the display. Take a photograph. Is it sharp or blurred?
Reduce the aperture size by one whole stop. This is probably three clicks of the command dial. Take the same photo and note that the shutter speed will have doubled. For example, if it were 1/60th at f.4 before, it will now be around 1/30th at f/5.6. Did this photo come out sharp?
Repeat this exercise to determine the slowest shutter speed at which you can handhold the camera without the image becoming blurry.
Now, zoom in and try the exercise again. What do you discover?
Next, get a friend to be your subject. Ask them to wave at you. Take photos at varying shutter speeds by altering the aperture. Note how the slower shutter speeds result in the person’s hand becoming blurred. You can repeat this exercise with other moving subjects, such as passing cars or flags fluttering in the wind.

In Conclusion
Along with light intensity, aperture, and ISO, shutter speed is one of the factors that balance exposure. Fast shutters stop movement, while slow shutters show blur. This knowledge, along with that shared in my previous two articles about metering and exposure, as well as aperture, should give you the skills to have basic control over exposure.
There’s more to it than that, but we’ll let you consolidate that information before moving on to those in a future article.
Next time, we will delve into autofocus.